はじめに
やっとmacを手に入れたのでSwiftの勉強を始めました。
HackingWithSwiftのProject1を進めるにあたって今後のためにメモしておきたいと思ったことを綴ります。
コマンドのCheat Sheet
・Cmd + R : Simulatorの起動
・Cmd + . : Simulatorの終了
・Cmd + L : Libraryの表示
用語集
FileManager.default : ファイル操作をするために必要なデータタイプ。
Bundle : コンパイルされたプログラムや全ての要素を含むディレクトリである。
UITableViewController : スクロールや選択できる複数行のデータを表示できる。
データファイルの追加方法
データファイルを左側のNavigation AreaにDrag&Dropする。

と以下の図のような画面が出現する。
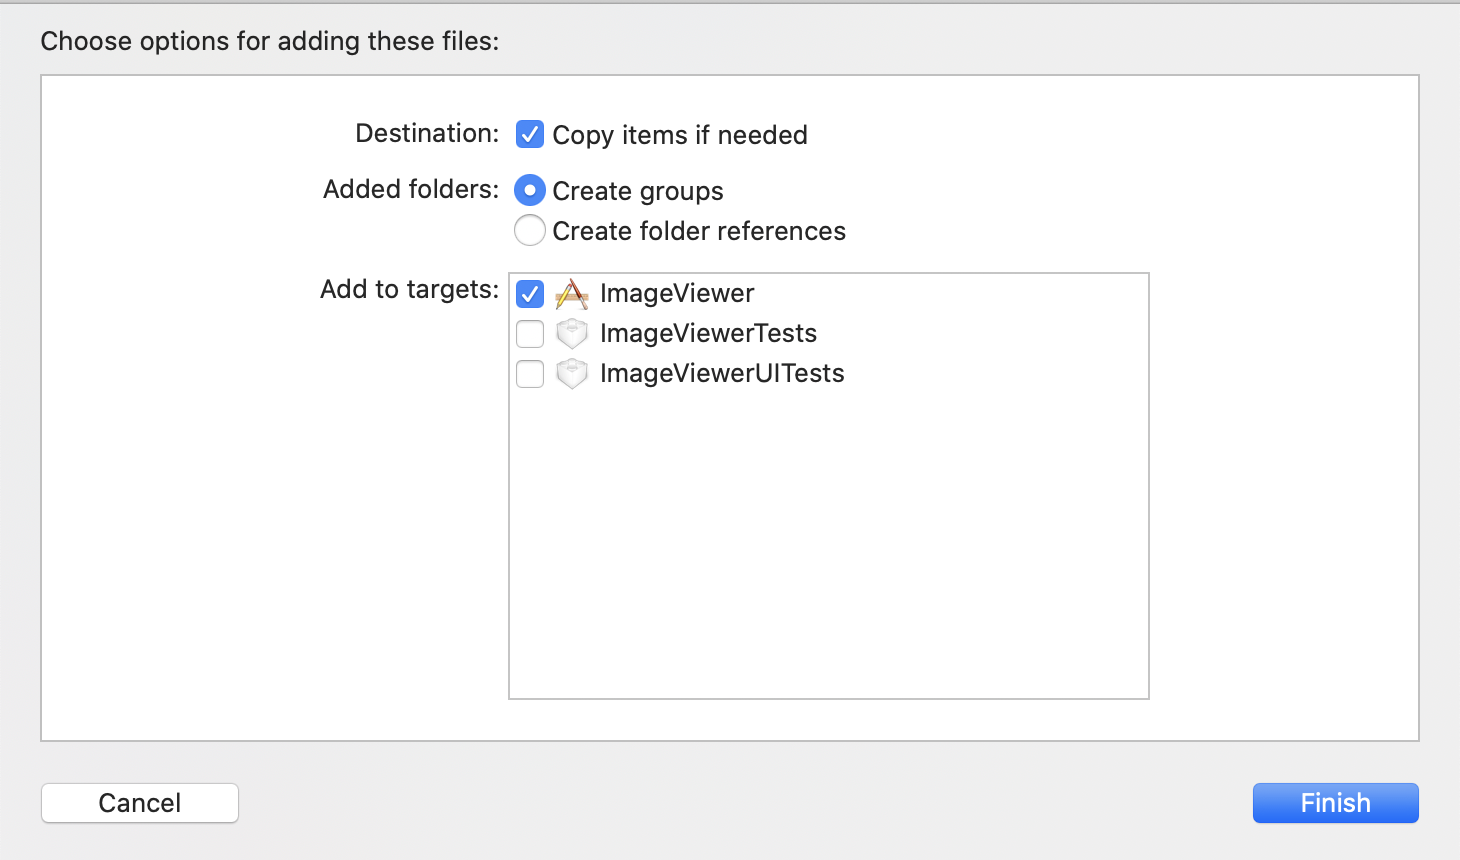
この際
・Copy items if needed
・Create groups
という項目がチェックされているか確認すること
ファイル名の取得方法
pathで取得したディレクトリ内のファイル名を全て取得する。
let path = Bundle.main.resourcePath!
let contents = FileManager.default.contentsOfDirectory(atPath: path)
列の表示方法
TableViewにおいて表示する列の数を設定する
override func tableView(_ tableView: UITableView, numberOfRowsInSection section: Int) -> Int {
    return //ここに表に表示させたい列の数
}
UITableViewControllerへの変更方法
まず
class ViewController: UIViewController
を
class ViewController: UITableViewController
に変更する。
次にMain.storyboard内において、デフォルトで設定されている View Controller Scene を Table View Controller に変更する。

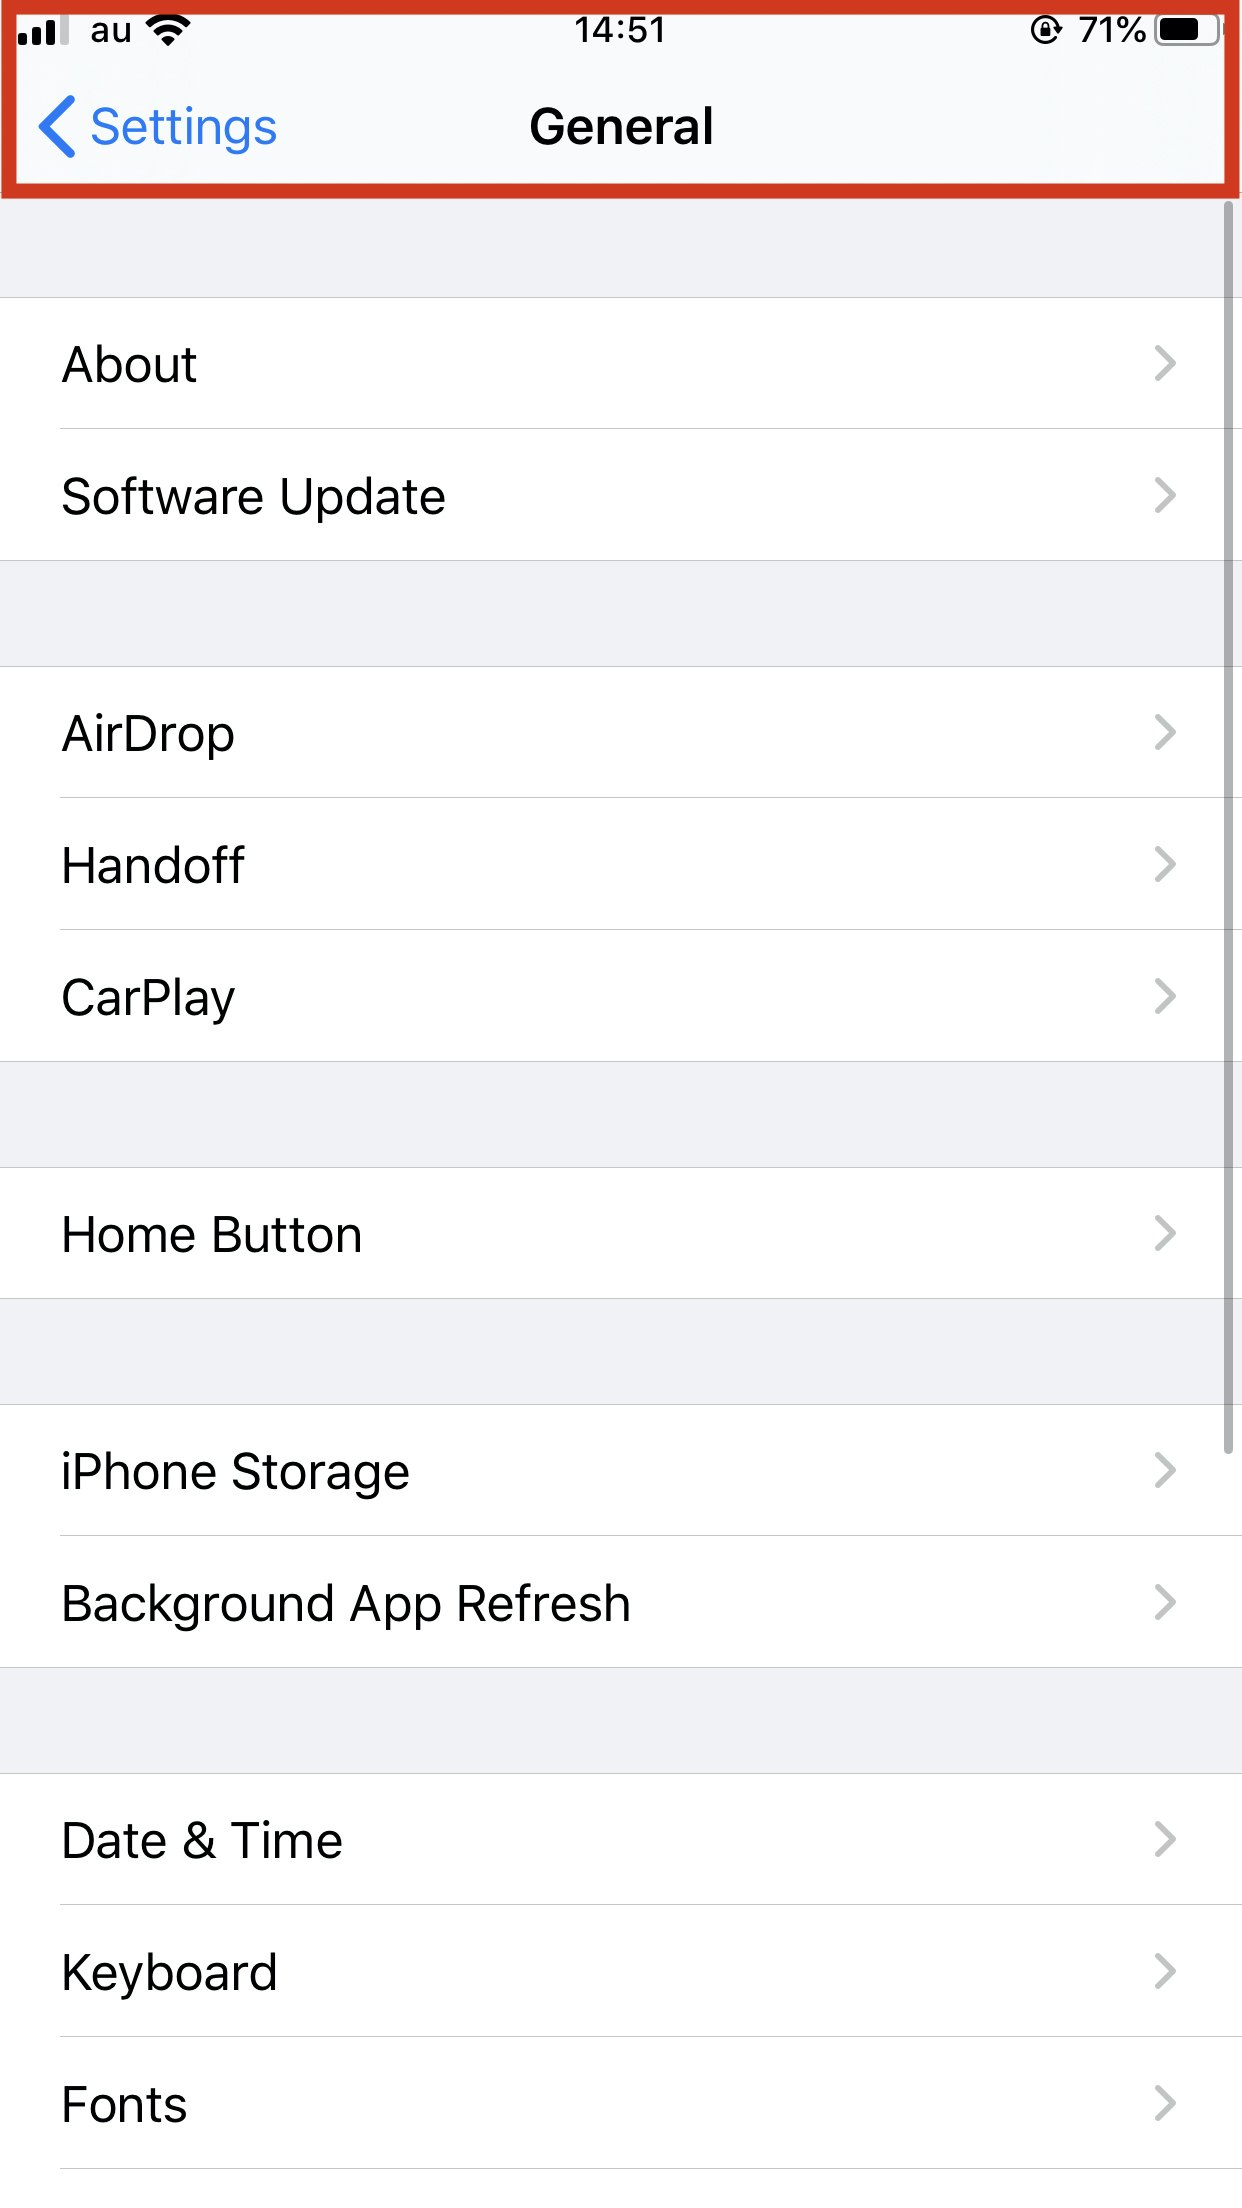
Navigation Controllerとは?
Table View Controller を Navigation Controller に Embed In すると、iPhoneの設定上部で見られる画面遷移のための Navigation Bar が表示される。
参考Webサイト
https://www.hackingwithswift.com/100