更新情報
2023/11/22
・vscodeのアップデートにより、「vscodeのディレクトリ表示の仕方を変更する(file nesting config)」の項目を修正
- "explorer.experimental.fileNesting.enabled": true,
- "explorer.experimental.fileNesting.expand": true,
- "explorer.experimental.fileNesting.patterns": {

+ "explorer.fileNesting.enabled": true,
+ "explorer.fileNesting.expand": true,
+ "explorer.fileNesting.patterns": {
内容
Flutter開発時の便利なTipsメモ
開発環境
PC:macOS Monterey
エディター:Visual Studio Code
vscodeのディレクトリ表示の仕方を変更する(file nesting config)
shift + command + P でコマンドパレットを表示して、settings.jsonと入力する。

生成されたsettings.jsonファイルに項目を追加する。
{
    "editor.tabSize": 2,
    ・
    ・
    ・
    ・
    ・
    "dart.debugExternalPackageLibraries": false,
    "window.zoomLevel": -1,

    // 以下の3つの項目を追加
    "explorer.fileNesting.enabled": true,
    "explorer.fileNesting.expand": true,
    "explorer.fileNesting.patterns": {
        "pubspec.yaml": ".packages, .metadata, pubspec.lock",
    },


}
左がsettings.jsonに追加前、
右がsettings.jsonに追加後。
pubspec.yamlに関するファイル(.packages, .metadata, pubspec.lock)がネストするようになった。


constを保存時に自動で行う
まずは、file nesting configと同様にコマンドパレットからsettings.jsonを表示する。
そして、以下のコードを追加する。
    "editor.codeActionsOnSave": {
        "source.fixAll": true,
    }
・保存前のコード

・保存後のコード

パッケージの追加
shift + command + P でコマンドパレットを表示して、Add Dependencyと入力する。
例として、providerと入力して、パッケージを入力する。

pubspec.yamlにproviderが追加される

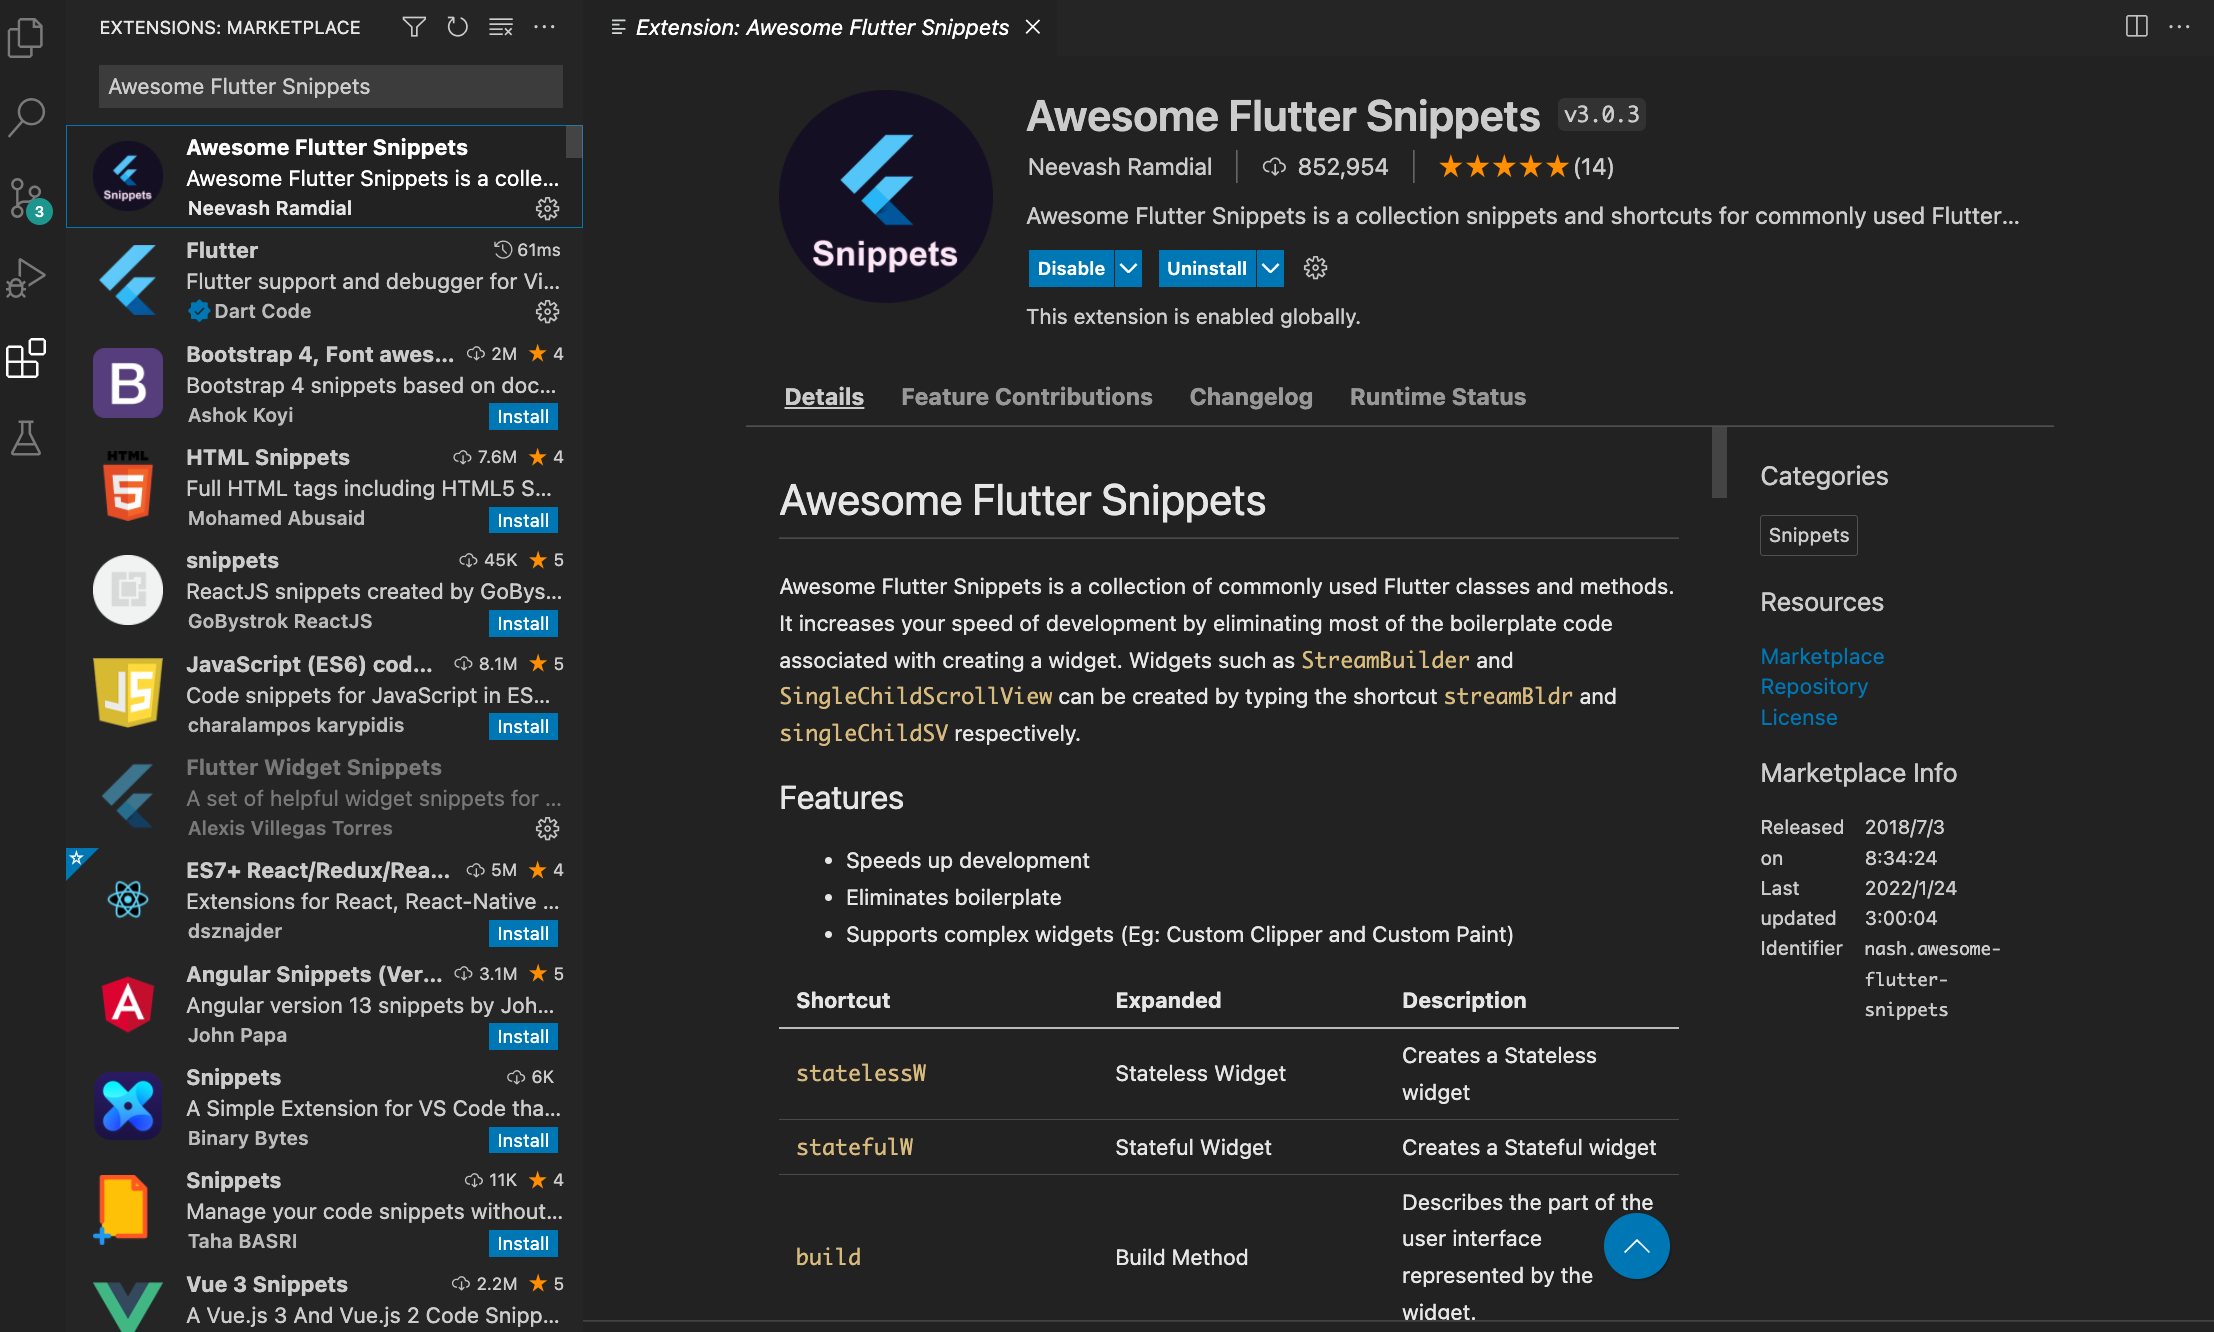
Awesome Flutter Snippets
vscodeの拡張機能にAwesome Flutter Snippetsを追加する。
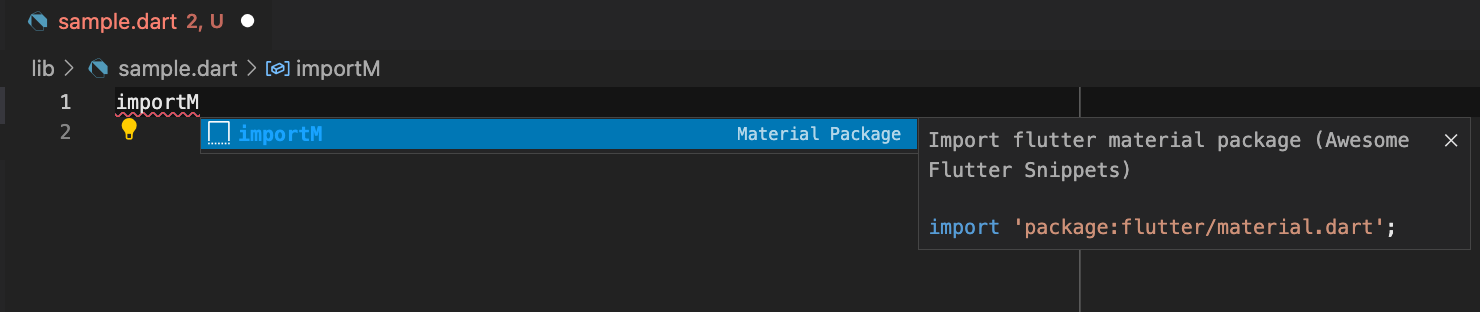
パッケージをインポートする。
importMと入力して、エンターをクリックすると、material.dartをインポートしてくれる。
widgetを作成する。
例えば、StatelessWidgetを作成する場合、statelessWと入力して、エンターをクリックすると、sample codeのようなコードが生成される。

class name extends StatelessWidget {
  const name({Key? key}) : super(key: key);

  @override
  Widget build(BuildContext context) {
    return Container();
  }
}
デバッグモードの時だけ、ログを出力する。
foundation.dartをインポートして、kDebugModeを使用できるようにする。
import 'package:flutter/foundation.dart';  // <- 追加
import 'package:flutter/material.dart';

class Sample extends StatefulWidget {
  const Sample({Key? key}) : super(key: key);

  @override
  State<Sample> createState() => _SampleState();
}

class _SampleState extends State<Sample> {
  int _counter = 0;

  void _incrementCounter() {
    setState(() {
      _counter++;
    });
  }

  @override
  Widget build(BuildContext context) {
    //デバッグモードの時のみprintする。
    if (kDebugMode) {
      print('build app');
    }

    return Scaffold(
      appBar: AppBar(
        title: const Text('Count Up App'),
      ),
      body: Center(
        child: Column(
          mainAxisAlignment: MainAxisAlignment.center,
          children: <Widget>[
            const Text(
              'You have pushed the button this many times:',
            ),
            Text(
              '$_counter',
              style: Theme.of(context).textTheme.headline4,
            ),
          ],
        ),
      ),
      floatingActionButton: FloatingActionButton(
        onPressed: _incrementCounter,
        tooltip: 'Increment',
        child: const Icon(Icons.add),
      ),
    );
  }
}