1. はじめに
- 前回の記事「【初心者】Amazon OpenSearch Service を使ってみる (基本的なデータ操作)」で、OpenSearch Serviceの作成、データの入力方法の確認を行った。今回はもう少し業務に即した形の動作確認を行う。
2. やったこと
- EC2インスタンスにnginxとfluentd(td-agent)をインストールする。
- nginxのアクセスログをfluentdで収集し、OpenSearch Service へ転送、保存する。
- OpenSearch Service のDashboardsでログの検索を行う。
3. 構成図
4. 手順
4.1 事前準備
- OpenSearch Service は、前回の記事で作成したものをそのまま使用する。
- EC2インスタンスにnginxをインストールして起動する。(手順:【AWS EC2】Amazon Linux2にnginxをインストールする方法)
4.2 fluentd のインストール
-
公式手順「Install by RPM Package (Red Hat Linux)」 に従い、td-agent(the stable distribution of Fluentd) をインストールする。
-
スクリプトを用いてインストールし、サービスを開始する。
[ec2-user@ip-10-0-0-204 ~]$ curl -L https://toolbelt.treasuredata.com/sh/install-amazon2-td-agent4.sh | sh
[ec2-user@ip-10-0-0-204 ~]$ td-agent --version
td-agent 4.5.0 fluentd 1.16.1 (0a6d706a9cee5882d751b2cc6169696709df0134)
[ec2-user@ip-10-0-0-204 ~]$ sudo systemctl start td-agent
- テスト用の入力を処理できることを確認する。
[ec2-user@ip-10-0-0-204 ~]$ curl -X POST -d 'json={"json":"message"}' http://localhost:8888/debug.test
[ec2-user@ip-10-0-0-204 ~]$ tail -n 1 /var/log/td-agent/td-agent.log
2023-08-06 06:30:33.611429148 +0000 debug.test: {"json":"message"}
4.3 ログ転送の設定と確認
- /etc/td-agent/td-agent.conf に、nginxのログを収集する設定、およびOpenSearch Serviceへログを転送する設定を追加する。
-
<source>でどこのログを取ってくるのか指定する。 -
<match "タグ名">で、<source>のタグ名(今回はnginx.access)のところの設定で取得しているログをどこへ転送するのか指定する。
-
td-agent.conf
<source>
  @type tail
  path /var/log/nginx/access.log
  pos_file /var/log/td-agent/nginx.access.log.pos
  tag nginx.access
  format nginx
</source>

<match nginx.access>
@type opensearch
host [OpenSearch Serviceのエンドポイント]
port 443
scheme https
user [OpenSearch Serviceのuser]
password [OpenSearch Serviceのpassword]
logstash_format true
</match>
- td-agentサービスをリスタートする。
[root@ip-10-0-0-204 ~]# systemctl restart td-agent
- curlやブラウザでnginxにhttpアクセスを行い、ログを出力させる。
[root@ip-10-0-0-204 ~]# curl localhost/abcde
4.4 ログ転送の確認
- OpenSearch DashboardsのDev Toolsの画面で、ログが来ていることを確認する。
- fluentdから送信されるログを保存するためのindexが出来ていることを確認する。(logstash-YYYY.MM.DD)
GET _aliases
※一部略
{
  ".opendistro_security": {
    "aliases": {}
  },
  "strawberry": {
    "aliases": {}
  },
  ".opensearch-observability": {
    "aliases": {}
  },
  "logstash-2023.08.06": {
    "aliases": {}
  },
  ".kibana_1": {
    "aliases": {
      ".kibana": {}
    }
  }
}
- mappingが行われていることを確認する。
GET /logstash-2023.08.06/_mapping
※一部略
{
  "logstash-2023.08.06": {
    "mappings": {
      "properties": {
        "@timestamp": {
          "type": "date"
        },
        "agent": {
          "type": "text",
          "fields": {
            "keyword": {
              "type": "keyword",
              "ignore_above": 256
            }
          }
        },
        "code": {
          "type": "text",
          "fields": {
            "keyword": {
              "type": "keyword",
              "ignore_above": 256
            }
          }
        },
        "user": {
          "type": "text",
          "fields": {
            "keyword": {
              "type": "keyword",
              "ignore_above": 256
            }
          }
        }
      }
    }
  }
}
- curlやブラウザからのアクセスログが保存されていることを確認する。
GET /logstash-2023.08.06/_search
※一部略
{
  "took": 259,
  "timed_out": false,
  "_shards": {
    "total": 5,
    "successful": 5,
    "skipped": 0,
    "failed": 0
  },
  "hits": {
    "total": {
      "value": 5,
      "relation": "eq"
    },
    "max_score": 1,
    "hits": [
      {
        "_index": "logstash-2023.08.06",
        "_id": "Cz97yokBxCZs59lU6Ior",
        "_score": 1,
        "_source": {
          "remote": "127.0.0.1",
          "host": "-",
          "user": "-",
          "method": "GET",
          "path": "/abcde",
          "code": "404",
          "size": "3665",
          "referer": "-",
          "agent": "curl/8.0.1",
          "http_x_forwarded_for": "-",
          "@timestamp": "2023-08-06T10:53:20.000000000+00:00"
        }
      },
      {
        "_index": "logstash-2023.08.06",
        "_id": "ED8Hy4kBxCZs59lUPIrg",
        "_score": 1,
        "_source": {
          "remote": "127.0.0.1",
          "host": "-",
          "user": "-",
          "method": "GET",
          "path": "/",
          "code": "200",
          "size": "615",
          "referer": "-",
          "agent": "curl/8.0.1",
          "http_x_forwarded_for": "-",
          "@timestamp": "2023-08-06T13:25:36.000000000+00:00"
        }
      },
    ]
  }
}
4.5 ログの検索
- OpenSearch Service のDashboards でログの表示、検索を行う。
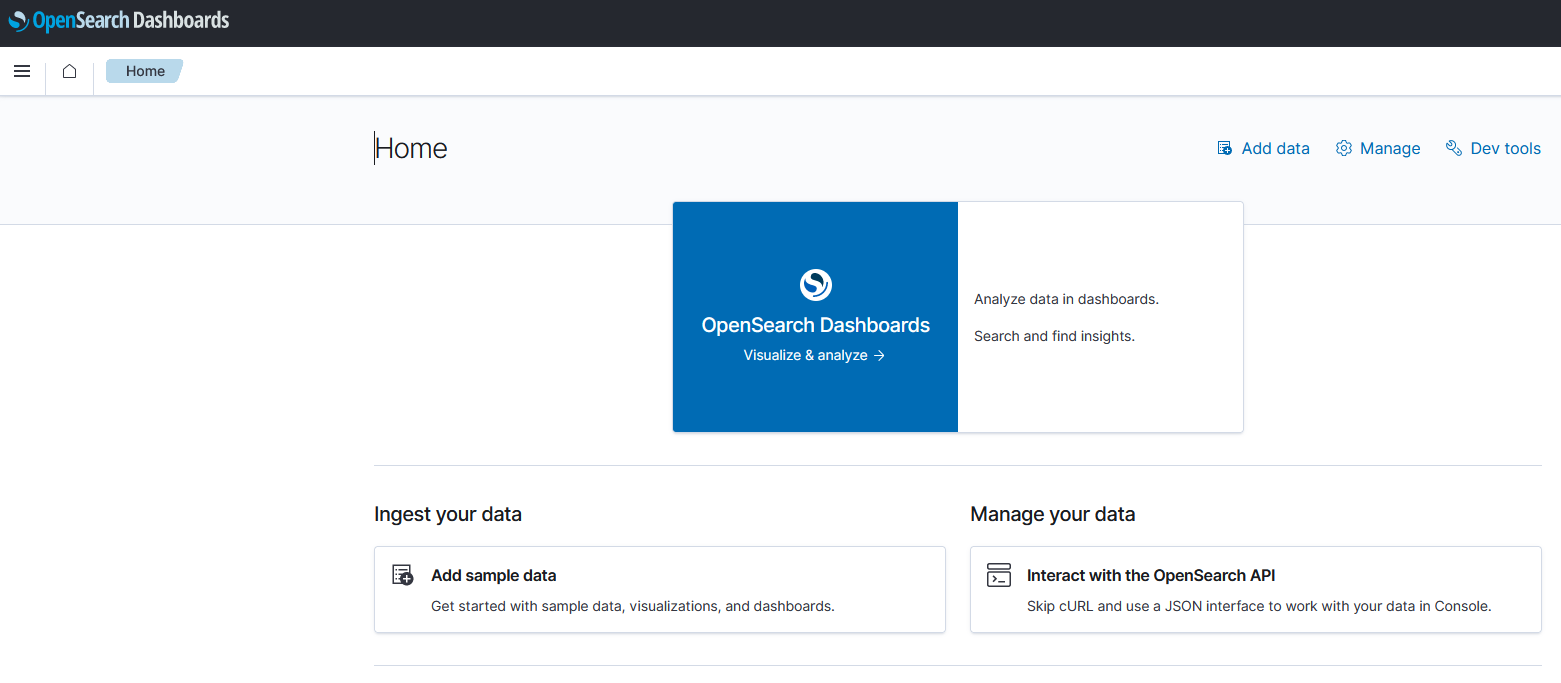
- 管理画面にログイン後、右上の「Manage」を選択する。
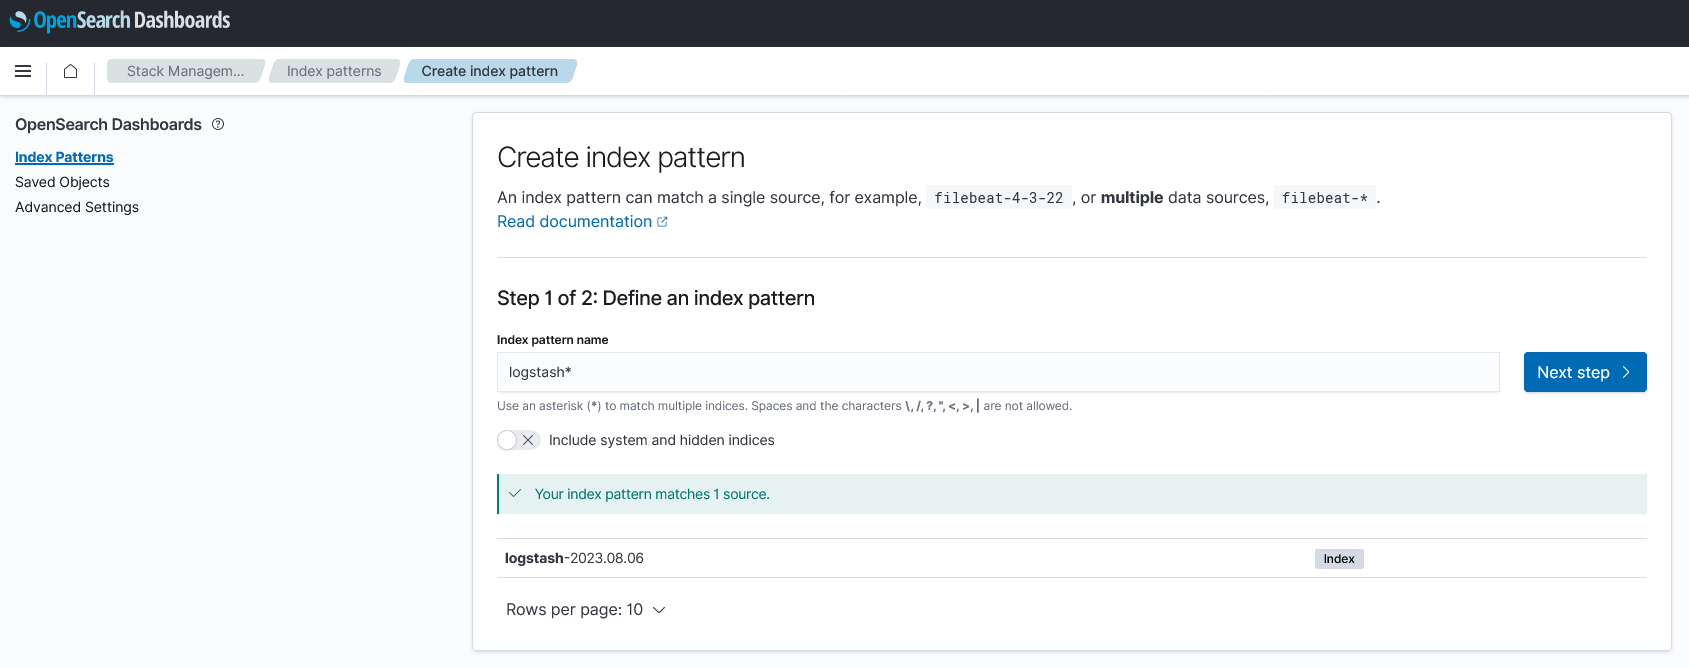
- 「Index Patterns」 -> 「Create index pattern」で、検索対象とするIndex名のパターンを指定する。今回は「logstash*」とする。
- Time field として「
@timestamp」を選択し、Index patternを作成する。
- メニューの「Discover」にて、作成したIndex patternを使用したログの表示、検索が可能。
5. 参考サイト
-
fluentdでElasticsearchにnginxアクセスログを流してみる
- 2018年の記事で今とは違う点もだいぶあるが、今回やりたいことの流れが分かった。
6. 所感
- だいぶ仕事で使っている内容に近づいてきた。
- OpenSearchの設定例があまりネット上になく、chatgptに「td-agentで、OpenSearchに接続する時の設定を教えてください。」のような感じで聞いて教えてもらったら、接続させることができた。今後も活用していきたい。


