ArrayListを使う
まずは基本になるコードです。ソートの例としては人事データや在庫とかが多いですが、もうちょっと楽しそうなグラフィカルな例にしたいと思います。画面に多数の円を表示するサンプルにします。このような例では配列を使うことが多いですが、配列は事前に使う個数を指定して宣言する必要があります。実現したい内容によっては不便です。ArrayListを使うと可変長にできるので、ArrayListを使います。
次のサンプルではBallというクラスを作成し、クラスの中で位置、ballのサイズを持っています。
setupの中でランダムで座標と円のサイズを決めballList.add()でArrayListに追加していきます。追加した後はballList.size()で個数が確認できるのでforループで簡単に処理することができます。
import java.util.Arrays;

public class Ball {
  float x;
  float y;
  float r;

  public Ball(float xPos, float yPos, float radius) {
    this.x = xPos;
    this.y = yPos;
    this.r = radius;
  }

  public float getX() {
    return this.x;
  }

  public float getY() {
    return this.y;
  }

  public float getR() {
    return this.r;
  }
}

ArrayList<Ball> ballList = new ArrayList<Ball>();

void setup() {
  size(600, 600);

//100個の円を生成
  for (int i = 0; i<100; i++) {
    float x = random(0, width);
    float y = random(0, height);
    float r = random(5, 20);
    ballList.add(new Ball(x, y, r));
  }
}

void draw() {
  background(255);

  noStroke();
  fill(0,0,0,100);
  for (int i = 0 ; i<ballList.size(); i++){
    Ball b = ballList.get(i);
    float x = b.getX();
    float y = b.getY();
    float r = b.getR();

    circle(x,y,2*r);//画面への描画
  }
}
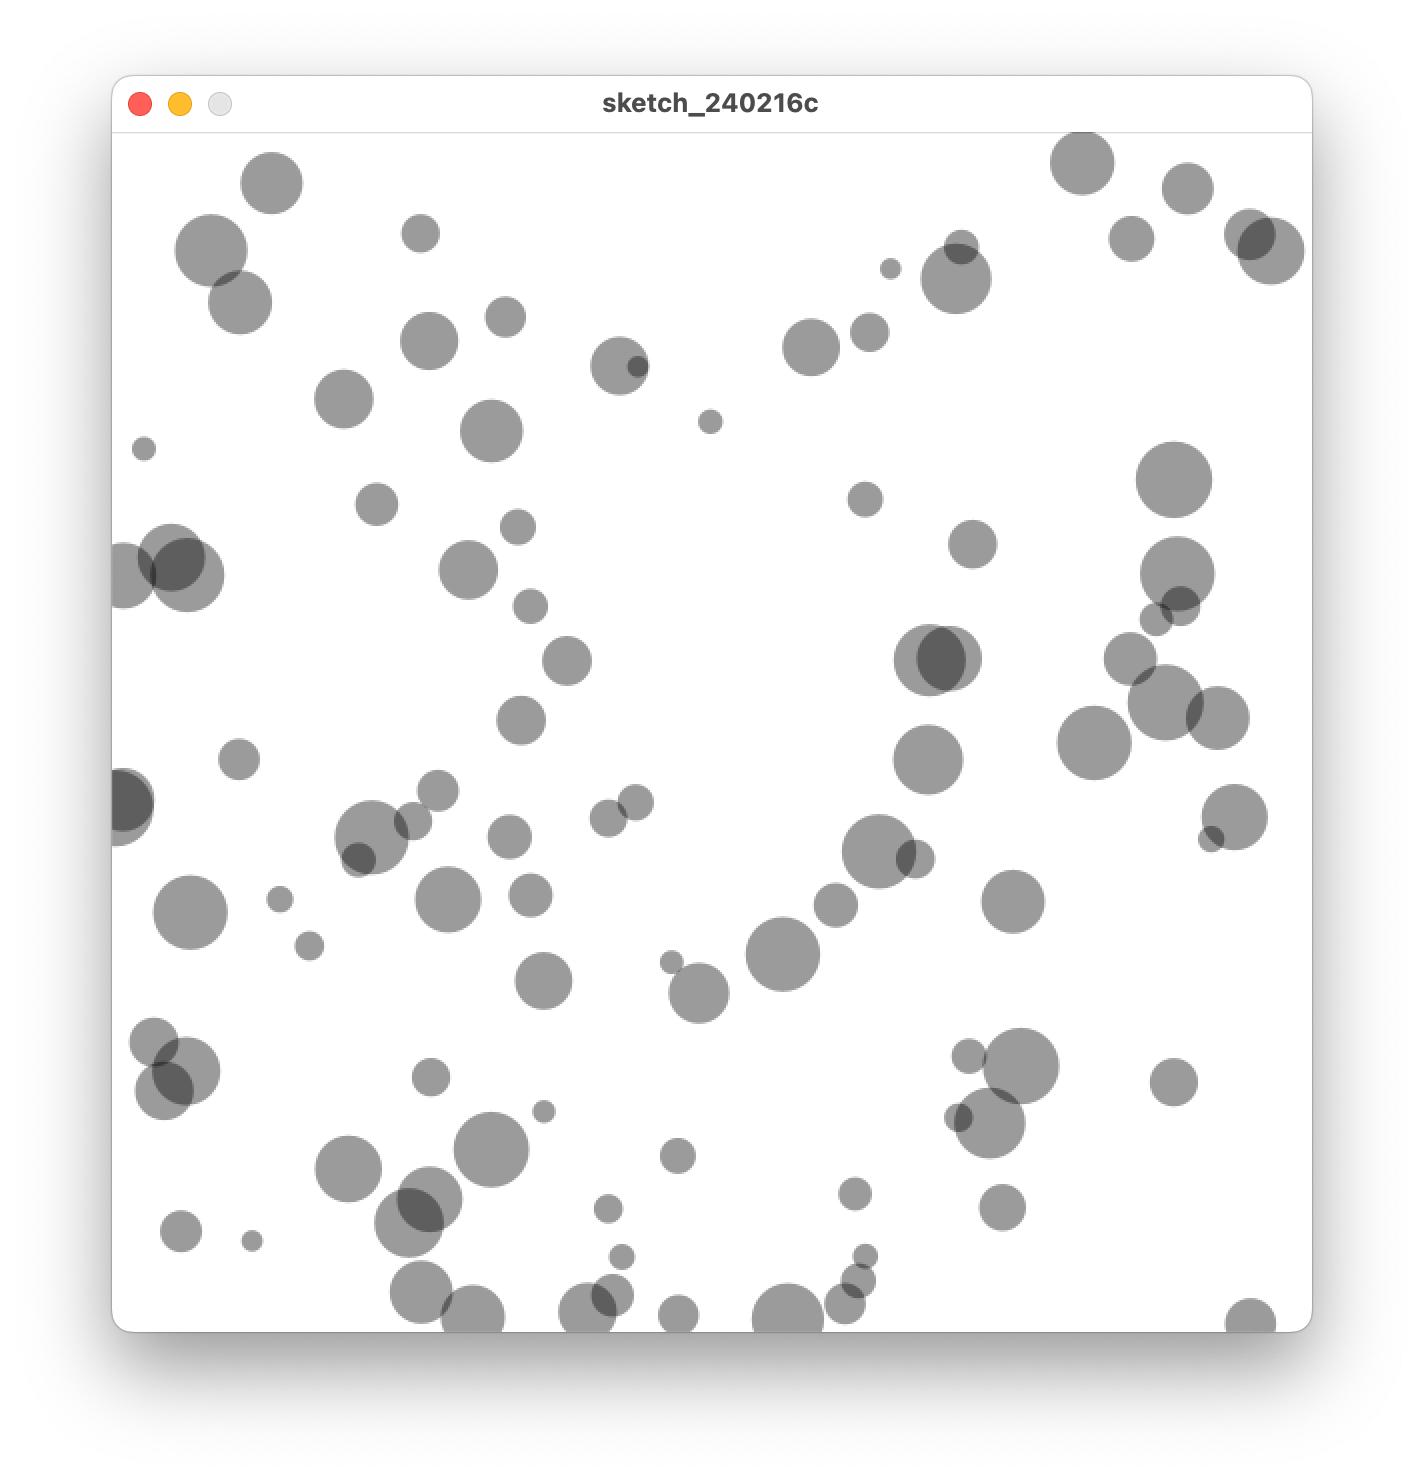
上記のサンプルは100個の円をsetupの中で作成してdrawでそれを描画しているだけです。
実行結果は以下のようになります。
アニメーションで作成順に表示する
上記のサンプルでは円を一度に表示していましたが、順番に表示するようにしてみます。
import java.util.Arrays;

public class Ball {
  float x;
  float y;
  float r;

  public Ball(float xPos, float yPos, float radius) {
    this.x = xPos;
    this.y = yPos;
    this.r = radius;
  }

  public float getX() {
    return this.x;
  }

  public float getY() {
    return this.y;
  }

  public float getR() {
    return this.r;
  }
}


ArrayList<Ball> ballList = new ArrayList<Ball>();
int maxBallN;
int displayN;

void setup() {
  size(600, 600);

  for (int i = 0; i<100; i++) {
    float x = random(0, width);
    float y = random(0, height);
    float r = random(5, 20);
    ballList.add(new Ball(x, y, r));
  }

  maxBallN = ballList.size();//ボールの数
  displayN = 0;//現在表示するボールの数 初期値は0
}


void draw() {
  background(255);

  noStroke();
  fill(0, 0, 0, 100);
  for (int i = 0; i<displayN; i++) {//0からdisplayNまでのボールを表示
    Ball b = ballList.get(i);
    float x = b.getX();
    float y = b.getY();
    float r = b.getR();

    circle(x, y, 2*r);
  }

  if (frameCount % 3 == 0) {//framecountが3で割り切れる時(3フレームおきに)displayNを+1する。
    displayN++;
    if (displayN > ballList.size()) displayN = 0;//全部表示したら0に戻す
  }
}
draw の中で displayN という変数を使い何個の円を描画するかを決めています。
frameCount で現在の再生フレーム数を取得してそれによって displayN の値を増やしています。
if (frameCount % 3 == 0) {
 ...
 }
上記の例では3になってるので3フレームごとに表示する円が1つ増えます。Processingはデフォルトで60fpsですので 1sec/60 × 3 = 0.05秒で表示する円が1つ増えることになります。。100個の円を表示するまでに5秒かかります。
実行結果は次のようになります。

作成した円を表示した後はまた最初に戻り、表示を繰り返します。
ArrayListをソートして表示する順番を変える
ここからが本題です。現在のコードでは円を表示する順番は作成順になります。ランダムで生成しているので画面のどこに出るかは分かりません。これを上から、右から、下から、左からと表示する順番を決めるようにしてみます。
ArrayListのソートはintやfloatであれば標準の方法でソートできますが、今回はオリジナルのClassを使っているので、そのClassをどうやってソートするのかを決めておく必要があります。
このために Compare を使います。最初にこのクラスをimportしておく必要があります。
左側から表示するということはx軸の値でソートして表示させれば良いということになります。コードは次の通りです。
import java.util.Arrays;
import java.util.Comparator;

public class Ball {
  float x;
  float y;
  float r;

  public Ball(float xPos, float yPos, float radius) {
    this.x = xPos;
    this.y = yPos;
    this.r = radius;
  }

  public float getX() {
    return this.x;
  }

  public float getY() {
    return this.y;
  }

  public float getR() {
    return this.r;
  }
}


ArrayList<Ball> ballList = new ArrayList<Ball>();
int maxBallN;
int displayN;

void setup() {
  size(600, 600);

  for (int i = 0; i<100; i++) {
    float x = random(0, width);
    float y = random(0, height);
    float r = random(5, 20);
    ballList.add(new Ball(x, y, r));
  }

  maxBallN = ballList.size();
  displayN = 0;

  Comparator<Ball> ballComparator = Comparator.comparing(Ball::getX);//ソート条件の設定
  ballList.sort(ballComparator);//ソートの実行
}


void draw() {
  background(255);

  noStroke();
  fill(0, 0, 0, 100);
  for (int i = 0; i<displayN; i++) {
    Ball b = ballList.get(i);
    float x = b.getX();
    float y = b.getY();
    float r = b.getR();

    circle(x, y, 2*r);
  }

  if (frameCount % 3 == 0) {
    displayN++;
    if (displayN > ballList.size()) displayN = 0;
  }
}
実行結果は次のとおりです。xの値が小さい順に表示されます。

setupの中でballListを作成した後にソートの処理を行っています。
解説
まずはコードの最初にComparatorをimportしておきます。
import java.util.Comparator;
ソートの条件はballComparatorに設定します。この変数はComparatorのBallクラスになり、Ballクラスで作成されたArrayListのソートに使えることになります。ソートの条件はBallクラスの中にあるgetXを使います。
  Comparator<Ball> ballComparator = Comparator.comparing(Ball::getX);
  ballList.sort(ballComparator);
条件を入れた変数 ballComparatorを使いソートを実行しています。
y軸でソートしたい場合にはgetYを使うだけです。
  Comparator<Ball> ballComparator = Comparator.comparing(Ball::getY);
  ballList.sort(ballComparator);
逆順にしたい場合は
  Comparator<Ball> ballComparator = Comparator.comparing(Ball::getY, Comparator.reverseOrder());
  ballList.sort(ballComparator);
と Comparator.reverseOrder() を追加します。
応用編
Classの中で値を返す部分を定義しておけば良いので画面中心から近い順に描画するといったことも可能です。
import java.util.Arrays;
import java.util.Comparator;


public class Ball {
  float x;
  float y;
  float r;

  public Ball(float xPos, float yPos, float radius) {
    this.x = xPos;
    this.y = yPos;
    this.r = radius;
  }

  public float getX() {
    return this.x;
  }

  public float getY() {
    return this.y;
  }

  public float getR() {
    return this.r;
  }

  //画面中心からの距離を求める
  public float getDistanceCenter(){
    float ox = width/2;//画面中心の座標
    float oy = height/2;

    float dx = this.x - ox;//画面中心からのx座標距離
    float dy = this.y - oy;//画面中心からのy座標距離

    float d = sqrt(dx*dx + dy*dy); //ピタゴラスの定理で距離を求める

    return d;//求めた距離を返す
  }
}


ArrayList<Ball> ballList = new ArrayList<Ball>();
int maxBallN;
int displayN;

void setup() {
  size(600, 600);

  for (int i = 0; i<1000; i++) {
    float x = random(0, width);
    float y = random(0, height);
    float r = random(5, 20);
    ballList.add(new Ball(x, y, r));

  }

  maxBallN = ballList.size();
  displayN = 0;

  Comparator<Ball> ballComparator = Comparator.comparing(Ball::getDistanceCenter);
  ballList.sort(ballComparator);

}


void draw() {
  background(255,255,255,0.5);

  noStroke();
  fill(0,0,0,100);
  for (int i = 0 ; i<displayN; i++){
    Ball b = ballList.get(i);
    float x = b.getX();
    float y = b.getY();
    float r = b.getR();

    circle(x,y,2*r);
  }

  if (frameCount % 2 == 0) {
    displayN++;
    if (displayN > ballList.size()) displayN = 0;
  }
}
実行結果は次のとおり。円の数を1000に増やしてます。
解説
Ball class中に以下を追加しています。
public float getDistanceCenter(){
    float ox = width/2;
    float oy = height/2;

    float dx = this.x - ox;
    float dy = this.y - oy;

    float d = sqrt(dx*dx + dy*dy);

    return d;
  }
ここで中心からの距離を計算して返すようになっています。compareで指定することで、この計算結果によってソートが実行されるということになります。