※(1)とついてますが続くかは不明
Develop in Swift Data Collectionsとは
Appleが高校生や大学生向けに出している学習用教材に含まれる、勉強用のドキュメントです。
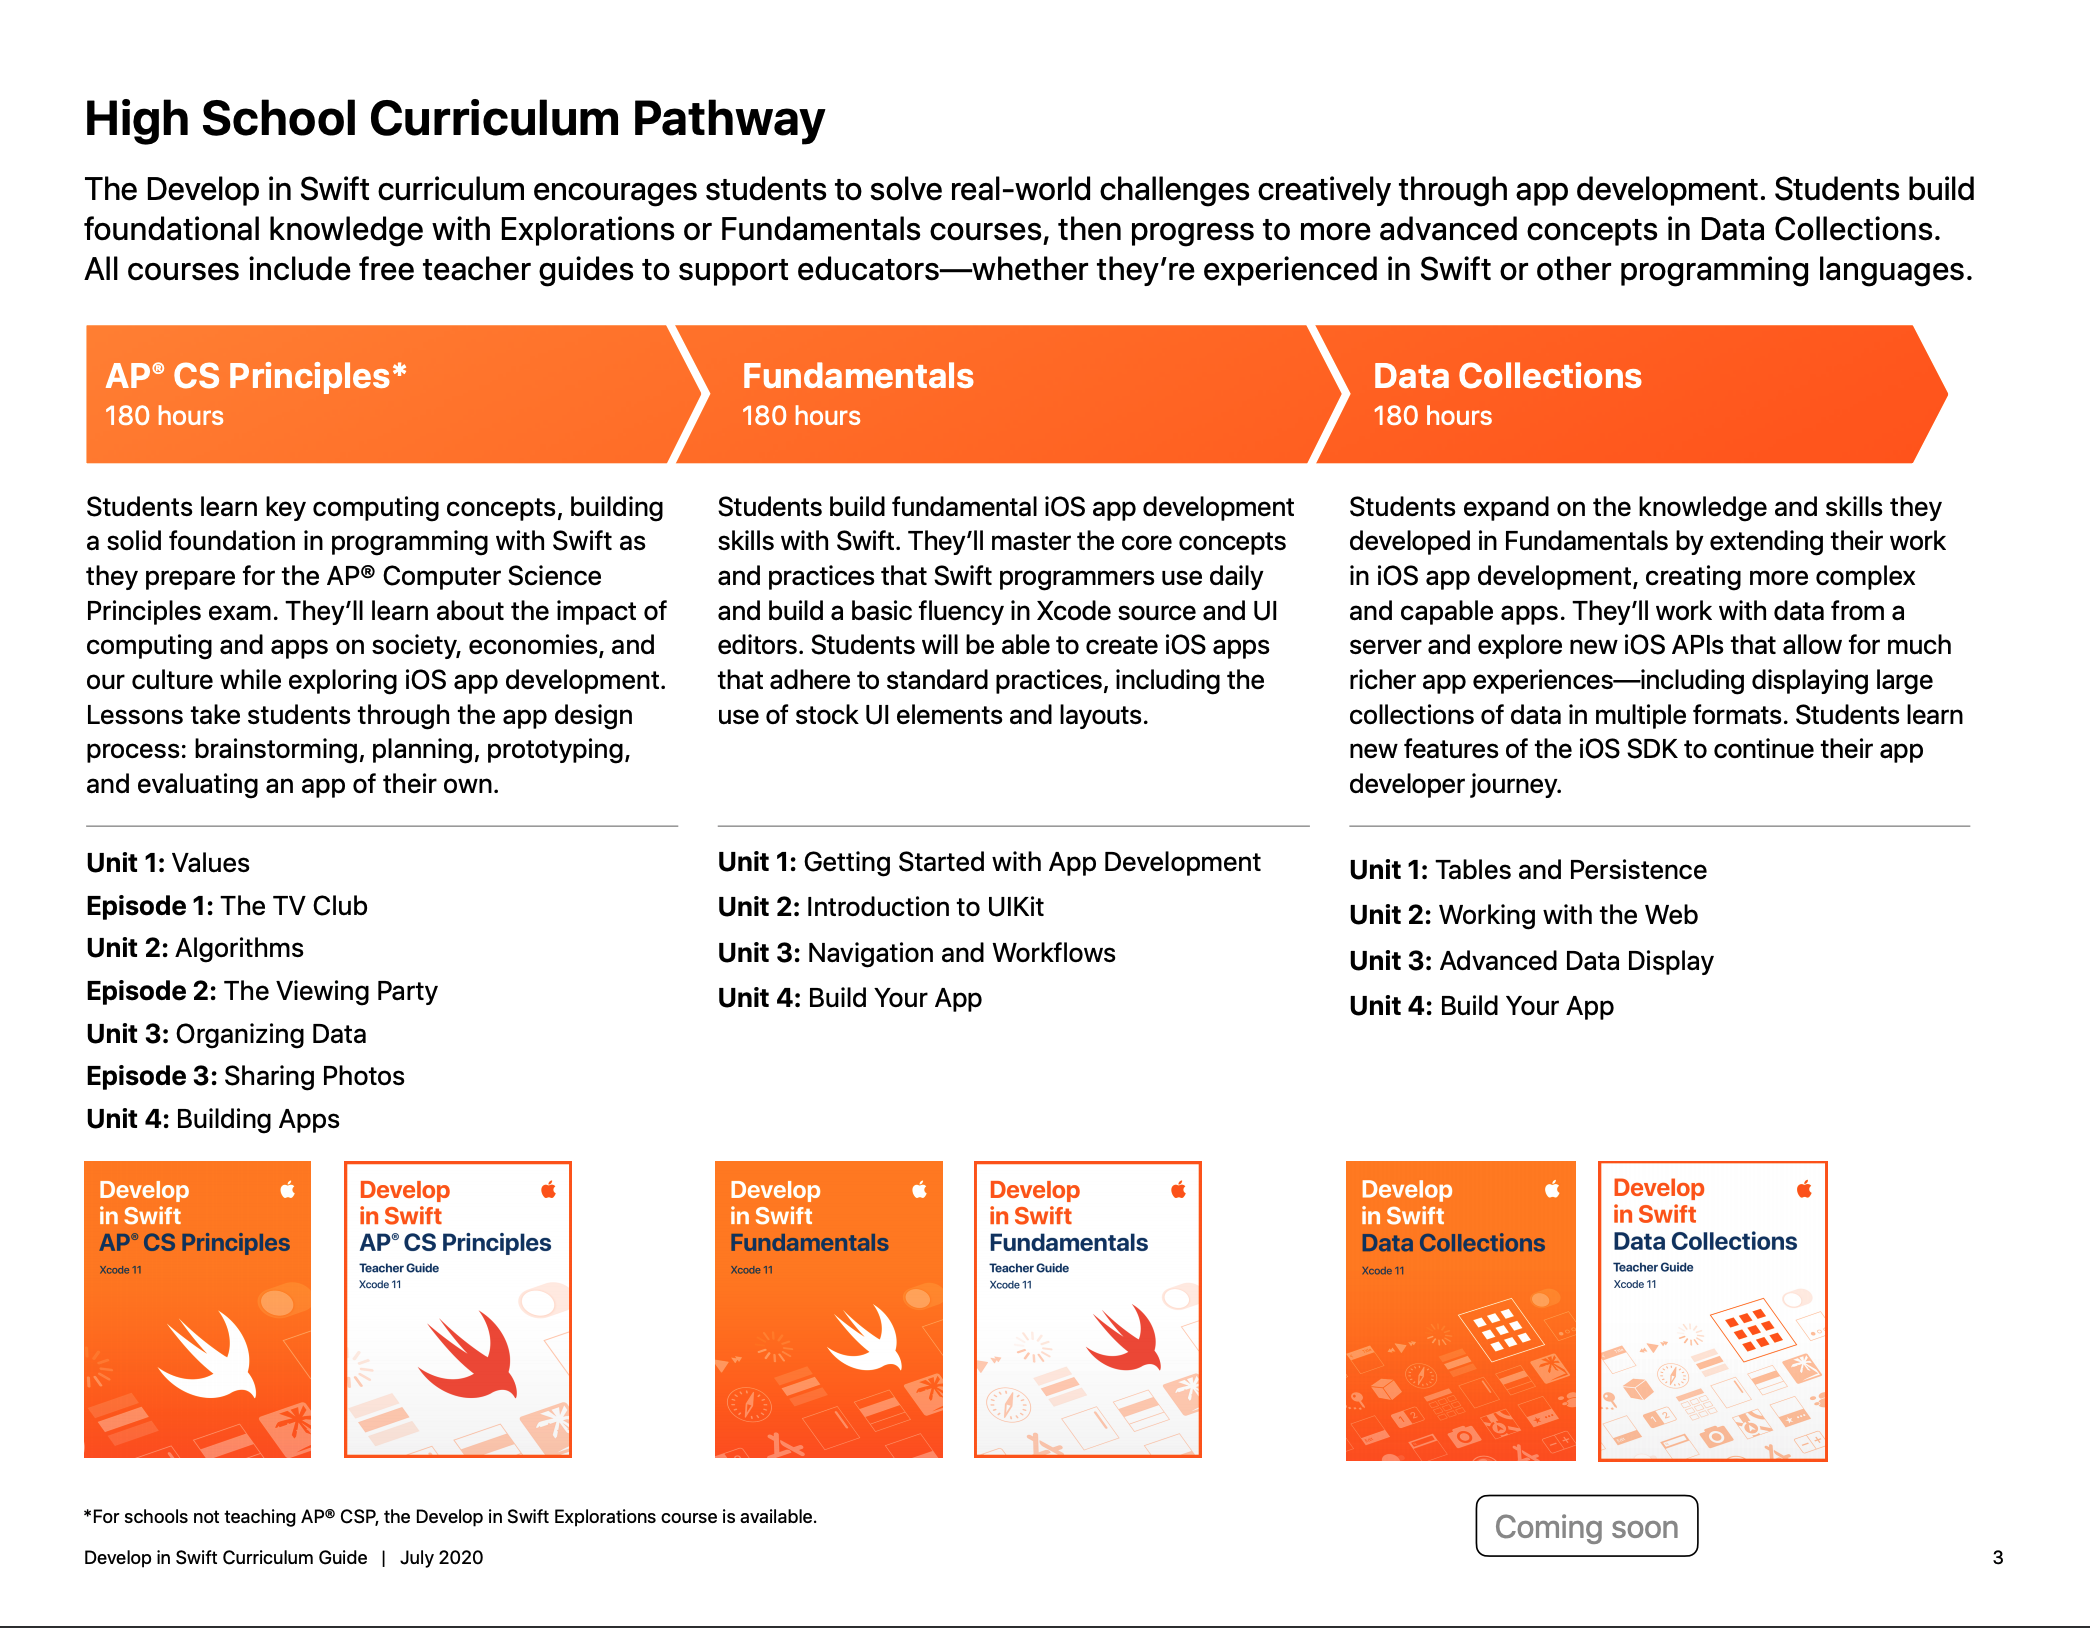
学生向け学習用カリキュラムがあり、そのカリキュラムの最終段階で学ぶ内容のようです。難しそうですが、まぁ現役のプログラマーならいけるでしょう(多分)。
この本を見つつ、iOS開発について学んでいく、という記事になります。基本は本を読んで、僕の記事はあくまで参考程度に見てもらえると良いと思います。
本自体はApple Booksから無料でダウンロードできます。
前提知識・環境
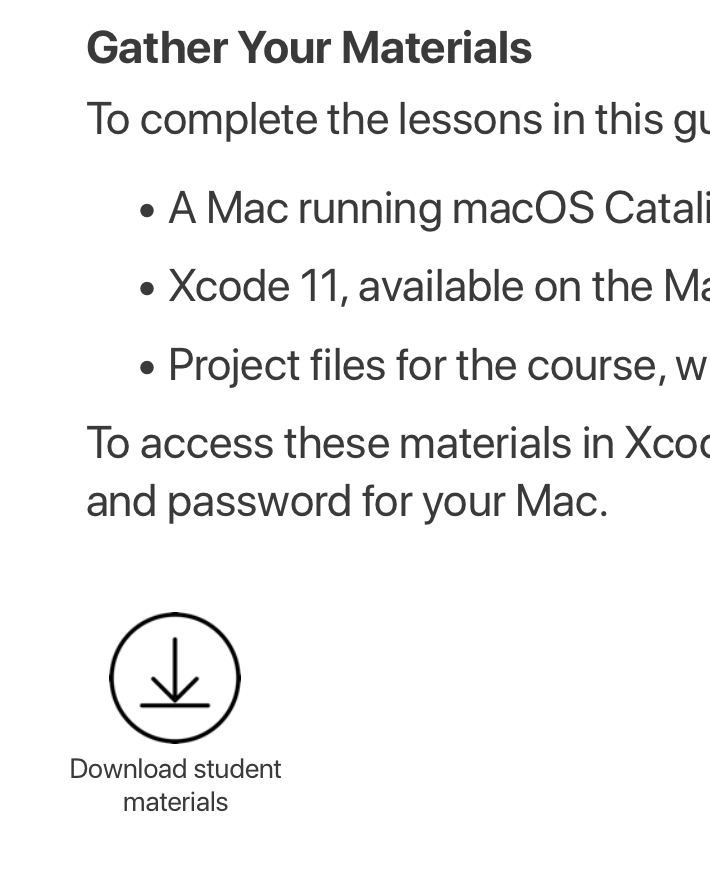
もちろんMacが必要です。サンプルコードはXcode11のようですが、最新のM1搭載Mac上のXcode12でもサンプルコードは動きそうな気配がしてます(まだ全部のソースコードを動かしたわけではないですが)。
あた先ほど貼ったカリキュラム通り、Swfitの基本的な書き方とかは知っている前提の本になっていると思われます。
サンプルコードのダウンロード
8ページ目にサンプルコードをまとめたzipファイルへのリンクが貼ってあり、ここからダウンロードすることができます。
すべてのレッスンのサンプルコードが含まれている、というわけではなさそうです。
やってみる
Unit 1: Tables And Persistence
章のタイトルが?って感じなのですが、この章を終えると情報の表示と変数、保存のUIを構築できるようになるようです。
“By the end of this unit, you'll be comfortable building many useful apps that display all kinds of information and that allow users to enter, edit, and save in-app information.”
抜粋:: Apple Education “Develop in Swift Data Collections”。 Apple Inc. - Education、2020年 Apple Books https://books.apple.com/jp/book/develop-in-swift-data-collections/id1511183970
Lesson 1.1: Protocols
プロトコル(他の言語で言うとinterface)の話がずっと続きます。いきなりプロトコルの話からはじまるのが結構ガチだなという気がしますが、iOSアプリ開発においてはすごい基礎的で重要なことなんでしょうね。
この本は、一通り読み終わった後、章末問題的なものが用意されています。
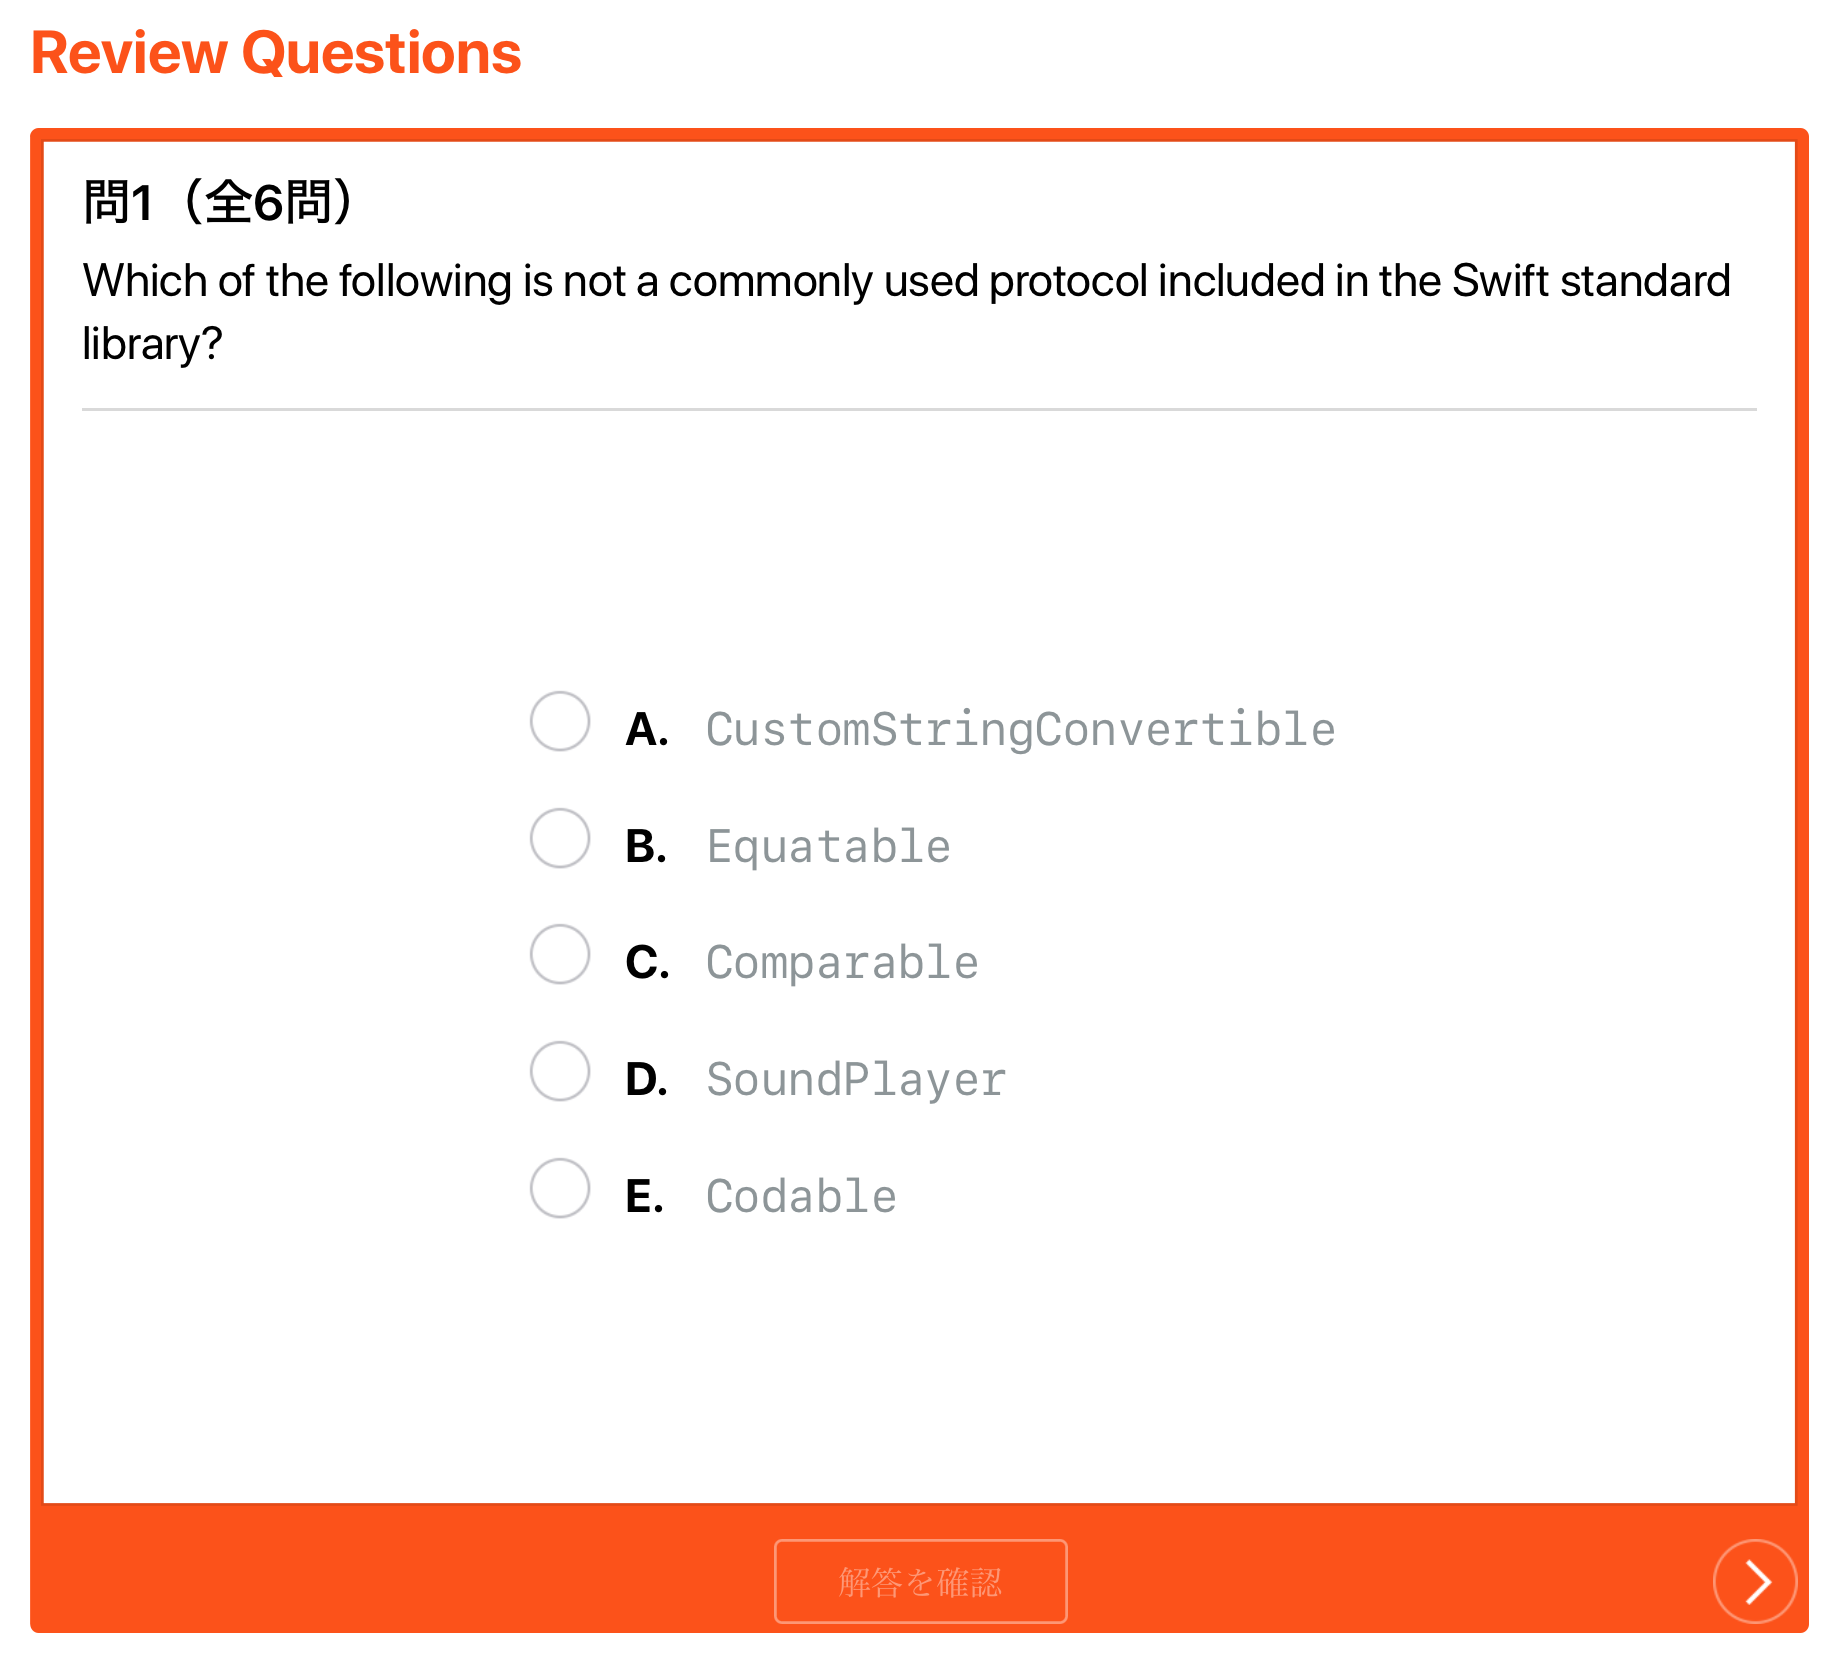
いやーすごいですね。Apple Booksこんなこともできるんだ。
Lesson 1.2: App Anatomy and Life Cycle
アプリケーションのライフサイクルとAppDelegate/SceneDelegateの話が出てきます。
この節は実際にコードを組んでみるという実験(本ではLabと読んでいるようなので)があるのでやってみます。
実験はアプリケーションのライフサイクルの動きを観察するものです。雛形は本のサンプルコード集に含まれていないようなので、Xcodeで新しく作成します。
で、コードを記述していきます。
1. AppDlegateにカウンタ変数を追加
下記の2つのメソッドの呼び出し回数をカウントできるようにコードを追加します。最終的に下記のようになると思います。
- application(_:didFinishLaunchingWithOptions:)
- application(_:configurationForConnecting:options:)
@main
class AppDelegate: UIResponder, UIApplicationDelegate {

    var launchCount = 0
    var configurationForConnectingCount = 0

    func application(_ application: UIApplication, didFinishLaunchingWithOptions launchOptions: [UIApplication.LaunchOptionsKey: Any]?) -> Bool {
        launchCount += 1
        return true
    }

    // MARK: UISceneSession Lifecycle

    func application(_ application: UIApplication, configurationForConnecting connectingSceneSession: UISceneSession, options: UIScene.ConnectionOptions) -> UISceneConfiguration {
        configurationForConnectingCount += 1
        return UISceneConfiguration(name: "Default Configuration", sessionRole: connectingSceneSession.role)
    }

    func application(_ application: UIApplication, didDiscardSceneSessions sceneSessions: Set<UISceneSession>) {
    }


}
2. ViewControllerに表示用のラベルを追加
Main.storyboardを開き、下記のようにラベルを追加していきます。
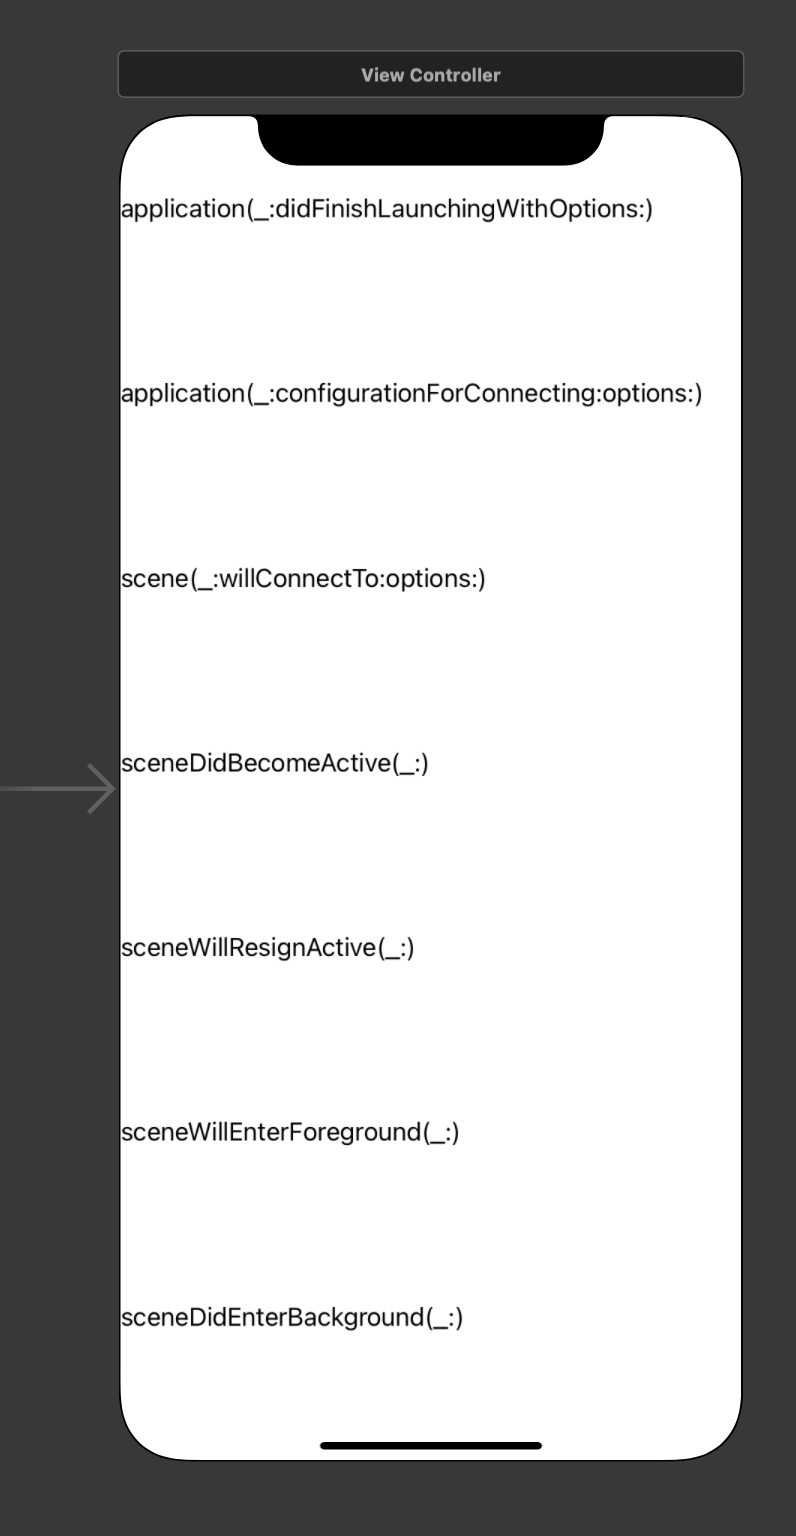
普通にlabelを置いていっても良いと思いますし、StackView内に積んで行っても良いと思います。
僕はこのQiitaの記事を参考にVertical StackViewを配置して、その中にラベルを置いていきました。そしてAutoLayoutで上下左右を端っこにピン留め。
Main.storyboardを作った後は、ViewController.swiftにそれぞれのラベルをアウトレットとして繋いで行きます。アウトレットというのは、要するにStoryboard上のUIパーツへの参照です。
    @IBOutlet weak var didFinishLaunchingWithOptionsLabel: UILabel!
    @IBOutlet weak var configurationForConnectingLabel: UILabel!
    @IBOutlet weak var willConnectToLabel: UILabel!
    @IBOutlet weak var didBecomeActiveLabel: UILabel!
    @IBOutlet weak var willResignActiveLabel: UILabel!
    @IBOutlet weak var willEnterForegroundLabel: UILabel!
    @IBOutlet weak var didEnterBackgroundLabel: UILabel!
そして、それぞれのラベルに表示させるカウンタ変数を作成します。
    var willConnectToCount = 0
    var didBecomeActiveCount = 0
    var willResignActiveCount = 0
    var willEnterForegroundCount = 0
    var didEnterBackgroundCount = 0
3. AppDelegateの変数にViewControllerからアクセスする
SceneDelegateのカウンタ変数はViewController内にあるのですが、AppDelegateのカウンタ変数はAppDelegate内にあります(多分AppDelegateの方が生存期間が長いから?)
なので、それにアクセスできるようにする必要があります。
ViewControllerに下のように書けばアクセスできるようです。
var appDelegate = (UIApplication.shared.delegate as! AppDelegate)
そして、それぞれのラベルを更新するupdateViewメソッドをViewControllerに作成します。
    func updateView() {
        didFinishLaunchingWithOptionsLabel.text = "didFinishLaunchingWithOptions called  \(appDelegate.launchCount) time(s)"
        configurationForConnectingLabel.text = "configurationForConnection called \(appDelegate.configurationForConnectingCount) time(s)"
        willConnectToLabel.text = "willConnectTo called \(willConnectToCount) time(s)"
        didBecomeActiveLabel.text = "didBecomeActive called \(didBecomeActiveCount) time(s)"
        willResignActiveLabel.text = "willResiginActive called \(willResignActiveCount) time(s)"
        willEnterForegroundLabel.text = "willEnterForeground called \(willEnterForegroundCount) time(s)"
        didEnterBackgroundLabel.text = "didEnterBackground called \(didEnterBackgroundCount) time(s)"
    }
4. SceneDelegateからViewControllerにアクセスする
SceneDelegateのカウンタ変数はViewControllerにあるので、SceneDelegateからViewControllerのカウンタ変数を操作する必要があります。
メンバ変数としてviewControllerを宣言し、
var viewController: ViewController?
willConnectToでwindowから取れば良いようです。
    func scene(_ scene: UIScene, willConnectTo session: UISceneSession, options connectionOptions: UIScene.ConnectionOptions) {
...
        viewController = window?.rootViewController as? ViewController
...
    }
5. SceneDelegateでカウンタ変数を更新する
viewControllerにSceneDelegateからアクセスできるようになったので、カウンタ変数を更新します。最終的にSceneDelegateは下記のようになると思います。
class SceneDelegate: UIResponder, UIWindowSceneDelegate {

    var window: UIWindow?
    var viewController: ViewController?

    func scene(_ scene: UIScene, willConnectTo session: UISceneSession, options connectionOptions: UIScene.ConnectionOptions) {
        guard let _ = (scene as? UIWindowScene) else { return }

        viewController = window?.rootViewController as? ViewController
        viewController?.willConnectToCount += 1
    }

    func sceneDidDisconnect(_ scene: UIScene) {
    }

    func sceneDidBecomeActive(_ scene: UIScene) {
        viewController?.didBecomeActiveCount += 1
        viewController?.updateView()
    }

    func sceneWillResignActive(_ scene: UIScene) {
        viewController?.willResignActiveCount += 1
    }

    func sceneWillEnterForeground(_ scene: UIScene) {
        viewController?.willEnterForegroundCount += 1
    }

    func sceneDidEnterBackground(_ scene: UIScene) {
        viewController?.didEnterBackgroundCount += 1
    }
}
6. updateViewを適切なタイミングで呼ぶ
カウンタ変数を更新しても、それをviewに反映させないと見ることはできません。
ViewControllerのupdateViewを適切なタイミングで呼ぶ必要があります。
SceneDelegateでは、先ほど貼ったコードで必要なタイミングで呼び出せています。あとはViewControllerのviewDidLoadで呼べばオッケーです。
最終的にViewControllerは下記のようになると思います。
class ViewController: UIViewController {

    @IBOutlet weak var didFinishLaunchingWithOptionsLabel: UILabel!
    @IBOutlet weak var configurationForConnectingLabel: UILabel!
    @IBOutlet weak var willConnectToLabel: UILabel!
    @IBOutlet weak var didBecomeActiveLabel: UILabel!
    @IBOutlet weak var willResignActiveLabel: UILabel!
    @IBOutlet weak var willEnterForegroundLabel: UILabel!
    @IBOutlet weak var didEnterBackgroundLabel: UILabel!

    var willConnectToCount = 0
    var didBecomeActiveCount = 0
    var willResignActiveCount = 0
    var willEnterForegroundCount = 0
    var didEnterBackgroundCount = 0

    var appDelegate = (UIApplication.shared.delegate as! AppDelegate)

    override func viewDidLoad() {
        super.viewDidLoad()
         updateView()
    }

    func updateView() {
        didFinishLaunchingWithOptionsLabel.text = "didFinishLaunchingWithOptions called  \(appDelegate.launchCount) time(s)"
        configurationForConnectingLabel.text = "configurationForConnection called \(appDelegate.configurationForConnectingCount) time(s)"
        willConnectToLabel.text = "willConnectTo called \(willConnectToCount) time(s)"
        didBecomeActiveLabel.text = "didBecomeActive called \(didBecomeActiveCount) time(s)"
        willResignActiveLabel.text = "willResiginActive called \(willResignActiveCount) time(s)"
        willEnterForegroundLabel.text = "willEnterForeground called \(willEnterForegroundCount) time(s)"
        didEnterBackgroundLabel.text = "didEnterBackground called \(didEnterBackgroundCount) time(s)"
    }
}
7. 動作確認
ここまでやったら動くようになっているので、実際にシミュレーターで動かします。動かした時の様子をgifで貼っておきます。