前提バージョン
IBM API Connect 5.0.6.3
※当記事ではVMware Workstation PlayerでAPI ConnectがPC上に導入済みとします。
1 API Connectのユーザー定義ポリシーについて
API Connectでは、APIに対して、APIが呼ばれた際にどのような処理を行うか記述することができます。
(ログ出力、エラーハンドリング、分析ログ出力有無の設定など)
この処理は「ポリシーアセンブリー」と呼ばれます。
ポリシーアセンブリーはAPI DesignerまたはAPI Manager画面で作成します。
ポリシーアセンブリーの編集画面
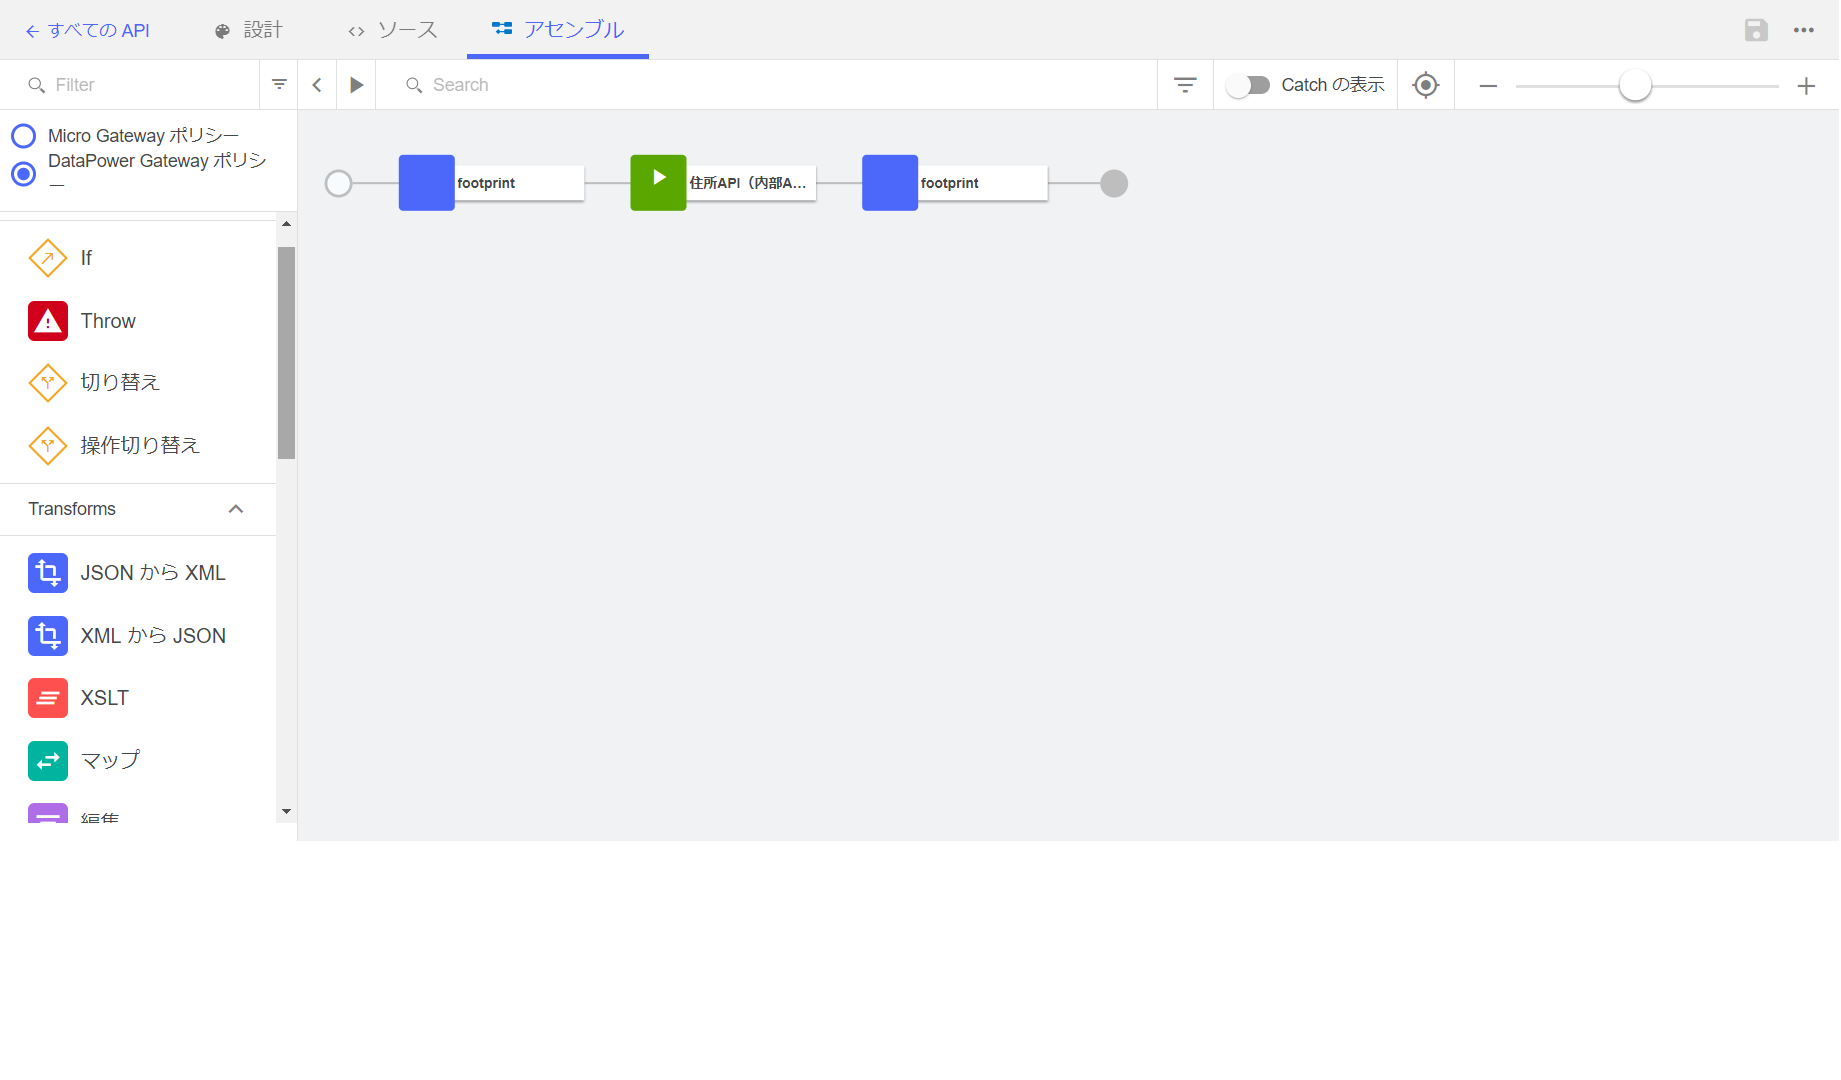
画面の左側に表示されるIf、Throw、GatewayScript、XSLT、マップ、編集 などの部品をドラッグ&ドロップして処理内容を書いていきます。これらの部品はAPI Connectがデフォルトで提供するため、組み込みポリシーと呼ばれます。
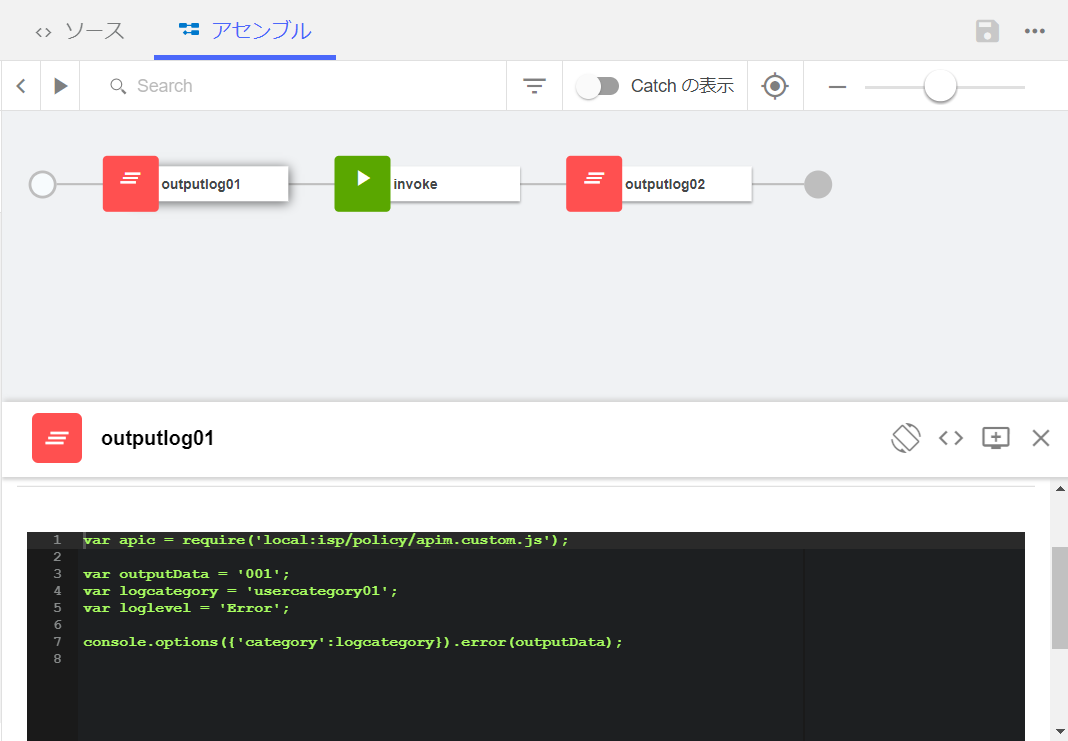
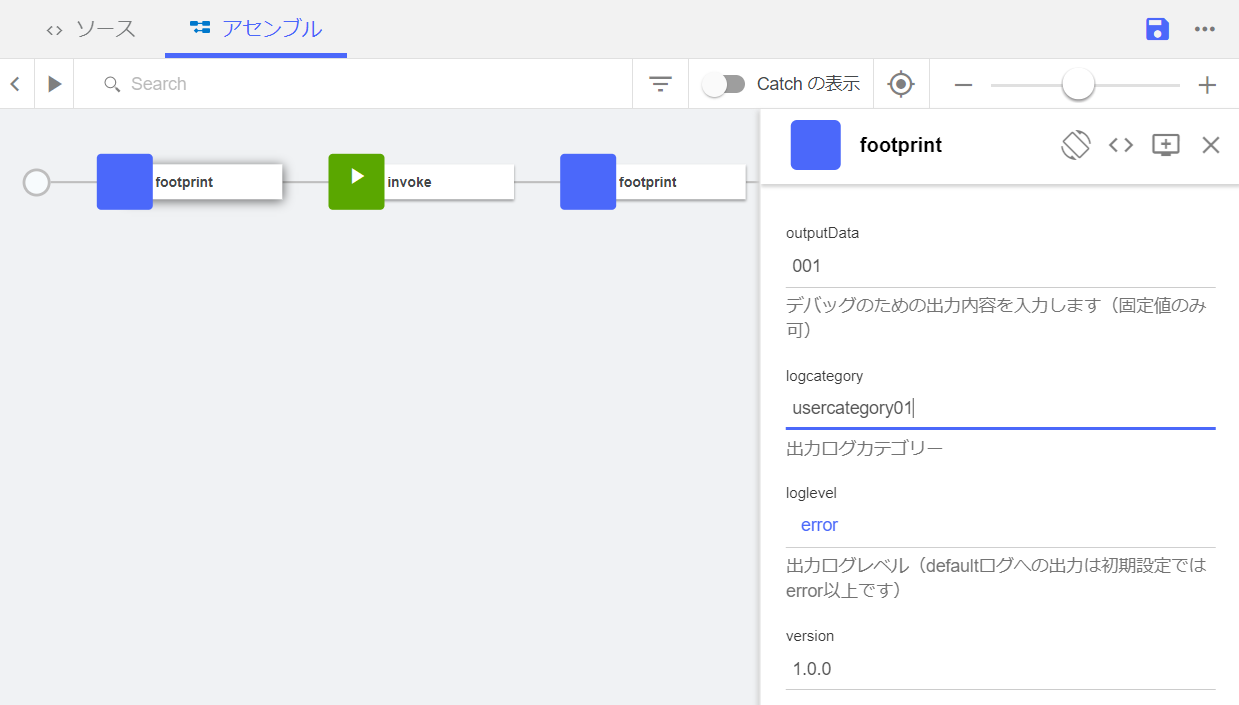
このうち、GatewayScriptやXSLTはプラグラムの記述になり、ログ出力やエラーハンドリングなど共通的な処理において多く使用されます。このプログラムの記述を部品化し、必要なパラメータだけ見せたい場合があります。そのための機能がAPI Connectの「ユーザー定義ポリシー」です。
[Before] ログ出力ポイントごとにGatewayScript処理を記述しなければならなかった
↓
[After] GatewayScriptの記述は隠蔽され、必要なパラメータのみ指定可能になった
2 ユーザー定義ポリシー作成
この記事では、固定の文字列をDataPowerのログに出力する、という単純な部品を作成します。大まかな流れは以下の通りです。
①部品名、パラメータ、処理の概要を決める
②テキストエディタで、部品名、パラメータの定義体を作成する(「ポリシー定義ファイル」と呼びます)。
③DataPowerのwebGUI画面で、処理ポリシーおよび処理アクションのオブジェクトを作成する。また、処理アクションから参照するGatewayScriptファイルも作成する。
④DataPowerのwebGUI画面で、③で作成した物をエクスポートする。
⑤②、④のファイルをzipファイルに固めます。
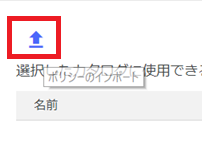
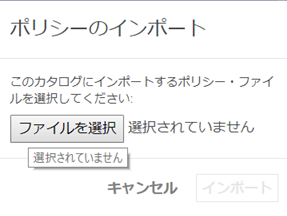
⑥API Managerの画面で、⑤のzipファイルをインポートする。
2-1 部品名、パラメータ、処理の概要を決める
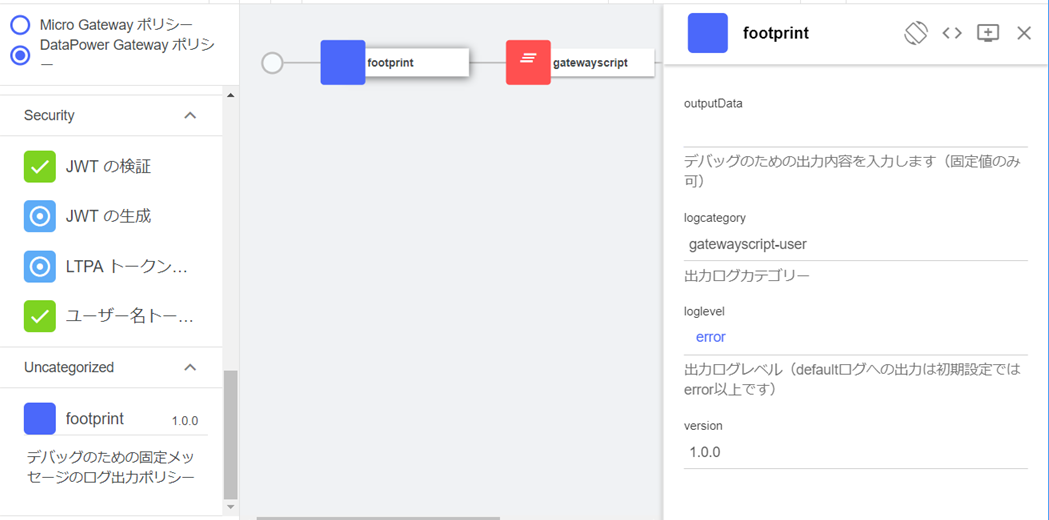
部品名:「footprint」とします。
パラメータ
| パラメータ | GatewayScript内の変数名 | データ型 | 必須 | デフォルト値 |
|---|---|---|---|---|
| 出力内容 | outputData | string | 〇 | なし |
| ログカテゴリ | logcategory | string | 〇 | gatewayscript-user |
| ログレベル | loglevel | enum(info,warn,error) | 〇 | error |
処理の概要
「outputData」の内容を、ログカテゴリー「logcategory」およびログレベル「loglevel」で、DataPower上で出力する。
その他(プロトコルの指定)
動作するプロトコルとして「jsonおよびsoap」、「json」、「soap」が指定可能です。今回は「json」のみとします。
その他(ランタイムの指定)
動作するランタイムとして、「DataPowerおよびMicro Gateway」、「DataPower」、「Micro Gateway」が指定可能です。今回は「DataPower」のみとします。
2-2 ポリシー定義ファイルの作成
2-1で決めた内容を元に、テキストエディタで以下のようなyamlファイルを作成します。
policy: 1.0.0

info:
  title: footprint
  name: footprint
  version: 1.0.0
  description: デバッグのための固定メッセージのログ出力ポリシー

attach:
    - rest

properties:
    $schema: "http://json-schema.org/draft-04/schema#"
    type: object
    properties:
        outputData:
            label: 出力内容
            description: デバッグのための出力内容を入力します(固定値のみ可)
            type: string
        logcategory:
            label: ログカテゴリー
            description: 出力ログカテゴリー
            type: string
            default: gatewayscript-user
        loglevel:
              label: ログレベル
              description: 出力ログレベル(defaultログへの出力は初期設定ではerror以上です)
              enum:
                - debug
                - info
                - error
              default: error
              type: string
    required:
      - outputData
      - logcategory
      - loglevel
gateways:
    - datapower-gateway
2-3 処理ポリシー、処理アクション、GatewayScriptファイルの作成
2-3-1 GatewayScriptファイルの作成
テキストエディタで以下のようなGatewayScriptファイルを作成します。
var apic = require('local:isp/policy/apim.custom.js');

var props = apic.getPolicyProperty();
var outputData = props.outputData;
var logcategory = props.logcategory;
var loglevel = props.loglevel;

if (loglevel == 'info') {
  console.options({'category':logcategory}).info(outputData);
} else if (loglevel == 'warn') {
  console.options({'category':logcategory}).warn(outputData);
} else if (loglevel == 'error') {
  console.options({'category':logcategory}).error(outputData);
}
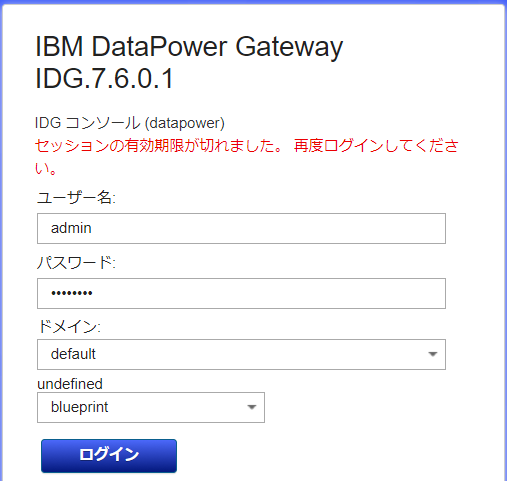
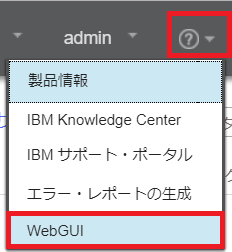
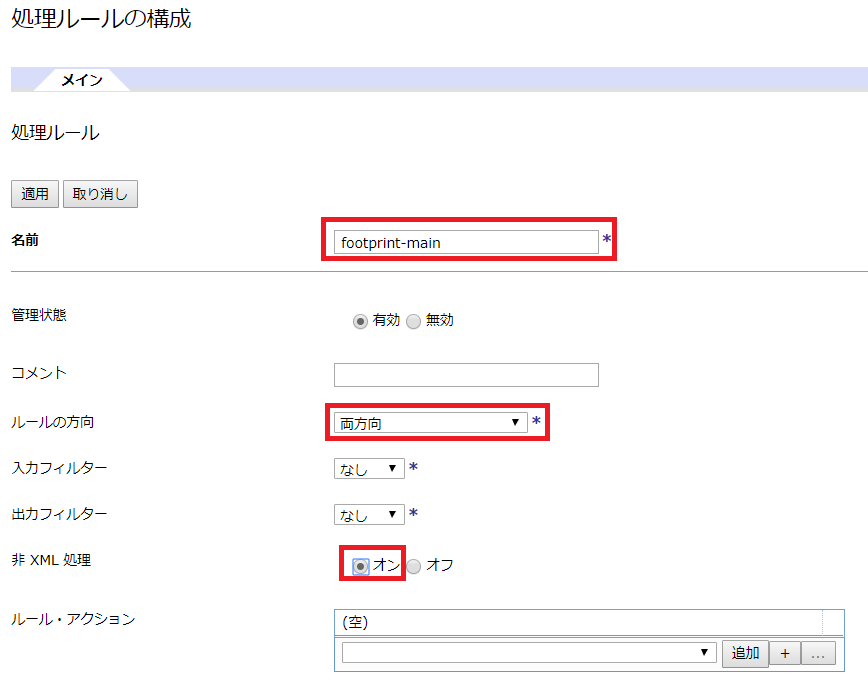
2-3-2 処理ルール、処理アクションの作成
-
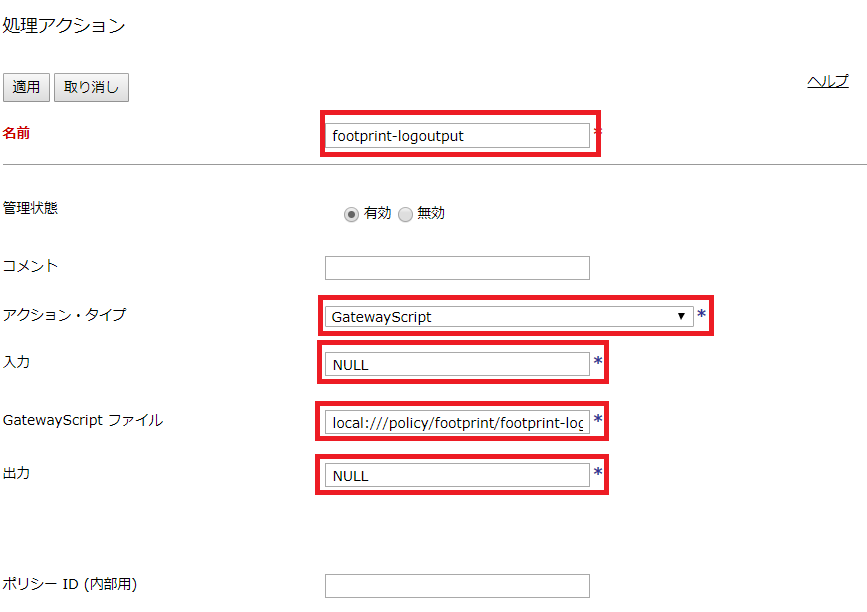
名前:footprint-logoutput、アクションタイプ:GatewayScript、入力・出力:NULL、GatewayScriptファイル:local:///policy/footprint/footprint-logoutput.js
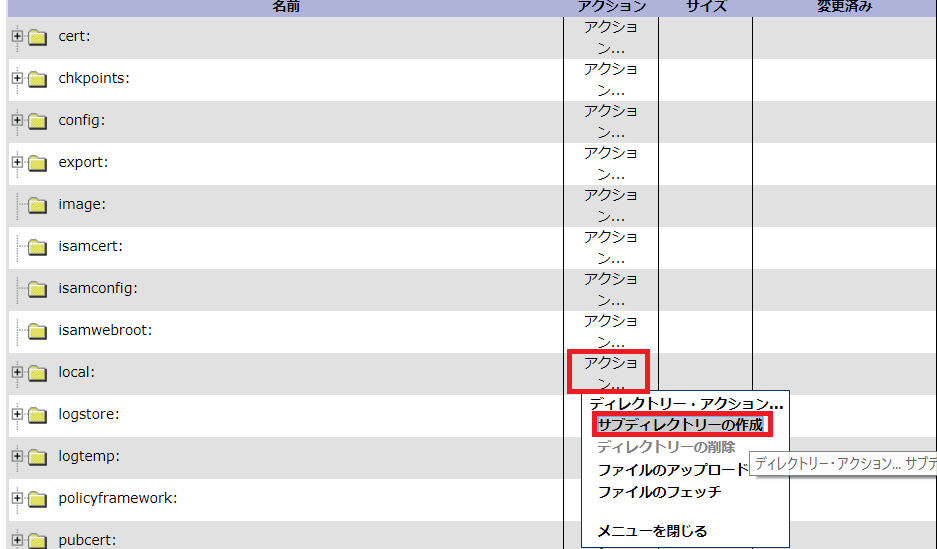
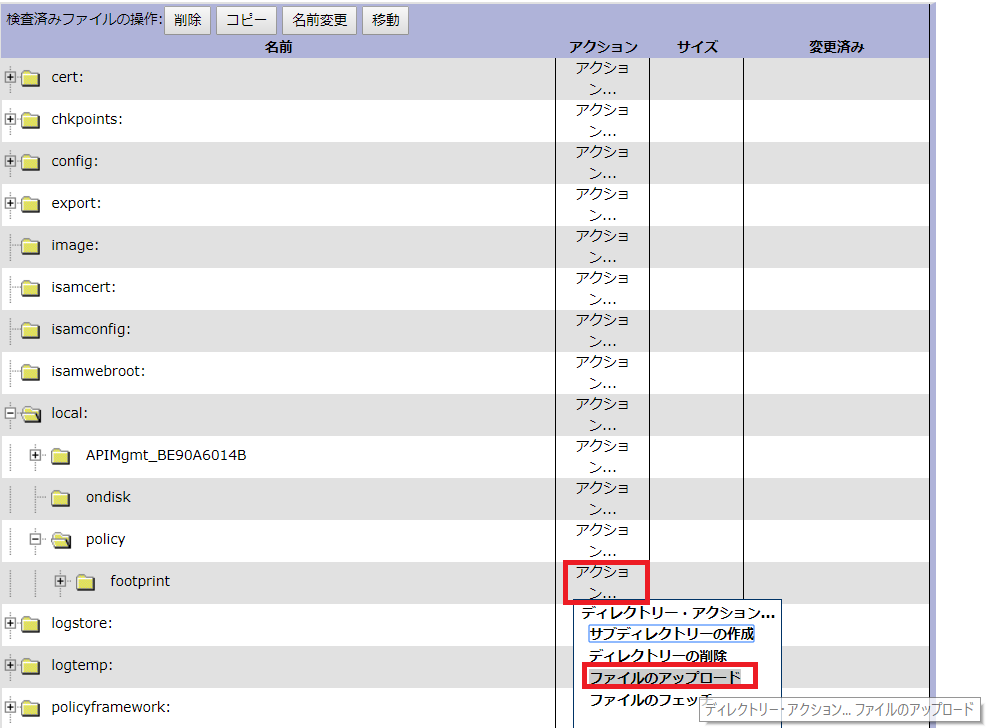
2-3-3. GatewayScirptファイルの配置
-
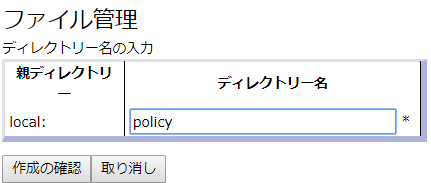
同様に、policyディレクトリの下に「footprint」ディレクトリを作成します。
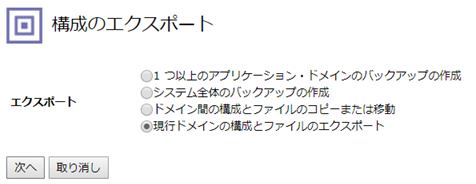
2-4 作成物のエクスポート
-
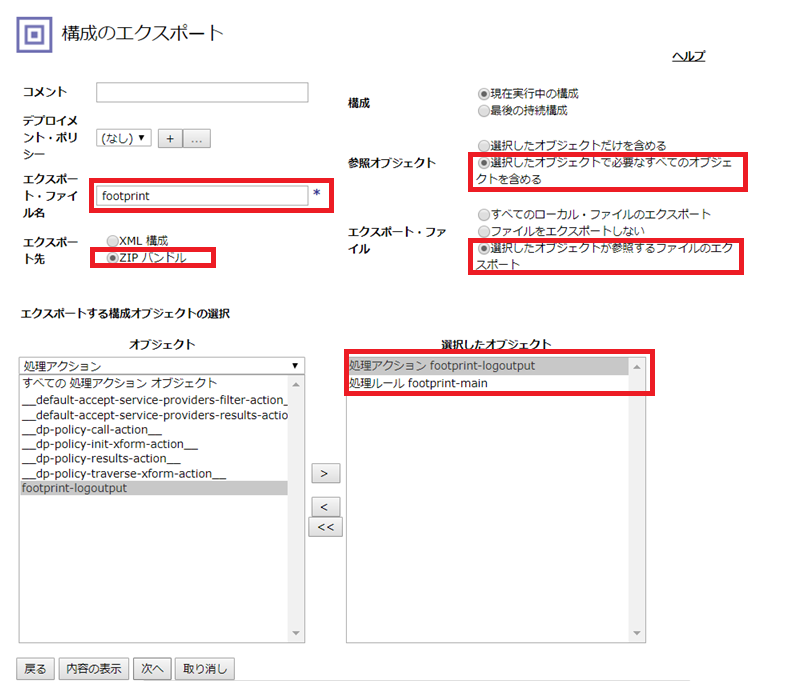
ファイル名:footprint、エクスポート先:ZIP、参照:選択したオブジェクトで必要なすべてのオブジェクトを含める、エクスポートファイル:選択したオブジェクトが参照するファイルのエクスポート、選択したオブジェクト:foorprint-main, footprint-logoutput を選択し、「次へ」をクリックします。
-
ファイルがダウンロードされます。
2-5 2-2,2-4のファイルをzipファイルに格納
以下のフォルダ構造になるようにzipファイルを作成します。
footprint.zip
|
+- footprint.yaml …2-2で作成したファイル
|
+- implementation
|
+ footprint.zip …2-4でダウンロードしたファイル
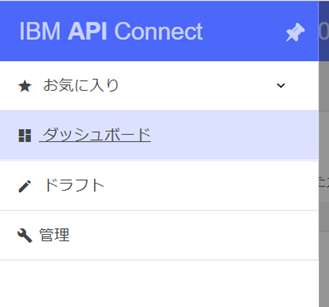
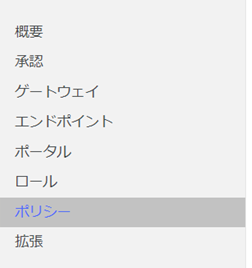
2-6 作成したファイルのインポート
3 動作確認
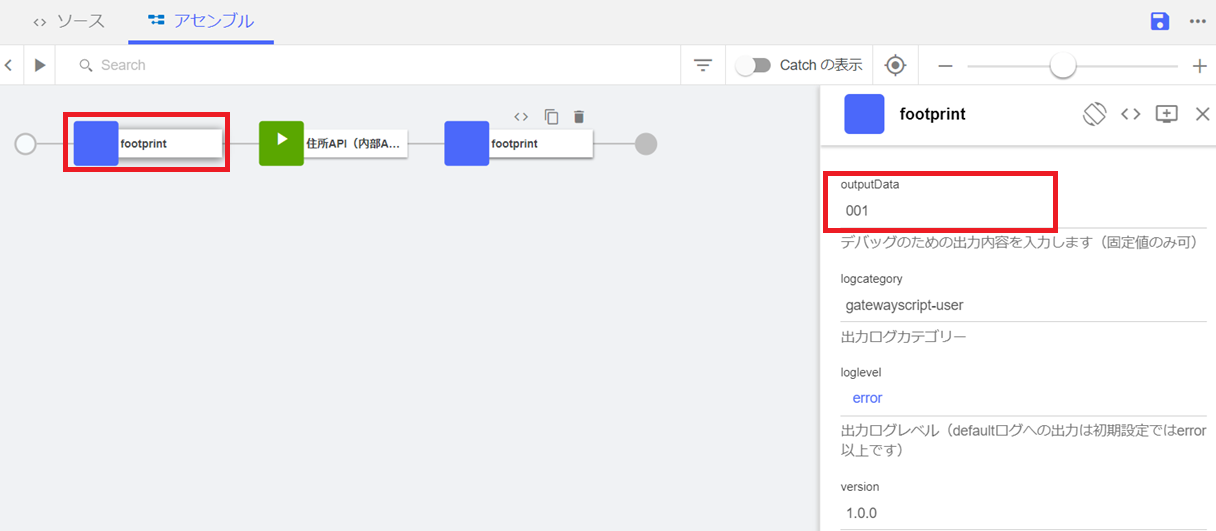
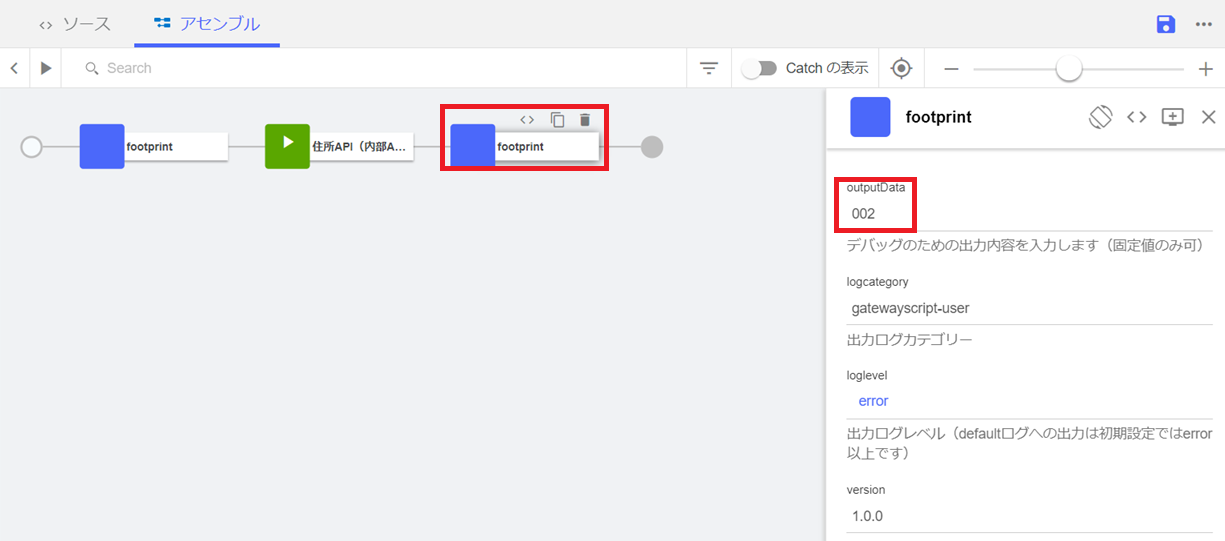
アセンブリーエディターで、ユーザー定義ポリシーを2か所に配置して、ログ出力させてみます。
1箇所目:出力データが「001」
2箇所目:出力データが「002」
実行結果
1回のAPI呼び出しで、無事2箇所分のログが出力されました!

おつかれさまでした。
免責事項
この記事の内容は不正確である可能性があります。この記事の内容やその利用等によって生じた、いかなる損害に対しても責任は負いません。
