AWS Pinpointとは
顧客にパーソナライズされ、タイミング良く、関連性の高いコミュニケーションを複数チャネルを通して送り、顧客理解とエンゲージメントを高めるためのサービスです。
公式ドキュメント https://aws.amazon.com/jp/pinpoint/
モバイルPush配信、Eメール、SMSなどの配信を、属性やイベントなど適切な条件に一致するユーザにのみ配信し、その動向を解析して可視化することができます。
私のこと
- サーバサイドエンジニア
- 普段は主にAWSのサービスを使ってAPIなどのサーバサイドのアプリケーションを開発している
- モバイルPush配信は、Amazon SNSなどを利用して配信側のシステム構築を行ったことがある
- iOSアプリ開発は、プログラミング学習サイトでおみくじアプリを作ってローカルで動かした程度
今回試したこと
- AWS SDKを使って、アプリケーションサーバを介さずにiOSアプリからAWS Pinpointへデータを送る。
- 送られたデータを元にiOS端末にモバイルPush配信を行う。
- カスタム属性を設定を設定してセグメント配信を行う。
環境構築
今回は、AWS Amplifyという便利な物を使ってAWS PinpointとiOSアプリを連携していきます。
用意するもの
- Mac
- Xcode
- Cocoapods
- AWSアカウント
- IAMユーザのアクセスキーとシークレットキー
- AWS Amplify CLI
- Apple Developers programアカウント (登録しても使えるようになるまでに数日かかるので注意
 )
) - iPhone(実機)
iOSアプリケーションを作る
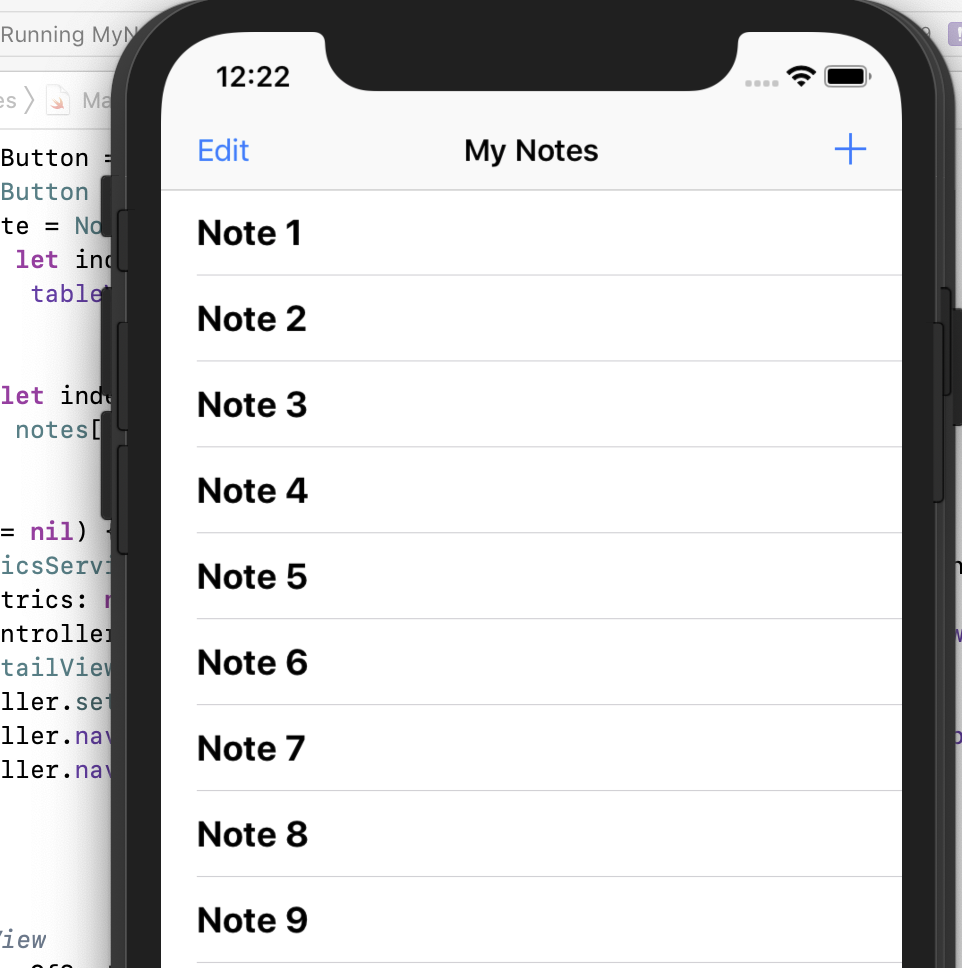
こちらのサンプルコードをダウンロードして使います。シンプルなノートアプリです。
https://github.com/aws-samples/aws-mobile-ios-notes-tutorial/
Xcodeで開いて実行すると以下のようなアプリが起動します。
Amplify CLIインストールと設定
Amplify CLI はこちらを参考にしてインストールします。
https://aws-amplify.github.io/docs/
$ npm install -g @aws-amplify/cli
$ exec $SHELL -l
$ amplify -v
1.8.2
その後、以下を実行して、リージョン、ユーザ名、アクセスキー、シークレットキーを設定します。
$ amplify configure
Amplify CLIを使って AWS PinpointプロジェクトとiOSの設定ファイルを作成する
AWS Pinpointプロジェクトは AWSコンソールなどから単体で作成することもできますが、今回は、Amplifyを使って関連リソースを一緒に作成します。
こちらを参考に Pinpointを設定します。
https://aws-amplify.github.io/docs/ios/analytics
(pod install --repo-update まで実施していきます。)
$ cd ./YOUR_PROJECT_FOLDER
$ amplify add analytics
$ amplify status
 | Category  | Resource name   | Operation | Provider plugin   |
 | --------- | --------------- | --------- | ----------------- |
 | Auth      | cognitoabcd0123 | Create    | awscloudformation |
 | Analytics | yourprojectname | Create    | awscloudformation |
$ amplify push
amplify pushを実行すると Cloudformationが実行され、必要なAWSリソースが自動的に構築されます。Pinpointも作成されます。
どんなリソースが作成されているかは、Cloudformationを見るとわかります。
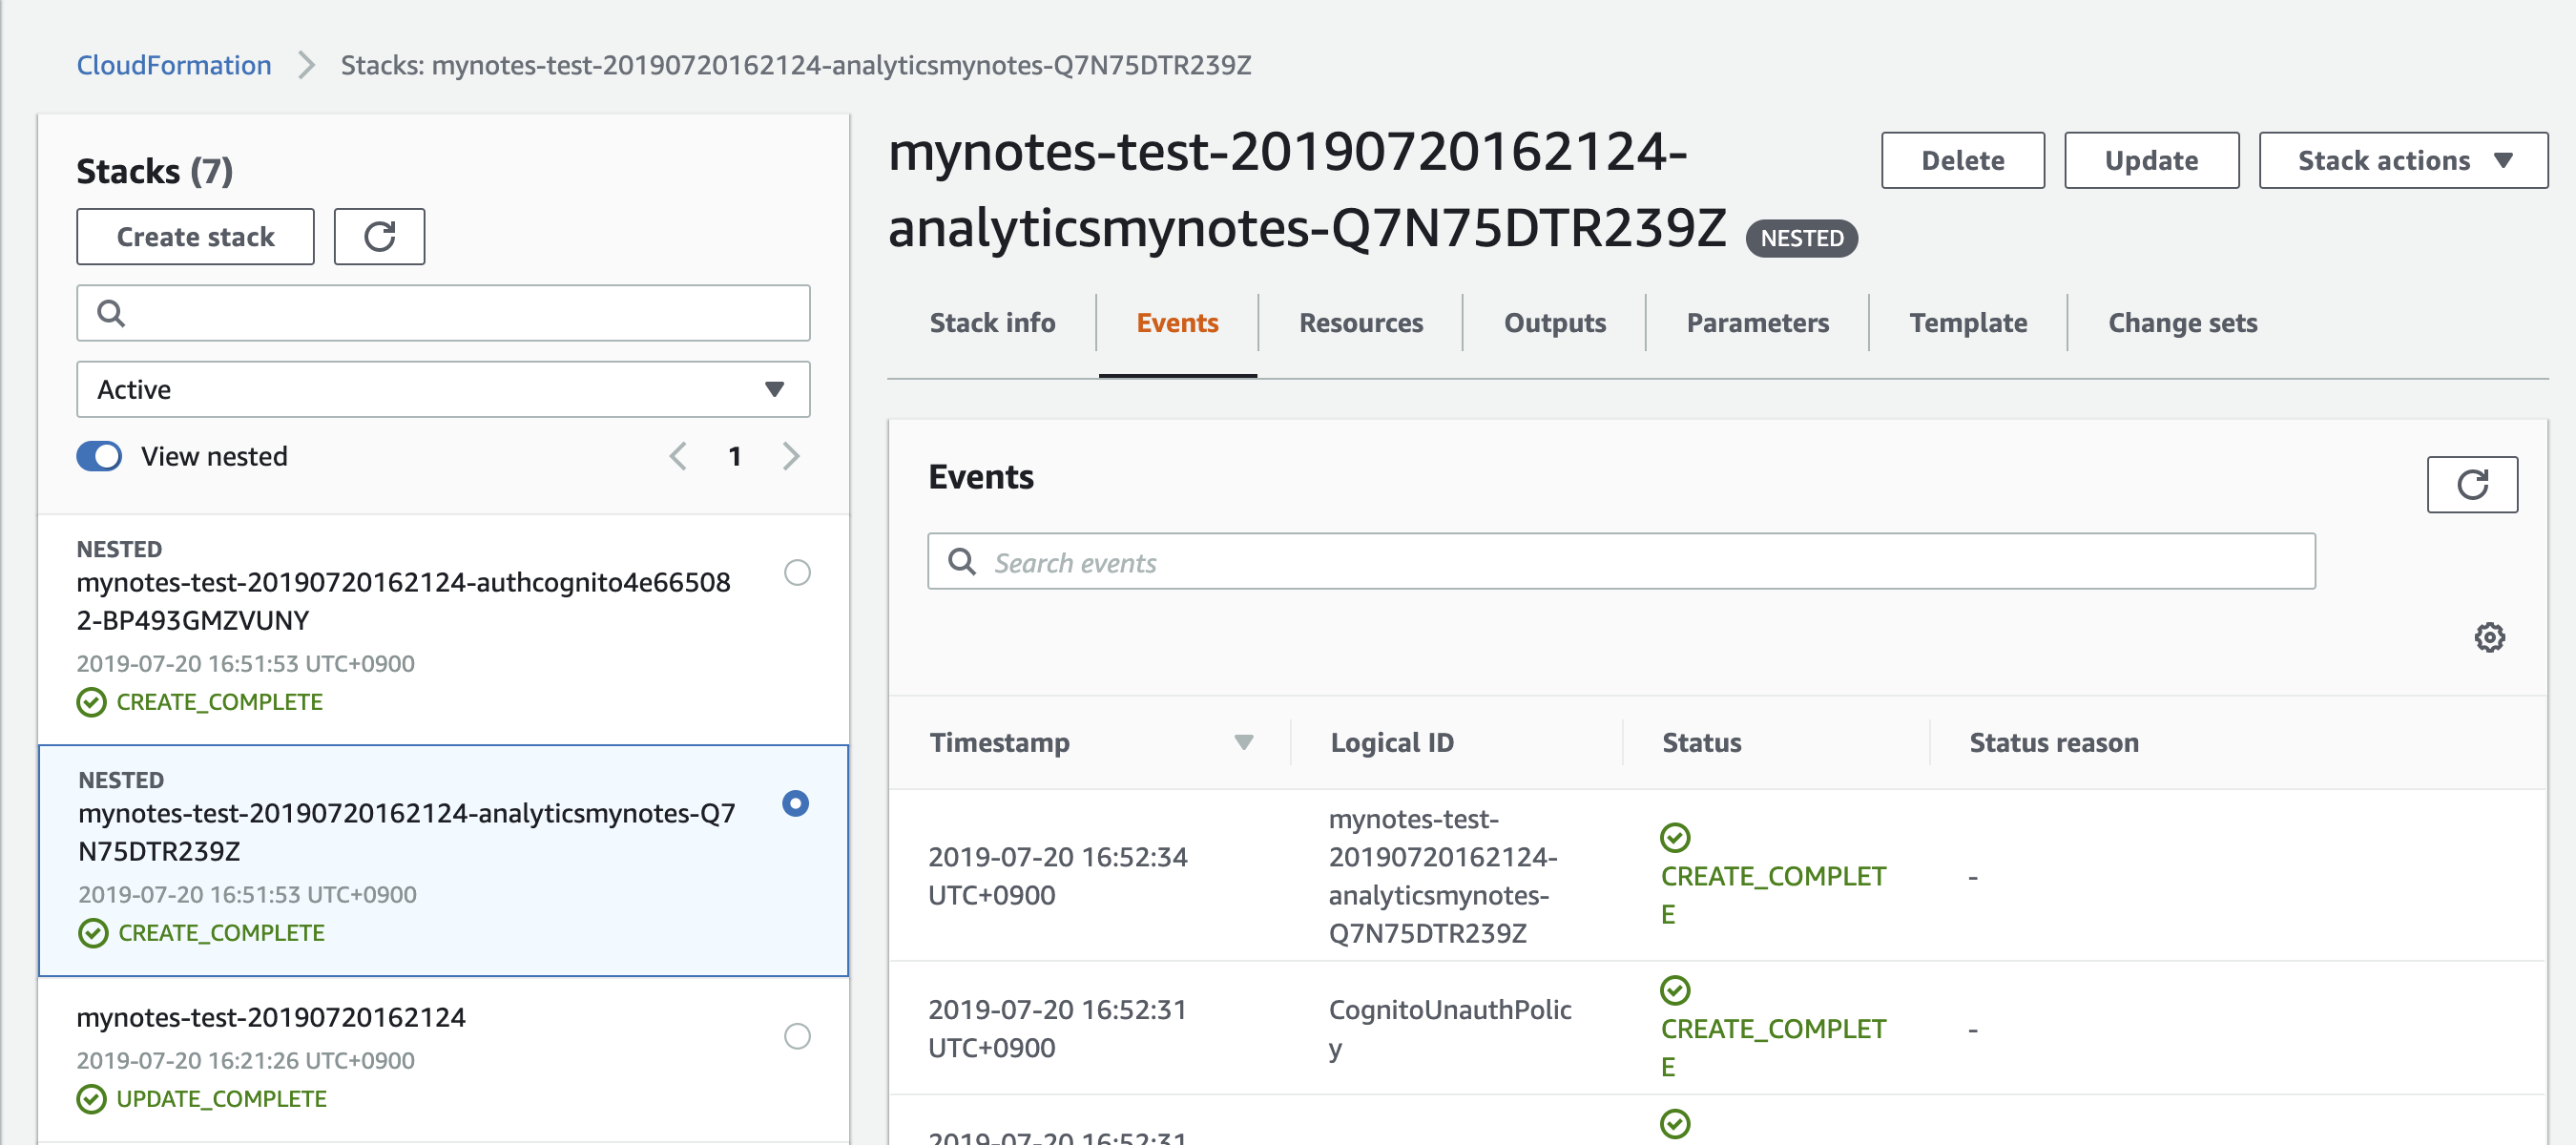
ここまでできたら、以下のようなjsonファイルが生成されています。
{
    "UserAgent": "aws-amplify/cli",
    "Version": "0.1.0",
    "IdentityManager": {
        "Default": {}
    },
    "CredentialsProvider": {
        "CognitoIdentity": {
            "Default": {
                "PoolId": "リージョン:xxxxxxx-xxxx-xxxx-xxxx-xxxxxxxxxxxx",
                "Region": "リージョン"
            }
        }
    },
    "PinpointAnalytics": {
        "Default": {
            "AppId": "xxxxxxxxxxxxxxxxxxxxxxxxxxxxxxxx",
            "Region": "リージョン"
        }
    },
    "PinpointTargeting": {
        "Default": {
            "Region": "リージョン"
        }
    }
}
このjsonファイルは、Xcodeを開いて、Info.plist があるディレクトリにimportしておきます。
Podfile には AWSPinpoint を追加します。
# Uncomment the next line to define a global platform for your project
platform :ios, '11.0'

target 'MyNotes' do
  # Comment the next line if you don't want to use dynamic frameworks
  use_frameworks!

  # Pods for MyNotes
  pod 'AWSPinpoint', '~> 2.10.0'

end
インストールを実行します。
pod install --repo-update
Push Notificationの配信準備(証明書の作成と登録)
雑に説明すると、
1. iOSのアプリ登録をして証明書作成、テスト端末登録、プロビジョニングファイルを作成する。
2. Push配信の証明書を作成してAWS Pinpointに登録する。
という手順です。
注意する点は、iOSアプリケーションの証明書には 開発用(Development)と本番用(Distribution)がありますが、Push配信を確認するためには本番用が必要なので Distribution の方で作成する必要がある、ということです。
基本的にこちらの方法でやればできます。
Setting Up APNS for Push Notifications
、、が、iOSアプリ開発初心者にはわかりにくいかもしれません。
iOSアプリ証明書とテスト端末登録、プロビジョニングファイル作成
iOSアプリケーションの証明書作成はこちらの記事[iPhone] iOS App IDs を登録する
がとてもわかりやすく、参考になりました。
(ありがとうございます!)
上記記事と異なる点は、今回は自分のテスト用iPhoneにPush配信するのが目的なので、Provisioning Profile作成時に、「App Store」ではなく、「Ad Hoc」を選択して作成します。
Push配信証明書をAWS Pinpointに登録する
Push配信のために必要なp12ファイルを用意します。
Setting Up APNS for Push Notificationsの、 Step 2: Create an APNs SSL Certificate の通りにして作成します。
作成されたp12ファイルを AWS Pinpointに登録します。
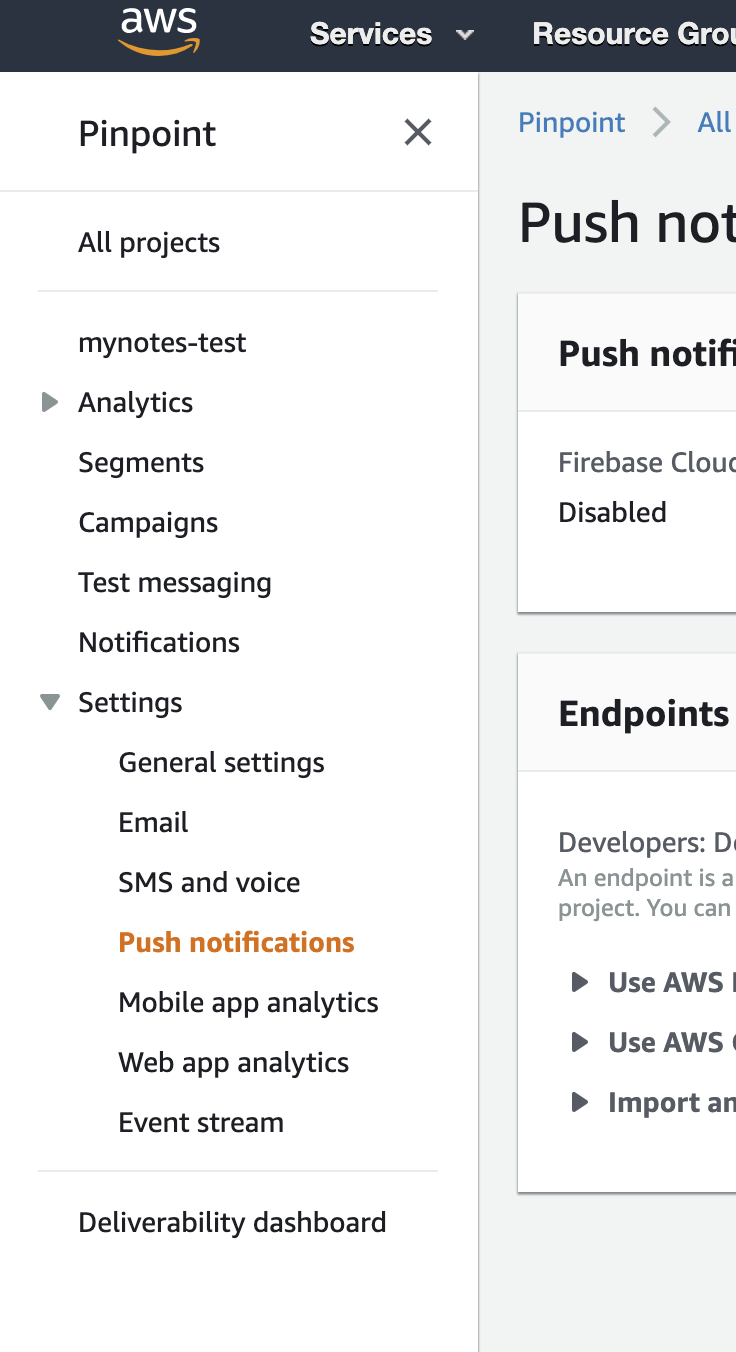
AWSマネージメントコンソール Pinpoint 左メニューの Push notificationをクリック
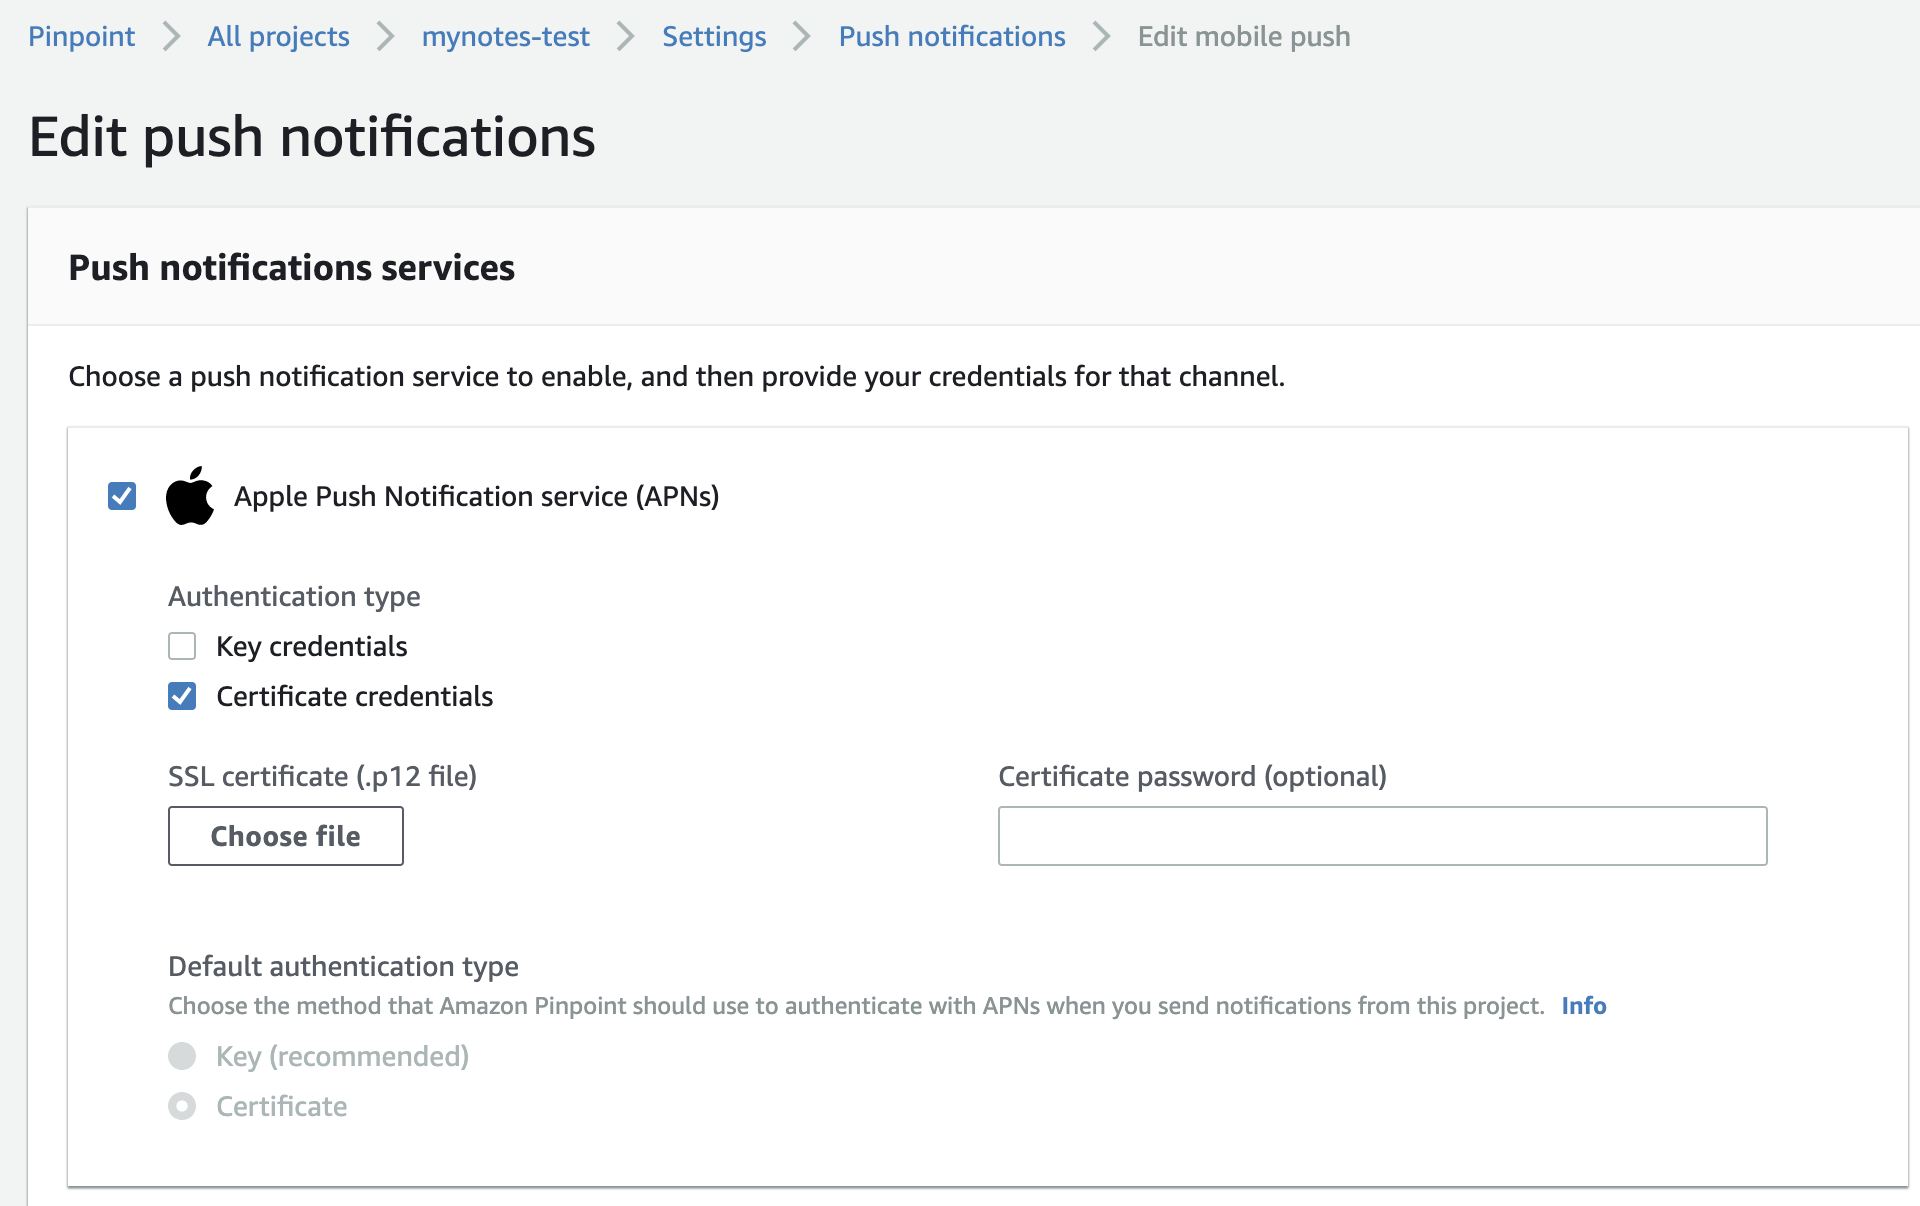
右に現れた画面のEditを押すと下記のような設定画面が現れるので、 Apple Push Notification service (APNs) を選択し、 SSL certificate (.p12 file) に、先ほどのp12ファイルを指定し、 Certificate password (optional) に、作成時に指定したパスワードを指定して保存すると完了です。
iOSアプリ修正とAWS Pinpointの配信設定
ここまでがとても大変ですが、ここから先はとても簡単です。
iOSアプリにAWS Pinpointへの登録処理を追加
GitHubのチュートリアルに習って、以下のクラスを新規Swiftファイルとして追加します。
import Foundation
import AWSCore
import AWSPinpoint

class AWSAnalyticsService : AnalyticsService {
    var pinpoint: AWSPinpoint?

    init() {
        let config = AWSPinpointConfiguration.defaultPinpointConfiguration(launchOptions: nil)
        pinpoint = AWSPinpoint(configuration: config)
    }

    func recordEvent(_ eventName: String, parameters: [String : String]?, metrics: [String : Double]?) {
        let event = pinpoint?.analyticsClient.createEvent(withEventType: eventName)
        if (parameters != nil) {
            for (key, value) in parameters! {
                event?.addAttribute(value, forKey: key)
            }
        }
        if (metrics != nil) {
            for (key, value) in metrics! {
                event?.addMetric(NSNumber(value: value), forKey: key)
            }
        }
        pinpoint?.analyticsClient.record(event!)
        pinpoint?.analyticsClient.submitEvents()
    }

}
これを AppDelegate から呼び出します。
チュートリアルのコードでは既に、 LocalAnalyticsService を使う記述があるのでそこを AWSAnalyticsService に変更します。
import UIKit
import AWSPinpoint

@UIApplicationMain
class AppDelegate: UIResponder, UIApplicationDelegate, UISplitViewControllerDelegate {

    var window: UIWindow?
    var dataService: DataService?
    var analyticsService: AnalyticsService?

    func application(_ application: UIApplication, didFinishLaunchingWithOptions launchOptions: [UIApplicationLaunchOptionsKey: Any]?) -> Bool {

     :
     (省略)
     :

        // Initialize the analytics service
        //analyticsService = LocalAnalyticsService()
        analyticsService = AWSAnalyticsService()

     :
     (省略)
     :

    }
こちらのクラスメソッドさんの記事 【2018年版】Amazon Pinpoint で iOS のサンプルアプリ(Swift)にセグメントプッシュを送る の ノートアプリの プッシュ 通知を有効にする に習って
- Push通知許諾
- デバイストークンをAWS Pinpointへ送信
を追加します。
クラスメソッドさんありがとうございます!
セグメント配信
セグメント配信とは、ユーザ属性などを元に、一定条件のグループを作ってそのグループ対象に配信することです。
AWS Pinpointでは、事前にフィルター条件を指定してセグメント設定をしておき、Campaign という名称の配信条件設定を行い、Campaign の単位で配信していきます。
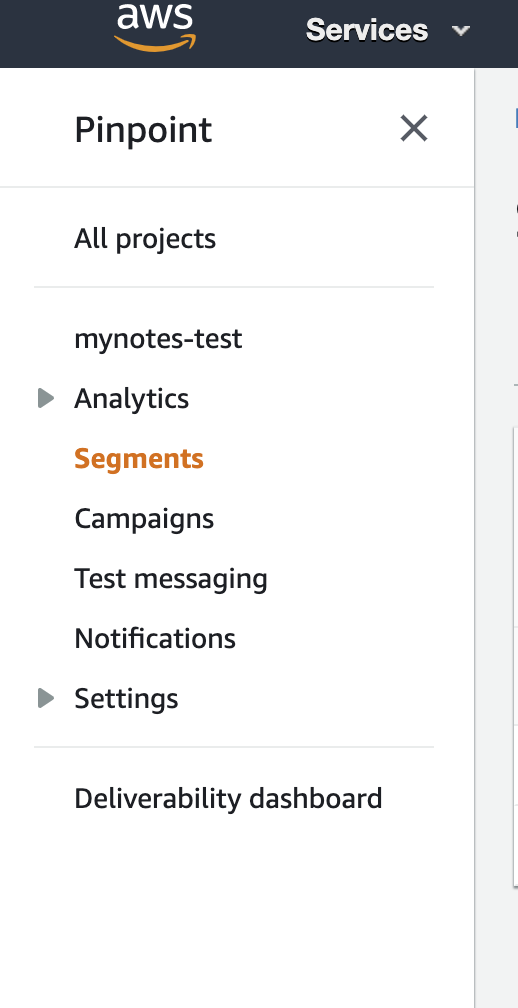
セグメント設定
左メニューのSegmentsを選ぶと右側にSegmentの画面が開きます。
属性を指定してセグメント配信
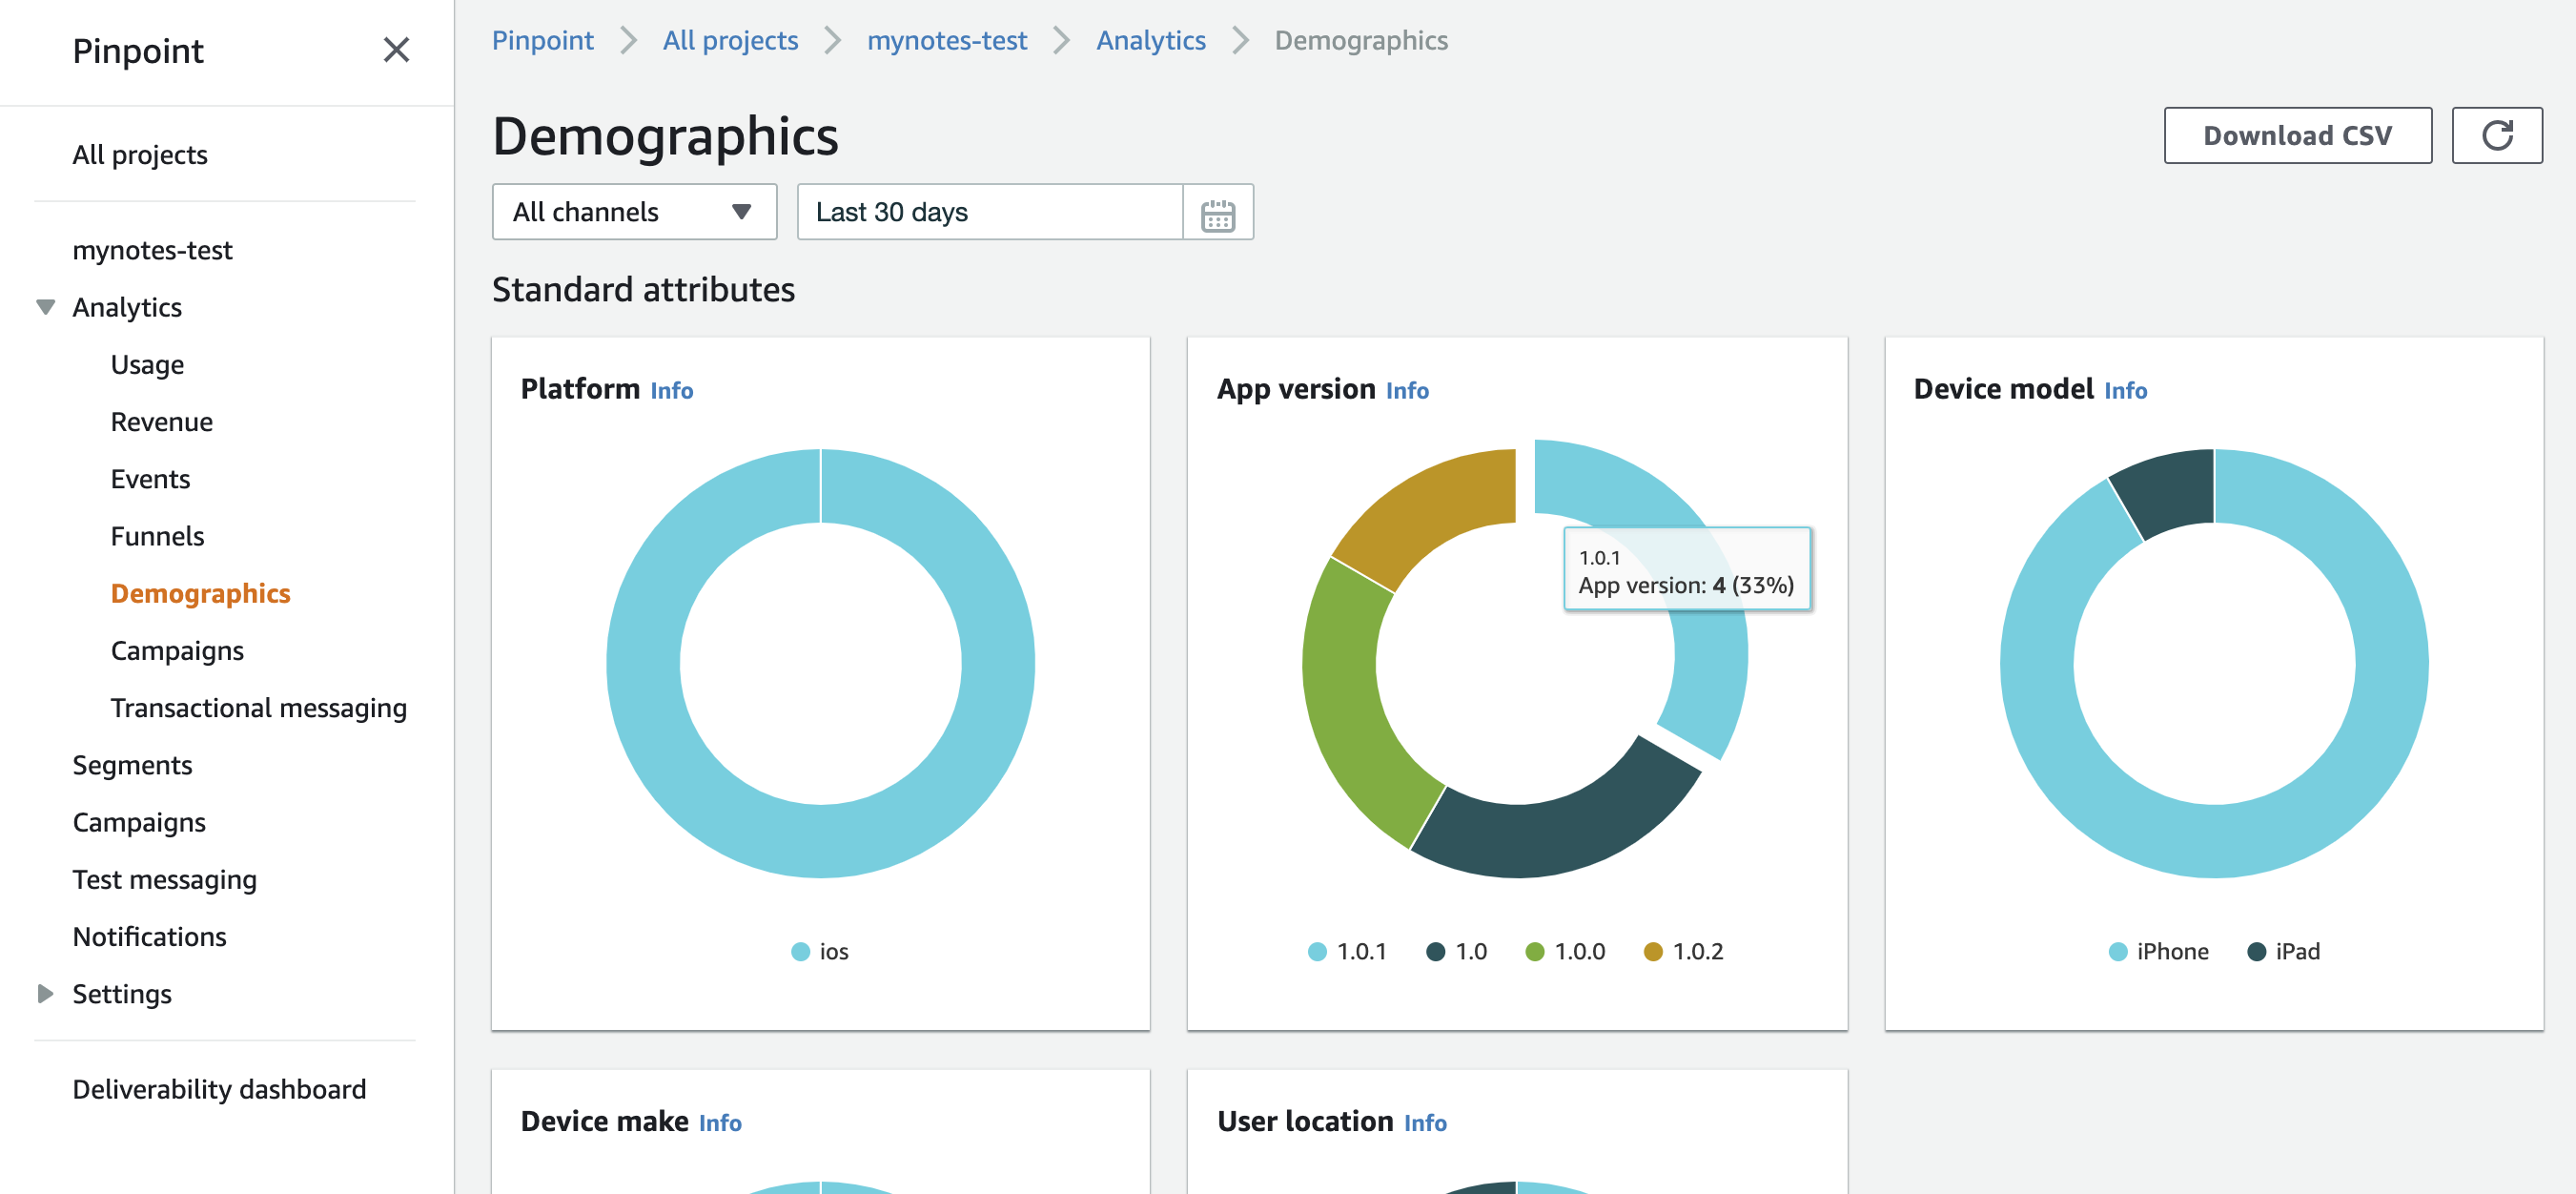
アプリのOSやバージョンなどは標準の属性として登録されるようになっています。
いくつかの端末やシミュレータでアプリを実行したあと、AWS Pinpointのコンソール画面を開き、AnalyticsのDemographicsを見ると、PlatformやAppVersion、Device modelなどがグラフで表示されています。
バージョン番号をアップしながら、いくつかの種類のシミュレータで実行したので複数のバージョンがグラフに表示されているのがわかります。
App version でセグメントを作成する場合のセグメント作成画面は以下のようにします。

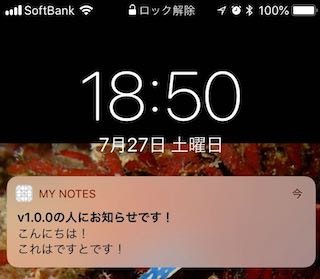
このセグメントを以下のようなメッセージを配信することができます。
カスタム属性の登録
独自の属性を追加する場合は、以下のようにiOSアプリ側から属性を登録します。
事前にPinpoint側で設定などは不要です。
    func updateEndpointProfile(_ key: String, value: String) {
        let pinpointTargetingClient = pinpoint!.targetingClient
        pinpointTargetingClient.addAttribute([value], forKey: key)
        pinpointTargetingClient.updateEndpointProfile()
    }
これを先ほど追加した AWSAnalyticsServiceクラスに追加し、ViewControllerのinsertNewObjectメソッドから呼び出してみます。
class MasterViewController: UITableViewController {
     :
    (省略)
   :

    @objc
    func insertNewObject(_ sender: Any) {
        analyticsService?.recordEvent("AddNewNote", parameters: nil, metrics: nil)
        // ★ここに追加。 行を追加したひとは AddNewNotes属性 を yes にする。
        analyticsService?.updateEndpointProfile("AddNewNote", value: "yes")
        self.performSegue(withIdentifier: "showDetail", sender: sender)
    }

     :
    (省略)
   :
これを実行し、アプリで+を押して行を追加した後、AWS Pinpointのコンソール画面のDemographicを見ると、Custom attributesとして AddNewNote が追加されています。

この属性を使ってセグメントを作成してみます。
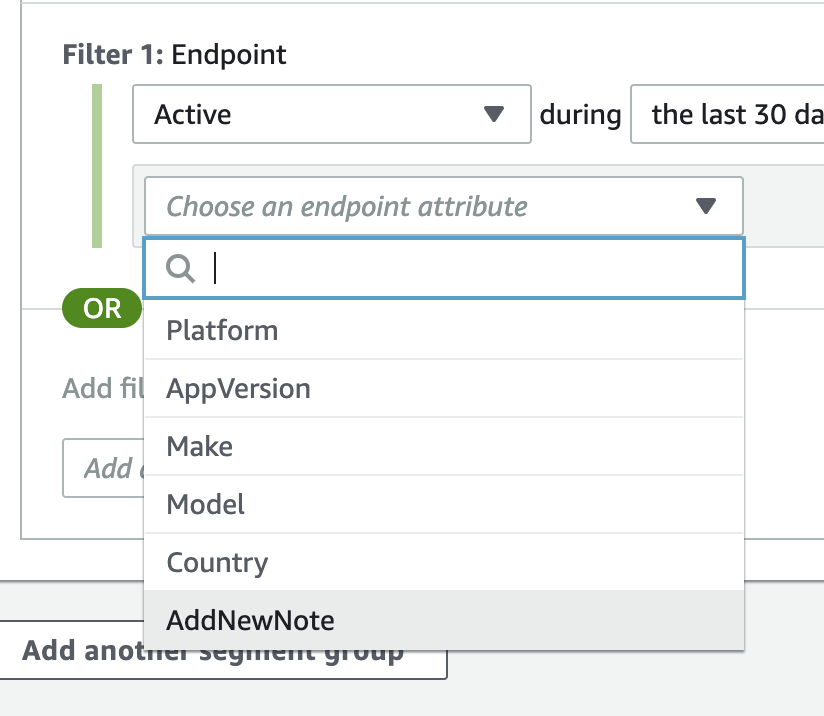
セグメント作成画面で Filter by endpoint 選択します。
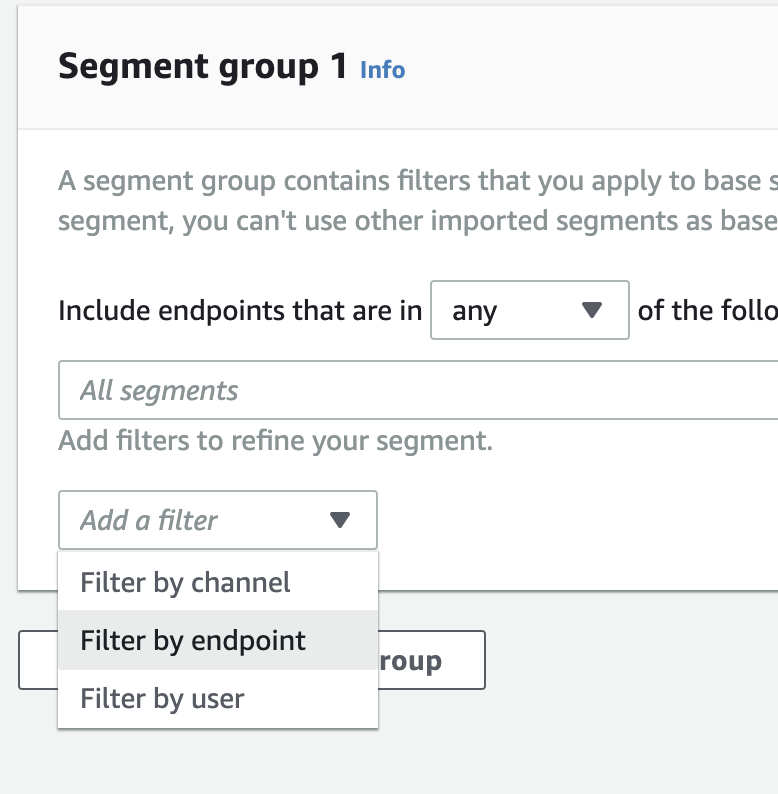
Chose an endpoint attribute に先ほどの AddNewNote が追加されています。

これを利用すれば、特定の機能を使ったユーザや、アプリ内の設定値の状況などをアプリケーションサーバを介することなく確認したり、その属性に対してPush通知を送ることができそうです。
イベント
今回のサンプルコードには既にイベントの登録が含まれています。
追加した AWSAnalyticsServiceクラスの recordEvent です。
実際にイベントを送信している場所は、 ViewController の各処理に実装されています。
    :
    (省略)
    :
    @objc
    func insertNewObject(_ sender: Any) {
        // ここでイベントをAWS Pinpointに送信している
        analyticsService?.recordEvent("AddNewNote", parameters: nil, metrics: nil)
        self.performSegue(withIdentifier: "showDetail", sender: sender)
    }
    :
    (省略)
    :
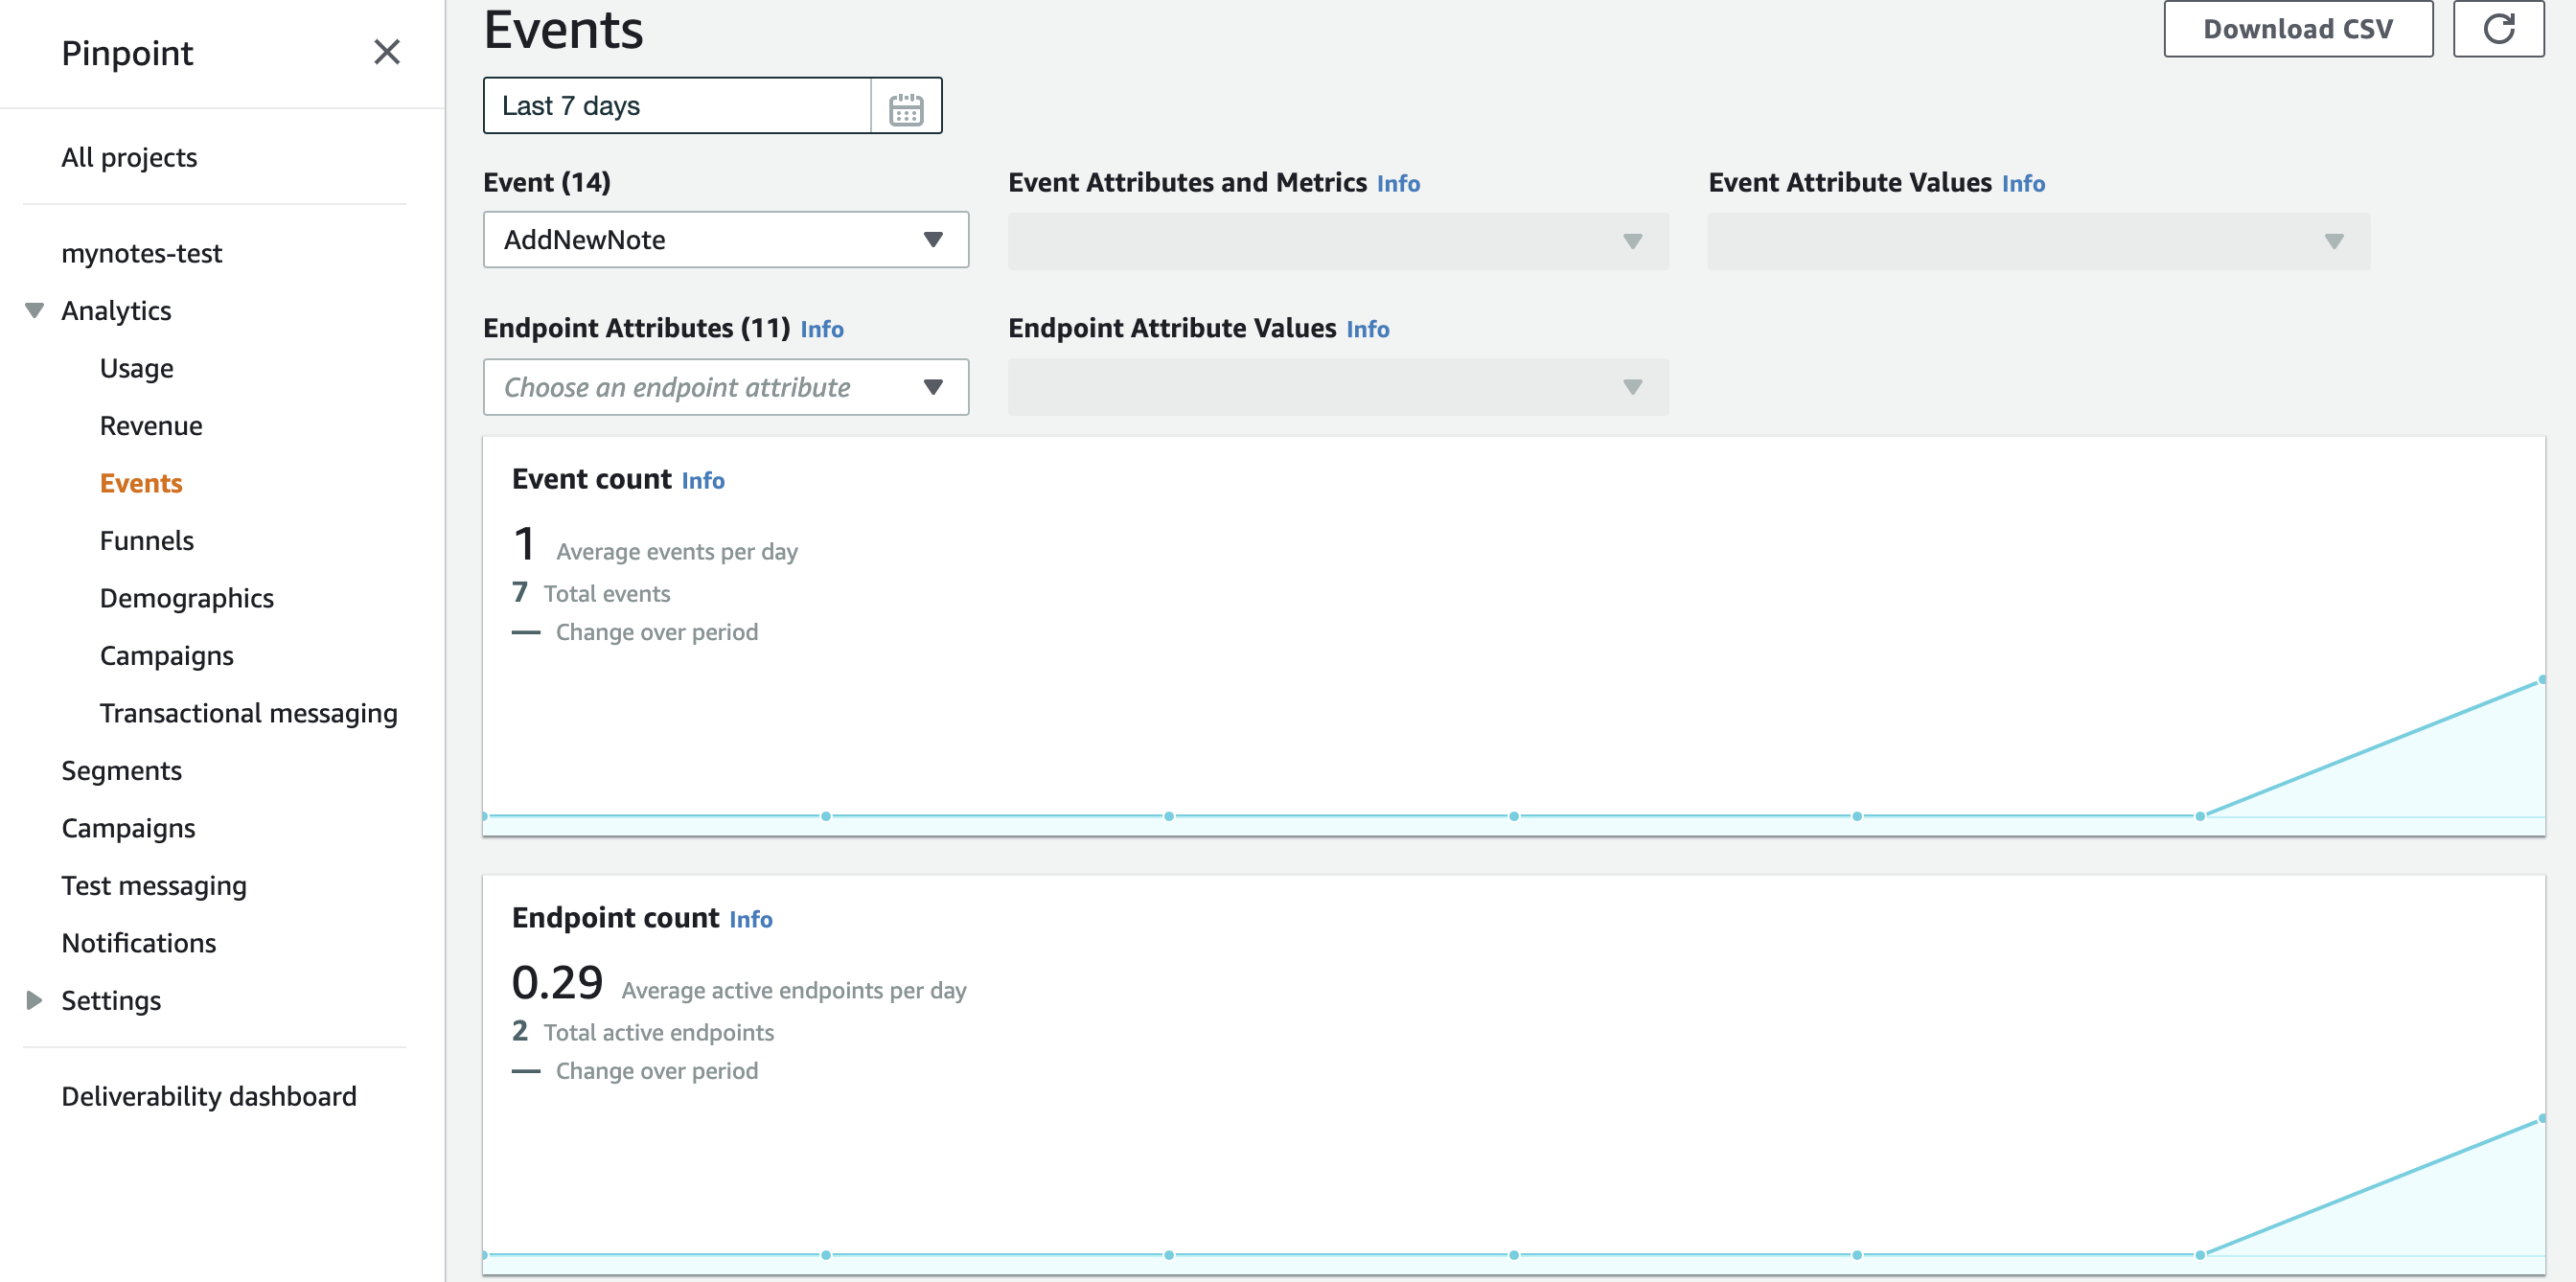
AWS Pinpointのコンソール画面の Eventを開くと利用状況がグラフで表示されます。
イベントからも何かできるはずですがまだ勉強不足です・・
感想
AWS Pinpointにはもっと多くの機能があります。
また、Pinpointから配信したデータをディープラーニングのサービスへデータ連携させたりすることも可能です。
今回は、ここまででのアウトプットですが、もっと、使いこなせるように色々ためしていきたいともいます。
参考にさせていただいた記事
[iPhone] iOSアプリを登録、申請して公開するまで
【2018年版】Amazon Pinpoint で iOS のサンプルアプリ(Swift)にセグメントプッシュを送る
個人開発だと適当になりがちなiOSの証明書とアカウントを理解する
iOSアプリのプロビジョニング周りを図にしてみる