FlutterでGoogle Mapを使ってみる
はじめに
FlutterでGoogle Mapを使ってみたく色々と調べたので、メモ程度に使い方を書いてこうと思います。
Flutterのインストールなど事前準備はflutter.devを参考にしてください。
まずはFlutterでGoogle Mapを使う準備からサンプルコードを表示するまで。
Google Mapの設定
-
パッケージgoogle_maps_flutterの設定
pubspec.yaml
dependencies:
  flutter:
    sdk: flutter

  google_maps_flutter: latest viersion
-
APIキーの取得
APIキーの取得はここから。
「使ってみる」を押下。
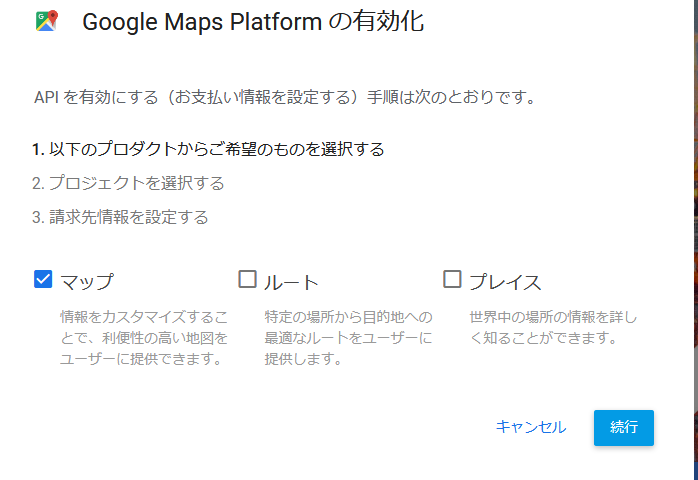
「マップ」を選択して「続行」を押下。
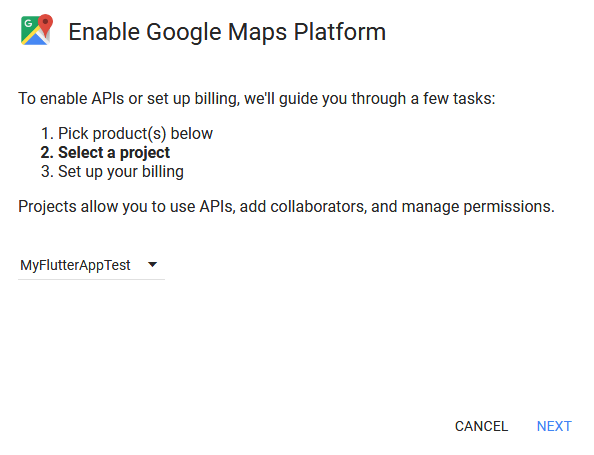
アプリケーションの名前を設定して「Next」を押下。
この後、APIキーが作られる。
-
APIキーの設定
Androidの設定。私はiOSは使っていないので、iOSをお使いの方は他の記事を参考にしてください。
android/app/src/main/AndroidManifest.xml に取得したAPIキーなどを設定する。
<manifest xmlns:android="http://schemas.android.com/apk/res/android"
    package="your package name">
    <!-- add current location, from here-->
    <uses-permission android:name=
    "android.permission.ACCESS_COARSE_LOCATION"/>
    <uses-permission android:name=
    "android.permission.ACCESS_FINE_LOCATION"/>
    <!-- to here -->

    <application
        android:name="io.flutter.app.FlutterApplication"
        android:icon="@mipmap/ic_launcher"
        android:label="flutter_app_name">

        <!-- Add the following entry, with your API key -->
        <meta-data
            android:name="com.google.android.geo.API_KEY"
            android:value="Your API Key" />
これで動くようになるはず。
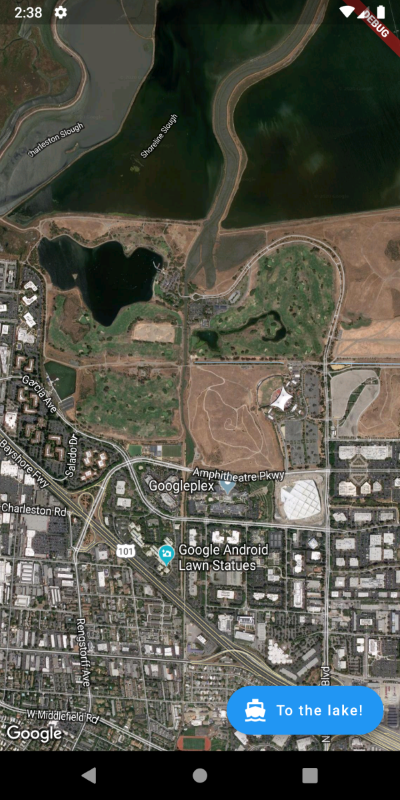
google_maps_flutterにサンプルコードがあるので使ってみてください。
次はGoogleMapクラスのパラメータを使ってみようと思います。
ご覧いただきありがとうございました。


