目的
-
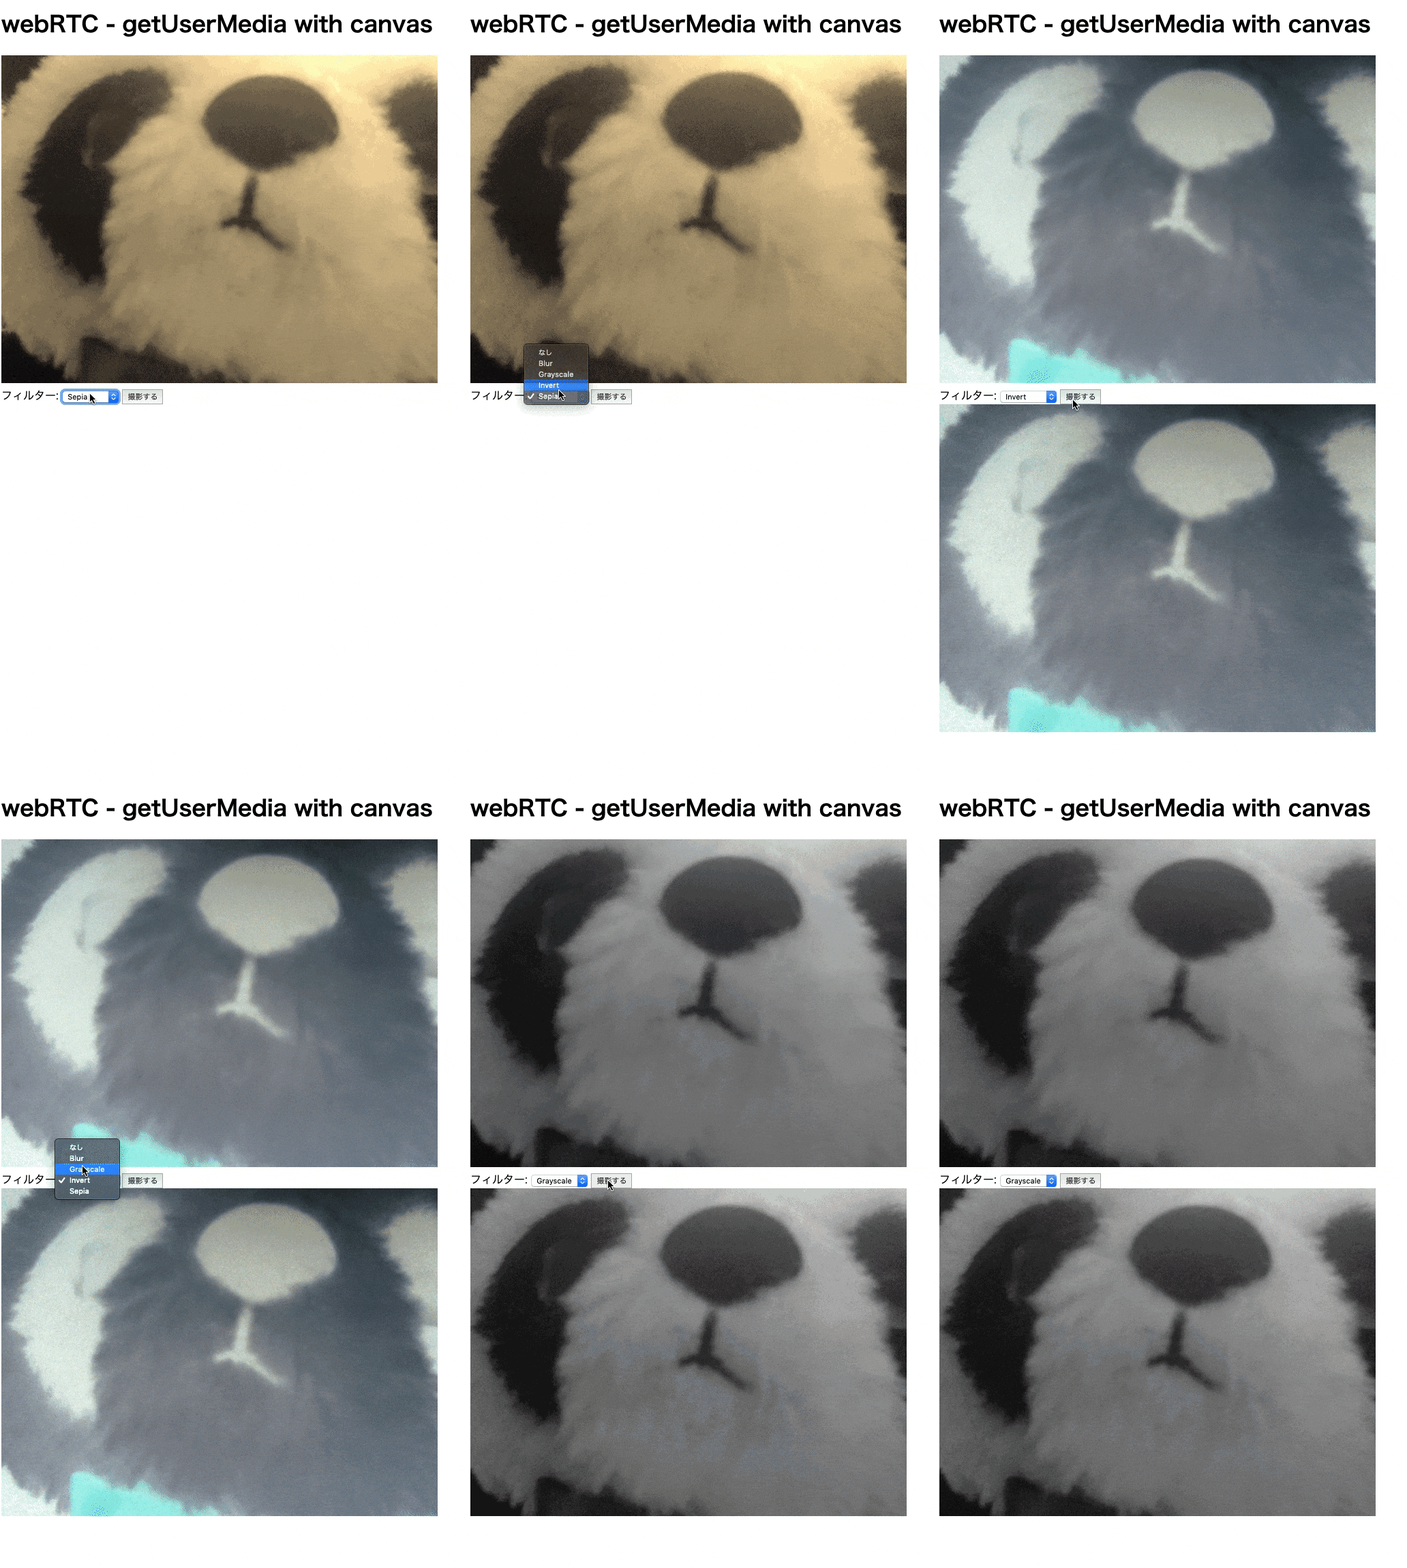
getUserMedia()で取得した映像を加工する。 - 加工した映像をキャプチャーする。
概要
- canvasを使って映像を加工する。
- なんの役に立つかは僕の頭では見いだせなかったけど、技術として面白くて好き。
開発環境
- OS: macOS Mojave 10.14.4
- ブラウザ: Google Chrome 73.0.3683.103
- エディター: Visual Studio Code 1.33.0
- ローカルサーバー: Live Server(VSCode拡張機能)
対応ブラウザ
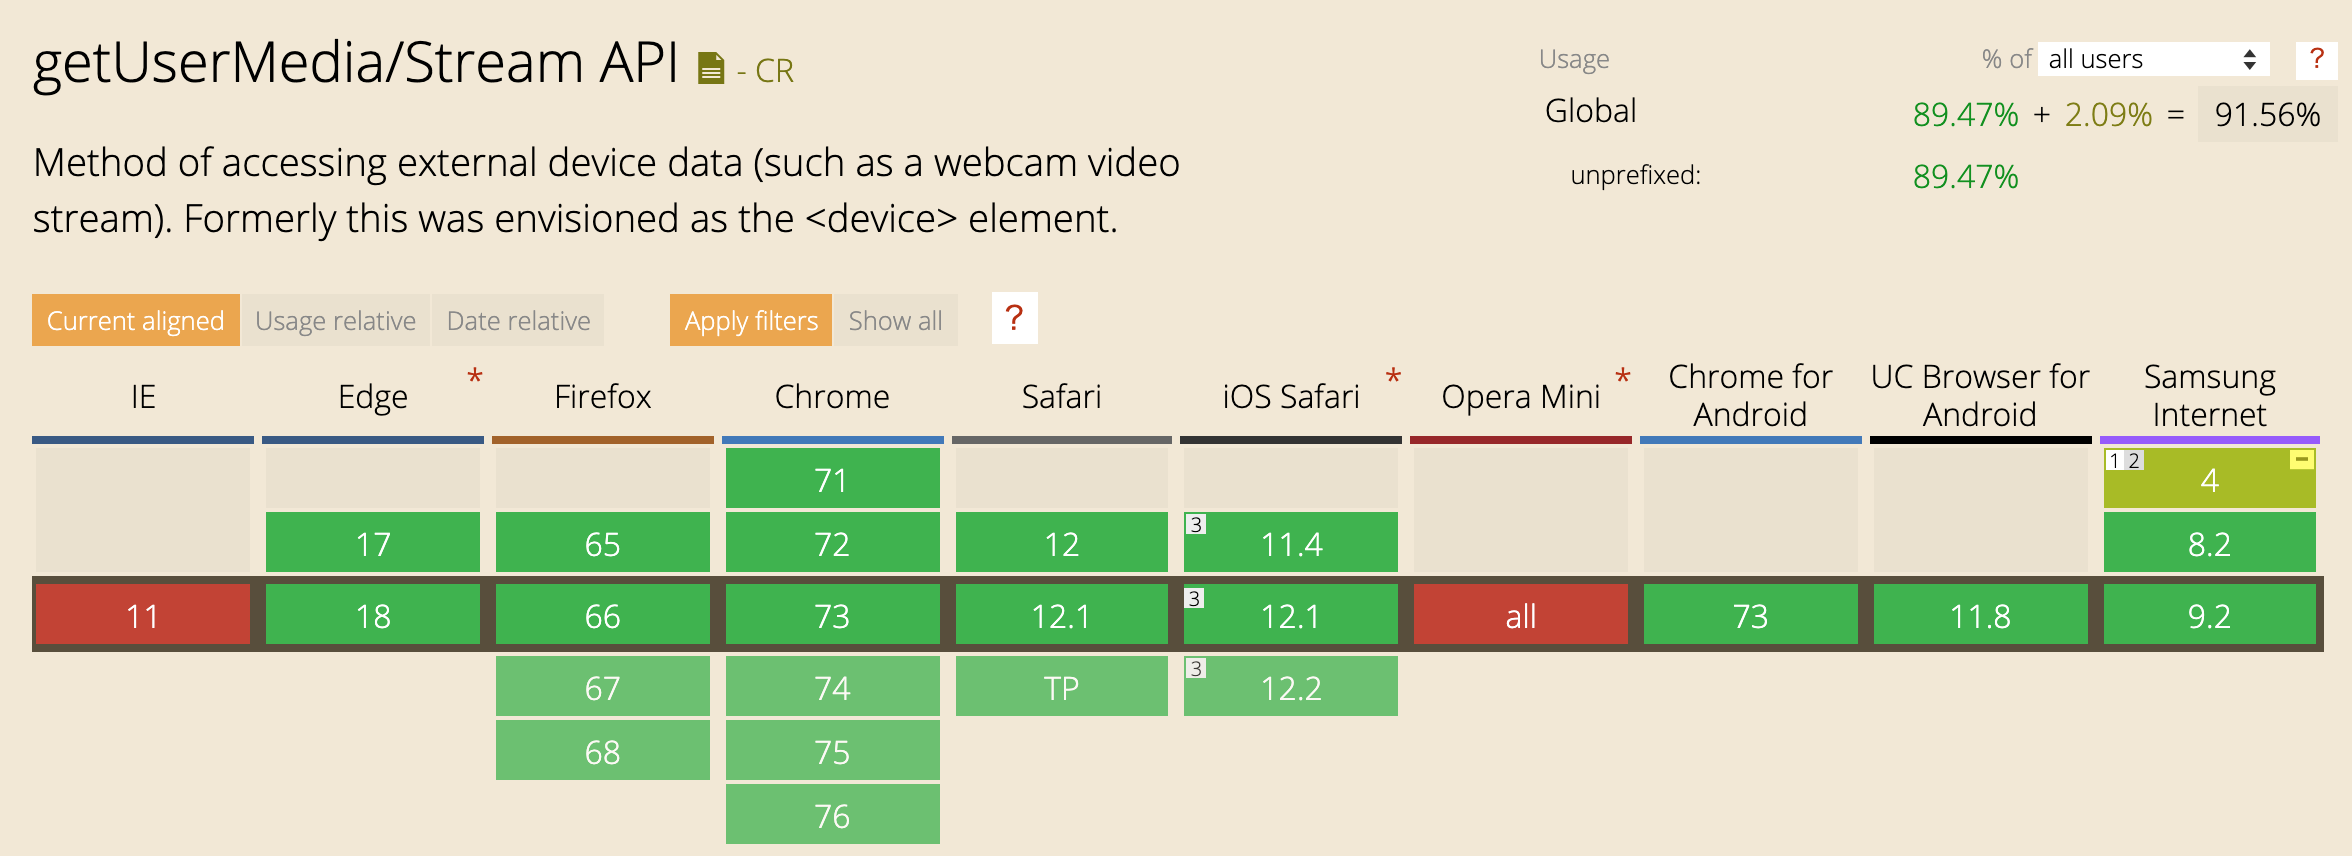
getUserMedia
 参照:[getUserMedia/Stream API](https://caniuse.com/#search=getusermedia)
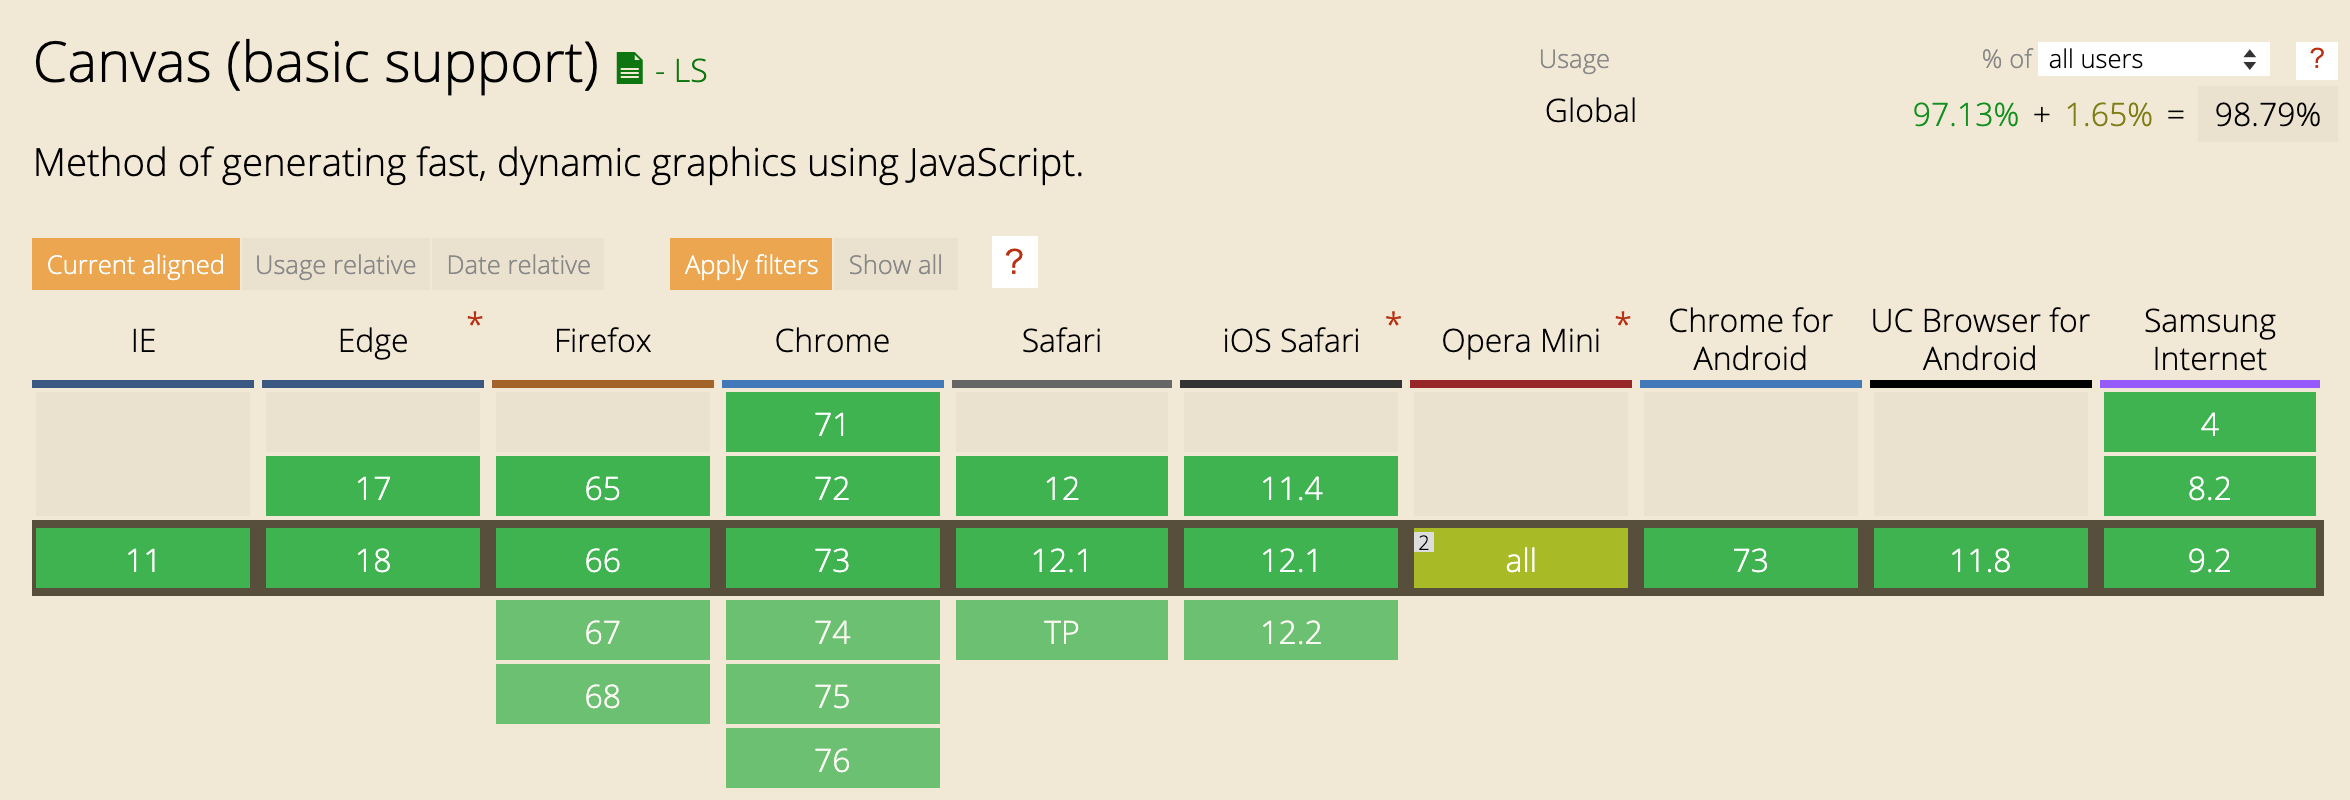
canvas
 参照:[Canvas (basic support)](https://caniuse.com/#search=canvas)
ゴール
ソース
javascript
js/index.js
/*
 *  Copyright (c) 2015 The WebRTC project authors. All Rights Reserved.
 *
 *  Use of this source code is governed by a BSD-style license
 *  that can be found in the LICENSE file in the root of the source
 *  tree.
 */

'use strict';

const snapshotButton = document.querySelector('button');
const filterSelect = document.querySelector('select#filter');

const video = window.video = document.querySelector('video');
const canvas = window.canvas = document.querySelector('canvas');
canvas.width = 480;
canvas.height = 360;

snapshotButton.onclick = function () {
  canvas.width = video.videoWidth;
  canvas.height = video.videoHeight;
  canvas.className = filterSelect.value;
  canvas.getContext('2d').drawImage(video, 0, 0, canvas.width, canvas.height);
};

filterSelect.onchange = function () {
  video.className = filterSelect.value;
};

const constraints = {
  audio: false,
  video: true
};

function handleSuccess(stream) {
  window.stream = stream;
  video.srcObject = stream;
}

function handleError(error) {
  console.log('navigator.MediaDevices.getUserMedia error: ', error.message, error.name);
}

navigator.mediaDevices.getUserMedia(constraints).then(handleSuccess).catch(handleError);
html
html/index.html
<!DOCTYPE html>
<!--
 *  Copyright (c) 2015 The WebRTC project authors. All Rights Reserved.
 *
 *  Use of this source code is governed by a BSD-style license
 *  that can be found in the LICENSE file in the root of the source
 *  tree.
-->
<html lang="jp">
<head>
  <meta charset="UTF-8">
  <meta name="viewport" content="width=device-width, initial-scale=1.0">
  <meta http-equiv="X-UA-Compatible" content="ie=edge">
  <title>getUserMedia() with canvas</title>
<link rel="stylesheet" href="style.css">
</head>
<body>

  <h1>webRTC - getUserMedia with canvas</h1>
  <video playsinline autoplay></video>
  <div>
    <label for="filter">フィルター: </label>
    <select id="filter">
      <option value="none">なし</option>
      <option value="blur">Blur</option>
      <option value="grayscale">Grayscale</option>
      <option value="invert">Invert</option>
      <option value="sepia">Sepia</option>
    </select>
    <button>撮影する</button>
  </div>
  <canvas></canvas>

<script src="https://webrtc.github.io/adapter/adapter-latest.js"></script>
<script src="index.js" async></script>
</body>
</html>
css
css/style.css
.none {
    -webkit-filter: none;
    filter: none;
}
.blur {
    -webkit-filter: blur(3px);
    filter: blur(3px);
}
.grayscale {
    -webkit-filter: grayscale(1);
    filter: grayscale(1);
}
.invert {
    -webkit-filter: invert(1);
    filter: invert(1);
}
.sepia {
    -webkit-filter: sepia(1);
    filter: sepia(1);
}
button#snapshot {
    margin: 0 10px 25px 0;
    width: 110px;
}
video {
    object-fit: cover;
}
説明
javascript/index.js
const snapshotButton = document.querySelector('button');
const filterSelect = document.querySelector('select#filter');

const video = window.video = document.querySelector('video');
const canvas = window.canvas = document.querySelector('canvas');
- 各種要素を取得する。
javascript/index.js
snapshotButton.onclick = function () {
  canvas.width = video.videoWidth;
  canvas.height = video.videoHeight;
  canvas.className = filterSelect.value;
  canvas.getContext('2d').drawImage(video, 0, 0, canvas.width, canvas.height);

  filterSelect.onchange = function () {
    video.className = filterSelect.value;
  };
};
- 撮影ボタンが押されたら、まずビデオのサイズを取得する。
- その後、フィルターの値をcanvasにわたす。
- canvasに描画するために
getContext()を呼び出す。 - canvas上に画像を表示させるために
drawImage()を呼び出す。
javascript/index.js
const constraints = {
  audio: false,
  video: true
};

function handleSuccess(stream) {
  window.stream = stream;
  video.srcObject = stream;
}

function handleError(error) {
  console.log('navigator.MediaDevices.getUserMedia error: ', error.message, error.name);
}

navigator.mediaDevices.getUserMedia(constraints).then(handleSuccess).catch(handleError);
-
getUserMedia()を実行して、ブラウザからデバイスのカメラ映像を取得する。 -
getUserMedia()が成功したら、取得したmediaStreamをvideo要素のsrcにわたす。 - 失敗したらブラウザのコンソールにエラーを表示する。
ひとこと
- 何に使えるかわからないけど、見た目が変わるのは楽しい。
