秋葉原のLED専門店でLEDライトとArduino Nano互換機を買いました。
LEDテープは100Vのものを買うと電源から取らないといけない。
モバイルバッテリーから動かしたかったので5Vのものを購入。
ICがついてるタイプである必要もある。
NeoPixel RGBを買いました。
Jumper wiresはオスオスのん。

必要なもの一覧
– Arduino Nano
– Jumper wires
– Breadboard
– WS2812B-based LED strip
IDEをインストール
Arduino Software (IDE) on OS X
https://www.arduino.cc/en/Guide/MacOSX
繋げる


コード
この通りやれば良い
# include "FastLED.h"
# define DATA_PIN 3
# define LED_TYPE WS2812B
# define COLOR_ORDER GRB
# define NUM_LEDS 30
# define BRIGHTNESS 96
CRGB leds[NUM_LEDS];
void setup() {
  delay(3000); // initial delay of a few seconds is recommended
  FastLED.addLeds<LED_TYPE,DATA_PIN,COLOR_ORDER>(leds, NUM_LEDS).setCorrection(TypicalLEDStrip); // initializes LED strip
  FastLED.setBrightness(BRIGHTNESS);// global brightness
}
...
略
ライブラリをインストール


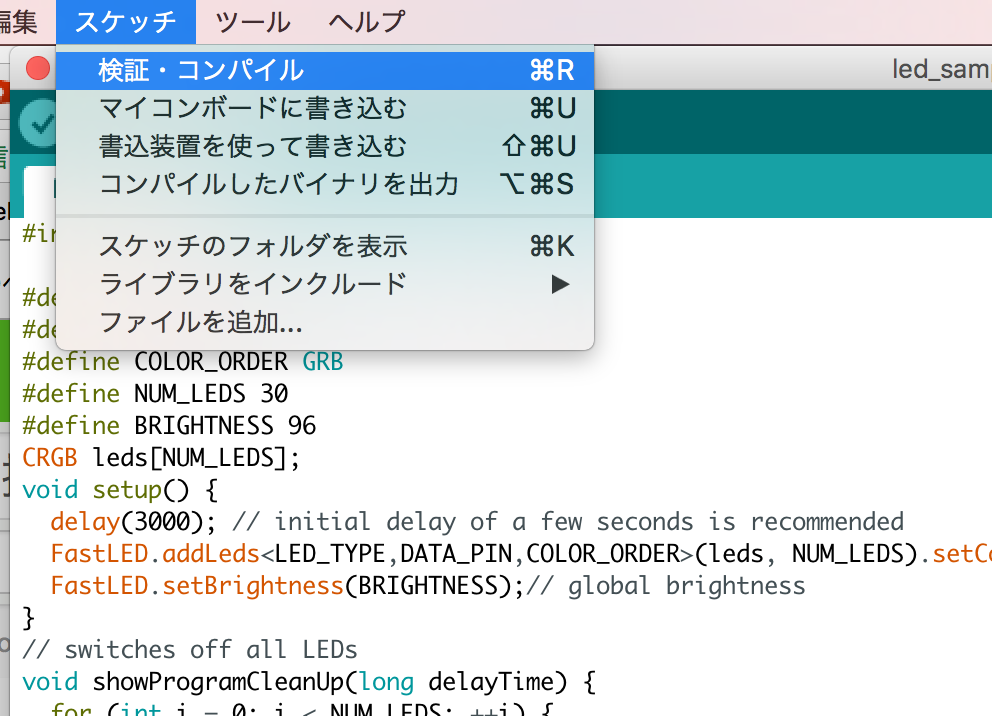
コンパイル
マイコンボードに書き込む

光るはず。