動機
- Jupyter Notebook を複数人で使いたいと言われた。
- 大掛かりにはしなくていい(したくない)・・
- JupyterHubの出番だが、デフォルトはPAM認証。つまり、Linuxユーザが事前に必要。
- 何人利用したいかわからないし、用意がめんどくさい・・・
- ID連携すれば、ユーザープロビジョニングができる。つまり、自動化できてラク!
- 今回は、オンプレで利用していたGitLabが使えた。
- そのときの備忘録。
環境
- GitLab Community Edition 12.7.5
- JupyterLab 1.2.6 + hub-extension (JupyterHub 1.1.0)
- Docker 19.04
- Docker Compose 1.25.3
- オンプレ環境
構築手順
1. GitLab: IDプロバイダーの設定
- Admin(ルート)ユーザでログイン。(一般ユーザでもいいかもだが、未検証)
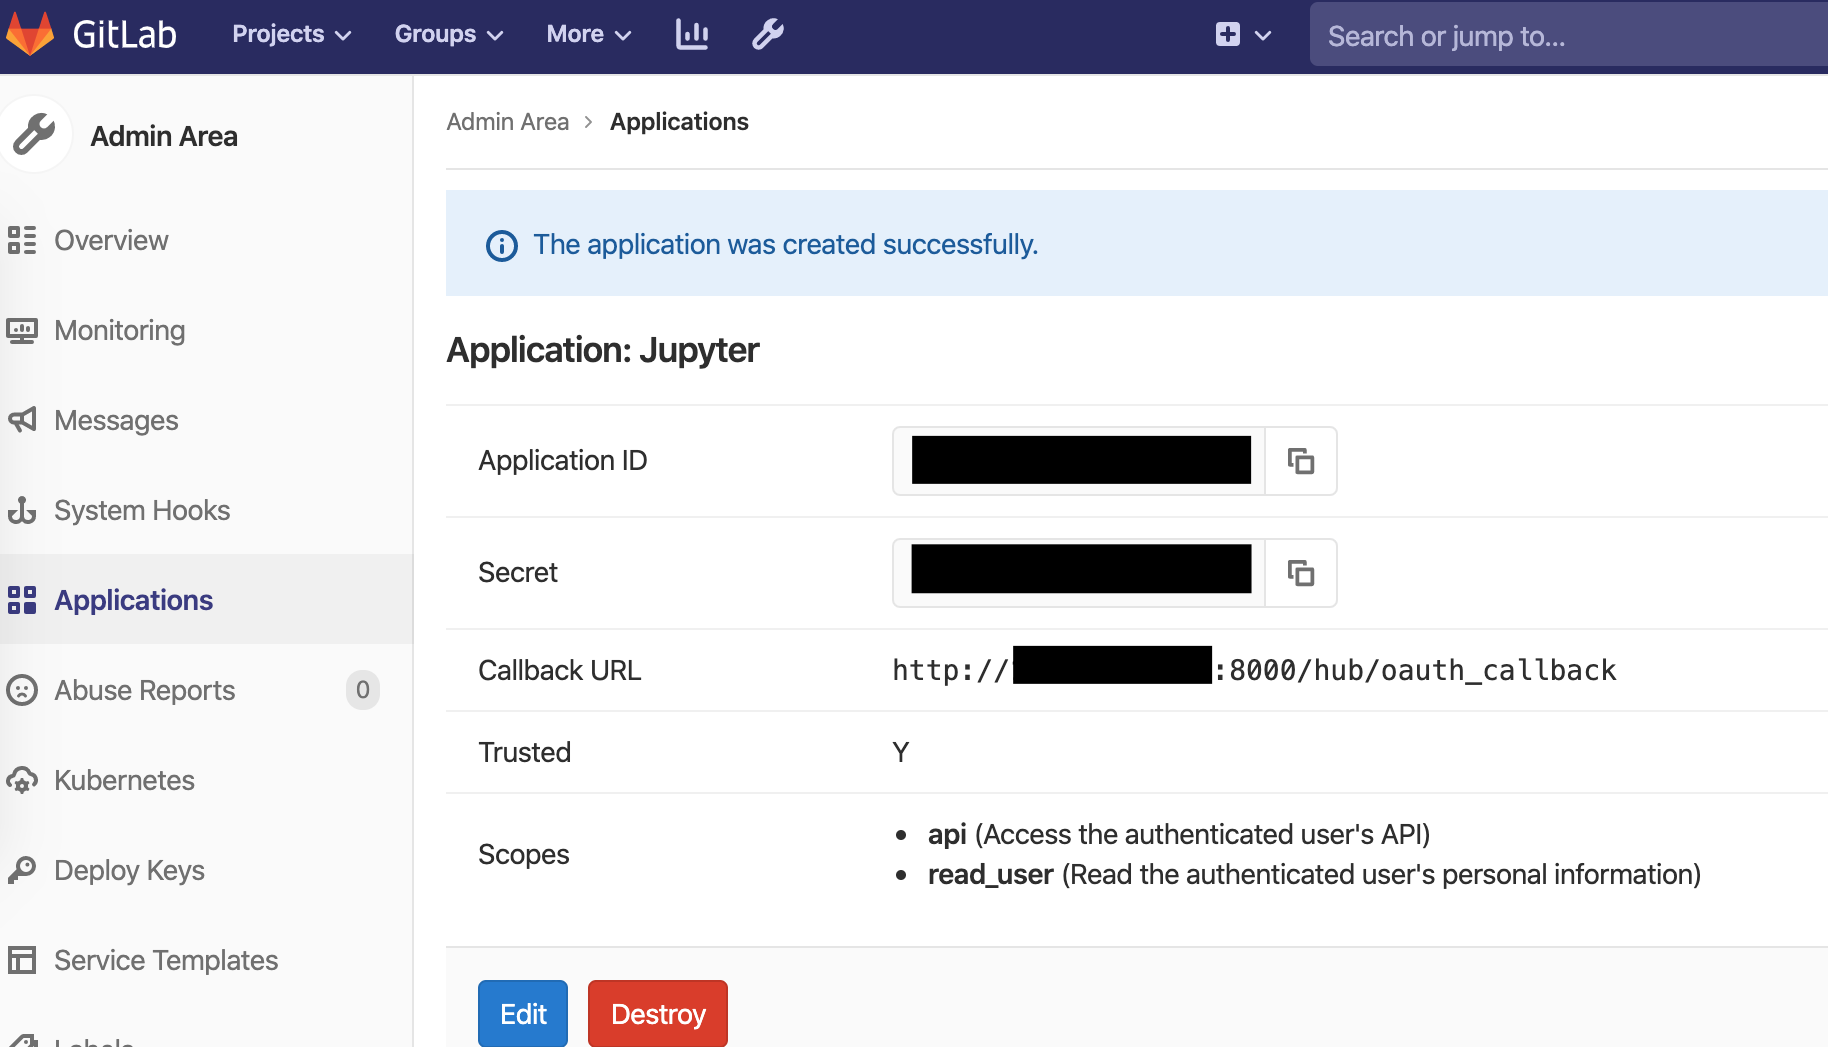
- 「Admin Area」→「Application」→「New Application」を選択し、新規作成。
- 「api」、「read_user」を許可する。
- 「Callback URL」は、認証後にJupyterに戻るための情報。Jupyterにアクセスするホスト情報を塗り潰しに補完。
- Application作成後に表示される、「Application ID」、「Secret」を控えておく。


2. JupyterLab + hub-extension の起動
設定ファイルを作成
今回は特にJupyterHubに関連する設定なので、JupyterHubのデフォルト設定からいじります。
以下、生成コマンド例。ただし、出力した設定ファイルがROOTの所有物になる。(chownとか必要)
docker run --rm -v ${PWD}:/etc/jupyterhub jupyterhub/jupyterhub jupyterhub --generate-config -f /etc/jupyterhub/jupyterhub_config.py
設定ファイルを編集
追加する設定は以下。(詳細は、その下に。)
from oauthenticator.gitlab import LocalGitLabOAuthenticator

c.JupyterHub.authenticator_class = LocalGitLabOAuthenticator
c.LocalAuthenticator.create_system_users = True

c.Spawner.default_url = '/lab'
c.Authenticator.admin_users = {'admin', }
- 必須
c.JupyterHub.authenticator_class-
c.LocalAuthenticator.create_system_users
認証・プロビジョニングするため。
OAuthenticatorについて
... Localがついていると、ローカルユーザの自動生成が効く。(最初付けてなくてハマった)
- 任意
-
c.Spawner.default_url: ログイン後、JupyterLabを使うため。 -
c.Authenticator.admin_users: JupyterHubのAdminユーザの指定。
-
各ファイルを配置
以下のDockerfile、YAMLを適宜修正し、設定ファイルとあわせ配置する。
※ 例なので、データ永続化などしてないので注意。
.
 |- dockerfile
 |      |- Jupyter.dockerfile
 |- docker-compose.yml
 |- jupyterhub_config.py
FROM nvidia/cuda:10.1-cudnn7-devel-ubuntu18.04

RUN apt update && \
    apt install -y python3 python3-pip npm nodejs && \
    npm install -g configurable-http-proxy && \
    pip3 install jupyterlab oauthenticator && \
    jupyter labextension install @jupyterlab/hub-extension
version: "2.3"

services:
  jupyter:
    build:
      - context: dockerfile
      - dockerfile: Jupyter.dockerfile
    runtime: nvidia
    ports:
      - "8000:8000"
    volumes:
      - "./jupyterhub_config.py:/etc/jupyterhub_config.py"
    environment:
      - GITLAB_URL=http://<GitLabのURL>
      - OAUTH_CALLBACK_URL=先ほどの「Callback URL」
      - GITLAB_CLIENT_ID=先ほどの「Application ID」
      - GITLAB_CLIENT_SECRET=先ほどの「Secret」
    command: jupyterhub -f /etc/jupyterhub_config.py
起動
docker-compose build
docker-compose up -d
3. 動作確認
Jupyterにアクセス
→ GitLabへのリダイレクト画面が出る(画面1)
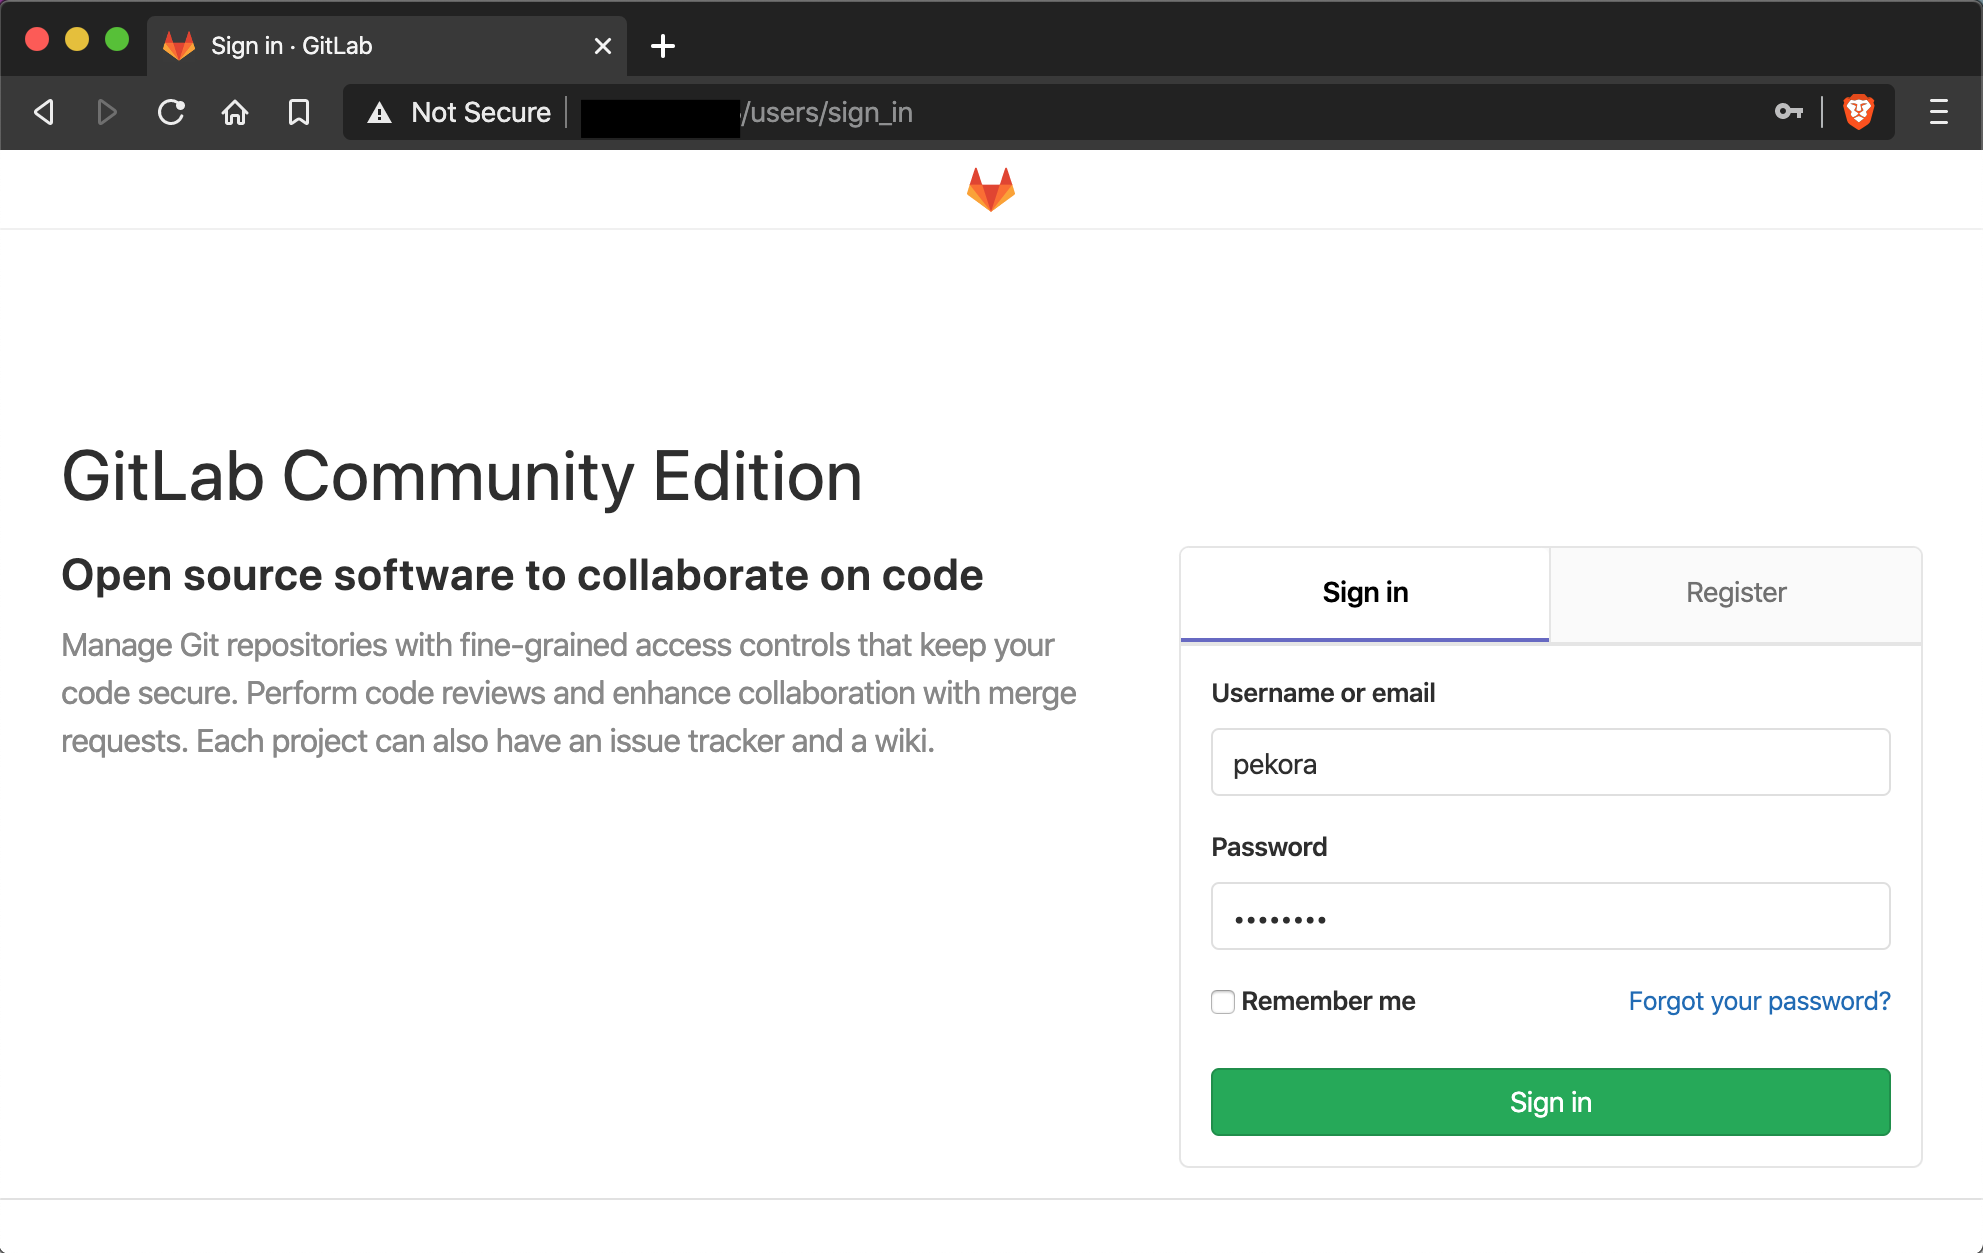
→ GitLabで認証する(画面2)
→ JupyterHubにリダイレクト(画面3)
→ ログイン完了済&領域自動確保(Linuxユーザ自動作成)(画面4)


4. 注意点
GitLabのユーザ名に「. (dot)」が含まれていると、Linux側のユーザ作成に失敗しJupyterLabが立ち上がらないので、注意。
例) pekora.usada はNG。 pekora_usada はOK。
※ 少なくとも自分が試したときには。
おわり
KubeFlowでなにかやりたい。。