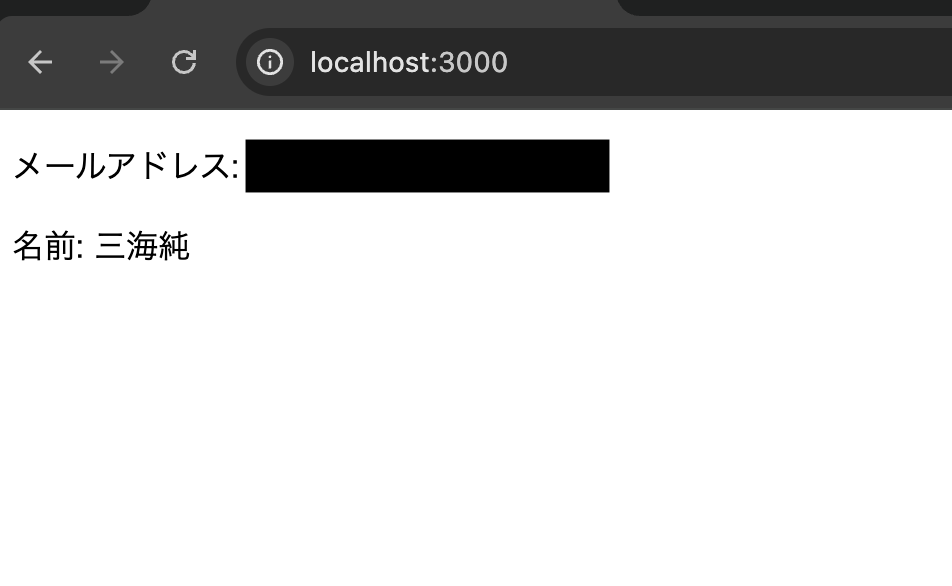
はじめに
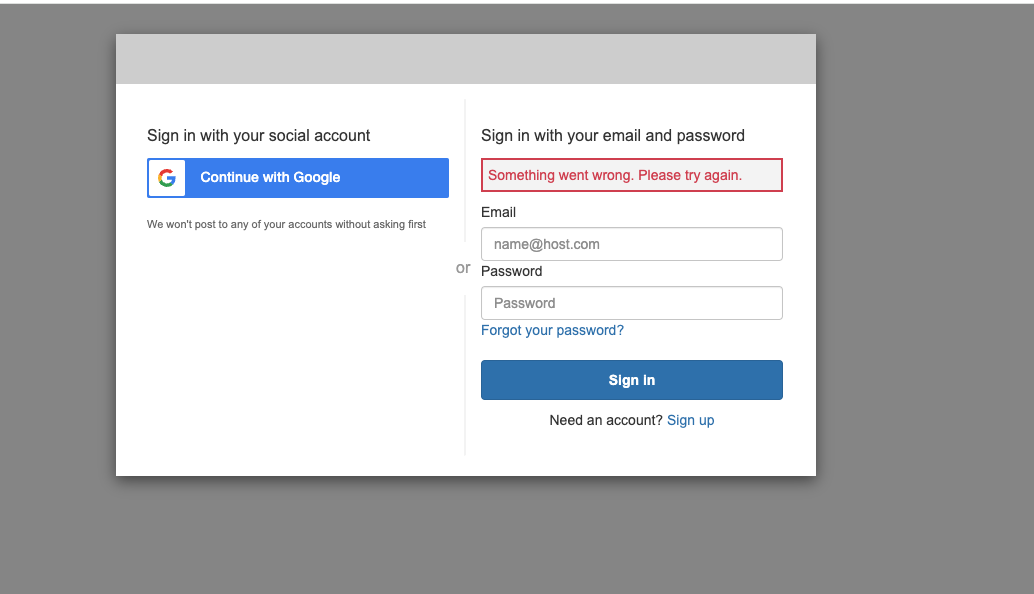
Next.jsとCognitoを使ったGoogle認証を実装する際、デフォルトのCognitoのUIでは認証画面が英語で表示されるという課題がありました。
また、日本語化の解決策としてAWS Amplifyを使う方法が紹介されていますが、最新のバージョンでは対応していない可能性がありました。
本記事では、これらの課題を踏まえ、NextAuth.jsとAWS SDKを用いた認証の実装方法を紹介します。
目次
サンプルリポジトリ
前提事項
- AWSのアカウント作成済であること
- Google Cloud コンソール アカウント作成済であること
記事公開時点でのNext.jsのバージョンは14系です。
15系にするとnext-authをインストールするときにエラーが出るかもしれません
Cognito設定
CognitoでGoogle認証する方法は下記記事がとてもわかりやすかったので記事通りに行えば問題ないと思います。
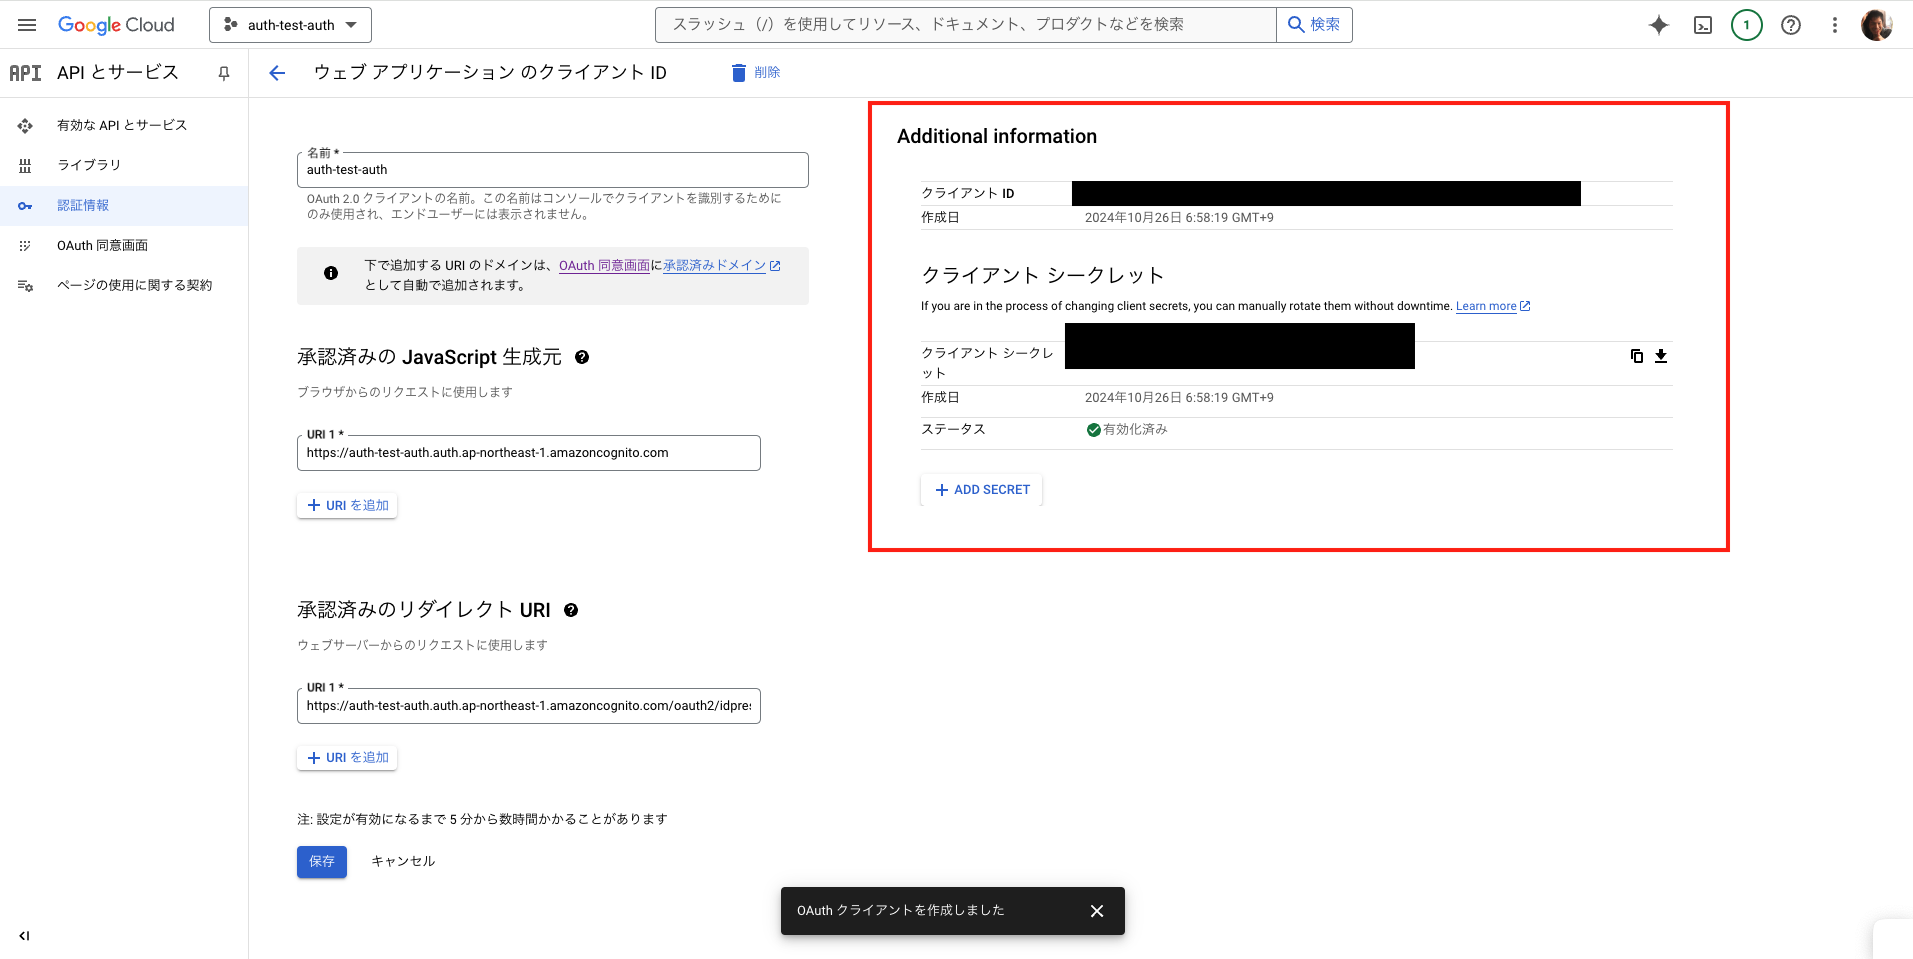
上記記事と違う箇所は承認済リダイレクトURLにアプリケーションのURIを追加する必要があります。
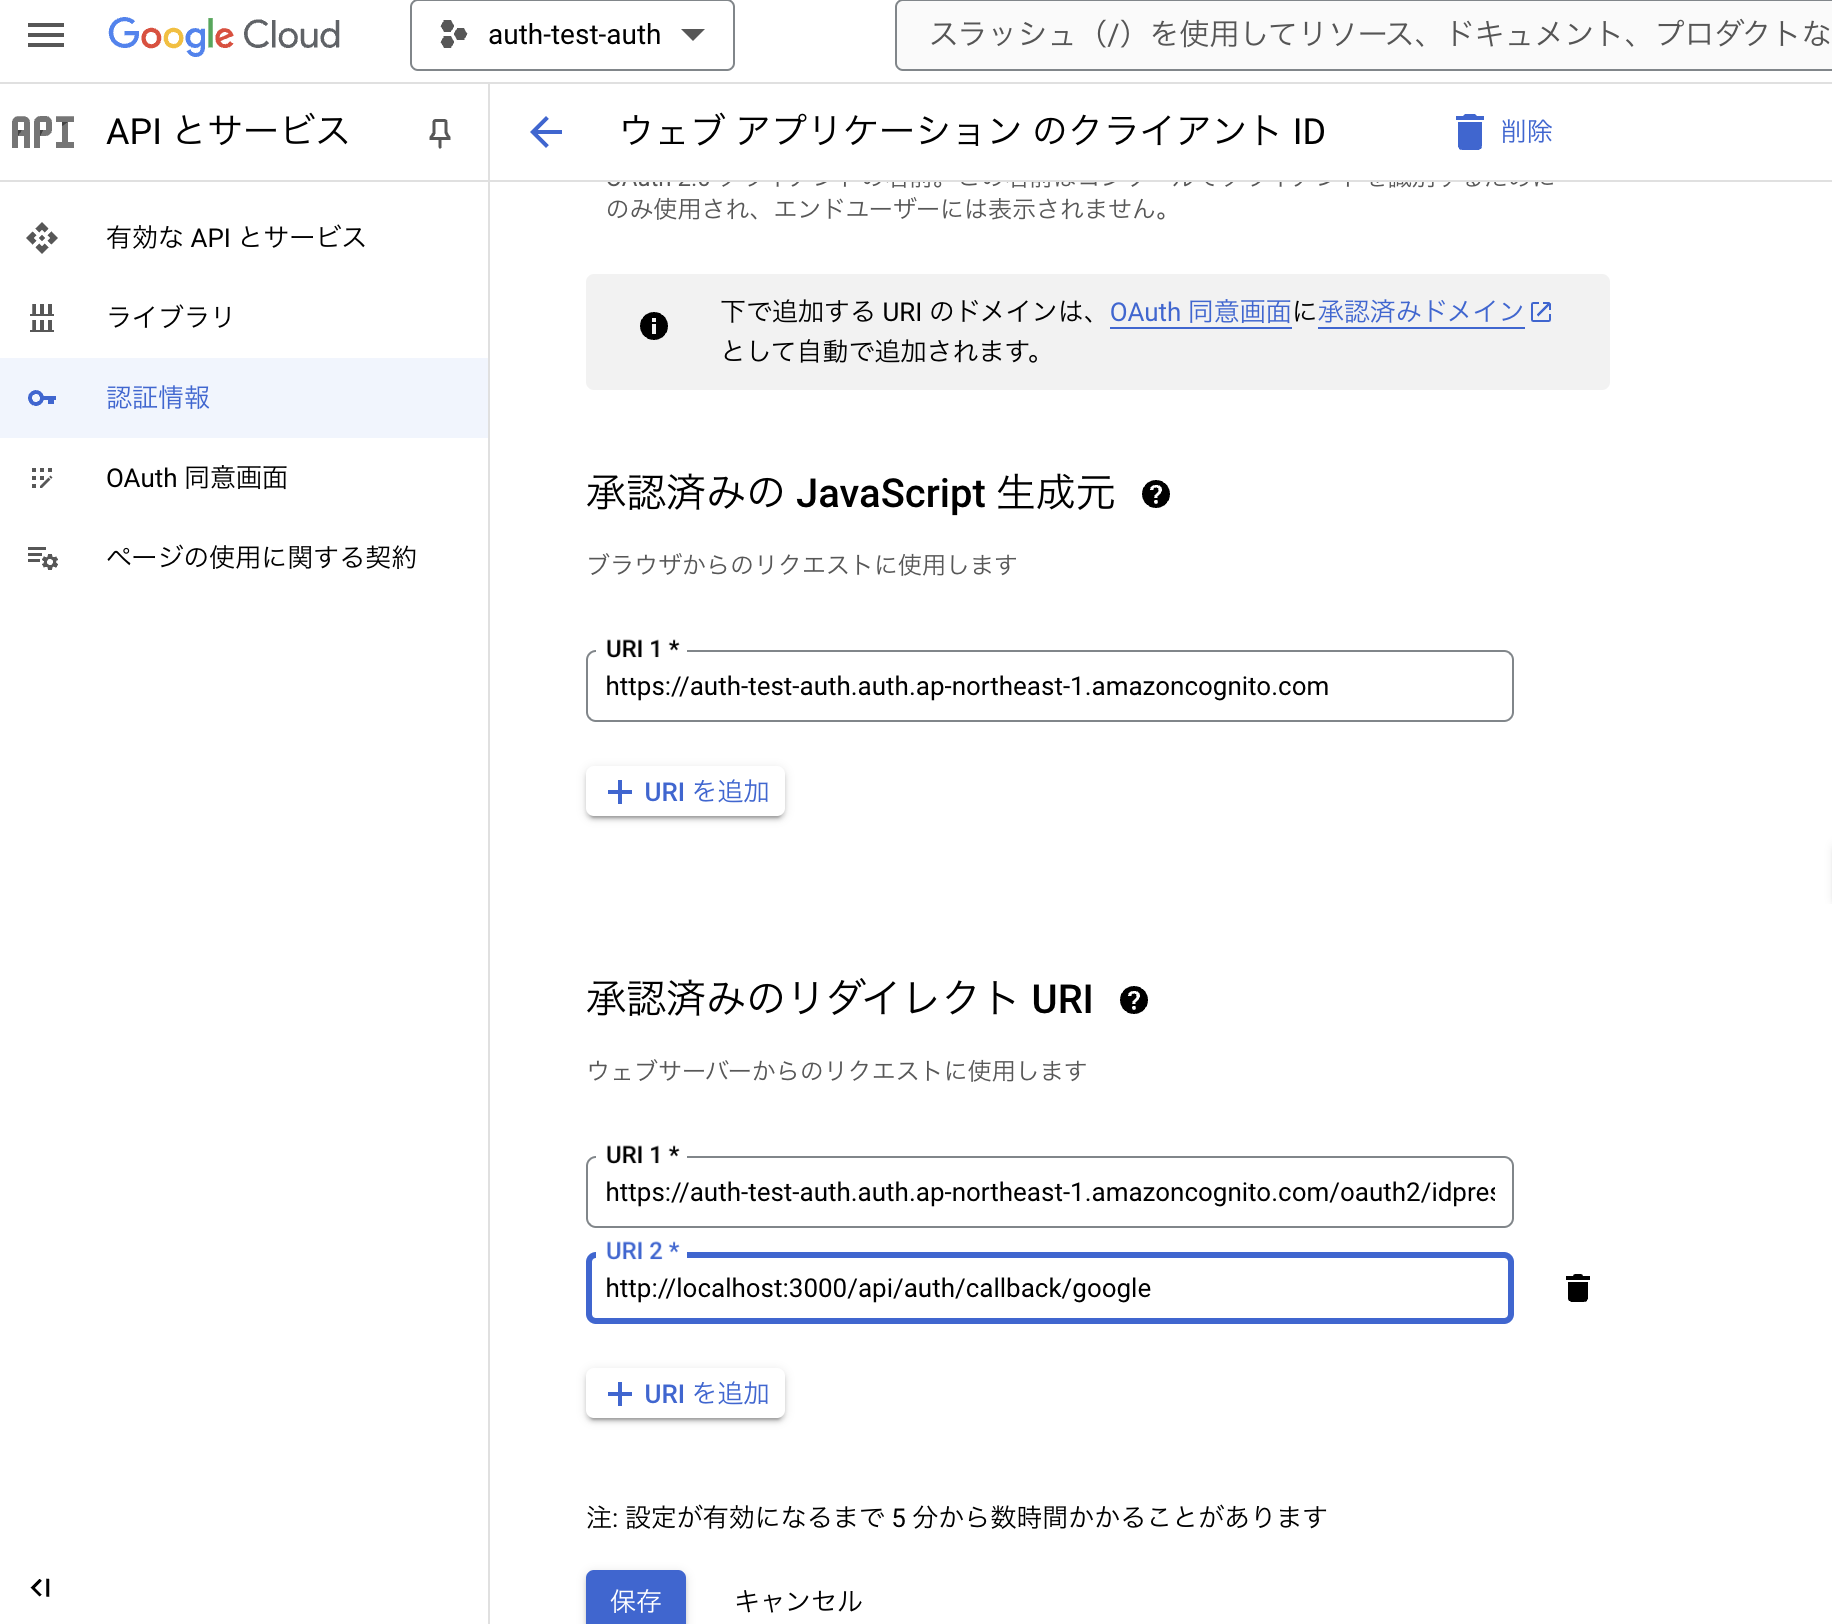
補足
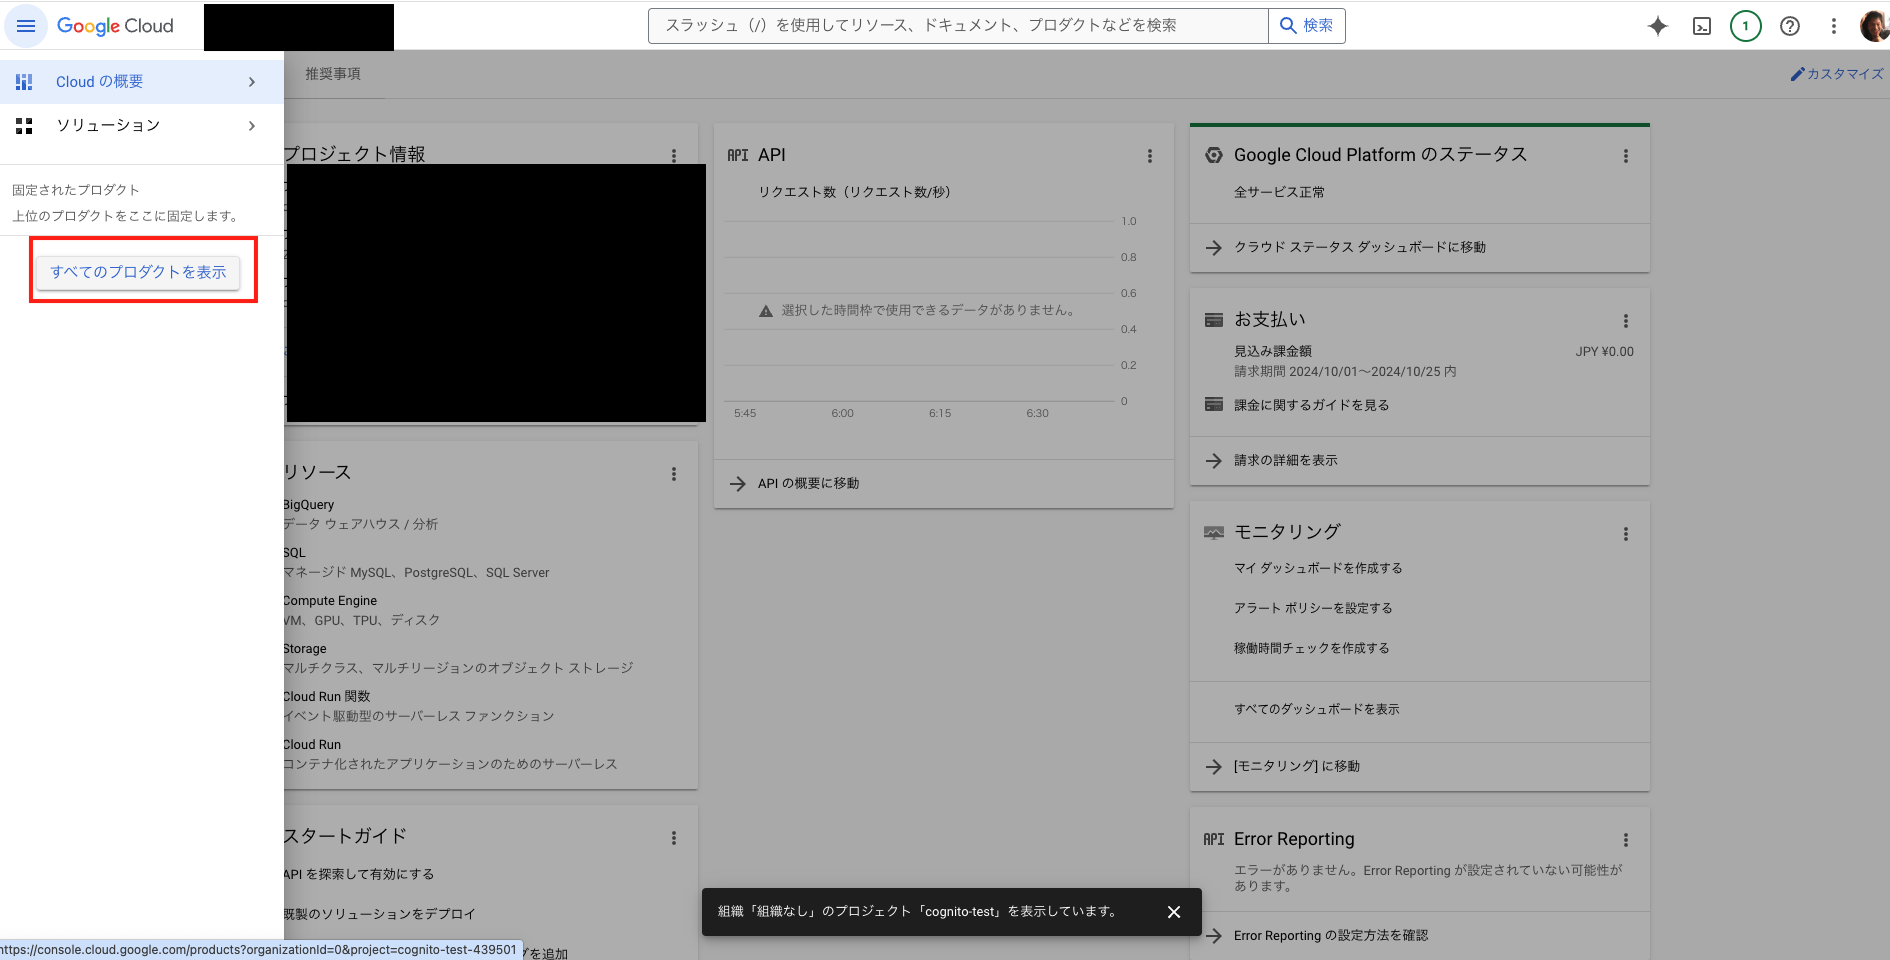
Googleのプロジェクト作成後のサイドバーで、OAuth同意画面がどこにあるか迷うことがあるため、以下の画像を参考にしてください。サイドバーの「APIとサービス」をクリックし、「OAuth同意画面」メニューが表示されます。
環境構築変数確認
COGNITO_REGION=ap-northeast-1
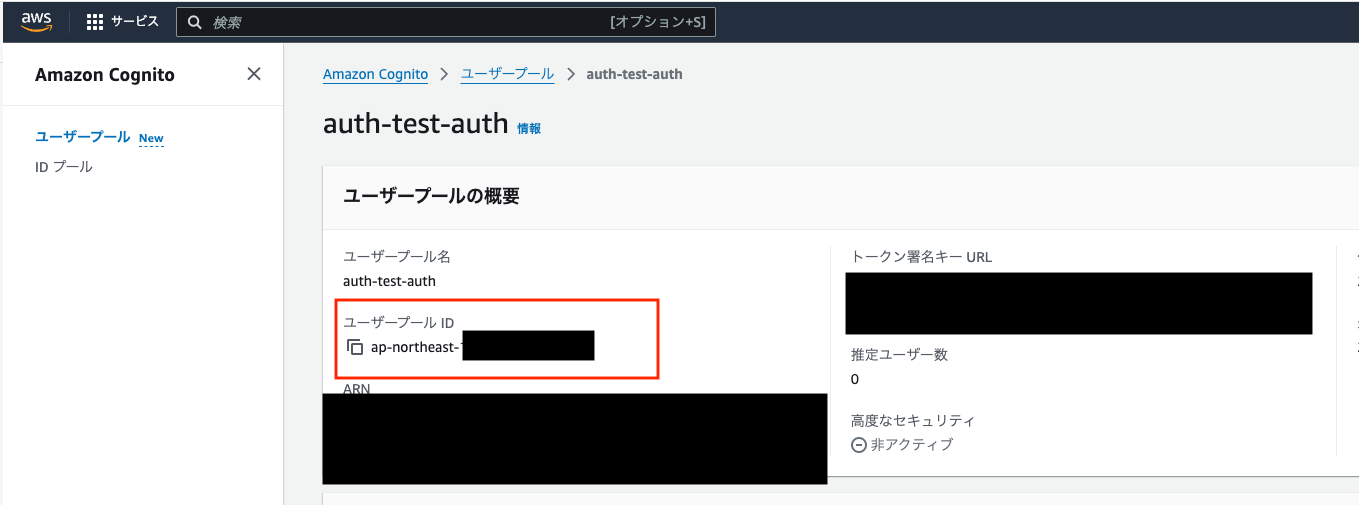
COGNITO_USER_POOL_ID=
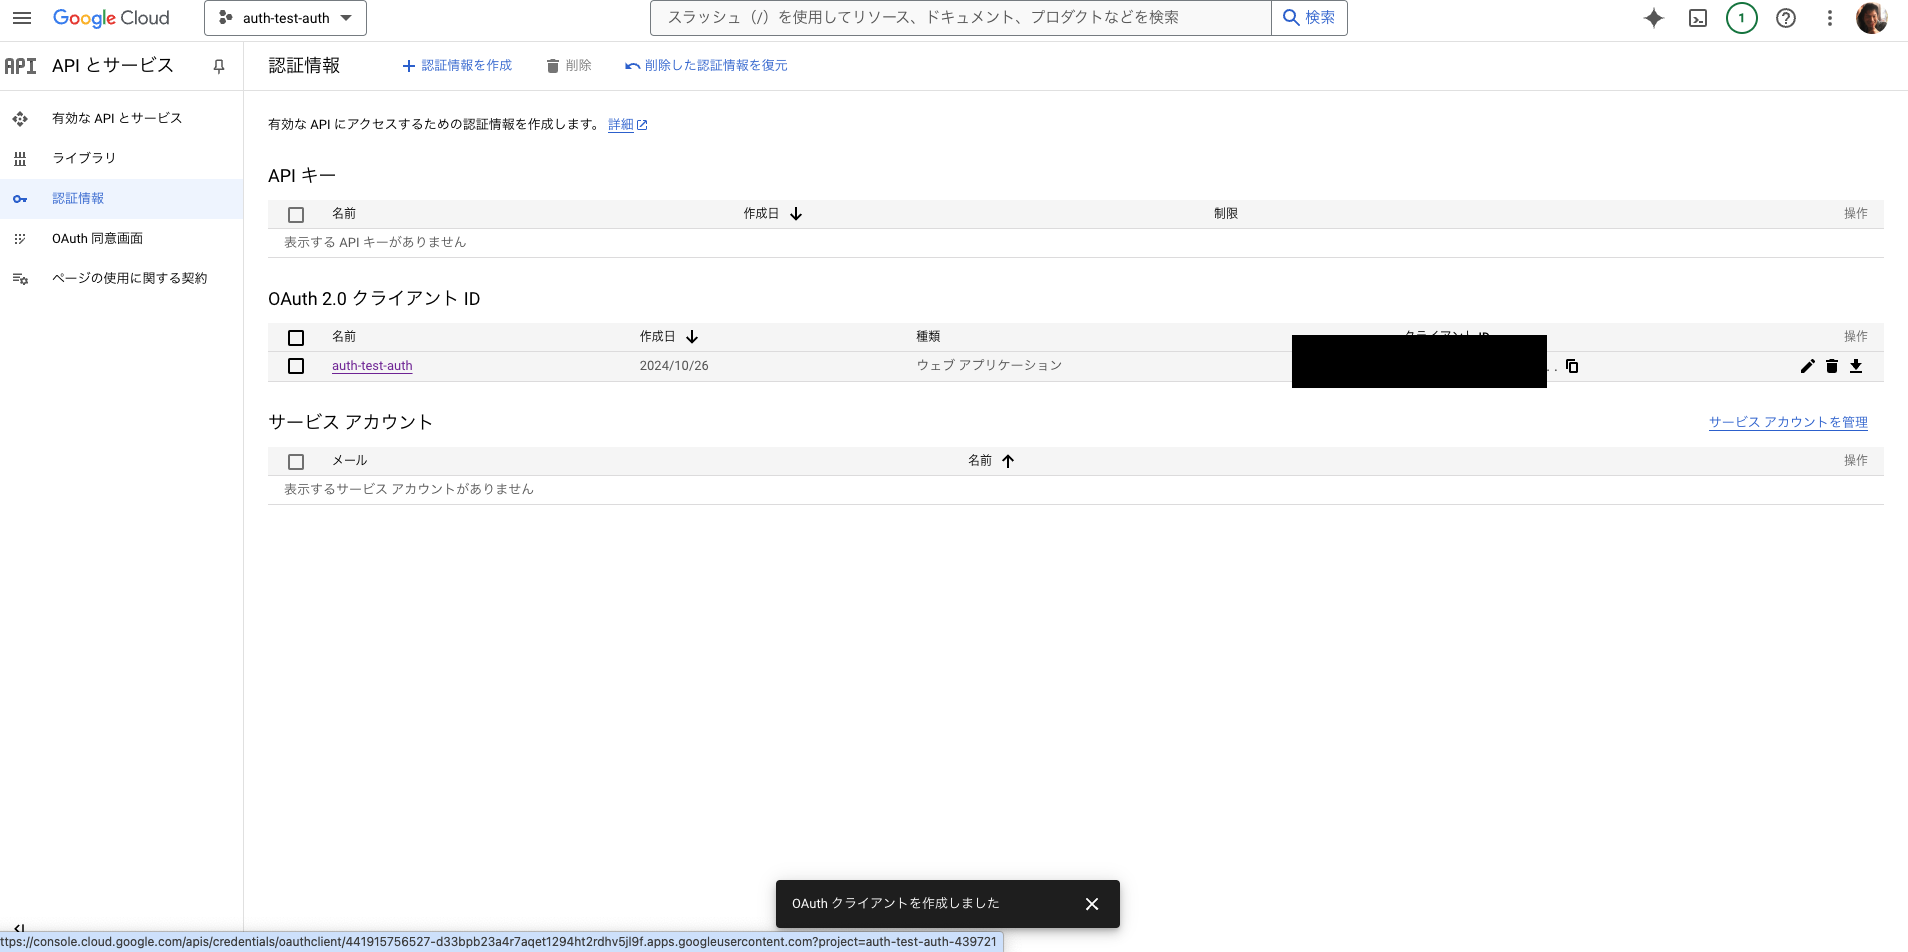
GOOGLE_CLIENT_ID=
GOOGLE_CLIENT_SECRET=
NEXT_PUBLIC_BASE_URL=http://localhost:3000
COGNITO_USER_POOL_ID
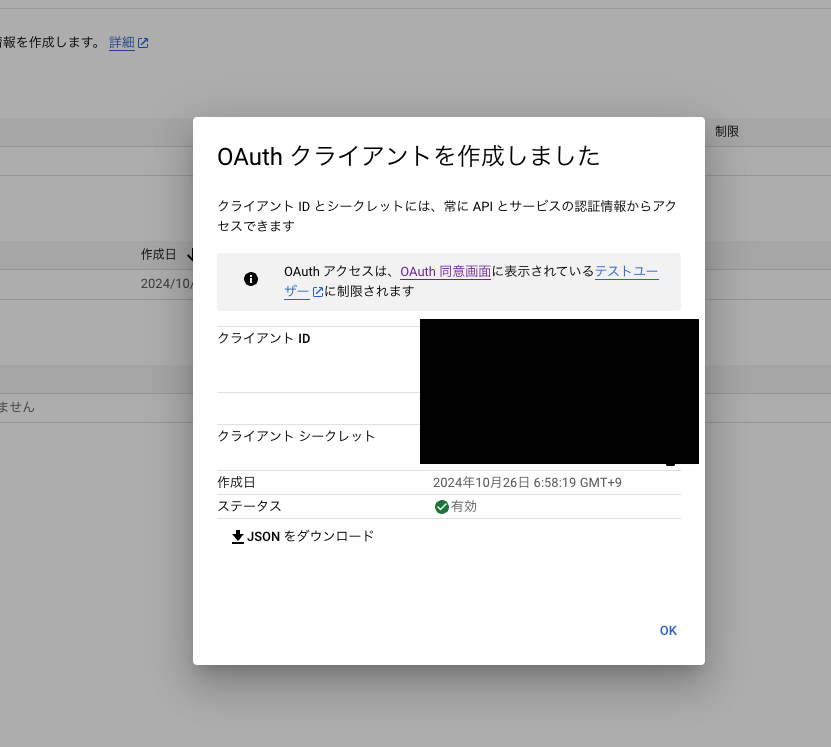
GOOGLE_CLIENT_IDとGOOGLE_CLIENT_SECRET
OAuthクライアント作成時に表示されるモーダルまたはダウンロードしたJSONで確認できます。
フロントエンド環境構築
下記コマンドでサクッと作ります。
npx create-next-app@latest
npm install @aws-sdk/client-cognito-identity-provider aws-sdk next-auth --save
next-authで依存エラーが発生した場合Next.jsやReact.jsのverを変更します。
変更箇所
package.jsonでバージョンを変更し、npm installし直します。
  "dependencies": {
    "next": "14.2.16",
    "react": "^18",
    "react-dom": "^18"
  }
コーティング
まずはnext-authの設定。
下記記事の通り外部ファイルに切り出します。
import type { NextAuthOptions } from "next-auth"
import NextAuth, { getServerSession } from 'next-auth';
import GoogleProvider from 'next-auth/providers/google';
import {
  CognitoIdentityProviderClient,
  AdminCreateUserCommand,
  AdminGetUserCommand,
  AdminCreateUserRequest,
} from '@aws-sdk/client-cognito-identity-provider';
import crypto from 'crypto';

const cognitoClient = new CognitoIdentityProviderClient({
  region: process.env.COGNITO_REGION,
});

/**
 * Cognitoにユーザーが存在するか確認する
*/
async function checkUserExists(email: string): Promise<boolean> {
  try {
    await cognitoClient.send(
      new AdminGetUserCommand({
        UserPoolId: process.env.COGNITO_USER_POOL_ID!,
        Username: email,
      })
    );
    return true;
  } catch (error) {
    // NOTE: ユーザーが存在しない場合はUserNotFoundExceptionが発生する。この時は後続処理を続行するためfalseを返す
    if ((error as { name: string }).name === 'UserNotFoundException') {
      return false;
    } else {
      console.error('Failed to check user existence in Cognito:', error);
      throw error;
    }
  }
}

/**
 * Cognitoにユーザーを作成する
*/
async function createUserInCognito(email: string, name: string) {
  const params: AdminCreateUserRequest = {
    UserPoolId: process.env.COGNITO_USER_POOL_ID!,
    Username: email,
    UserAttributes: [
      {
        Name: 'email',
        Value: email,
      },
      {
        Name: 'name',
        Value: name,
      },
      {
        Name: 'email_verified',
        Value: 'true',
      },
    ],
    // NOTE: Googleのユーザーはパスワードメールを受け取らないため、パスワードリセットを強制する
    MessageAction: 'SUPPRESS',
  };

  try {
    const command = new AdminCreateUserCommand(params);
    await cognitoClient.send(command);
  } catch (error) {
    throw error;
  }
}

export const generateSecretHash = (username: string): string => {
  return crypto
    .createHmac('SHA256', process.env.COGNITO_CLIENT_SECRET!)
    .update(username + process.env.COGNITO_CLIENT_ID!)
    .digest('base64');
};

const authOptions: NextAuthOptions = {
  secret: "secret",
  providers: [
    GoogleProvider({
      clientId: process.env.GOOGLE_CLIENT_ID!,
      clientSecret: process.env.GOOGLE_CLIENT_SECRET!,
    }),
  ],
  callbacks: {
    async signIn({ user, account }) {
      if (account?.provider === 'google') {
        try {
          const userExists = await checkUserExists(user.email!);

          if (!userExists) {
            await createUserInCognito(user.email!, user.name || '');
          }
        } catch (error) {
          console.error('Failed to create user in Cognito:', error);
          return false;
        }
      }
      return true;
    },
  },
}

export const getServerAuthSession = () => getServerSession(authOptions);
export const handlers = NextAuth(authOptions);
次にAPIルートを作成します
import { handlers } from "@/lib/auth";
export { handlers as GET, handlers as POST };
ログイン画面実装していきます。
"use client";

import { signIn } from 'next-auth/react';

const LoginForm = () => {
  const handleGoogleSignIn = async () => {
    try {
      await signIn('google', {
        callbackUrl: process.env.NEXT_PUBLIC_BASE_URL,
        redirect: false,
      });
    } catch (error) {
      console.error('Google Sign in failed', error);
    }
  };

  return (
    <button
      onClick={handleGoogleSignIn}
      style={{
        padding: '10px 20px',
        backgroundColor: '#4285F4',
        color: '#fff',
        border: 'none',
        borderRadius: '5px',
        fontSize: '16px',
        cursor: 'pointer',
        transition: 'background-color 0.3s ease',
      }}
    >
      Googleでログイン
    </button>
  );
};

export default LoginForm;
/にアクセスした時のコンポーネント定義。
認証済の場合はユーザー情報を表示させます。
import React from 'react';
import { getServerAuthSession } from '@/lib/auth';
import { Session } from 'next-auth';
import LoginForm from '@/component/LoginForm';

export default async function Home() {
    const session: Session | null = await getServerAuthSession();

    return (
        <main>
            {session ? (
                <div>
                    <p>メールアドレス: {session.user?.email}</p>
                    <p>名前: {session.user?.name}</p>
                </div>
            ) : (
                <LoginForm />
            )}
        </main>
    );
}
LayoutにSessionProviderを定義。
(本来はlayout.tsxをクライアントコンポーネントしないと思いますが、簡略化するために今回はクライアントコンポーネントにしました)
"use client";

import { SessionProvider } from 'next-auth/react';

export default function RootLayout({ children }: { children: React.ReactNode }) {
  return (
    <html lang="jp">
      <body>
        <SessionProvider>
          {children}
        </SessionProvider>
      </body>
    </html>
  );
}
最後に環境変数を定義
詳細は 環境構築変数確認 参照
COGNITO_REGION=ap-northeast-1
COGNITO_USER_POOL_ID=ap-northeast-1_xxxxxxxxxxx
GOOGLE_CLIENT_ID=xxxxxxxxxxx.apps.googleusercontent.com
GOOGLE_CLIENT_SECRET=xxxxxxxxxxxxx
NEXT_PUBLIC_BASE_URL=http://localhost:3000
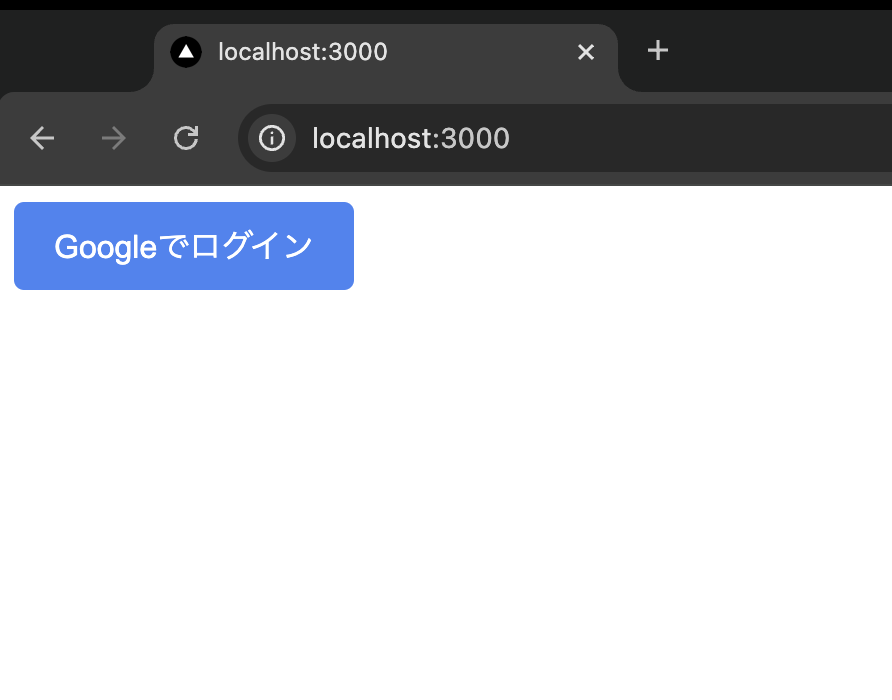
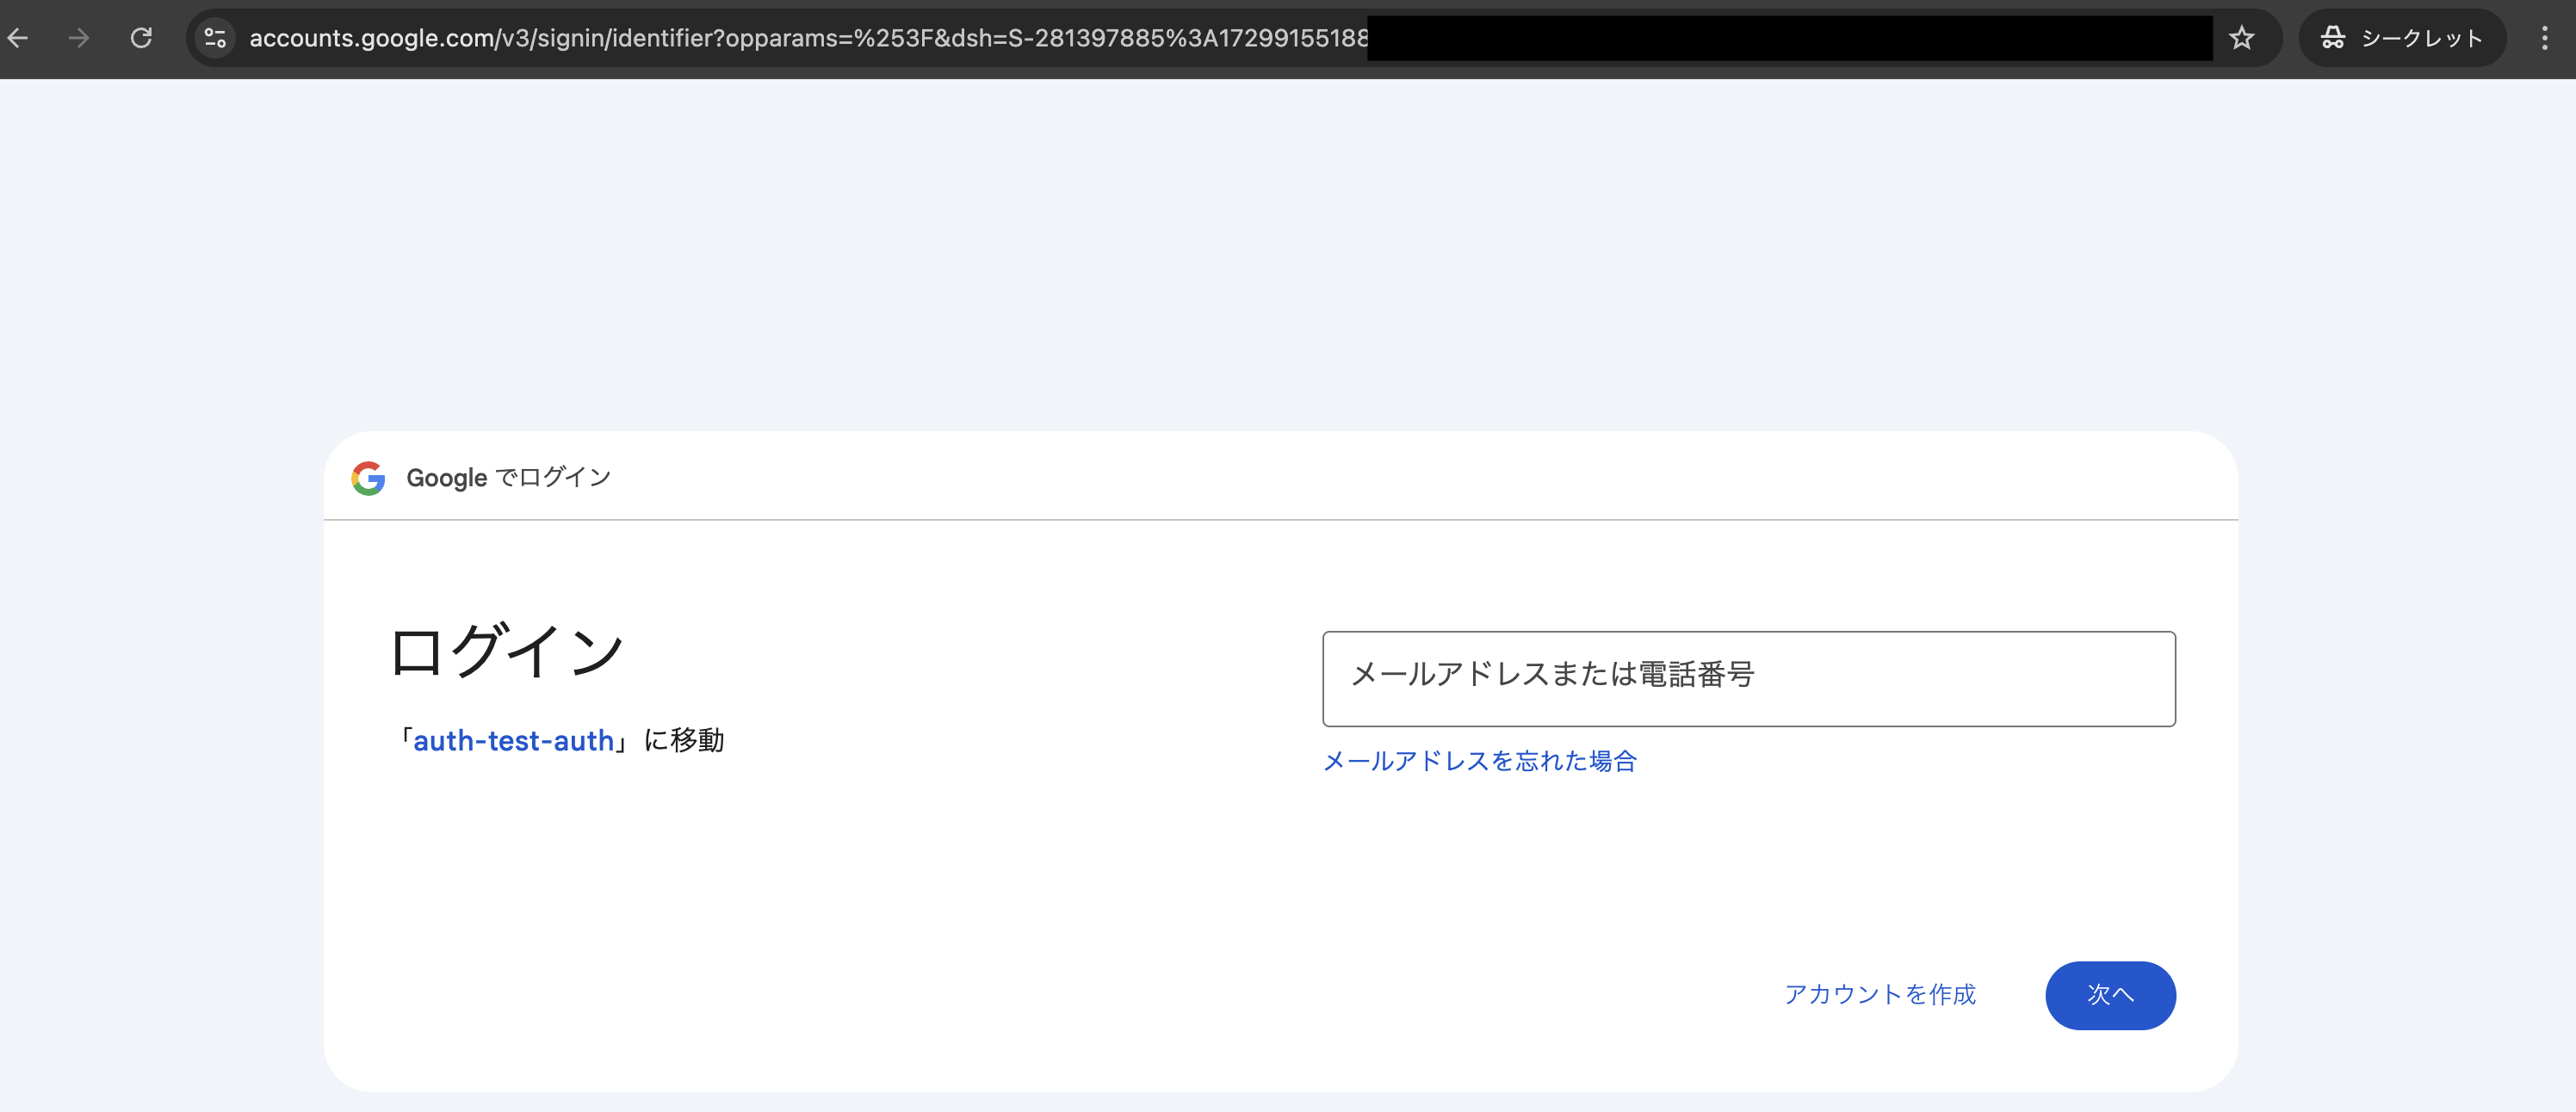
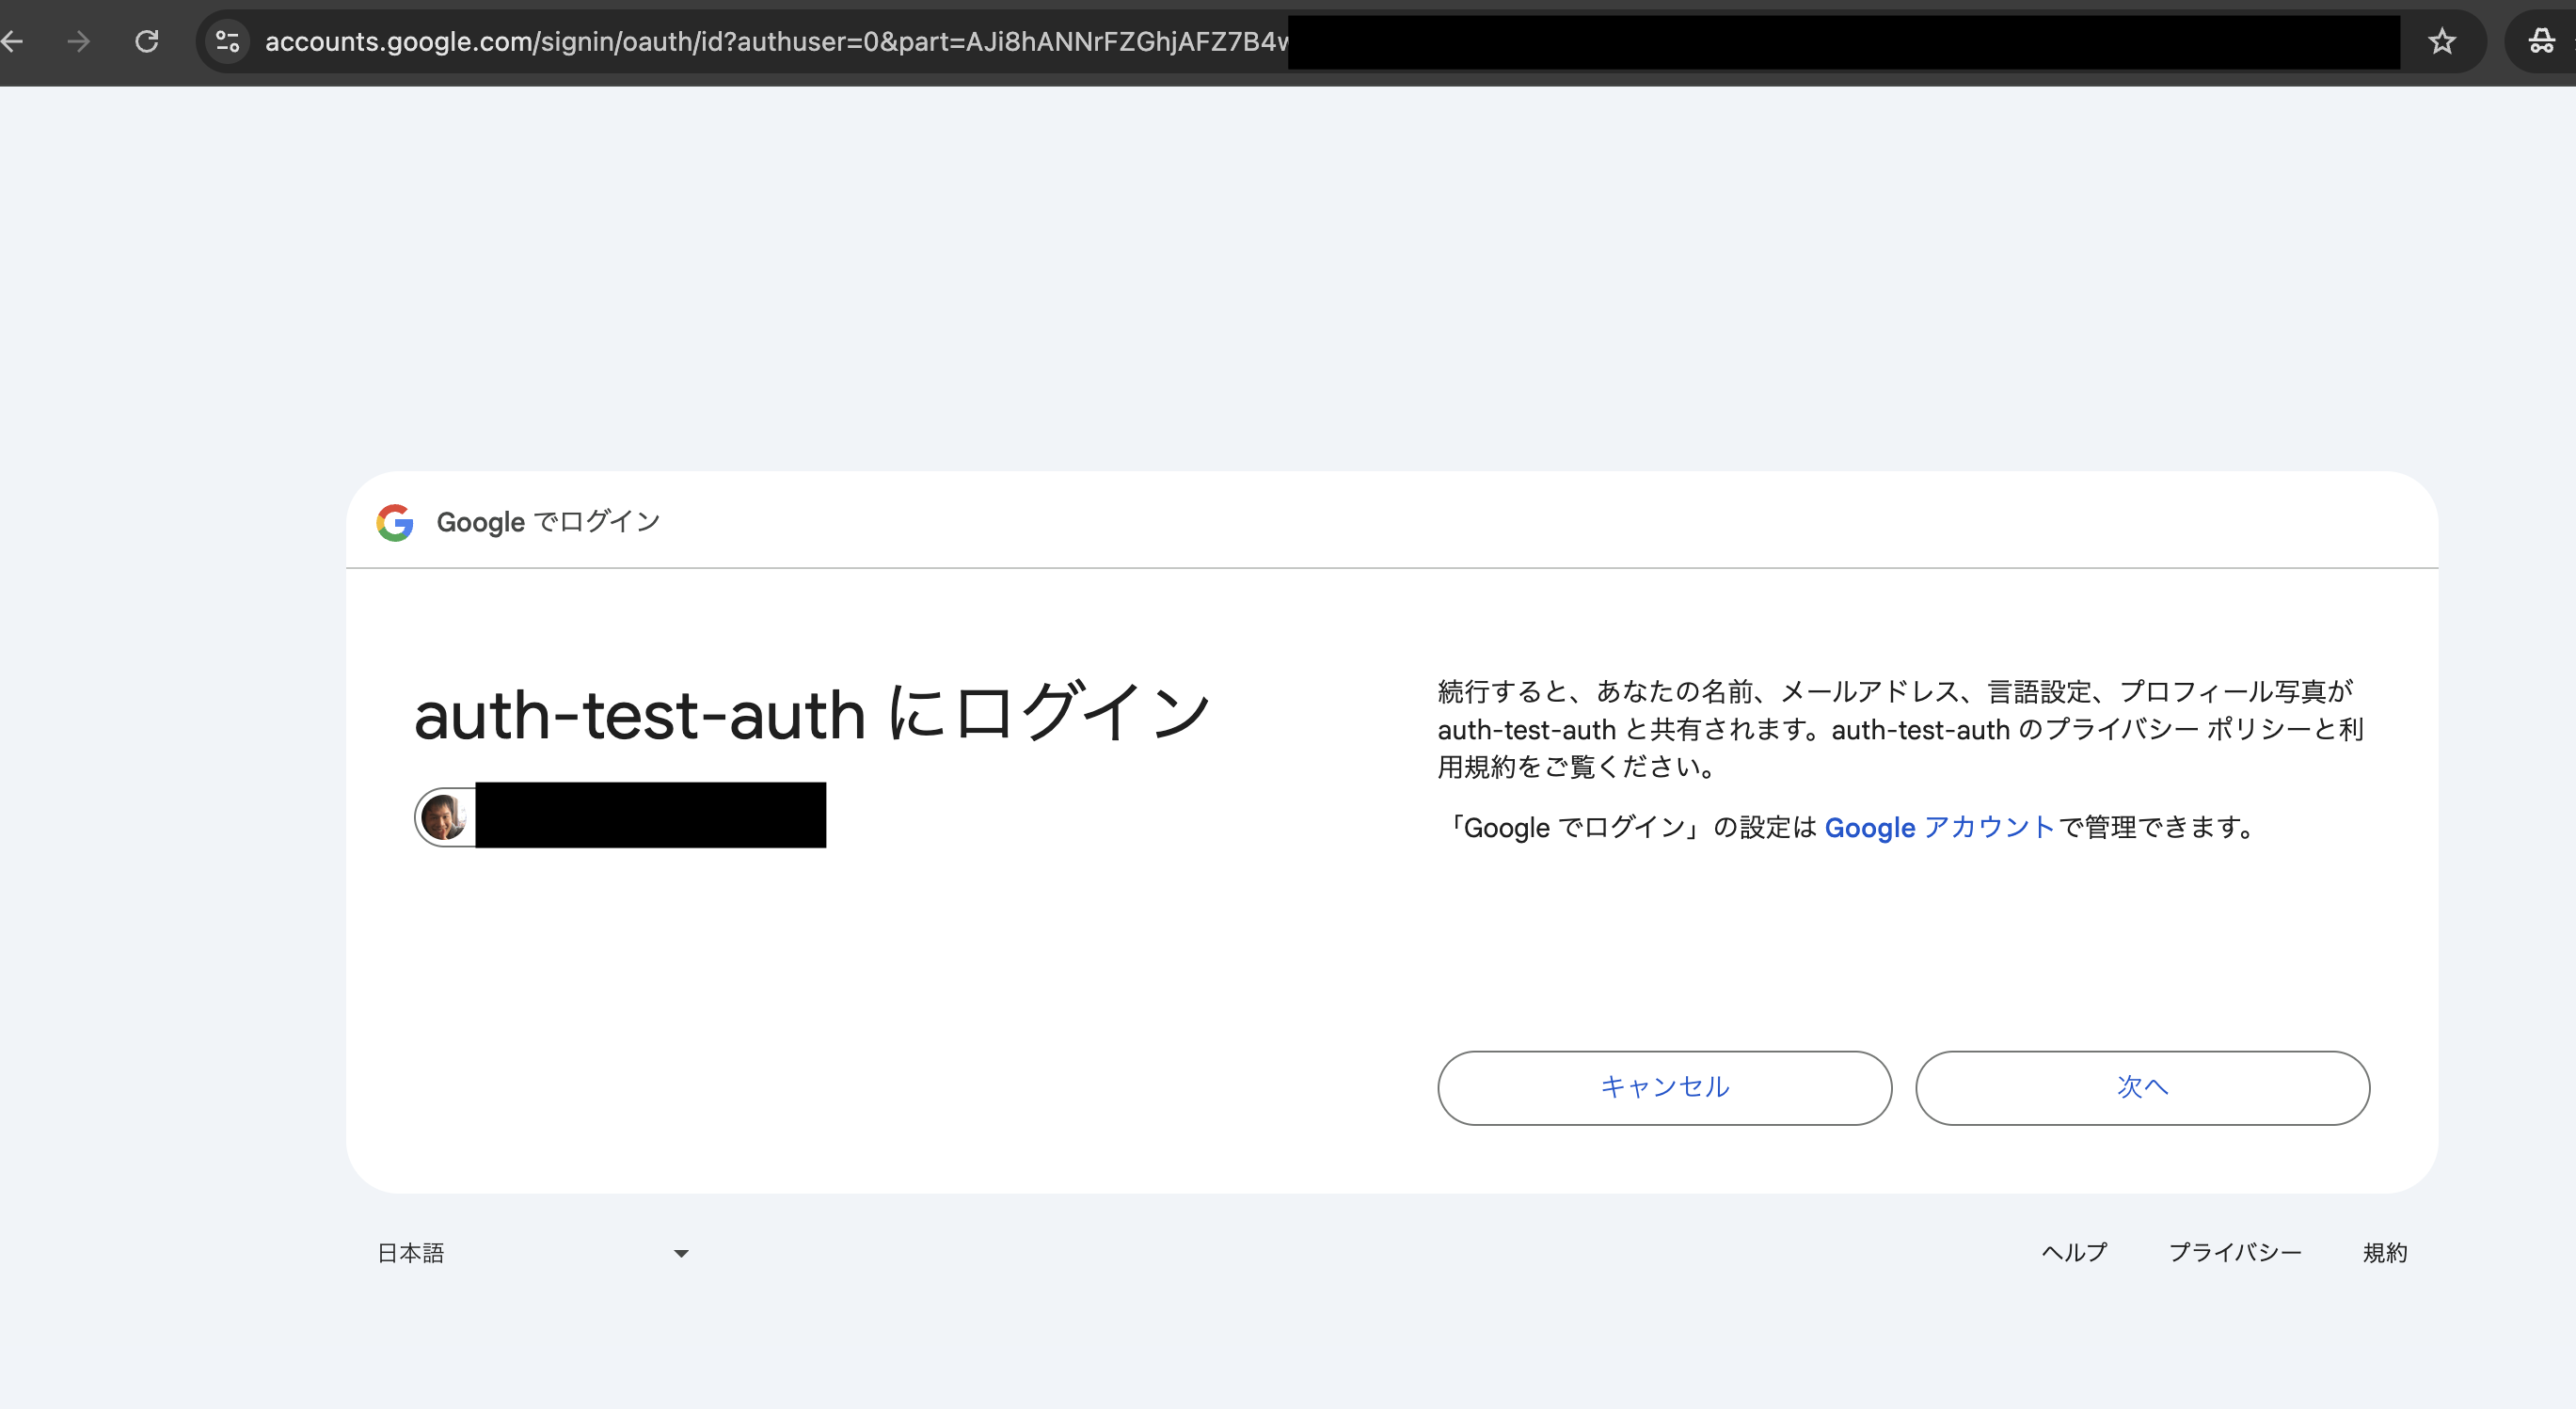
動作確認
ボタンクリックしたらエラーが出る場合はCognito設定のリダイレクトURL設定がうまく行っていない場合があります
おわりに
本記事では、Next.jsとCognitoを使ったGoogle認証を独自UIで作ってみました。
この記事ではNext.js14で対応しましたが、Next.jsのバージョンが上がったら他のベストプラクティスも探してみたいです。
この記事がCognitoを使ったGoogle認証の参考になれば幸いです。
最後までお読みいただきありがとうございます!
