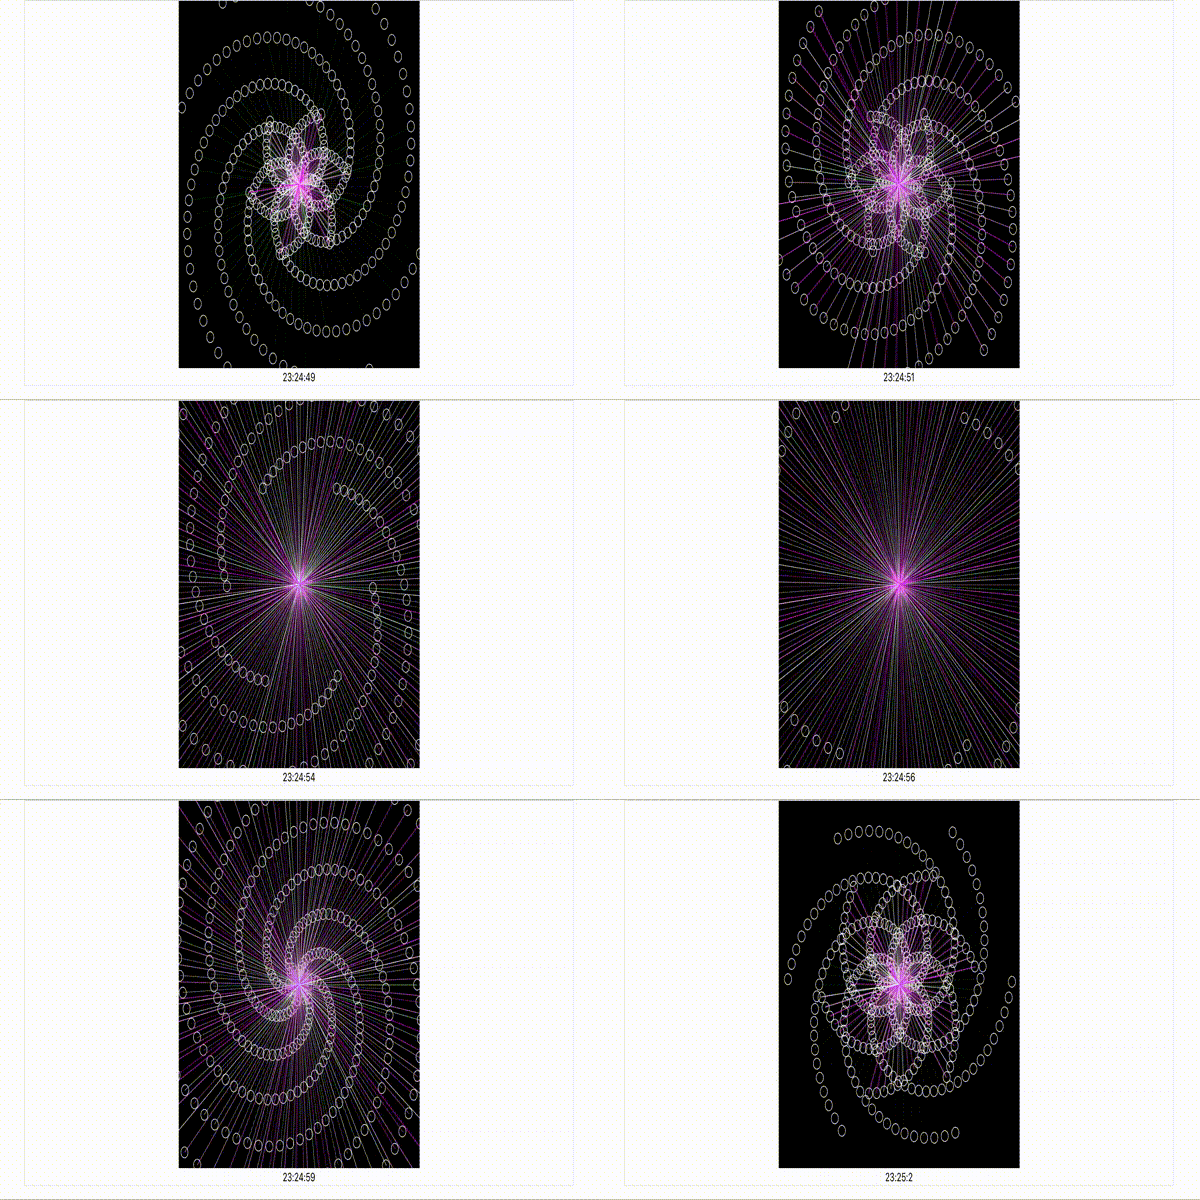
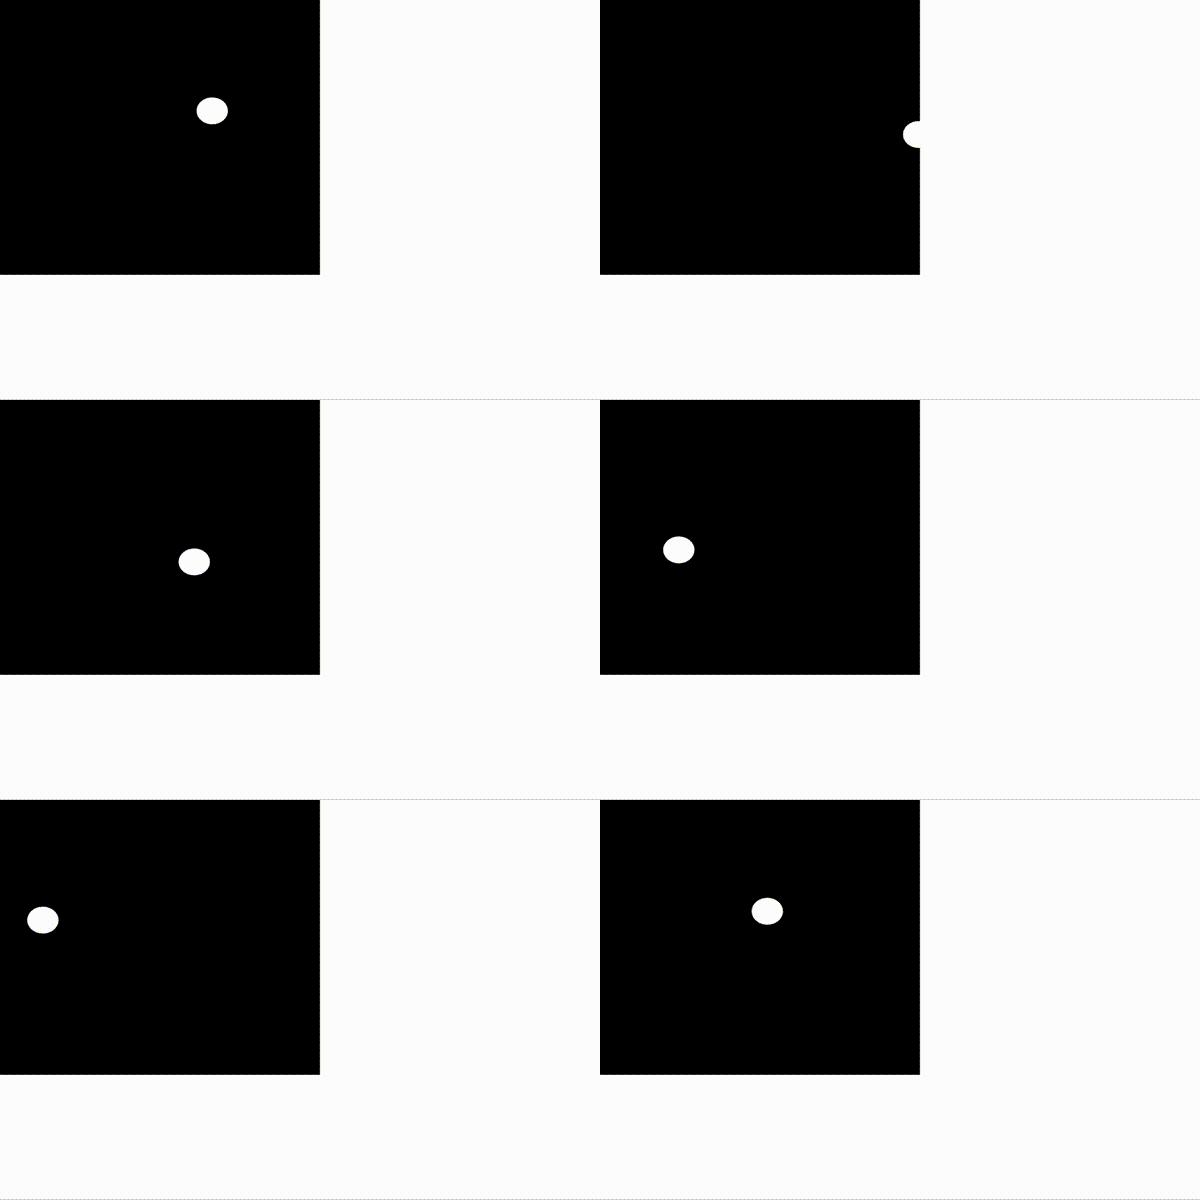
p5.jsをVueのフレームワークを使って描画するためにリサーチした時のメモです。p5.jsはProcessingから派生したライブラリで、ビジュアル表現やGenerative Designをする時に便利です。OpenProcessingというWeb上で開発できる環境があり、プログラムを書いてすぐにビジュアルを確認できます。今回はここで書いたコードをVueを使って表示する方法を調べました。
ライブラリをインポート
Vueのプロジェクトを作成したら、p5.jsのライブラリをインストールします。
(私はNuxtで作成しましたが、通常のvue-cliでも同じだと思います。)
npm install --save p5
これですぐにp5.jsを使うことができるのですが、p5.jsであらかじめ用意されている関数やプロパティはグローバルで展開されてしまうようで、うまく扱うことができません。そこで、p5.jsにinstance modeと呼ばれるモードで、p5.jsを単体のオブジェクトとして生成して、グローバルとの競合を防ぐことができます(参考)。
mountedした時に描画するような記述は以下の通りです。p5.jsの実質的な実装コードを関数内に書いていき、その関数をP5クラスに渡しています。
mounted() {

  const script = function (p5) {
    var speed = 2;
    var posX = 0;
    p5.setup = _ => {
      p5.createCanvas(500, 500);
      p5.ellipse(p5.width / 2, p5.height / 2, 500, 500);
    }

    p5.draw = _ => {
      p5.background(0);
      const degree = p5.frameCount * 3;
      const y = p5.sin(p5.radians(degree)) * 50;
      p5.push();
      p5.translate(0, p5.height / 2);
      p5.ellipse(posX, y, 50, 50);
      p5.pop();

      posX += speed;
      if (posX > p5.width || posX < 0) {
        speed *= -1;
      }
    }
  }

  const P5 = require('p5')
  new P5(script)
}
任意のCanvas内に表示
このままだとp5.jsの表示は左上に表示されてしまうので、html内の任意のCanvasの位置に表示させます(参考)。
<template>
  <div class="container border">
    <div class="d-flex justify-content-center" id="p5Canvas"></div>
  </div>
</template>
// p5.createCanvas(500, 500);
var canvas = p5.createCanvas(500, 500)
canvas.parent("p5Canvas");
任意のCanvasにidをつけ、p5.js内で作成したCanvasの親コンテナに割り当てることで任意のCanvas内に表示できます。

外部リソースにする
本末転倒かもしれませんが、基本的にp5.js部分の記述はJavaScriptなので、Vue内に書かなくても良いと思いました。そこで、p5.jsの記述部分だけ抜き出して別ファイル(Radar.js)にし、それをVue側から呼び出して使用するように変更しました。
var radar = require('@/js/Radar.js')
const P5 = require('p5')
new P5(radar.main)
let p5;

export function main(_p5) {
  p5 = _p5

... 以下同じ
}
export文でp5.js部分(main関数)にアクセスできるようにして、new P5(radar.main)でオブジェクトを生成する時にその関数を渡しています。
コールバックを受け取る
もう少しVueの特徴を活かせられるように、p5.jsからコールバックを受け取って、その内容を表示させてみます。
methods: {
  callbackOnP5: function(timeStr) {
    this.message = timeStr;
  }
}
<div class="message d-flex justify-content-center">
  {{message}}
</div>
data() {
  return {
    message: ""
  }
},
// NOTE: p5.jsからのコールバックを受け取る
radar.setDelegate(this.callbackOnP5);
let delegate;
let p5;
export function main(_p5) {
 p5 = _p5
 p5.draw = _ => {
   notifyCurrentTime();
 }
}

export function setDelegate(_delegate) {
  delegate = _delegate;
}

function notifyCurrentTime() {
  if (delegate !== undefined) {
    const message = p5.hour() + ":" + p5.minute() + ":" + p5.second();

    delegate(message);
  }
}
callback関数をあらかじめp5.js側のソースコードに渡しておき、任意のタイミングでコールバック関数を呼び出し、データバインディングしているmessageプロパティを更新させています。
冒頭のデモは[github](https://github.com/mitsuyacider/p5VueDemo)に置いています。 元となっているOpenProcessingでのソースコードは[こちら](https://www.openprocessing.org/sketch/627975)です

