認証ってめんどくさい
私は仕事で AWS を使用することが多いのですが、AWS の認証認可サービスといえばCognitoです。
一度、調査で Google とのフェデレーションを試してみたのですが、なかなか手順が複雑で大変でした。
最近 Auth0 というサービスを知り、Google アカウントでのログインを爆速で実装できることを知りました。
今回はブラウザ上で動作するマークダウンエディタで、アカウントごとに内容を記録できるものを作成していきます。
本記事では、クライアントサイドの実装を行っていきます。
所要時間30分~40分ほどでできる内容ですので試してみてください。
マークダウンエディタの要件
- ブラウザで使用する
- PC、iPhone 両方で使用できる
- ログインしておくとテキストを記録でき、次回ログイン時には記録した内容が表示される
システム構成
最近はサーバーレスならぬLambdalessという考え方があるらしいので、Lambda はできるだけ使わない方針とします。
(参考:https://www.slideshare.net/mooyoul/lambdaless-and-aws-cdk-191793017)。
認証情報の検証は仕方ないので Lambda を使います。
Auth0サインアップ ~ サンプルソースダウンロード ~ サンプルアプリ起動 (所要時間:15分)
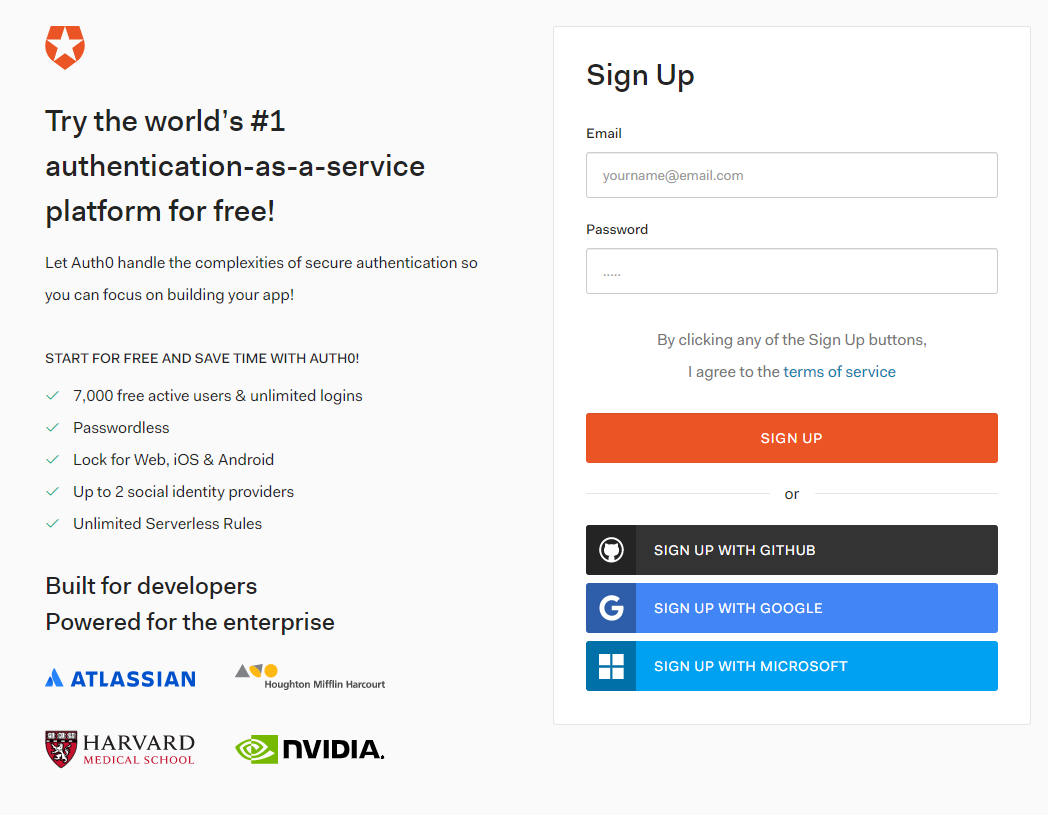
公式サイト(https://auth0.com/jp/)を開き、右上にあるサインアップボタンからアカウントを作成します。

私は GitHub アカウントを使用したので、SIGN UP WITH GITHUBからサインアップしました。
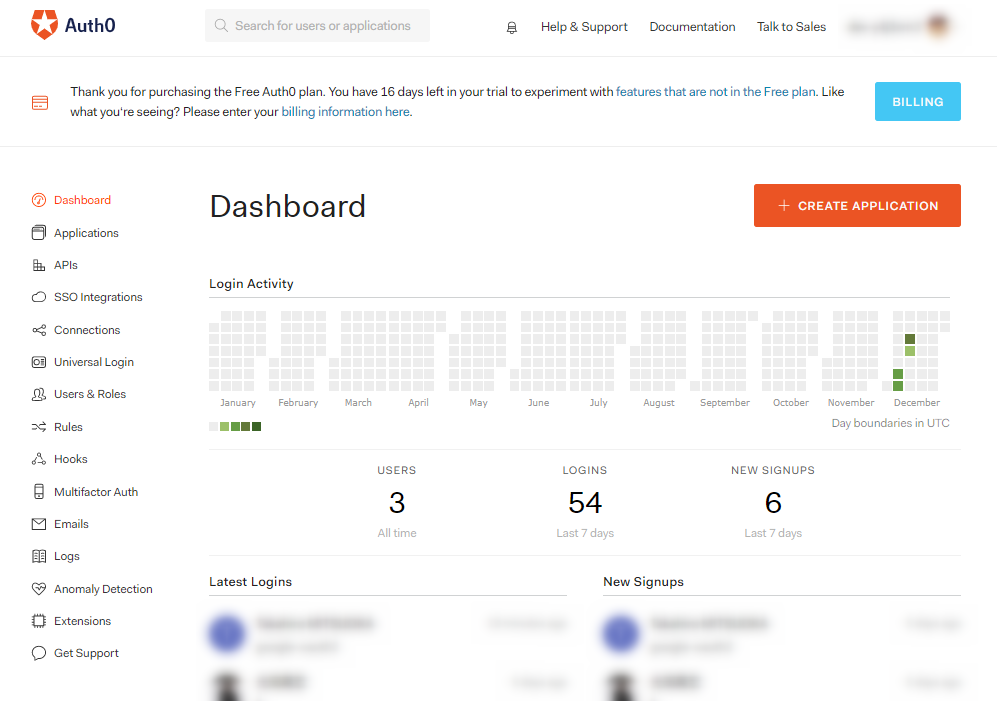
ログインするとダッシュボードが開きます。
CREATE APPLICATIONからアプリを作成していきます。
今回は Vue.js を使用した SPA として作成するので、以下の内容でアプリを作成しました。
| 項目 | 内容 |
|---|---|
| Name | My App |
| Choose an application type | Single Page Web Applications |
アプリを作成すると、以下のような画面になるので、Vue.jsをクリックします。
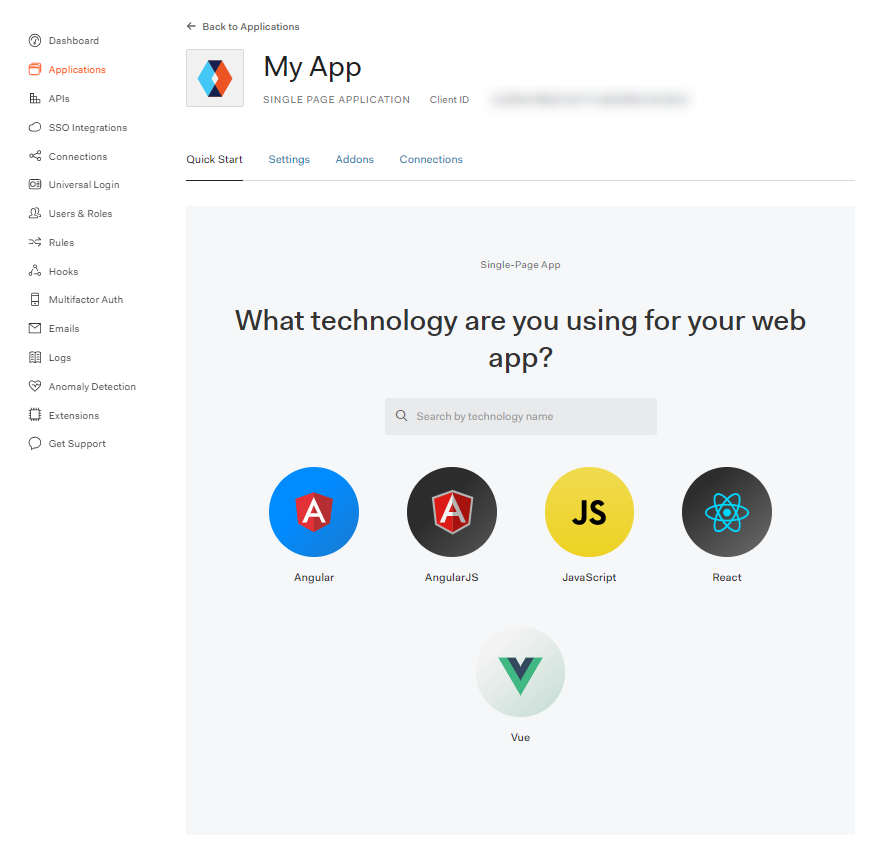
右下にあるDOWNLOAD SAMPLEをクリックし、サンプルアプリをダウンロードします。
サンプルアプリを起動してみます。
$ npm install
$ npm run serve
を実行します。
  ~~~ 略 ~~~
  App running at:
  - Local:   http://localhost:3000/
  - Network: http://192.168.10.2:3000/

  Note that the development build is not optimized.
  To create a production build, run npm run build.
と表示されたら、http://localhost:3000/にアクセスします。

こんな画面が表示されたら OK。
ここまで順調にいけば初見でも 15 分もあればいけちゃいます。
Googleでログインする (所要時間:1分)
先ほど起動したサンプルアプリで、Google アカウントでログインしてみましょう。
右上のLoginボタンをクリック。

すると、Auth0 のログイン画面が表示されます。
LOG IN WITH GOOGLEをクリックします。
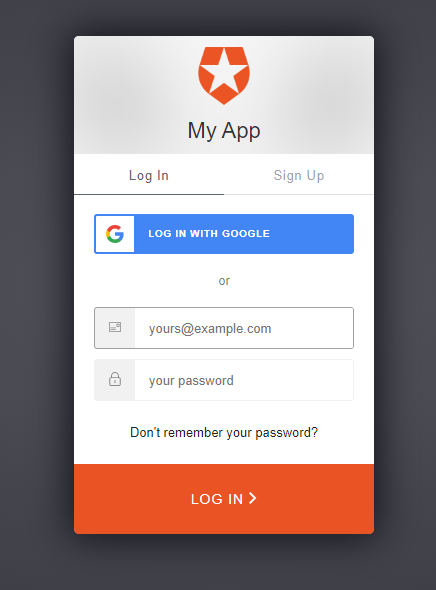
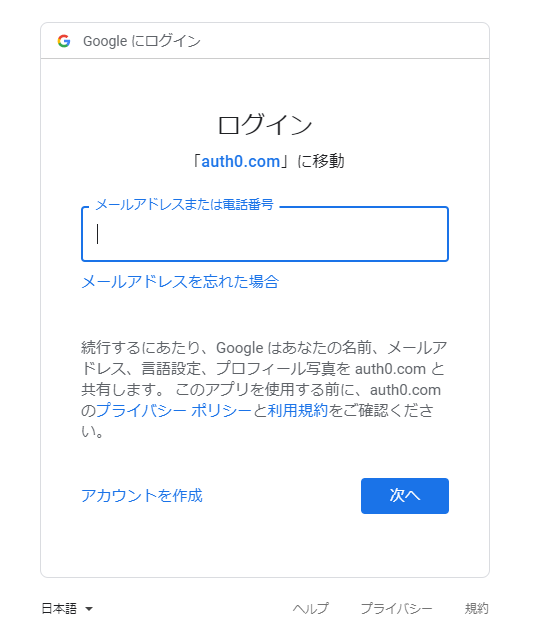
お、Google のログイン画面が現れました!
メールアドレスとパスワードを入力し、ログインします。
アイコンをクリックすると、Gmail で登録している名前も表示されます。

マークダウンエディタの作成 (慣れた人なら15分)
https://jp.vuejs.org/v2/examples/index.htmlにいい感じのサンプルソースがあるので流用します。
使用する npm モジュールをインストールします。
$ npm install lodash marked
以下の資源を追加します。
<template>
  <div id="editor">
    <textarea :value="input" @input="update"></textarea>
    <div v-html="compiledMarkdown"></div>
  </div>
</template>

<script>
import _ from 'lodash';
import marked from 'marked';

export default {
  name: 'editor',
  data() {
    return {
      input: '# hello',
    }
  },
  computed: {
    compiledMarkdown: function () {
      return marked(this.input, { sanitize: true })
    }
  },
  methods: {
    update: _.debounce(function (e) {
      this.input = e.target.value
    }, 300)
  },
}
</script>

<style scoped>
html, body, #editor {
  margin: 0;
  height: 100%;
  font-family: 'Helvetica Neue', Arial, sans-serif;
  color: #333;
}

textarea, #editor div {
  display: inline-block;
  width: 49%;
  height: 100%;
  vertical-align: top;
  box-sizing: border-box;
  padding: 0 20px;
}

textarea {
  border: none;
  border-right: 1px solid #ccc;
  resize: none;
  outline: none;
  background-color: #f6f6f6;
  font-size: 14px;
  font-family: 'Monaco', courier, monospace;
  padding: 20px;
}

code {
  color: #f66;
}
</style>
import Vue from "vue";
import Router from "vue-router";
import Home from "./views/Home.vue";
import Profile from "./views/Profile.vue";
import Editor from "./views/Editor.vue"; // <-- この行を追加
import { authGuard } from "./auth";

Vue.use(Router);

const router = new Router({
  mode: "history",
  base: process.env.BASE_URL,
  routes: [
    {
      path: "/",
      name: "home",
      component: Home
    },
    {
      path: "/profile",
      name: "profile",
      component: Profile,
      beforeEnter: authGuard
    },
    {                                     // <-- ここから
      path: "/editor",
      name: "editor",
      component: Editor,
      beforeEnter: authGuard
    }                                     // <-- ここまで追加
  ]
});

export default router;
import Vue from "vue";
import App from "./App.vue";
import router from "./router";
import { Auth0Plugin } from "./auth";
import HighlightJs from "./directives/highlight";

import { library } from "@fortawesome/fontawesome-svg-core";
import { faLink, faUser, faPowerOff } from "@fortawesome/free-solid-svg-icons";
import { FontAwesomeIcon } from "@fortawesome/vue-fontawesome";
import { domain, clientId } from "../auth_config.json";

Vue.config.productionTip = false;

Vue.use(Auth0Plugin, {
  domain,
  clientId,
  onRedirectCallback: () => {
    // router.push(
    //   appState && appState.targetUrl
    //     ? appState.targetUrl
    //     : window.location.pathname
    // );
    router.push('editor'); // <-- このように修正(ログイン後、/editorに移動する)
  }
});

Vue.directive("highlightjs", HighlightJs);

library.add(faLink, faUser, faPowerOff);
Vue.component("font-awesome-icon", FontAwesomeIcon);

new Vue({
  router,
  render: h => h(App)
}).$mount("#app");
資源の追加・修正が終わると、VSCode を使っている方はこんな感じになるはずです。

http://localhost:3000/にアクセスしログインすると以下のような画面になり、右側にプレビューが表示されます。
(Qiita のエディタみたいですね)
Auth0を使うと、クライアントサイドは30分で実装できる
Auth0 がサンプルソースを提供してくれるおかげで、30 分くらいでクライアントサイドの認証の実装を行うことができました。
慣れてくると、単純な導通であれば 10 分そこそこでできるんじゃないでしょうか。
(Cognito を初見で使ったときは 1 日かかりました)。
次回はサーバーサイドの実装を行っていきます。


