内容
- xmlのConstraintLayoutみたいに制約つけて配置する方法をComposeでもやりたい時
- 複雑な配置をComposeでやりたい時
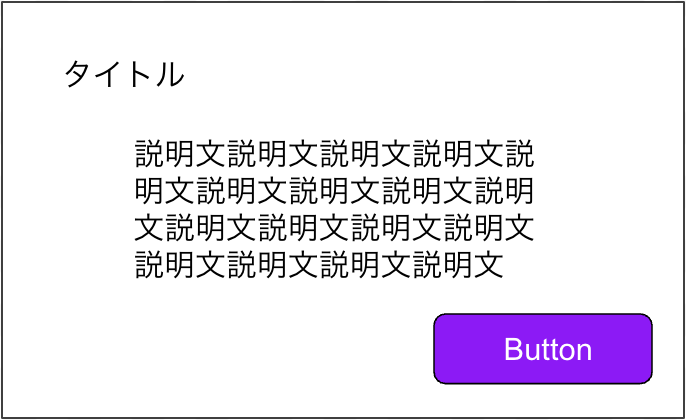
Composeでこんな感じの見た目を作りたいとします
xmlだと
今回はLinerLayout
<LinearLayout
        android:layout_width="match_parent"
        android:layout_height="wrap_content"
        android:gravity="center_horizontal"
        android:orientation="vertical">

        <TextView
            android:id="@+id/title"
            android:layout_width="match_parent"
            android:layout_height="wrap_content"
            android:text="タイトル"
            android:layout_marginStart="●dp"
            android:layout_marginTop="●dp"/>

        <TextView
            android:id="@+id/description"
            android:layout_width="match_parent"
            android:layout_height="wrap_content"
            android:text="説明文説明文説明文説明文説明文説明文説明文説明文"
            android:layout_marginTop="●dp"
            android:layout_marginStart="●dp"/>

        <com.google.android.material.button.MaterialButton
            android:id="@+id/button"
            android:layout_width="wrap_content"
            android:layout_height="wrap_content"
            android:layout_gravity="end"
            android:text="Button"
            android:layout_marginTop="●dp"
            android:layout_marginEnd="●dp"
            android:layout_marginBottom="●dp"
            android:onClick="@{() -> viewmodel.onClick}"/>

    </LinearLayout>
compose化すると
まず以下をgradleに設定
( https://developer.android.com/jetpack/compose/layouts/constraintlayout#get-started )
implementation "androidx.constraintlayout:constraintlayout-compose:1.0.1"
ここから実装
対応する文字列に絵文字をつけてます。(私が見やすいので)
@Composable
fun Sample(
    ...
    onClick: () -> Unit
) {
    ConstraintLayout(
        modifier = Modifier.fillMaxWidth()
    ) {
        //↓xmlでいう各viewにidを振ってる感じ
        val (title🍎, description🍌, button🍇) = createRefs()

        Text(
            modifier = Modifier

                // ↓このTextのidは"title"ですよーって決めてる感じ。上で定義した文字列を入れるよ。
                .constrainAs(title🍎) {

                    //↓この中括弧の中で、ConstraintLayoutみたいに上下左右に制約をつける
                    top.linkTo(parent.top)
                    start.linkTo(parent.start)
                    bottom.linkTo(description🍌.top)
                }
            text = "タイトル",
        )

        Text(
            modifier = Modifier
                .constrainAs(description🍌) {
                    top.linkTo(title🍎.bottom)
                    bottom.linkTo(button🍇.top)
                },
            text = "説明文説明文説明文説明文説明文説明文説明文説明文説明文"
        )

        Button(
            modifier = Modifier
                .constrainAs(button🍇) {
                    top.linkTo(description🍌.bottom)
                    end.linkTo(parent.end)
                    bottom.linkTo(parent.bottom)
                },
            onClick = onClick,
            text = "Button"
        )
    }
}
あとは好きにModifier.padding()でpaddingつけてください。
制約の付け方
赤線の部分を上のコードで制約つけてます

見たサイト