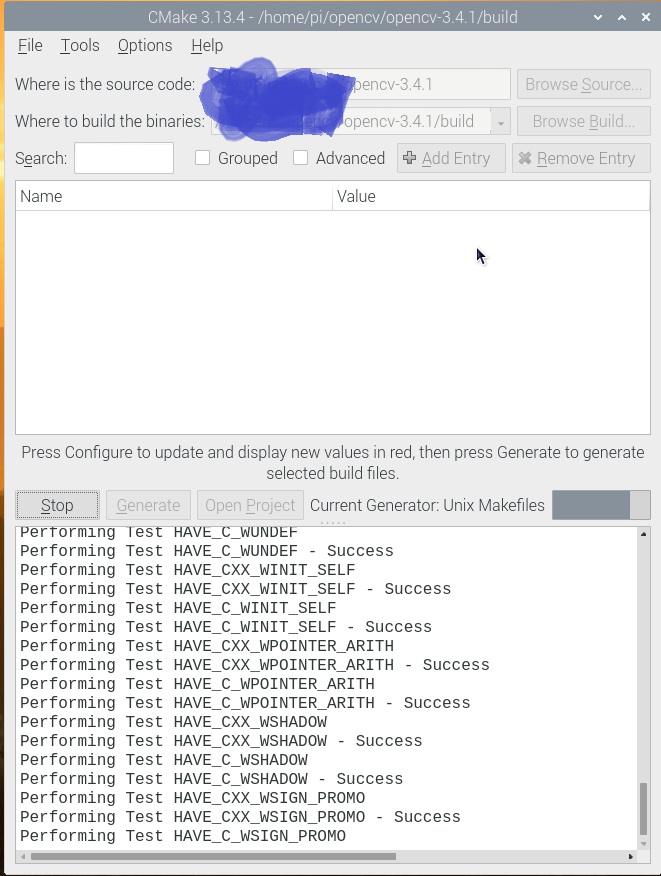
RaspberryPi4にopenCV3.4.1をインストールした際の備忘録
ファイルシステムを拡張する。
$ sudo raspi-config
7 Advanced Options --> A1 Expand filesystem --> Finsh
swapを増やす。
$ sudo vi /etc/dphys-swapfile

# set size to absolute value, leaving empty (default) then uses computed value
#   you most likely don't want this, unless you have an special disk situation
# CONF_SWAPSIZE=100
CONF_SWAPSIZE=2048
dphys-swapfilを再起動
$ sudo /etc/init.d/dphys-swapfile stop
$ sudo /etc/init.d/dphys-swapfile start
今回はcmake-guiを使ってみる
$ sudo apt install cmake-qt-gui
依存関係のあるライブラリをインストールする。
$ sudo apt install libavcodec-dev libavformat-dev libswscale-dev libxvidcore-dev libx264-dev libxine2-dev
$ sudo apt install libv4l-dev v4l-utils libgtk2.0-dev
$ sudo apt install libmesa-utils libgl1-mesa-dri libgtkglext1-dev libatlas-base-dev gfortran libeigen3-dev python-2.7-dev python3-dev python-numpy python3-numpy
$ sudo apt install ant
Opencv3.4.1のビルド
$ wget -O opencv.zip https://github.com/opencv/opencv/archive/3.4.1.zip
$ wget -O opencv_contrib.zip https://github.com/opencv/opencv_contrib/archive/3.4.1.zip
$ unzip opencv.zip
$ unzip opencv_contrib.zip
$ cd opencv-3.4.1
$ mkdir build
$ cmake-gui
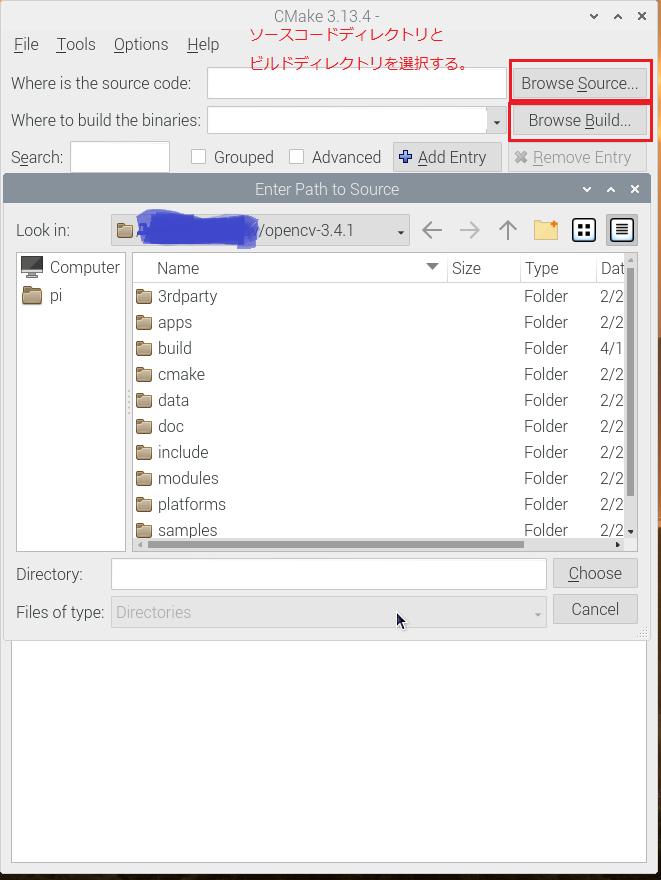
GUIが表示されるのでソースコードのディレクトリとビルドディレクトリを選択し[Configure]ボタンをクリックする。
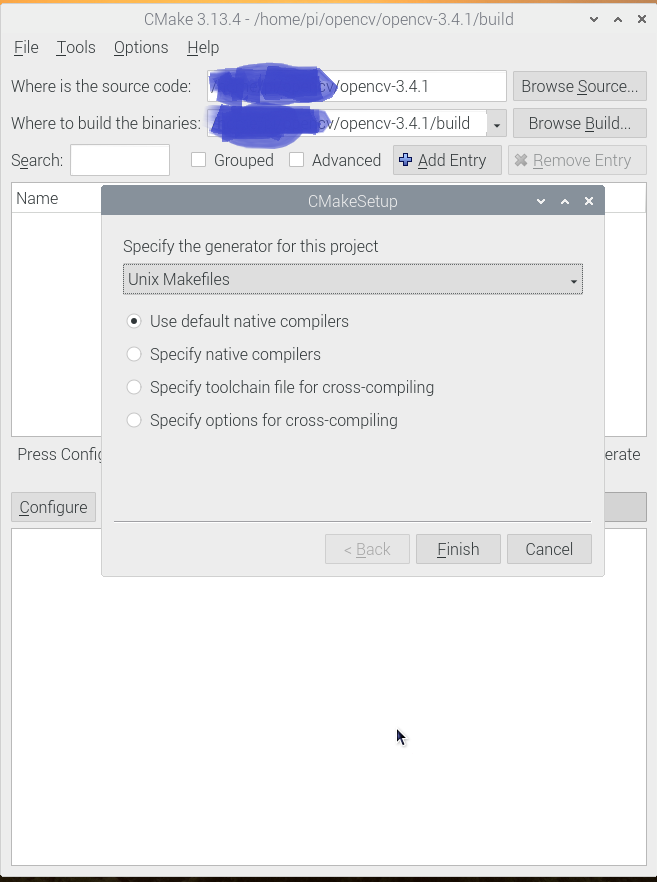
CMakeSetupダイアログが表示されるので[Finish]ボタンをクリックする。
OPENCV_EXTRA_MODULES_PATHを追加する。
wgetしたopencv_contrib-3.4.1/modulesを指定する。
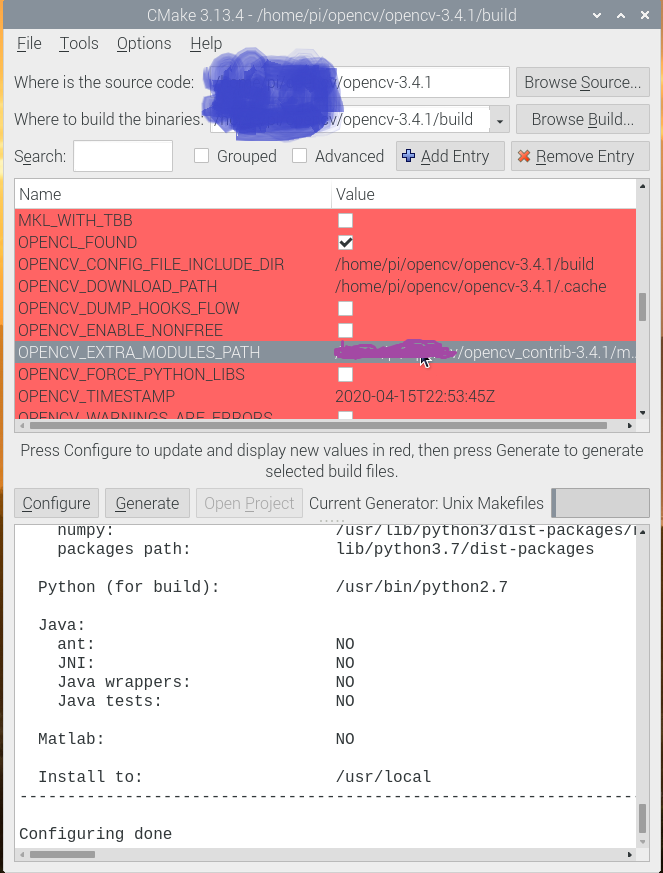
WITH_OPENGLにチェックを入れ、[Configure]ボタンをクリック
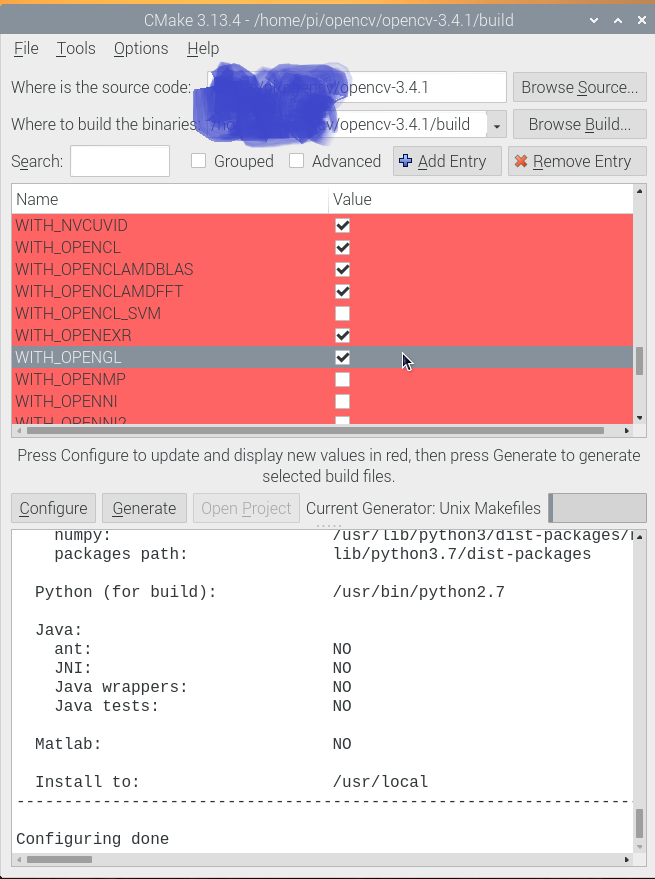
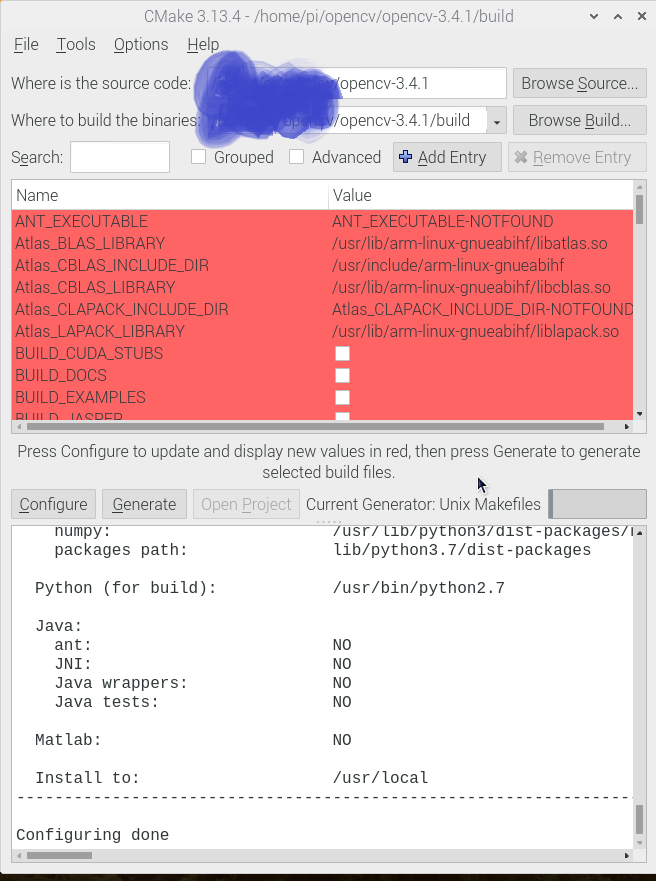
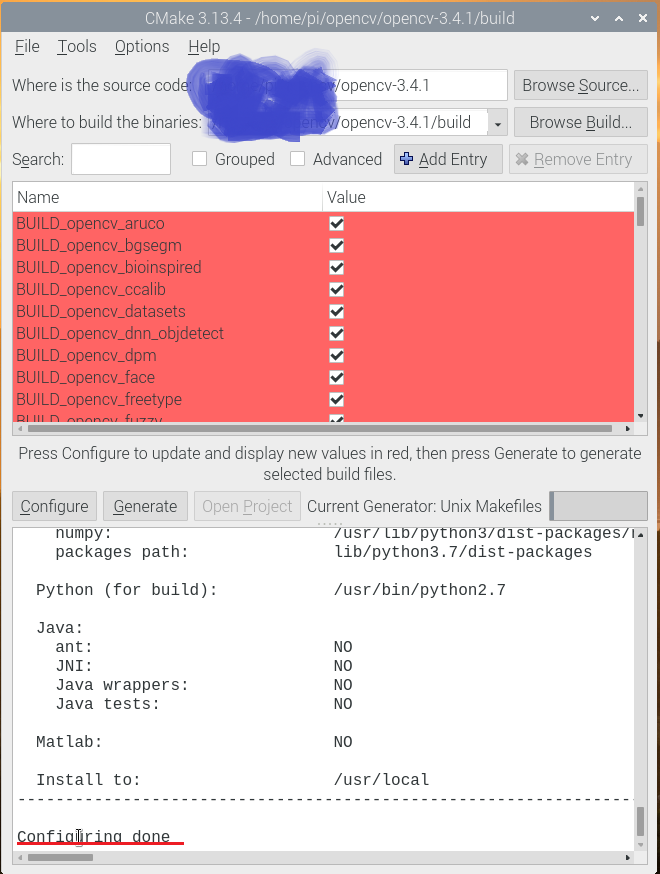
Configuring doneが表示されたら[Generate]ボタンをクリック
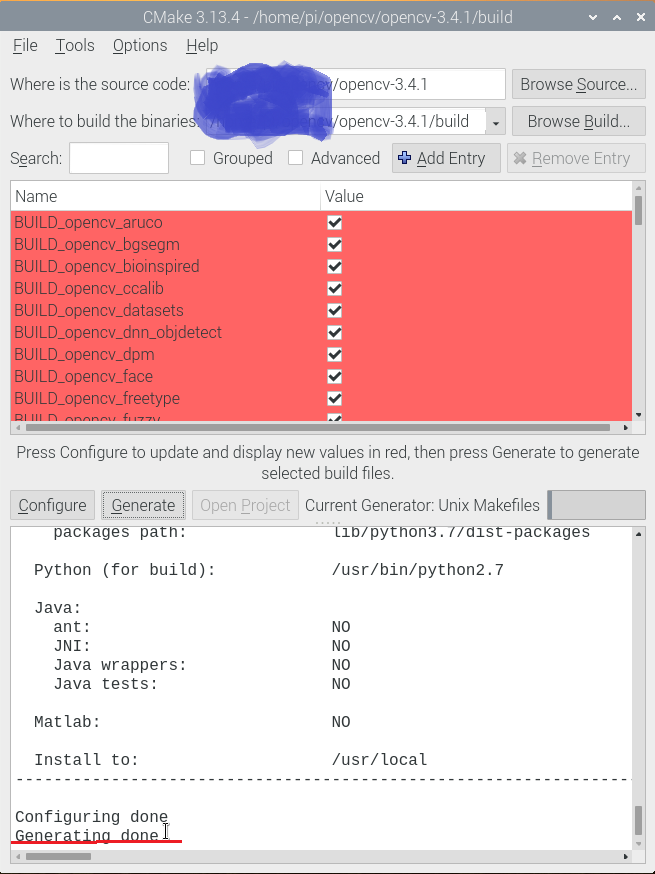
Generatin doneが表示されたらビルドの前処理は終了。
画面を閉じターミナルへ戻る。
$ make -j4
buildエラー
cv2.cpp:889:34: error: invalid conversion from 'const char*' to 'char*' [-fpermissive]
ここの情報によると
This version (and some older versions) don't compile (with Python3.7)
いくつかの古いバージョンはpython3.7でコンパイルできないらしい。
なので
opencv-3.4.1/modules/python/src2/cv2.cppの889行目を修正する。
bool pyopencv_to(PyObject* obj, String& value, const char* name)
{
   (void)name;
   if(!obj || obj == Py_None)
       return true;
-  char* str = PyString_AsString(obj);
+  const char* str = PyString_AsString(obj);
    if(!str)
       return false;
    value = String(str);
  return true;
}
修正後再ビルド
$ make -j4
[100%] Linking CXX executable ../../bin/opencv_test_stitching
[100%] Building CXX object modules/stitching/CMakeFiles/opencv_perf_stitching.dir/perf/perf_estimators.cpp.o
[100%] Built target opencv_test_stitching
[100%] Building CXX object modules/stitching/CMakeFiles/opencv_perf_stitching.dir/perf/perf_main.cpp.o
[100%] Building CXX object modules/stitching/CMakeFiles/opencv_perf_stitching.dir/perf/perf_matchers.cpp.o
[100%] Building CXX object modules/stitching/CMakeFiles/opencv_perf_stitching.dir/perf/perf_stich.cpp.o
[100%] Linking CXX executable ../../bin/opencv_perf_stitching
[100%] Built target opencv_perf_stitching
[100%] Linking CXX shared module ../../lib/python3/cv2.cpython-37m-arm-linux-gnueabihf.so
[100%] Built target opencv_python3
[100%] Linking CXX shared module ../../lib/cv2.so
[100%] Built target opencv_python2
pi@raspberrypi:~/opencv-3.4.1/build$
ビルド成功
次はopenCV4系をビルドしてみる
その前に3.4.10のビルドを試す。
3.4.10はソースの修正なしでビルド成功
$ make -j4
[100%] Linking CXX executable ../../bin/opencv_test_tracking
[100%] Built target opencv_test_tracking
[100%] Linking CXX shared module ../../lib/python3/cv2.cpython-37m-arm-linux-gnueabihf.so
[100%] Linking CXX shared module ../../lib/cv2.so
[100%] Built target opencv_python3
[100%] Built target opencv_python2
pi@raspberrypi:~/opencv3/opencv-3.4.10/build $
openCV4.10.0をビルド
3.4系とほぼ同様だがOPENGL周りで何やらwarningが出たが一旦無視して
ビルドを実行してみる。


[100%] Linking CXX executable ../../bin/opencv_test_gapi
[100%] Built target opencv_test_gapi
[100%] Linking CXX shared module ../../lib/python3/cv2.cpython-311-aarch64-linux-gnu.so
[100%] Built target opencv_python3
ビルド終了
