OpenCVを使う機会があったけど、久し振り過ぎて覚えてなかったので、復習がてらOpenCVの基礎をまとめます。
ここで使用する画像はPixabayから取得しました。
ライブラリのインポート
import cv2
画像の読み込み
img = cv2.imread('./input/img.jpg')
画像の表示
(何かしらのキー入力で終了)
cv2.imshow('img', img)
cv2.waitKey(0)
cv2.destroyAllWindows()

画像の書き込み
cv2.imwrite('./output/img.jpg', img)
画像をリサイズ
1/2にリサイズ
h, w, c = img.shape
size = (w//2, h//2)
img_resize = cv2.resize(img, size)

画像のグレースケール化
img_gray = cv2.cvtColor(img, cv2.COLOR_BGR2GRAY)

画像のグレースケール化2
(出力画像は同じ)
img_gray = cv2.imread('./input/XXXX.jpg', 0)
画像のγ値の変更
import numpy as np

gamma = 0.5 #γ値
img = cv2.imread('./input/XXXX.jpg', 0)
gamma_cvt = np.zeros((256, 1), dtype=np.uint8)
for i in range(256):
    gamma_cvt[i][0] = 255 * (float(i)/255) ** (1.0 / gamma)

img_gamma = cv2.LUT(img, gamma_cvt)
γ値=0.5

γ値=2.0

画像のRGBヒストグラムを表示
import matplotlib.pyplot as plt
%matplotlib inline

color_list = ['blue', 'green', 'red']
for i,j in enumerate(color_list):
    hist = cv2.calcHist([img],[i],None, [256], [0,256])
    plt.plot(hist, color =j)

画像のグレースケールヒストグラムを表示
hist2 = cv2.calcHist([img_gray], [0], None, [256], [0, 256])
plt.plot(hist2)

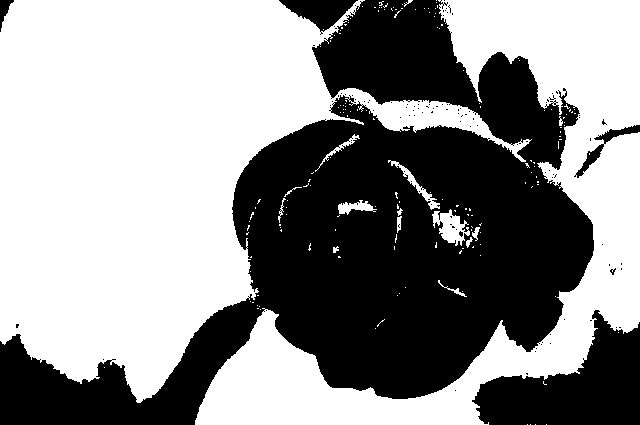
画像の2値化
2値化にはグレースケール画像を使用
※thresholdに指定する値はグレースケールのヒストグラムを参考にすると良い。
threshold = 100
ret, img_th = cv2.threshold(img_gray, threshold, 255, cv2.THRESH_BINARY)

画像の2値化(OTSU)
ret, img_otsu = cv2.threshold(img_gray, 0, 255, cv2.THRESH_OTSU)
画像の2値化(ADAPTIVE)
img_ada = cv2.adaptiveThreshold(img, 255, cv2.ADAPTIVE_THRESH_MEAN_C, cv2.THRESH_BINARY, 3, 1)

アフィン変換(平行移動)
下20ピクセル、右20ピクセル移動
import numpy as np

h, w, c = img.shape
dx, dy = 20, 20

afn_mat = np.float32([[1, 0, dx], [0, 1, dy]])
img_afn = cv2.warpAffine(img, afn_mat, (w, h))

画像の回転
center = (w//2, h//2)
angle = 15 #角度指定
scale = 1.0

rotation_matrix = cv2.getRotationMatrix2D(center, angle, scale)
img_rotated = cv2.warpAffine(img, rotation_matrix, (w, h))

画像の上下反転
img_flip_ud = cv2.flip(img, 0)

画像の左右反転
img_flip_lr = cv2.flip(img, 1)

画像の上下左右反転
img_flip_udlr = cv2.flip(img, -1)

画像の平滑化
img_blur = cv2.blur(img, (3,3))

画像の平滑化(ガウシアンフィルタ)
img_ga = cv2.GaussianBlur(img, (9, 9), 2)

画像の平滑化(メディアンフィルタ)
img_me = cv2.medianBlur(img, 5)

画像の平滑化(バイテラルフィルタ)
img_bi = cv2.bilateralFilter(img, 9, 75, 75)

エッジ検出(Sobelフィルター)
img_sobel_x = cv2.Sobel(img_gray, cv2.CV_32F, 1, 0, ksize=3)
img_sobel_y = cv2.Sobel(img_gray, cv2.CV_32F, 0, 1, ksize=3)
img_sobel_x = cv2.convertScaleAbs(img_sobel_x)
img_sobel_y = cv2.convertScaleAbs(img_sobel_y)
img_sobel_x ※x方向の微分による垂直方向のエッジ検出

img_sobel_y ※y方向の微分による水平方向のエッジ検出

エッジ検出(Laplacianフィルター)
img_lap = cv2.Laplacian(img_gray, cv2.CV_32F)
img_lap = cv2.convertScaleAbs(img_lap)
img_lap *= 2 #2次で微分するため画像が暗くなるので値を倍にする

エッジ検出(ガウシアンフィルタ~Laplacianフィルター)
Laplacianフィルターではノイズが出やすいのでガウシアンフィルタで平滑化したものでエッジ検出をする
img_blur = cv2.GaussianBlur(img_gray, (3, 3), 2)
img_lap2 = cv2.Laplacian(img_blur, cv2.CV_32F)
img_lap2 = cv2.convertScaleAbs(img_lap2)
img_lap2 *= 2

エッジ検出(Cannyフィルター)
2つの閾値でノイズを除去しエッジだけを検出する
img_canny = cv2.Canny(img_gray, 100, 200)

以上です。気が向いたら動画編もやるかもしれません。