目的
- アプリを作成する上で基本となるCRUD処理を有したLaravelアプリをチュートリアル的に作成する方法をまとめる
実施環境
- ハードウェア環境
| 項目 | 情報 |
|---|---|
| OS | macOS Catalina(10.15.5) |
| ハードウェア | MacBook Pro (13-inch, 2020, Four Thunderbolt 3 ports) |
| プロセッサ | 2 GHz クアッドコアIntel Core i5 |
| メモリ | 32 GB 3733 MHz LPDDR4 |
| グラフィックス | Intel Iris Plus Graphics 1536 MB |
- ソフトウェア環境
| 項目 | 情報 | 備考 |
|---|---|---|
| PHP バージョン | 7.4.3 | Homwbrewを用いて導入 |
| Laravel バージョン | 7.0.8 | commposerを用いてこちらの方法で導入→Mac Laravelの環境構築を行う |
| MySQLバージョン | 8.0.19 for osx10.13 on x86_64 | Homwbrewを用いてこちらの方法で導入→Mac HomebrewでMySQLをインストールする |
前提条件
- 実施環境に近い環境が構築されていること。
- 筆者は下記の方法で環境構築を行った。
前提情報
- ソースコードはこちら→https://github.com/miriwo0104/laravel_crud/tree/master
- DockerやAWSなどは使用せずにMacのローカルに実施環境と同じLaravel開発環境を構築して実施する。
- チュートリアルで実際に筆者が作成したソースコードをGitHubにて公開予定である。
- CRUD処理の作成完了を最短目標にしてバリデーションなどは後々設定することとする。
- 実施環境と同じ環境がDockerやAWSで用意できるなら都度読み替えていただければ実施が可能だと思う。
- 公式ドキュメントと一冊の技術書を元に本記事を記載する。
- Laravel 7.x
- PHPフレームワーク Laravel Webアプリケーション開発 バージョン5.5 LTS対応
- 本記事はシリーズとして内容を分割する予定である。記事のタグ「miriwo_laravelチュートリアル」を本シリーズの記事に付与するのでそのほかの記事がみたい方は活用していただきたい。
この記事の読後感
- 前回実装した投稿登録画面から実際に投稿内容が登録できる様になる。
全ての記事(miriwo_laravelチュートリアル)を通した読後感
- Laravelアプリでログインなどのユーザ認証付き投稿アプリの作成ができる。
概要
- ルーティングの記載
- コントローラの記載
- モデルファイルの作成
- テーブルの作成
- ビューファイルの修正
- 確認
詳細
- ルーティングの記載
-
laravel_crudディレクトリで下記コマンドを実行してルーティングファイルを開く。
$ vi routes/web.php -
開いたファイルに下記の行を追記する。
laravel_crud/routes/web.phpRoute::post('/save', 'ContentController@save')->name('save'); -
追記後のルーティングファイルの内容を下記に記載する。
laravel_crud/routes/web.php<?php use Illuminate\Support\Facades\Route; /* |-------------------------------------------------------------------------- | Web Routes |-------------------------------------------------------------------------- | | Here is where you can register web routes for your application. These | routes are loaded by the RouteServiceProvider within a group which | contains the "web" middleware group. Now create something great! | */ Route::get('/', function () { return view('welcome'); }); Auth::routes(); Route::get('/home', 'HomeController@index')->name('home'); Route::get('/input', 'ContentController@input')->name('input'); Route::post('/save', 'ContentController@save')->name('save');
-
- コントローラの記載
-
laravel_crudディレクトリで下記コマンドを実行して作成したコントローラファイルを開く。
$ vi app/Http/Controllers/ContentController.php -
下記の内容をクラス内に追記する。
laravel_crud/app/Http/Controllers/ContentController.php//下記を上部に追記 use App\Models\Content; public function save(Request $request) { $input_content = new Content(); $input_content->content = $request['content']; $input_content->save(); return redirect('/'); } -
追記後のコントローラファイルの内容を下記に記載する。
laravel_crud/app/Http/Controllers/ContentController.php<?php namespace App\Http\Controllers; use Illuminate\Http\Request; //下記も追記 use App\Models\Content; class ContentController extends Controller { public function input() { return view('contents.input'); } public function save(Request $request) { $input_content = new Content(); $input_content->content = $request['content']; $input_content->save(); return redirect('/'); } }
-
- モデルファイルとマイグレーションファイルの作成
-
laravel_crudディレクトリで下記コマンドを実行してモデルファイルとマイグレーションファイルを作成する。
$ php artisan make:model Models/Content --migration
-
- テーブルの作成
-
laravel_crudディレクトリで下記コマンドを実行して作成したマイグレーションファイルを開く。(YYYY-MM-DDにはマイグレーションファイル作成日が、XXXXXXにはランダムな数字が入る。)
$ vi database/migrations/YYYY_MM_DD_XXXXXX_create_contents_table.php -
下記の様に記載を行う。記載後のマイグレーションファイルの内容を下記に記載する。
laravel_crud/database/migrations/YYYY_MM_DD_XXXXXX_create_contents_table.php<?php use Illuminate\Database\Migrations\Migration; use Illuminate\Database\Schema\Blueprint; use Illuminate\Support\Facades\Schema; class CreateContentsTable extends Migration { /** * Run the migrations. * * @return void */ public function up() { Schema::create('contents', function (Blueprint $table) { $table->id(); $table->string('content'); $table->timestamps(); }); } /** * Reverse the migrations. * * @return void */ public function down() { Schema::dropIfExists('contents'); } } -
laravel_crudディレクトリで下記コマンドを実行してマイグレーションを行い、テーブルを作成する。
$ php artisan migrate
-
- ビューファイルの修正
-
laravel_crudディレクトリで下記コマンドを実行してビューファイルを開く。
vi resources/views/contents/input.blade.php -
作成して開いたビューファイルを下記の様に修正する。
laravel_crud/resources/views/contents/input.blade.php<h1>input</h1> <!-- 下記を修正 --> <form action="{{route('save')}}" method="post"> @csrf <textarea name="content" cols="30" rows="10"></textarea> <input type="submit" value="送信"> </form>
-
- 確認
-
laravel_crudディレクトリで下記コマンドを実行してローカルサーバを起動する。
$ php artisan serve -
ブラウザで下記にアクセスする。
-
テキストボックスに何かしらの文字列を入力して「送信」をクリックする。
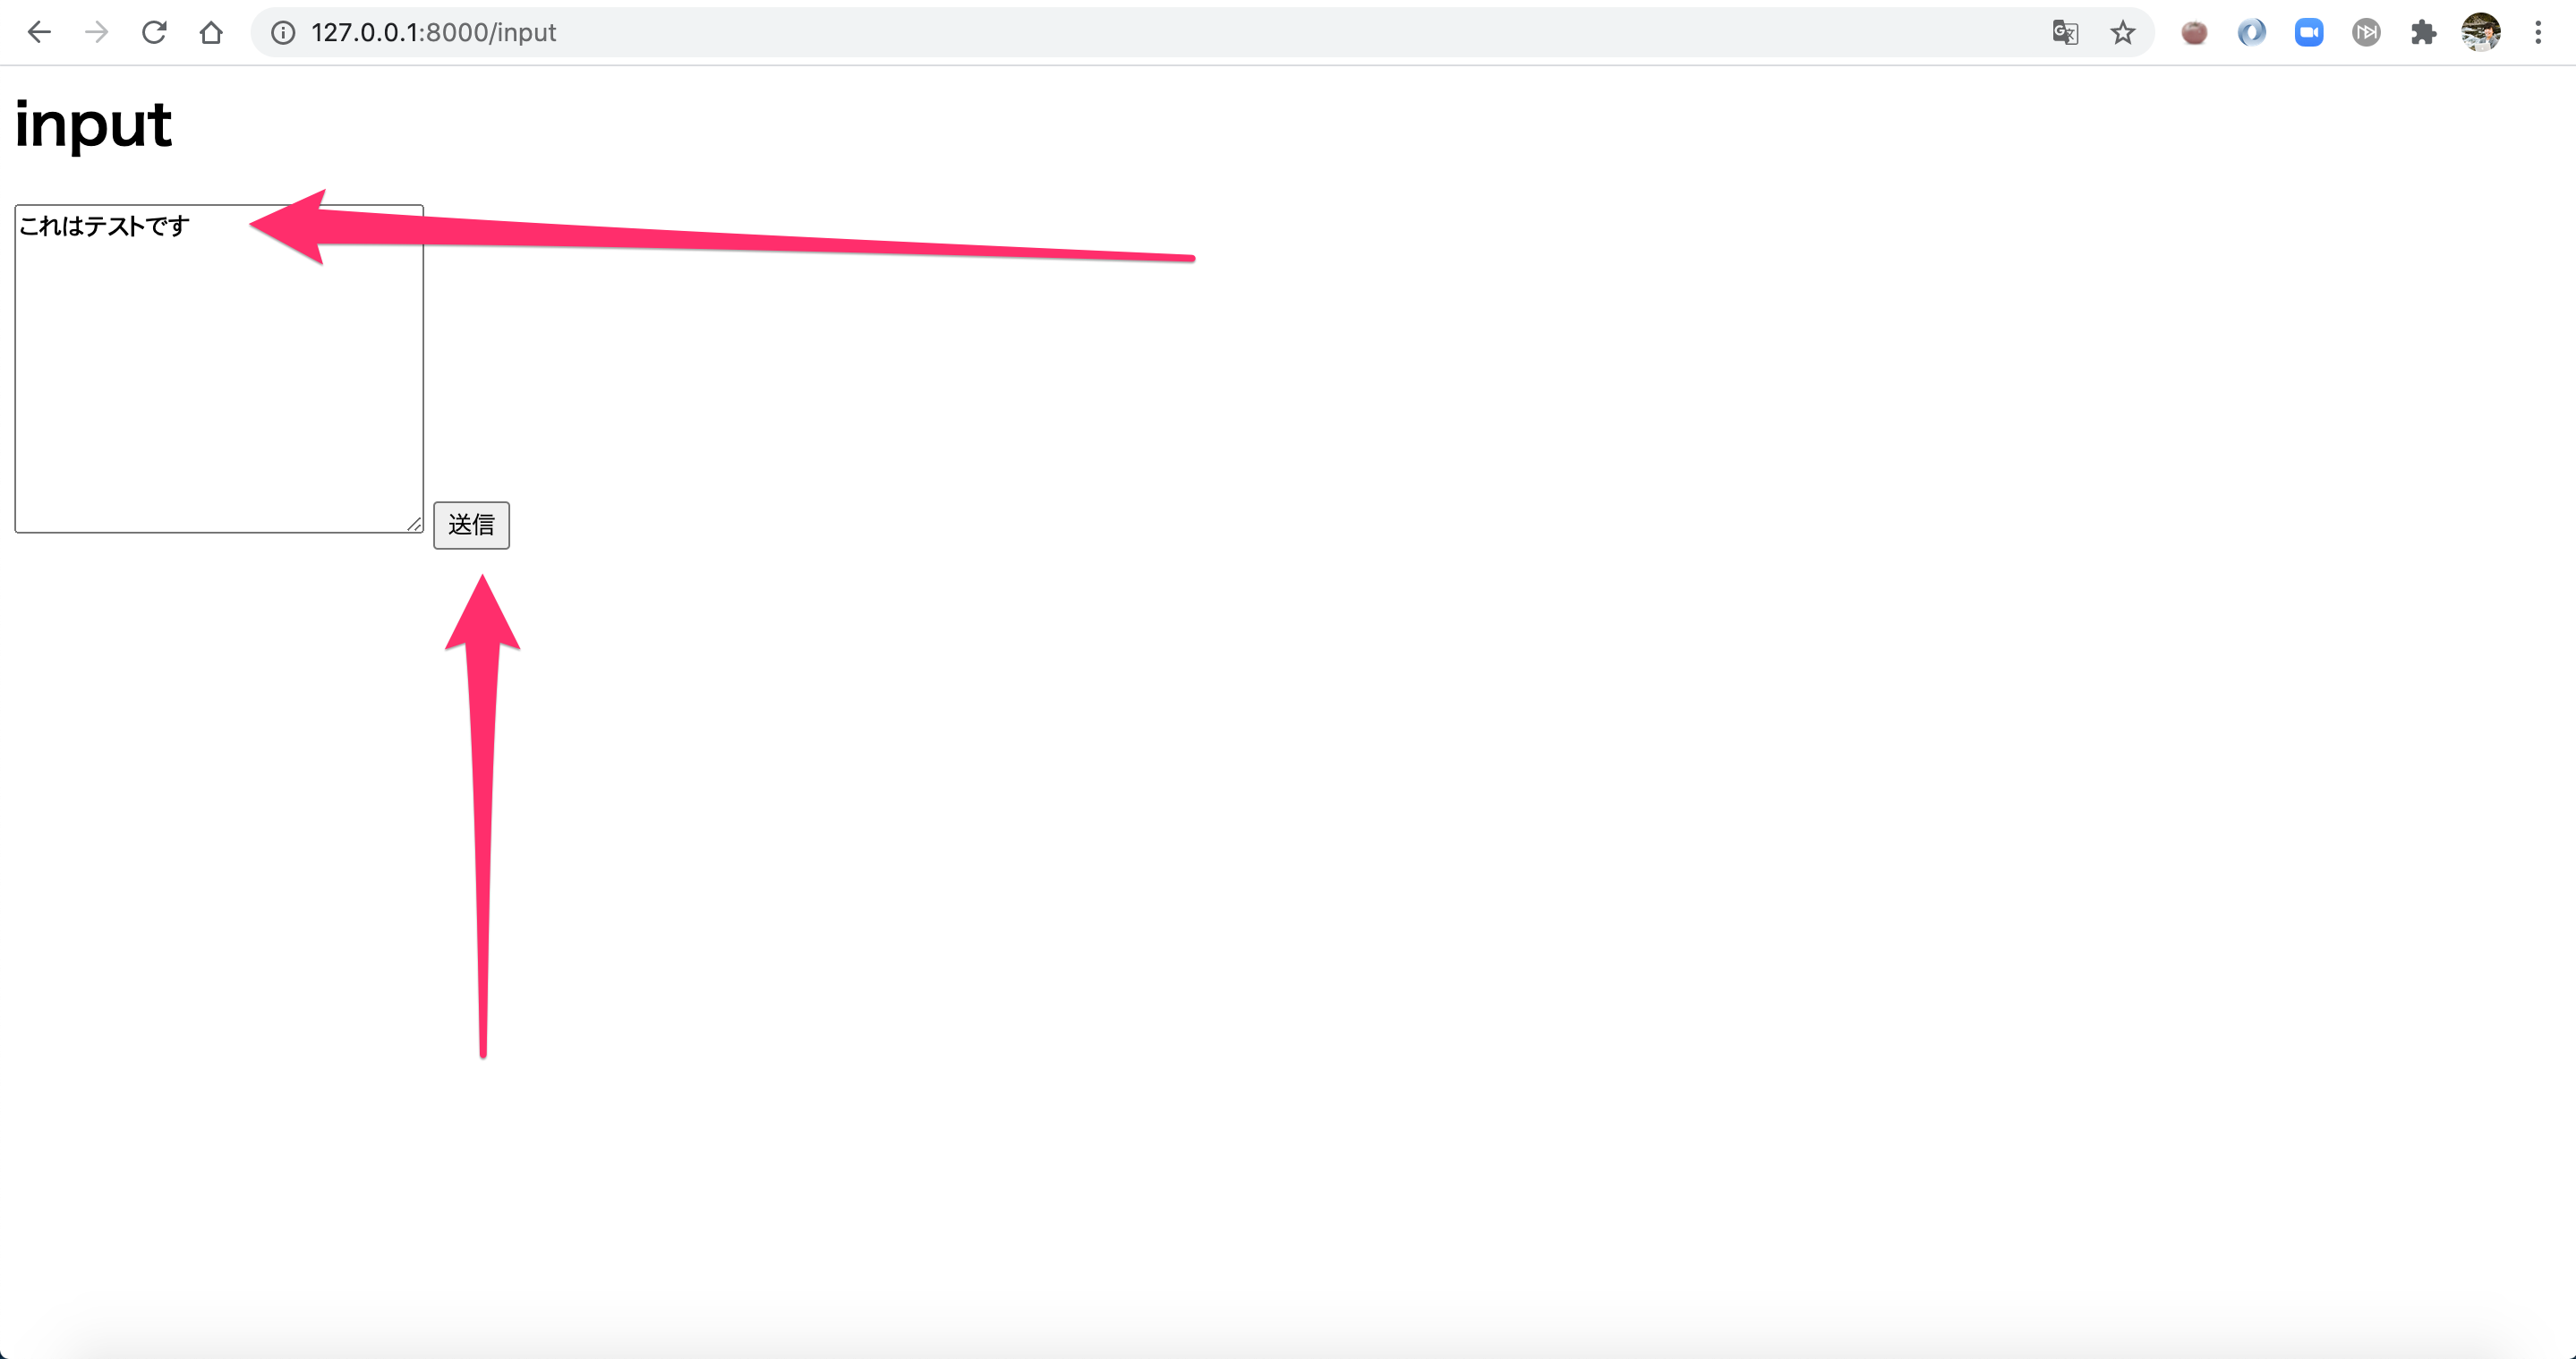
-
下記画面が表示される

-
下記コマンドを実行してMySQLにログインする。(MySQLのrootユーザのパスワードを忘れてしまった方はこちら→Mac ローカル環境の MySQL 8.0 のrootパスワードを忘れた時のリセット方法)
$ mysql -u root -p -
下記SQLを実行する。
select * from laravel_crud_data.contents; -
下記の様に出力されれば本記事の作業は完了である。(contentの内容は皆さんがブラウザのテキストボックスに入力した内容)
+----+--------------------------+---------------------+---------------------+
| id | content                  | created_at          | updated_at          |
+----+--------------------------+---------------------+---------------------+
|  1 | これはテストです             | 2020-07-14 07:50:16 | 2020-07-14 07:50:16 |
+----+--------------------------+---------------------+---------------------+
-