概要
R2のオブジェクト(htmlファイル)を直接インターネットに公開し、ブラウザからアクセスしてみる。
前回はr2.devのドメインを使った公開を行った。今回はカスタムドメインを使用して公開してみる。
前回↓
前提
Cloudflareに DNSで管理されているドメイン、またはサブドメインがあること。筆者は下記の対応でDNSをRoute53からCloudflareDNSに移管し、R2のカスタムドメインはpublic.www.miriwo.workを用いることにする。(実はwww.miriwo.workを使いたかったけどCloudflare Works&Pagesで使ってて、)
下記のindex.htmlをアップロードして公開してみる。
index.html
<!DOCTYPE html>
<html lang="ja">
<head>
    <meta charset="UTF-8">
    <meta name="viewport" content="width=device-width, initial-scale=1.0">
    <title>Document</title>
</head>
<body>
  <h1>Hello Cloudflare R2(Custom Domain)</h1>
</body>
</html>
方法
-
公開用バケット(筆者の場合バケット名は「public-custom-domain」)を追加
- 位置情報: 自動
- デフォルトのストレージ クラス: Standard
-
バケットの詳細画面で「設定タブ」を開き下部の「カスタムドメイン」の「ドメインに接続」をクリック


-
カスタムドメインを入力して「続行」をクリック
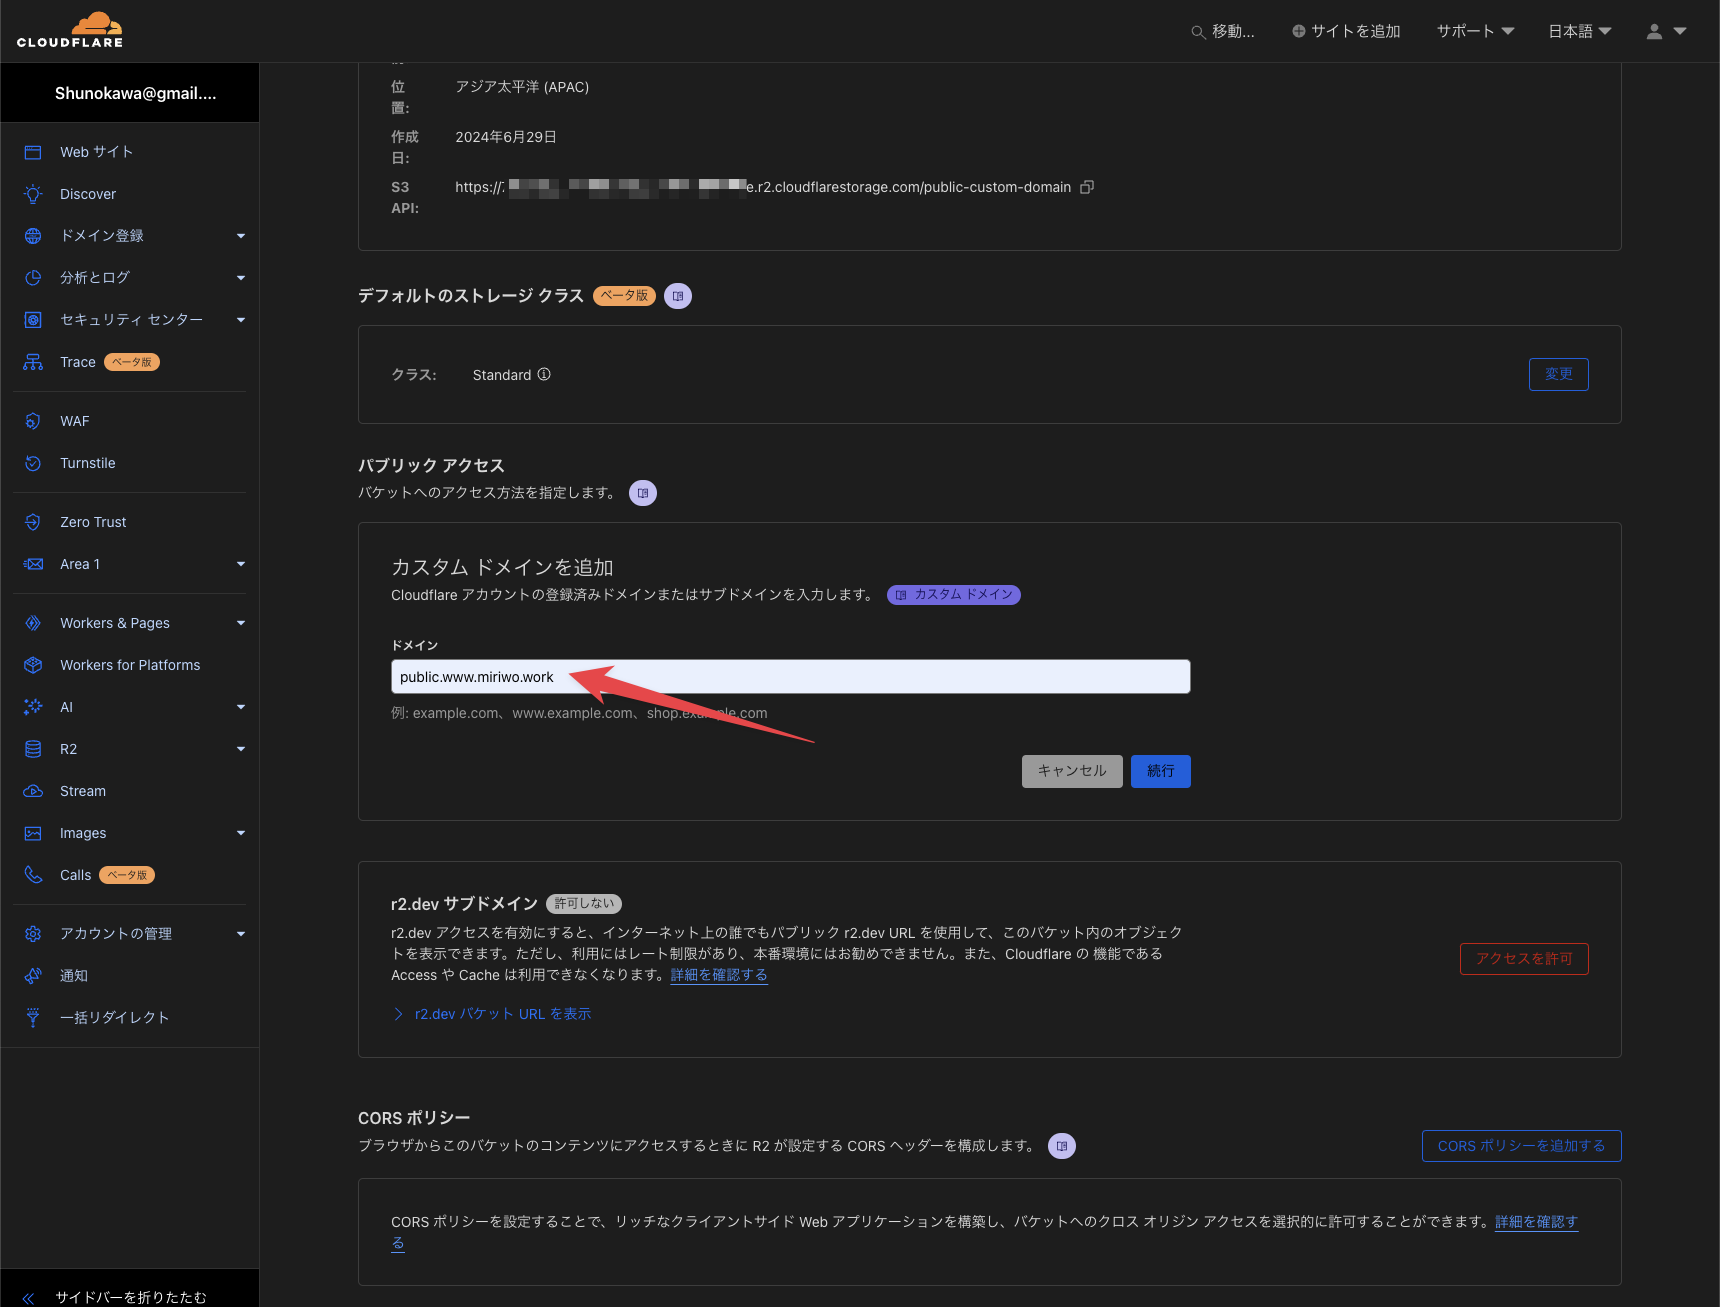
-
CNAMEレコードを追加する案内が出るので「ドメインに接続」をクリック

-
ドラックアンドドロップでindex.htmlをバケットにアップロード
-
アップロードしたオブジェクトの詳細を開き、URLをコピー

-
コピーしたURLをブラウザに貼り付けて、下記のようなページが表示されれば完了
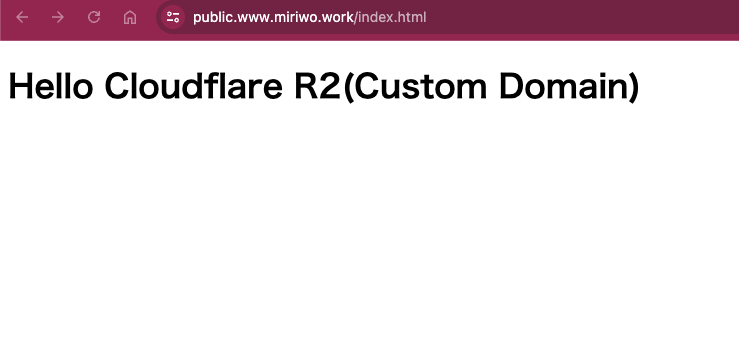
-
デフォルトで7日後にアップロードを中止?するルールが付与されている模様なので不要なら編集したりしたほうがいい

-
本体験後には当該のバケットへのアクセス許可を無効に設定しておいた。
参考文献