vimをカスタマイズしよう!!
ここにたどり着いた人は.vimrcとかいろいろ見てる人が多いかもしれないがそこもまとめて書いてみる
今回の前提事項
- vimの使い方
ここなどを参照 - .vimrcとは
vimを設定するためのファイルで基本的にはホームディレクトリ内にある - プラグインについて
インターネット上ではvimように様々なプラグインが存在されていてその殆どがgithub上に公開されている - プラグイン管理とは
多量のプラグインを導入しているとアップデートなどの管理がしづらくどこにそれらをおいていて何を読み込んでいるかがわからなくなってしまう
それを何とかするためにあるプラグイン(dein,NeoBundle,Vundleなど)
ここではdeinを使う - git(github)
バージョン管理システム(インターネット上で管理しているもの)
githubのアカウントを作成する
設定をした.vimrcなどを保存するため作成する
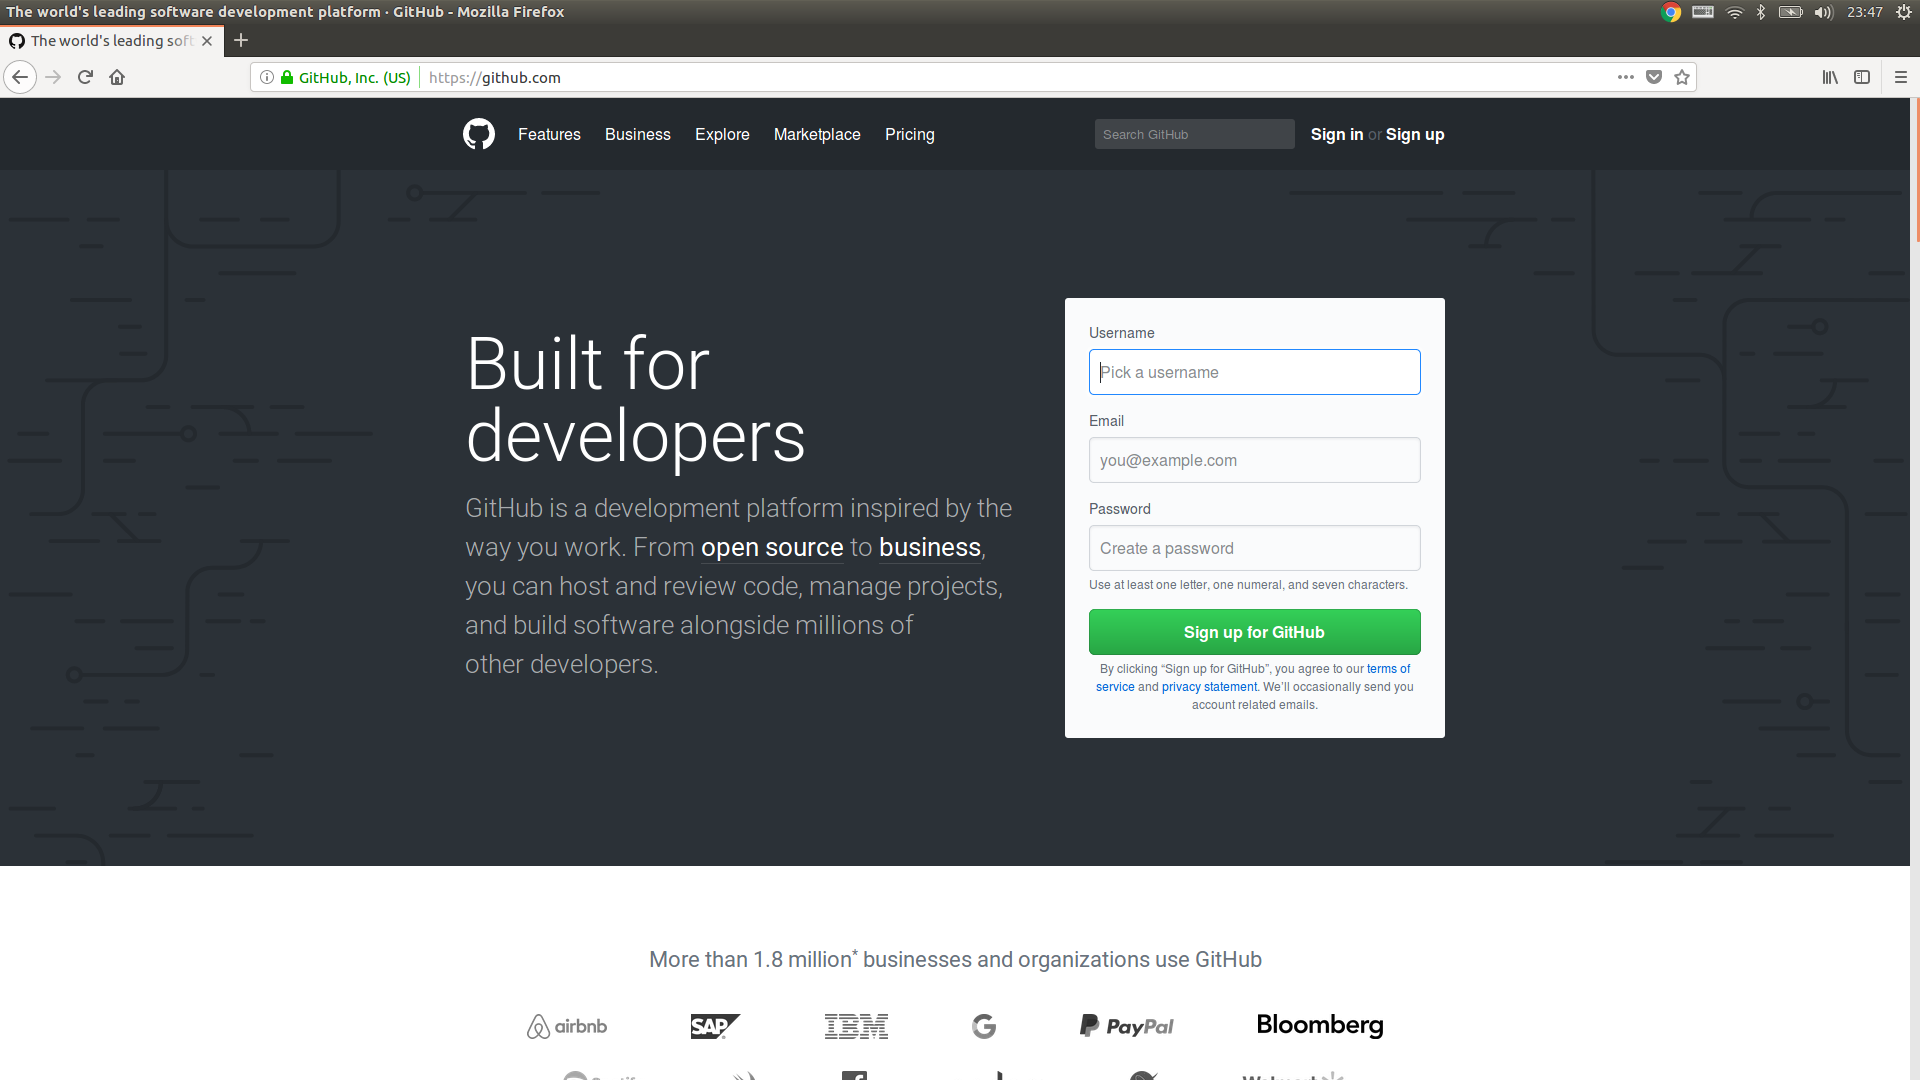
github.comに行く
このような画面になるのでusername,email,passwordを入力しsignupを押す
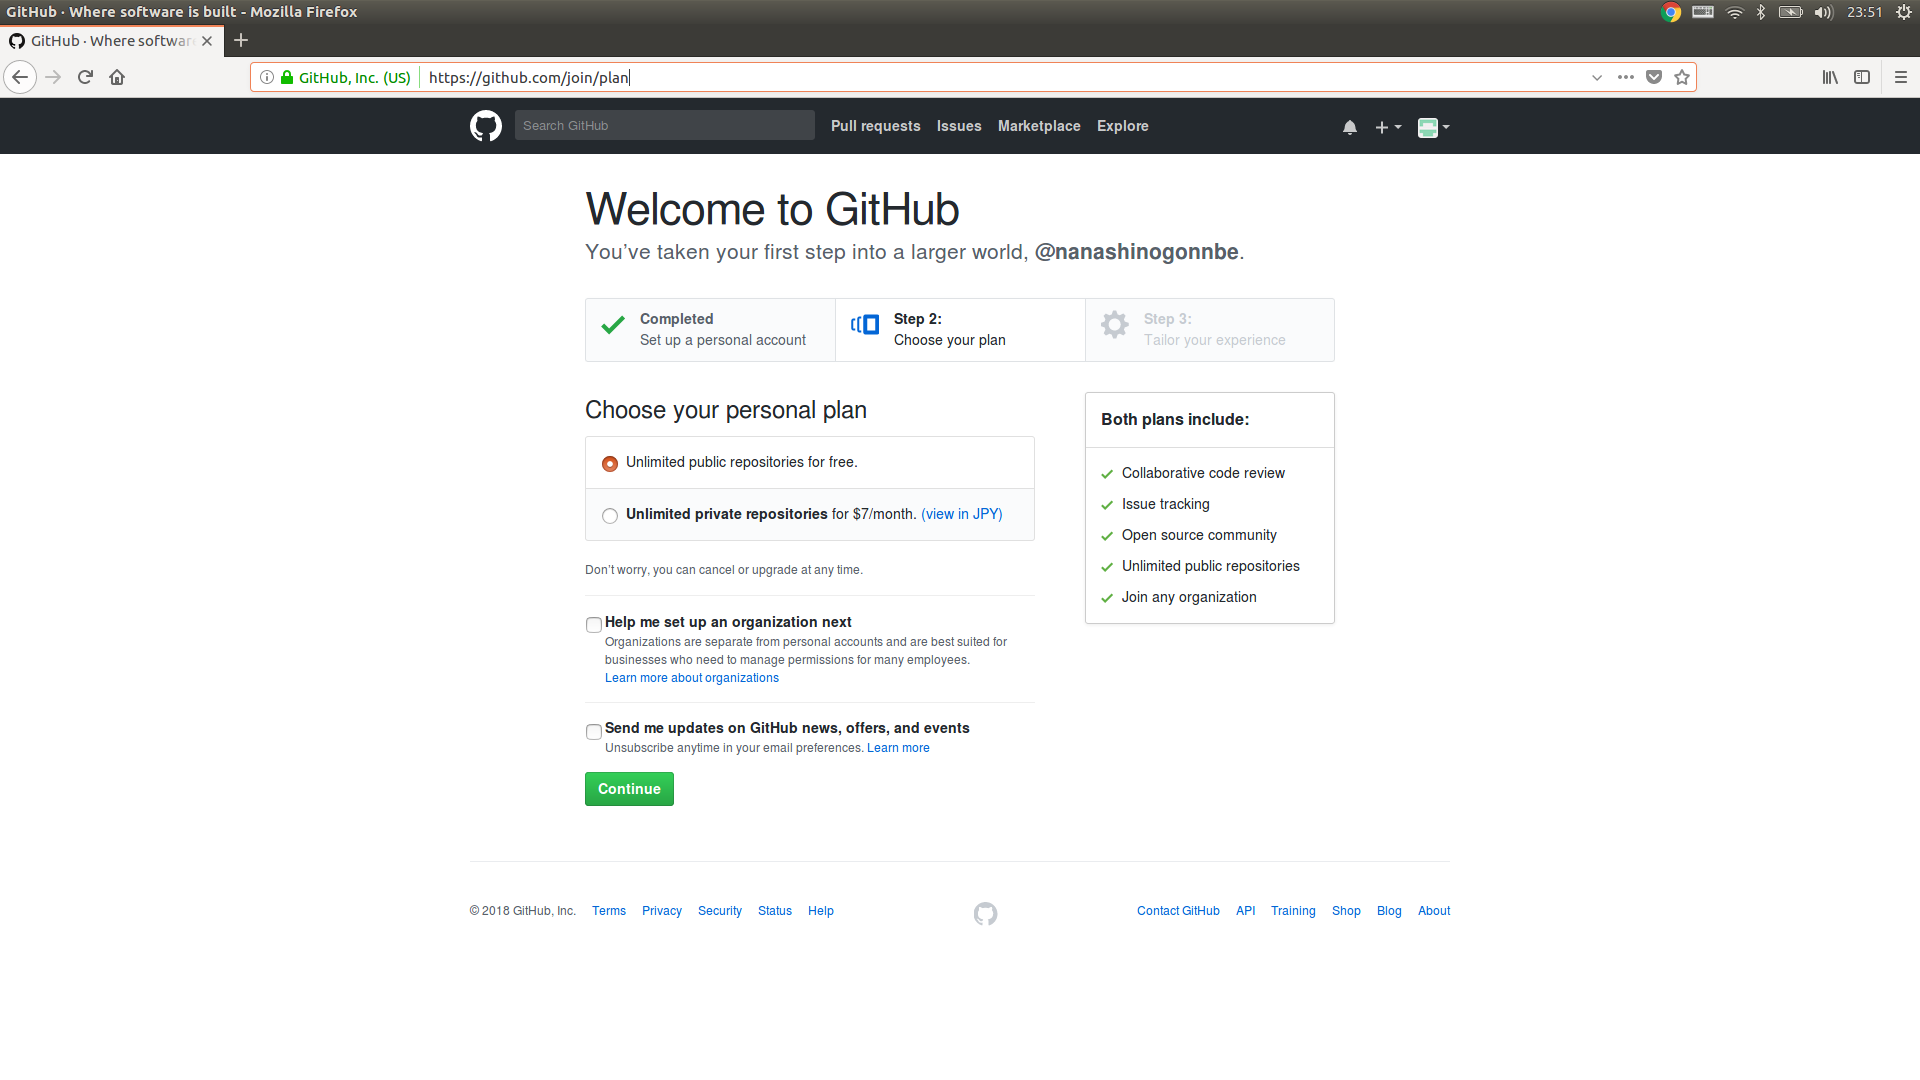
この画面が出たらcontinueをおしてください
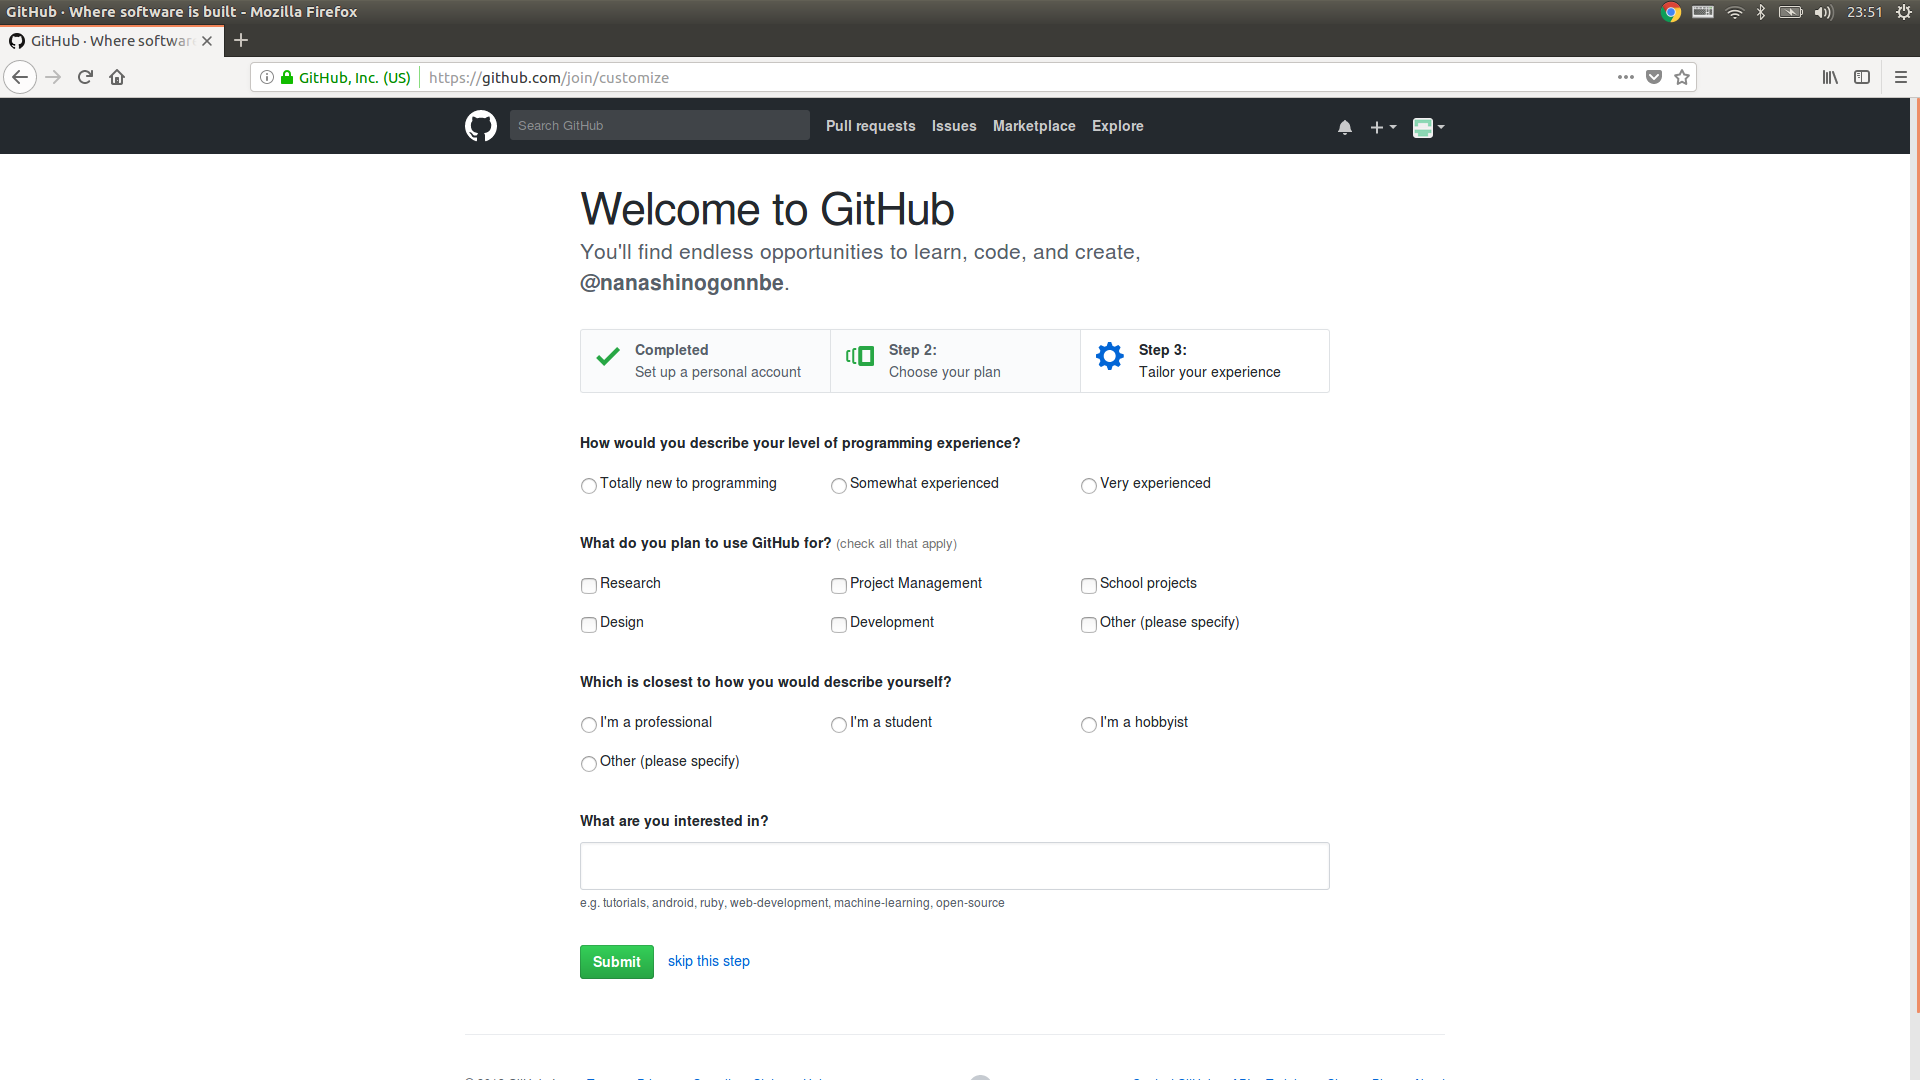
skip this stepで構いません
この画面が出た時点でアカウントの仮登録が完了です
最初に入力したメールアドレスにメールが送られるにで確認をして本登録を完了してください
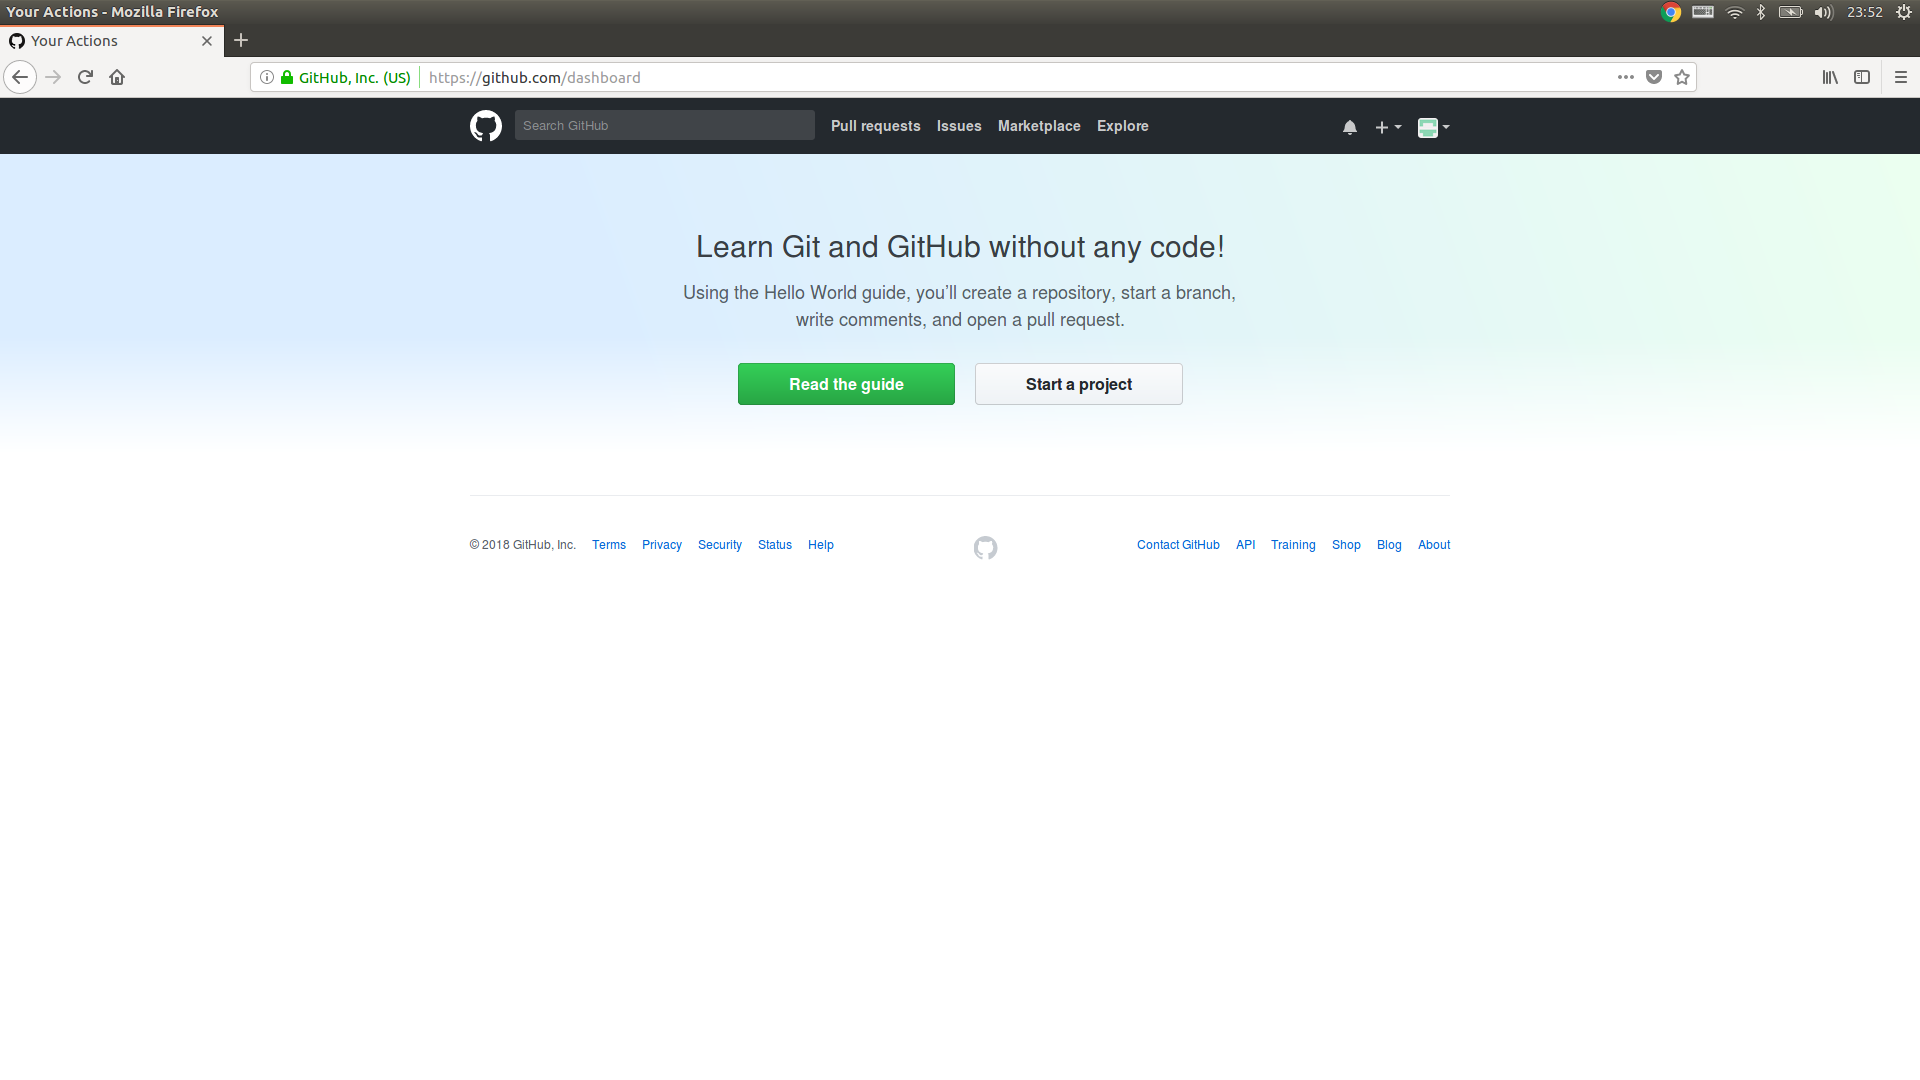
そしたらまたこの画面に戻ってくるのでstart a projectをおしてください
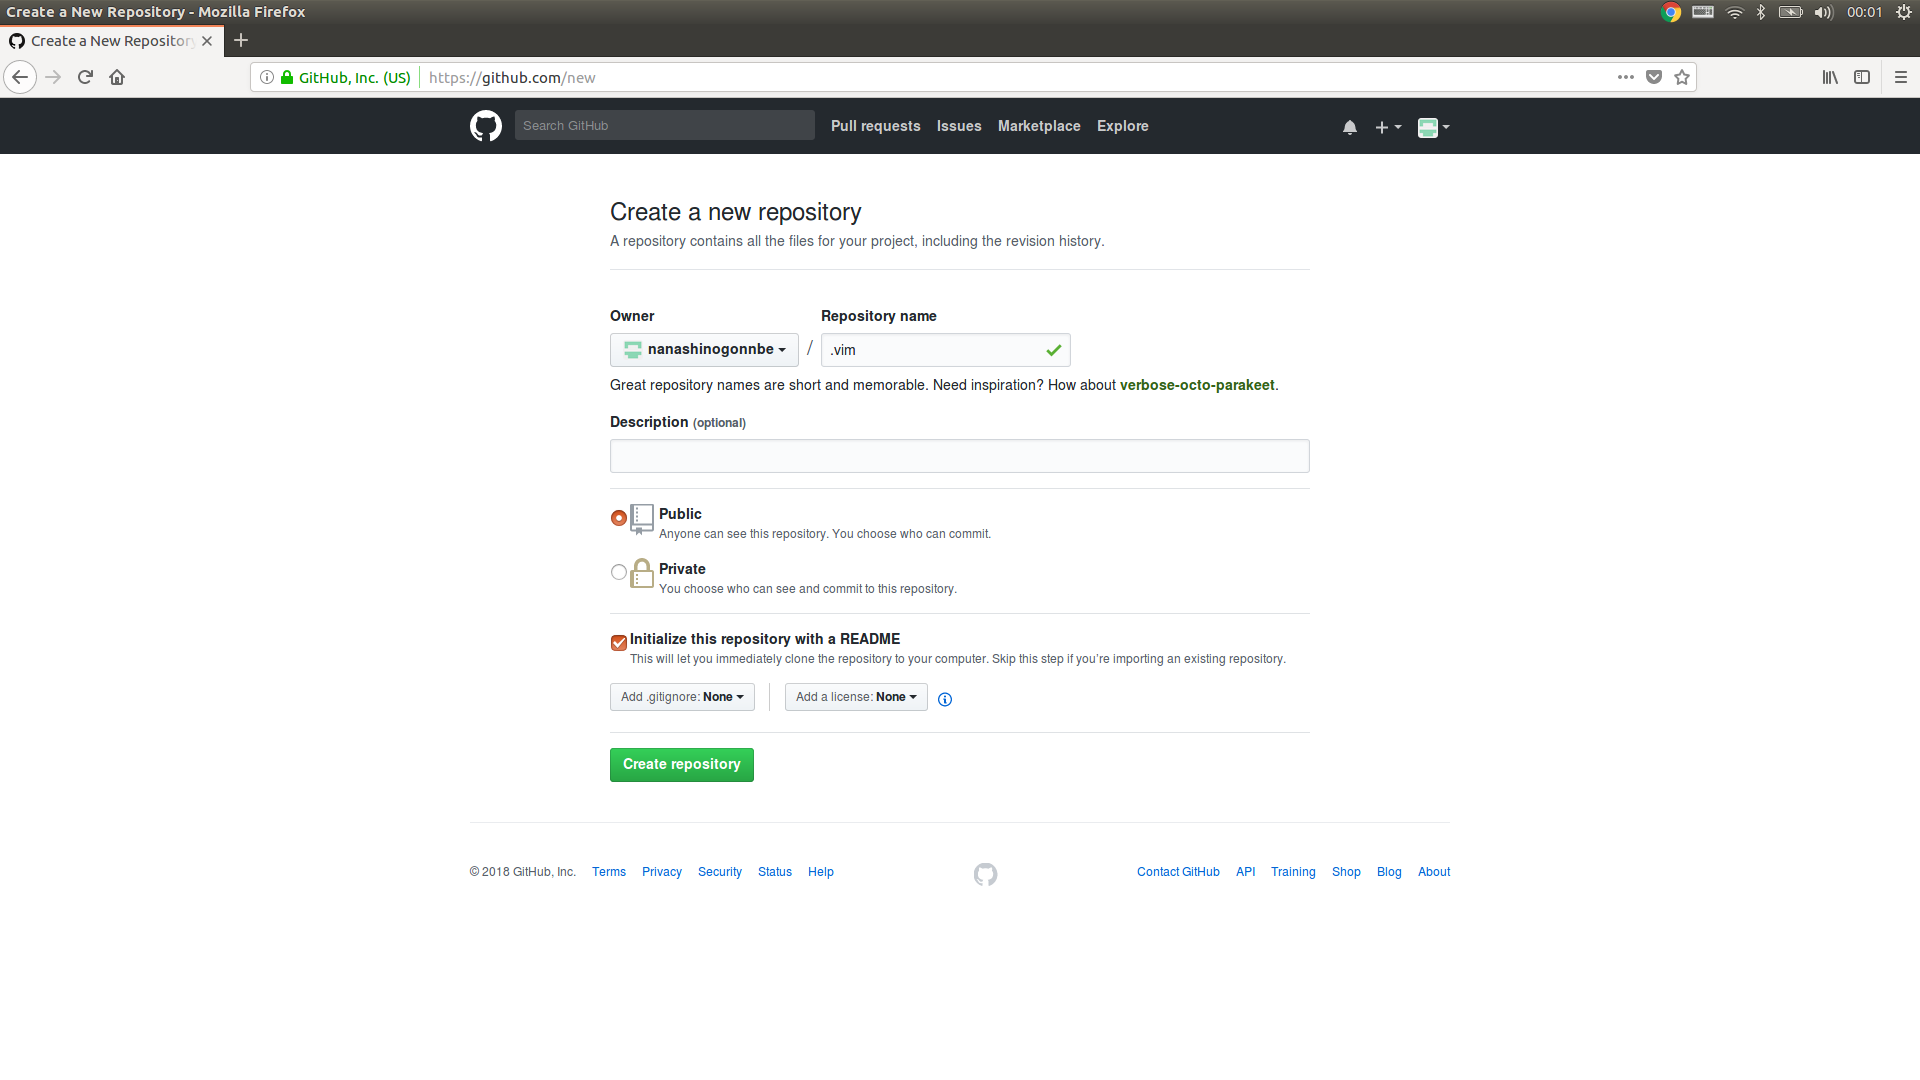
この画面が出たらRepository nameのところに".vim"と入力してください
そしてInitialize this repository with a README にチェックを入れておいてください
できたらcreate repositoryを押してください
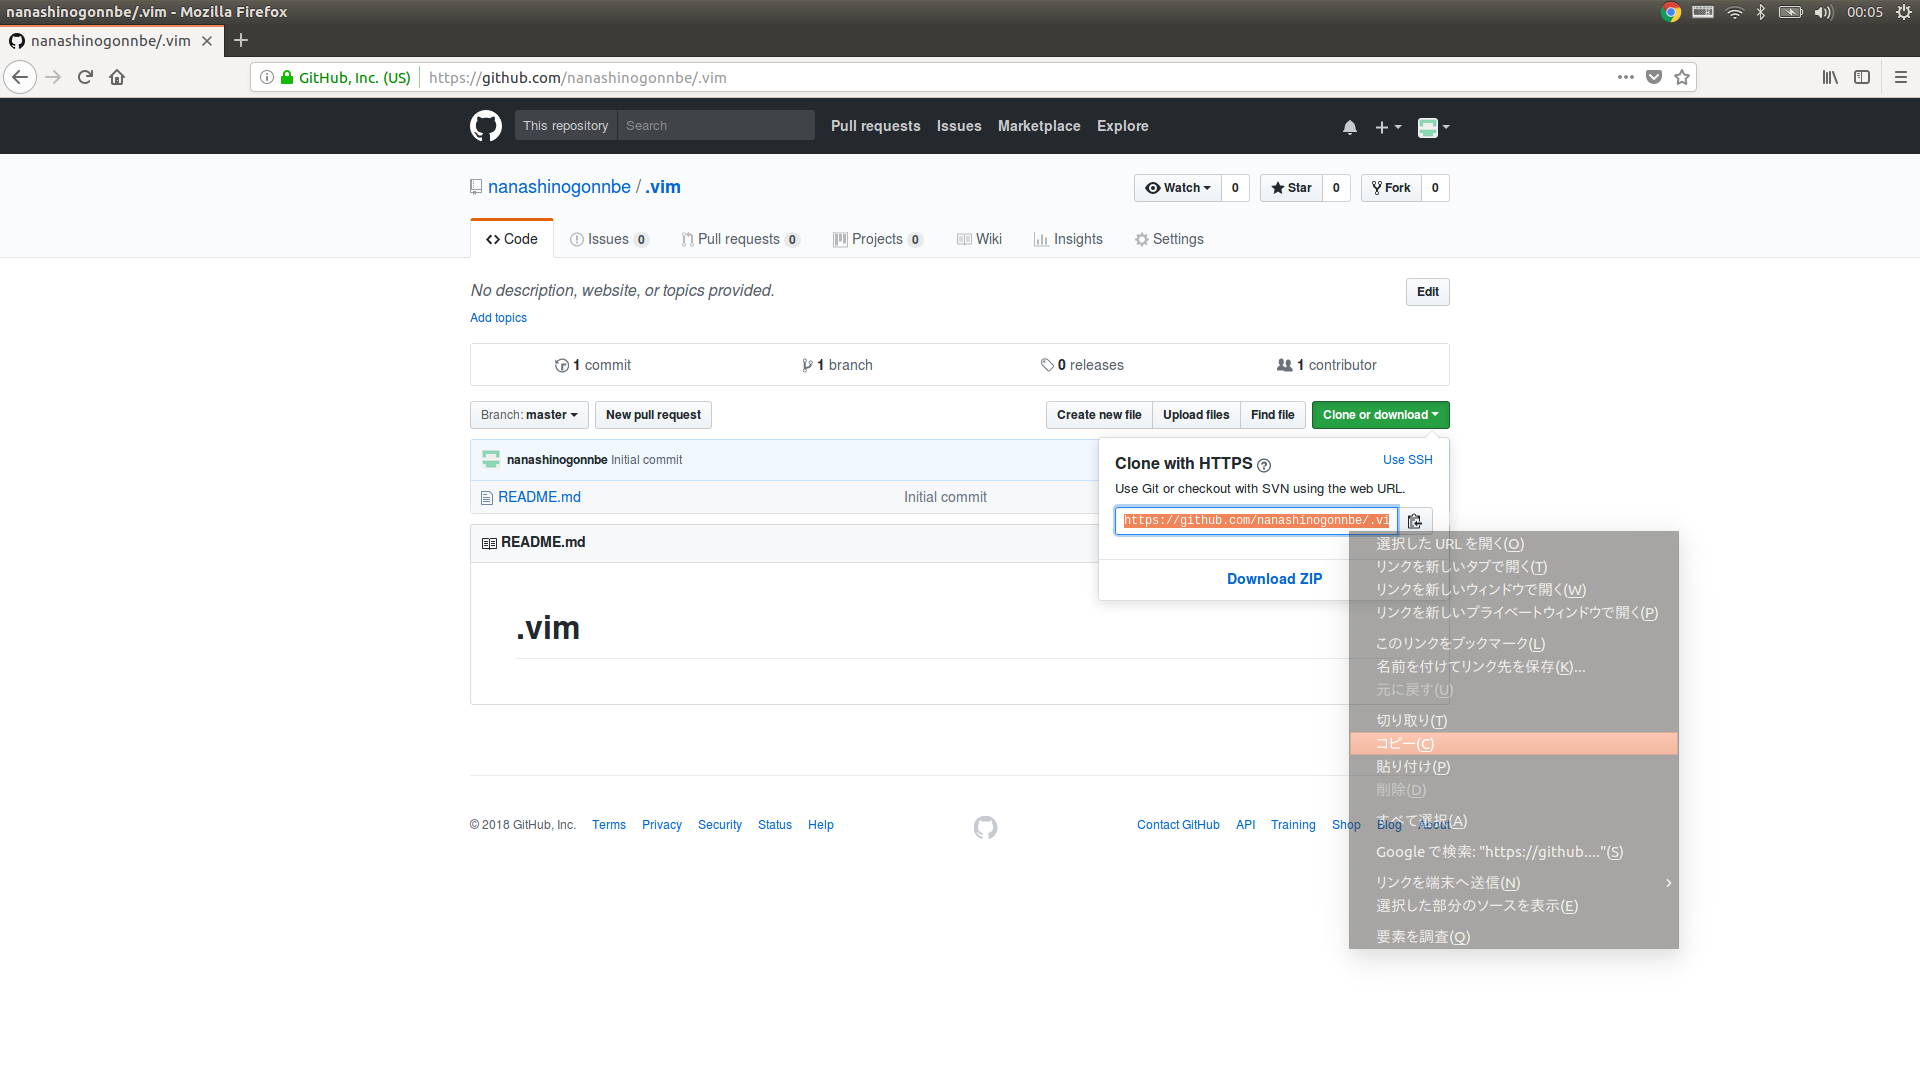
このようになったらレポジトリの完成です
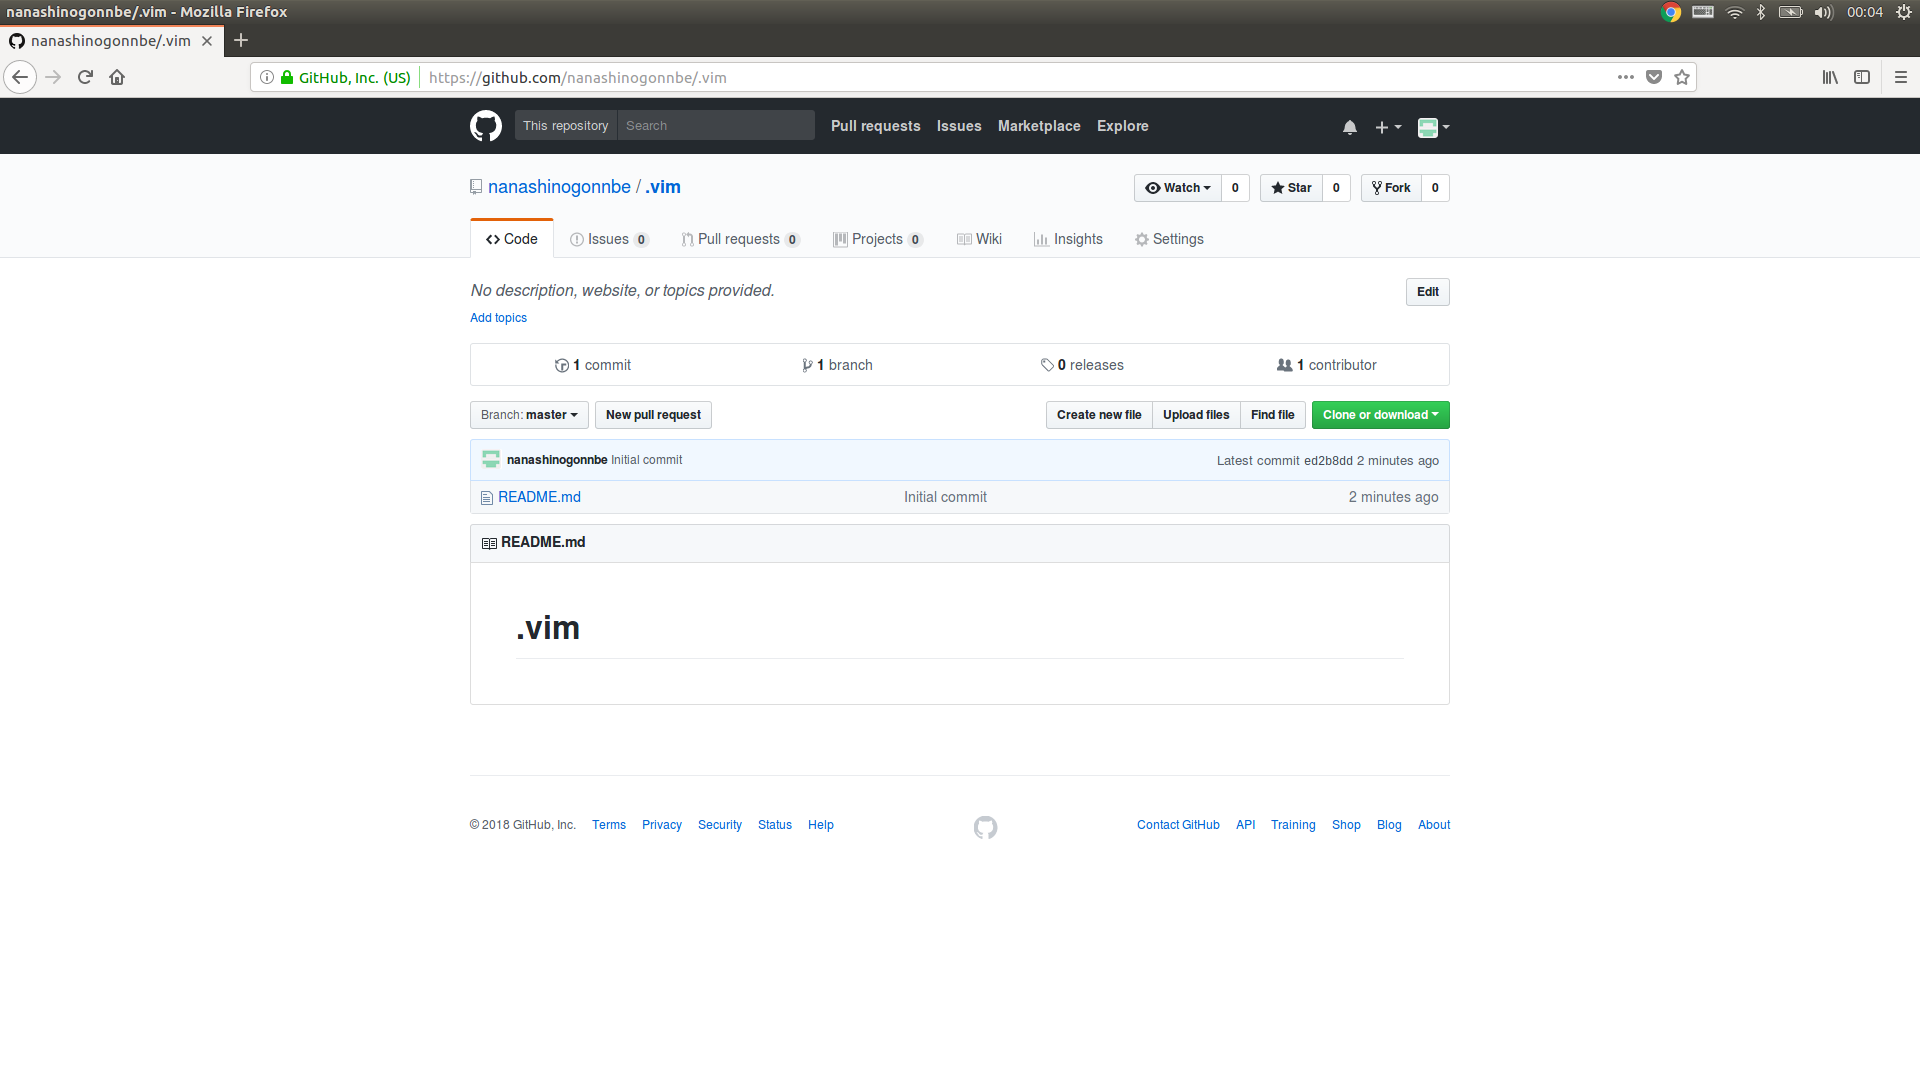
この中の緑のボタンを押して出てくるリンクをコピーしておいてください
gitのインストール
プラグイン等をインストールするためにgit系コマンドが必要なのでインストール
$ sudo apt install git
gitで使うコマンド
# ディレクトリにレポジトリを作成
$ git init
# ファイルやディレクトリをインディックスに登録
# すべて登録する場合は -Aが必要
$ git add [filename]
# インディックスに追加されたファイルをコミットする
$ git commit
リモートレポジトリの追加
$ git remote add [shortname][repo]
リモートレポジトリにコミットしたものを書き込む
$ git push [shortname][branch]
リポジトリをコピーする
$ git clone [repo]
リポジトリの変更を取り込む
$ git pull
また細かいオプションなどはここを参考にするといい
ローカルで.vimを生成しよう
ターミナルで
$ mkdir .vim
$ cd .vim
$ git init
$ git remote add origin [コピーしたリンク]
これで.vimが作成したレポジトリと接続されました
プラグイン管理ツールをインストール
今回は~/.vim/configs/users/内に設定を置き
~/.vim/configs/plugins/install/内にdein.tomlを置きます
# 設定ファイルを置くディレクトリを作成
$ mkdir configs
$ mkdir configs/users
$ mkdir configs/plugins
$ mkdir configs/plugins/install
$ cd configs/users
# plugins.vimを作成
$ vim plugin.vim
"プラグインが実際にインストールされるディレクトリ
let s:dein_dir = expand('~/.vim/dein')
" dein.vim 本体
let s:dein_repo_dir = s:dein_dir . '/repos/github.com/Shougo/dein.vim'

" dein.vim がなければ github から落としてくる
if &runtimepath !~# '/dein.vim'
 if !isdirectory(s:dein_repo_dir)
  execute '!git clone https://github.com/Shougo/dein.vim' s:dein_repo_dir
 endif
 execute 'set runtimepath^=' . s:dein_repo_dir
endif

" 設定開始
if dein#load_state(s:dein_dir)
 call dein#begin(s:dein_dir)

 " プラグインリストを収めた TOML ファイル
 " ~/.vim/rc/dein.toml,deinlazy.tomlを用意する
 let g:rc_dir    = expand('~/.vim/configs/plugins/install')
 let s:toml      = g:rc_dir . '/dein.toml'
 let s:lazy_toml = g:rc_dir . '/dein_lazy.toml'

 " TOML を読み込み、キャッシュしておく
 call dein#load_toml(s:toml,      {'lazy': 0})
 call dein#load_toml(s:lazy_toml, {'lazy': 1})

 " 設定終了
 call dein#end()
 call dein#save_state()
endif

" もし、未インストールものものがあったらインストール
if dein#check_install()
 call dein#install()
endif

filetype plugin indent on
これを書いたら今度は導入するプラグインを.vim/config/plugins/install/dein.tomlに書き込む
また自分で入れたいプラグインがあった場合以下のように入れる
[[plugins]]
repo = '入れたいプラグイン(githubのユーザ/プラグイン)'
# git clone 後、実行すべきコマンドがある場合はこんな感じ
[[plugins]]
repo = 'Shougo/vimproc.vim'
hook_post_update = '''
  if dein#util#_is_windows()
      let cmd = 'tools\\update-dll-mingw'
  elseif dein#util#_is_cygwin()
  let cmd = 'make -f make_cygwin.mak'
  elseif executable('gmake')
      let cmd = 'gmake'
      else
        let cmd = 'make'
      endif
  let g:dein#plugin.build = cmd
  '''
# NERDTree(ツリーファイラー)
[[plugins]]
repo = 'scrooloose/nerdtree'
# NERDTreeの追加設定用
[[plugins]]
repo = 'jistr/vim-nerdtree-tabs'

# 色をつけるもの
[[plugins]]
repo = "tomasr/molokai"

# 自動で括弧を閉じてくれる
[[plugins]]
repo = 'Townk/vim-autoclose'


# 自動補完プラグイン系スニペット機能
[[plugins]]
repo = 'Shougo/neocomplete'
[[plugins]]
repo = 'Shougo/neosnippet-snippets'
# スニペット集
[[plugins]]
repo = 'Shougo/neosnippet-snippets'

# インデント表示
[[plugins]]
repo = 'Yggdroot/indentLine'

# html系結構便利系Emmet
[[plugins]]
repo = 'mattn/emmet-vim'

# ステータスバー強化
[[plugins]]
repo = 'vim-airline/vim-airline-themes'
[[plugins]]
repo    = 'vim-airline/vim-airline'
on_source = ['vim-airline/vim-airline-themes']


[[plugins]]
repo   = 'Shougo/unite.vim'
# unite.vim を読み込んだら一緒に読み込む
[[plugins]]
repo      = 'Shougo/neomru.vim'
on_source = ['unite.vim']

[[plugins]]
repo = 'Shougo/vimfiler'

[[plugins]]
repo = 'bronson/vim-trailing-whitespace'

# Python用
[[plugins]]
repo = 'davidhalter/jedi-vim'
on_ft = 'python'
そしたらプラグイン導入まで出来るが肝心のvimがこれを読み込んでくれないので
これを読み込んでくれるようにするためにホームディレクトリの.vimrcを作成し以下のように書き込む
set encoding=utf-8
scriptencoding utf-8
set runtimepath+=~/.vim
runtime! configs/users/*.vim
runtime! configs/plugins/*.vim
これでもう一度vimを立ち上げたら自動的にプラグインを入れてくれるようになる
githubへの保存
次にこのファイルをgitにコミットしそれをgithub上に公開します
$ git commit -m"vimのプラグインを追加"
$ git push origin master
これでgithubの自分のレポジトリの.vimが同じ中身になりました
また他の設定をしたければ~/.vim/configs/users/ないに.vimとして書いておけば認識してくれるため複数ファイルに分けて書くこともできる
それらの設定に関してはQiitaで検索していけば出るだろう
ちなみに自分の.vimはこんな感じになっている
miraの.vim
ただしこのファイルは~/dotfiles/.vimと配置しなければきちんと動作をしない
dotfilesについてはまた次回