なぜかダウンロードできるバイナリ(Shared、Dev、Static)を使用しようとするとエラーになってしまうため、Buildをすることに。
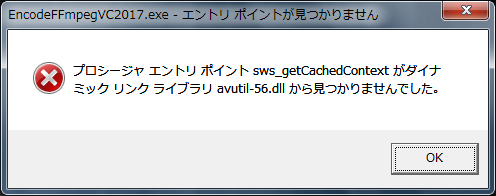
しかし、FFmpegはそんなに甘くないのでした。
環境
とりあえずOSは「Windows 7 Professional 64bit Service Pack 1」を使用しました。
あと、使用するVisual Studioは、すでにインストールされているものとします。
【重要】今回作成するアプリは64bitアプリとします
準備
FFmpegをBuildするには、MSYS2を使用します。
いろんなところでダウンロード/インストール方法が公開されていますが、ここでは「Visual Studioで使用するための準備」として、記載させてもらいます。
ダウンロード
こちらから「x86_64」の方をダウンロードします。
※分かりにくいファイル名ですよね ^^;
インストール
ダウンロードしたファイル(exeのはず)を実行します。

特にデフォルトの設定を変更することなく「次へ」「次へ」で進めていきます。
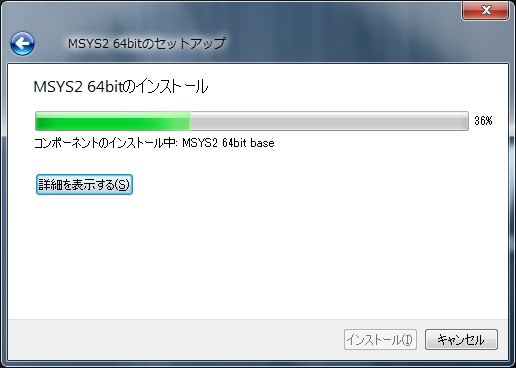
おそらく「c:\msys64」というところにインストールされたと思います。
パッケージ等の更新
まずmingw64を起動します。
C:\msys64\msys2_shell.cmd -mingw64

そこでMSYS自体の更新を行います。
pacman -Syuu
次に、以下のパッケージを取得しておきます。
pacman -S make
pacman -S diffutil
pacman -S yasm
pacman -S vim
pacman -S git
もちろん、これら以外にも、好きなものを追加して構いません。
FFmpegの準備
当然のことながらFFmpegのソースコードを取得しておきます。
mingw64のホームディレクトリから、gitで取得します。
git clone https://github.com/FFmpeg/FFmpeg.git
Visual Studio 2012以前の場合
まだBuildできていません(ゴメンナサイ ;_;)
FFmpegのconfigure/make時にエラーとなります。
・C99未使用時:cross-compileエラー

・C99使用時:原因不明のエラー

引き続き、調査します。
Visual Studio 2013以降の場合
また準備
mingw64を起動します。
(既に起動していたら、再起動は不要)
C:\msys64\msys2_shell.cmd -mingw64
64bit用の開発環境をごっそり取得します。
pacman -S mingw-w64-x86_64-toolchain

全部入れても構いませんが、必要なパッケージだけ入れればよいです。
上記の場合は「1 2 3 7 9 10 11 12 13 14 15 16 17」が必須です。
ここまで準備をしたら、いったんmingw64は終了させます。
Build
Command Prompt
まず、開発を行うVisual Studioの64bit用の「Command Prompt」を起動します。
例えばVisual Studio Professional 2017の場合は、
C:\Program Files (x86)\Microsoft Visual Studio\2017\Community\VC\Auxiliary\Build\vcvars64.bat
を実行します。

ここから、またmingw64を起動するのですが、その前に、環境変数を引き継ぐための設定を行います。
set MSYS2_PATH_TYPE=inherit
mingw64
次に、mingw64を起動します。
C:\msys64\msys2_shell.cmd -mingw64
ウィンドウが開いたら、環境変数「PATH」を変更します。
まず「cl.exe」のパスを確認します。
which -a cl
見つかったパスを、環境変数PATHの先頭に入れます。
export PATH="/c/Program Files (x86)/Microsoft Visual Studio/2017/Community/VC/Tools/MSVC/14.10.25017/bin/HostX64/x64:$PATH"
ちゃんと変わったか、念のため「link.exe」のパスで確認します。
which -a link

※FFmpegをビルドする際、Visual Studioの「cl.exe」「link.exe」を使用するところがポイントになります
FFmpeg
いよいよ、FFmpegのBuildに取り掛かります。
まず作業用のフォルダを作成します。
ここではホームディレクトリの下に「out」というフォルダを作ることにします。
そこに移動し、「configure」「make」「make install」を行います。
mkdir out
cd out
../FFmpeg/Configure --toolchain=msvc --enable-shared
make
make install

※他にもインストールしたいパッケージがあったら、「configure」で設定してください
※ここではShared Library(DLL)を作成しています
※特に「--toolchain=msvc」は絶対に忘れないでください
出来上がったモジュール(lib、dll)は「C:\msys64\usr\local\bin」に保存されます。
また使用したインクルードファイル(h)は「C:\msys64\usr\local\include」に保存されます。
これらを自分のアプリから呼び出します。
おまけ(libx264のBuild)
実はlibx264もBuildしたりしていたので、その手順。
準備
アセンブラに「yasm」ではなく「nasm」を使用するので、mingw64でパッケージを取得しておく。
pacman -S nasm
ダウンロード&展開
mingw64のホームディレクトリから、gitで取得。
git clone http://git.videolan.org/git/x264.git
Build
「x264」に移動し、「configure」「make」「make install」を実行。
cd x264
configure --enable-shared --prefix="/mingw64" --extra-cflags="-DNO_PREFIX" --disable-opencl
make
make install-lib-shared
なぜか出来上がったライブラリファイルの名前が「libx264.dll.lib」になっているので「libx264.lib」に変更。
FFmpegでの設定
前述の手順と同じように「configure」「make」「make install」を実行。
cd out
../ffmpeg/configure --toolchain=msvc --enable-shared --enable-libx264 --enable-gpl --enable-version3
make
make install
※libx264をinstallしたパスが設定されていなかったら、追加すること(INCLUDEやLIBも度同様)
※自分のアプリで使用する際、libx264のDLLを見えるようにすることを忘れないように
感想
こんな苦労をするのは一人でいいので、ちゃんと公式で動くバイナリを配布してほしい...
参考URL
https://trac.ffmpeg.org/wiki/CompilationGuide/MSVC
https://qiita.com/omochimetaru/items/35df0524594255354885
http://chirimenmonster.github.io/2016/05/09/msys2-path.html