Azure DevOpsには様々なtaskが用意されています。
その中の一つにDockerがあるのですが、宣言的に記述できるのでオススメで、今回紹介したいと思います。
公式サイトはこちら👇
Docker task - Azure Pipelines
下準備
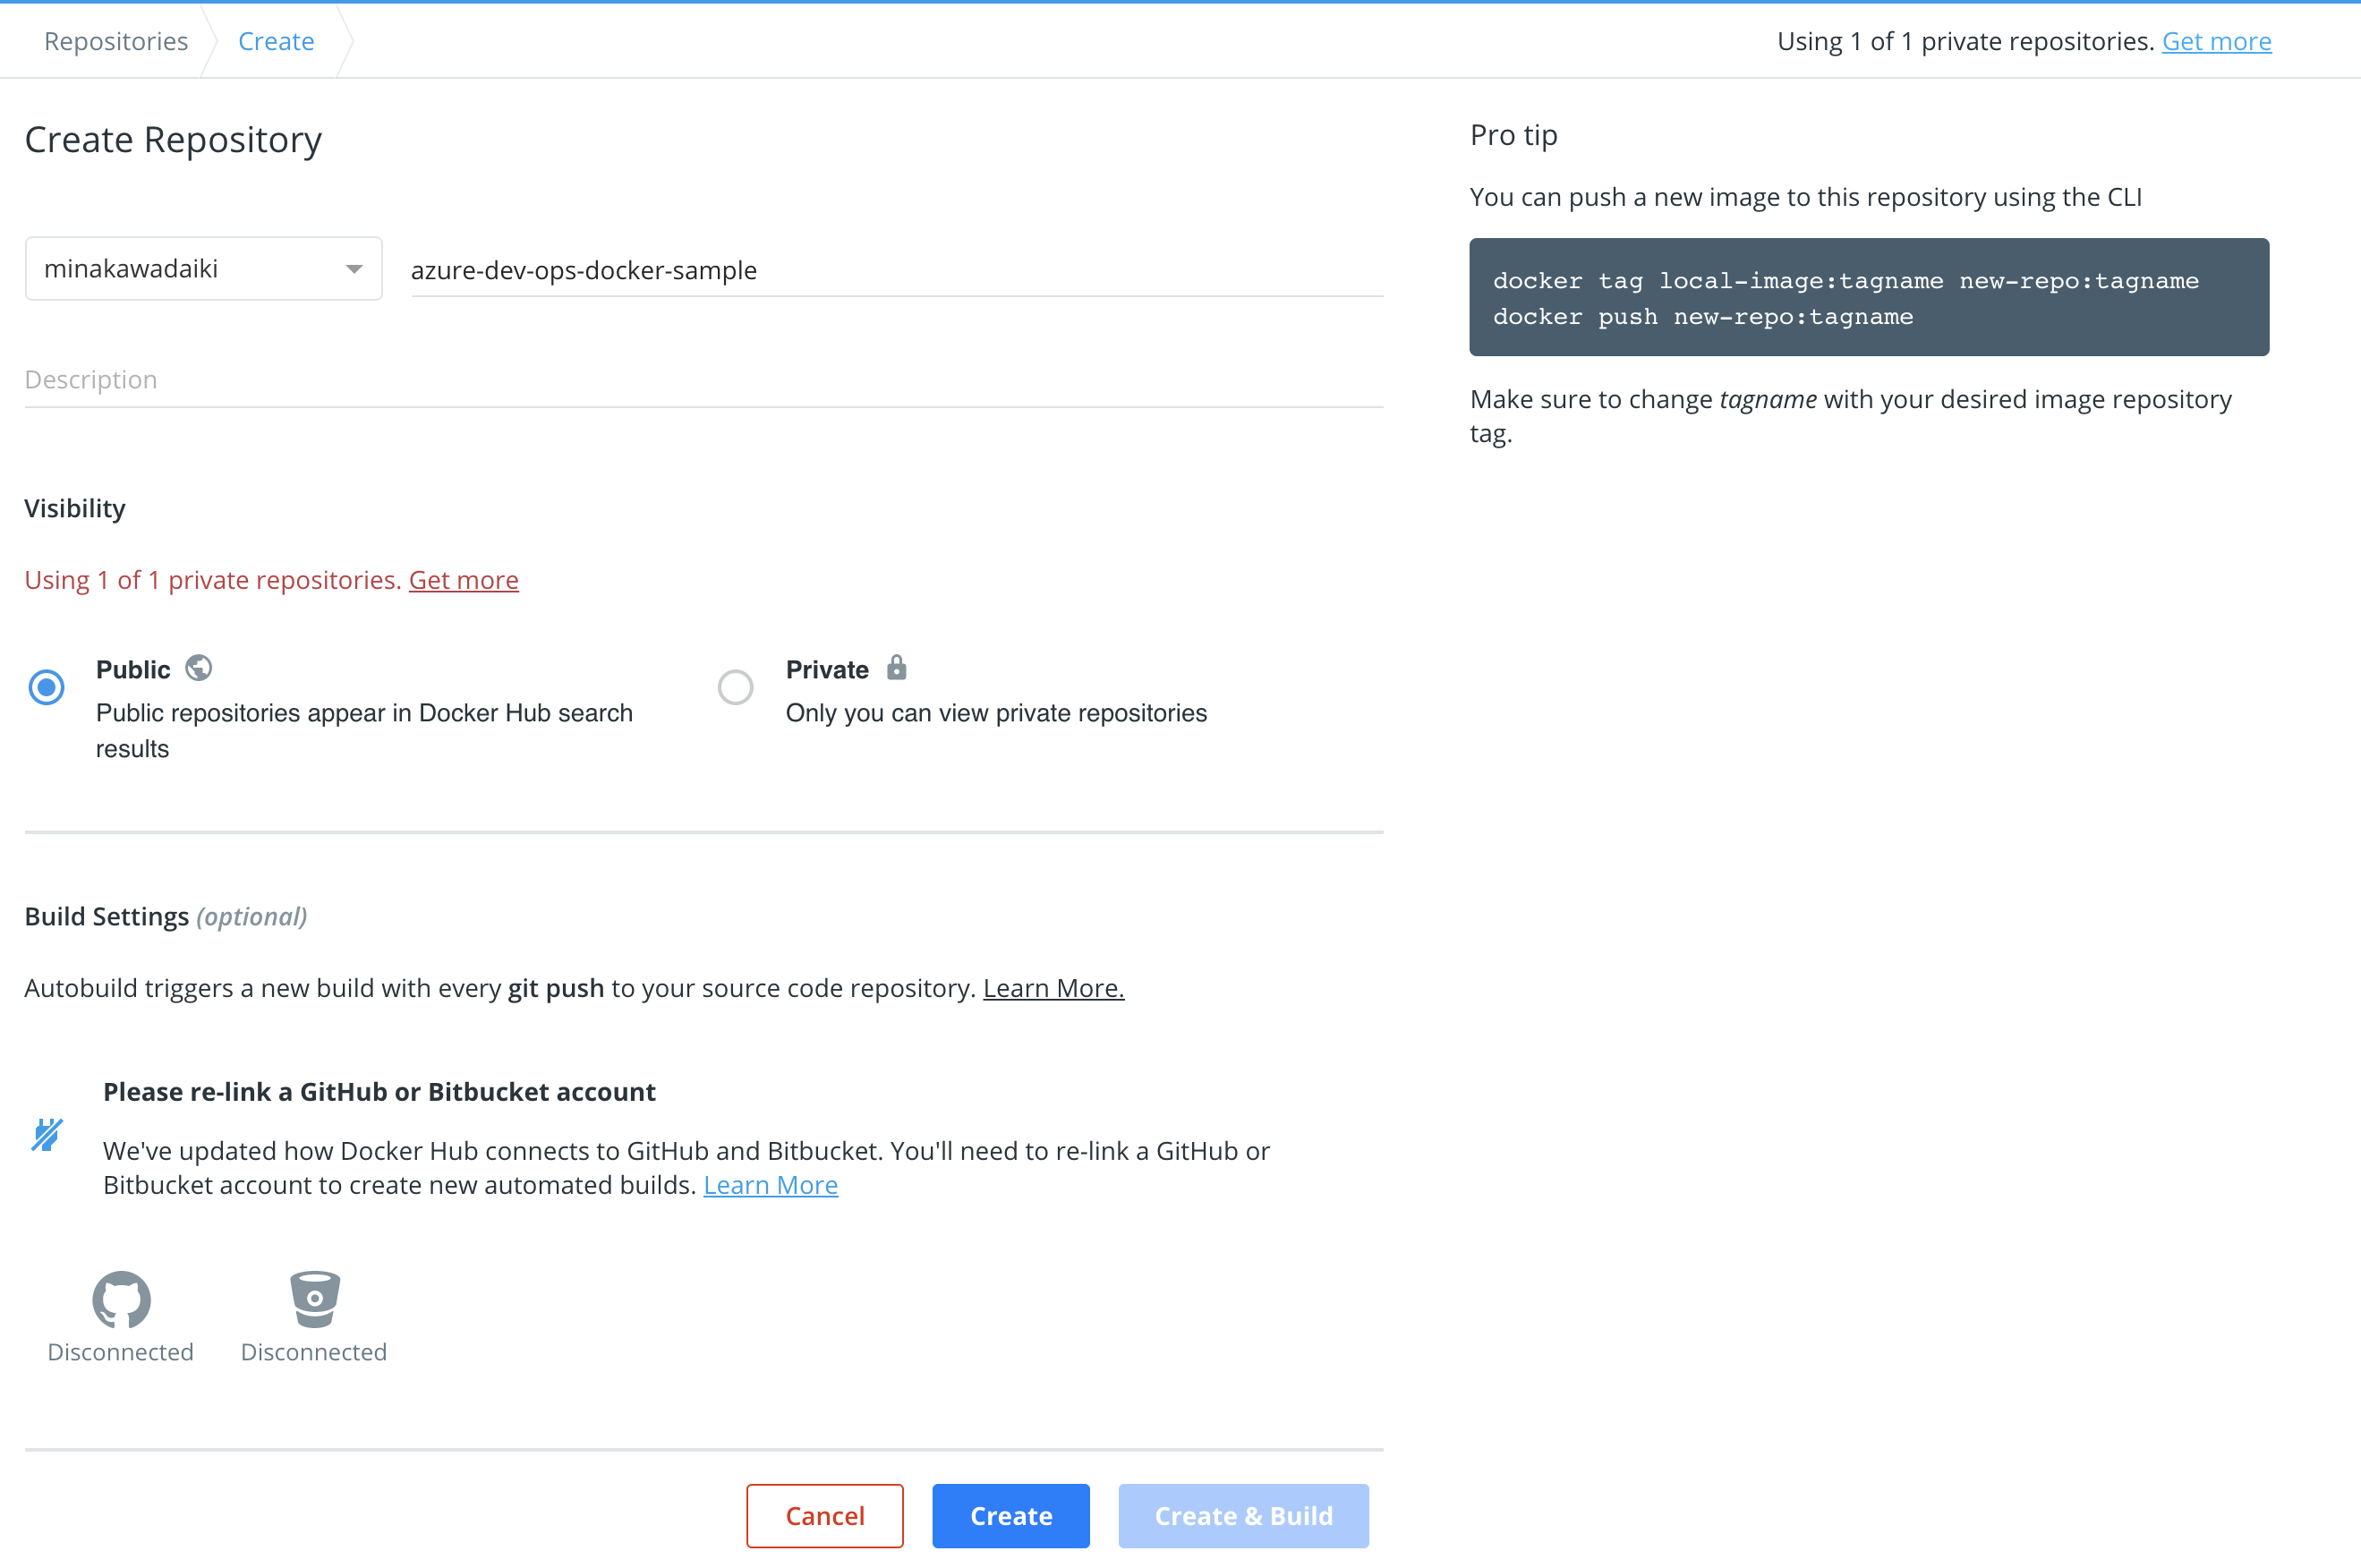
まずは、Docker imageのPush先(今回はDocker Hub)を設定します。
そのために、まずはDocker Hubにimageのpush先リポジトリを作成します。
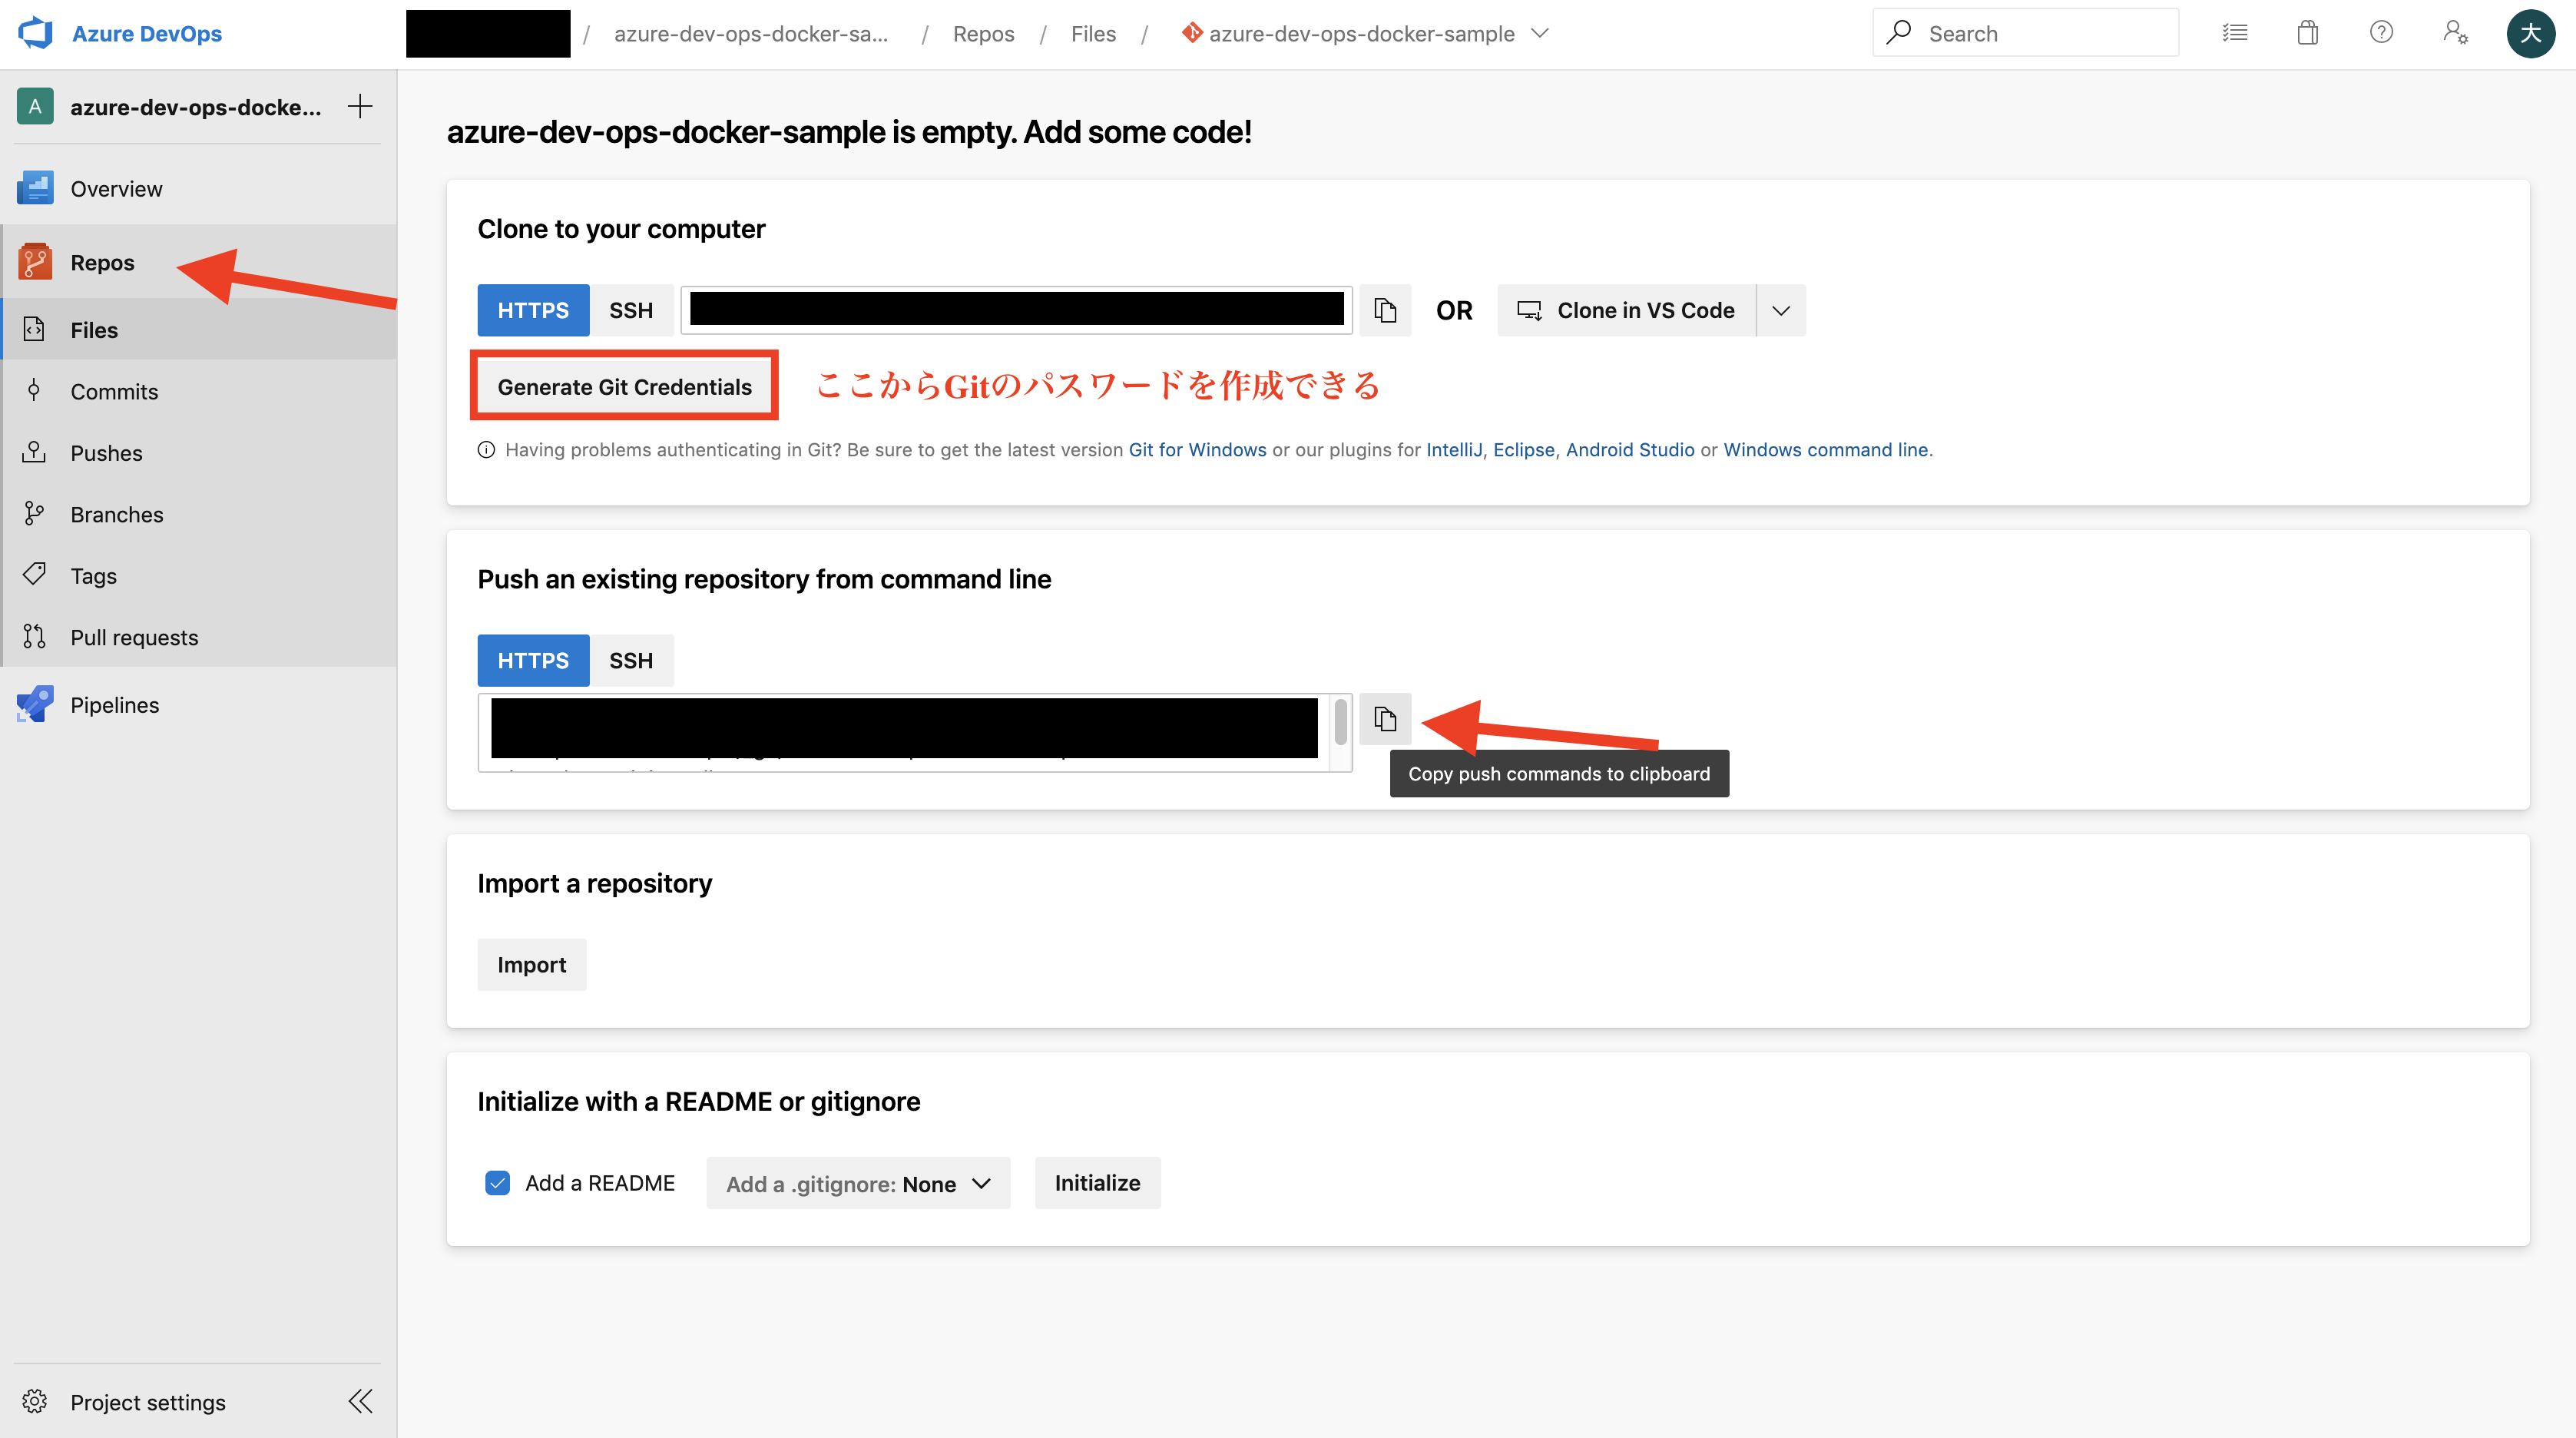
Azure DevOpsでは、アカウントの管理をService Connectionで行いますので、それを設定していきます。

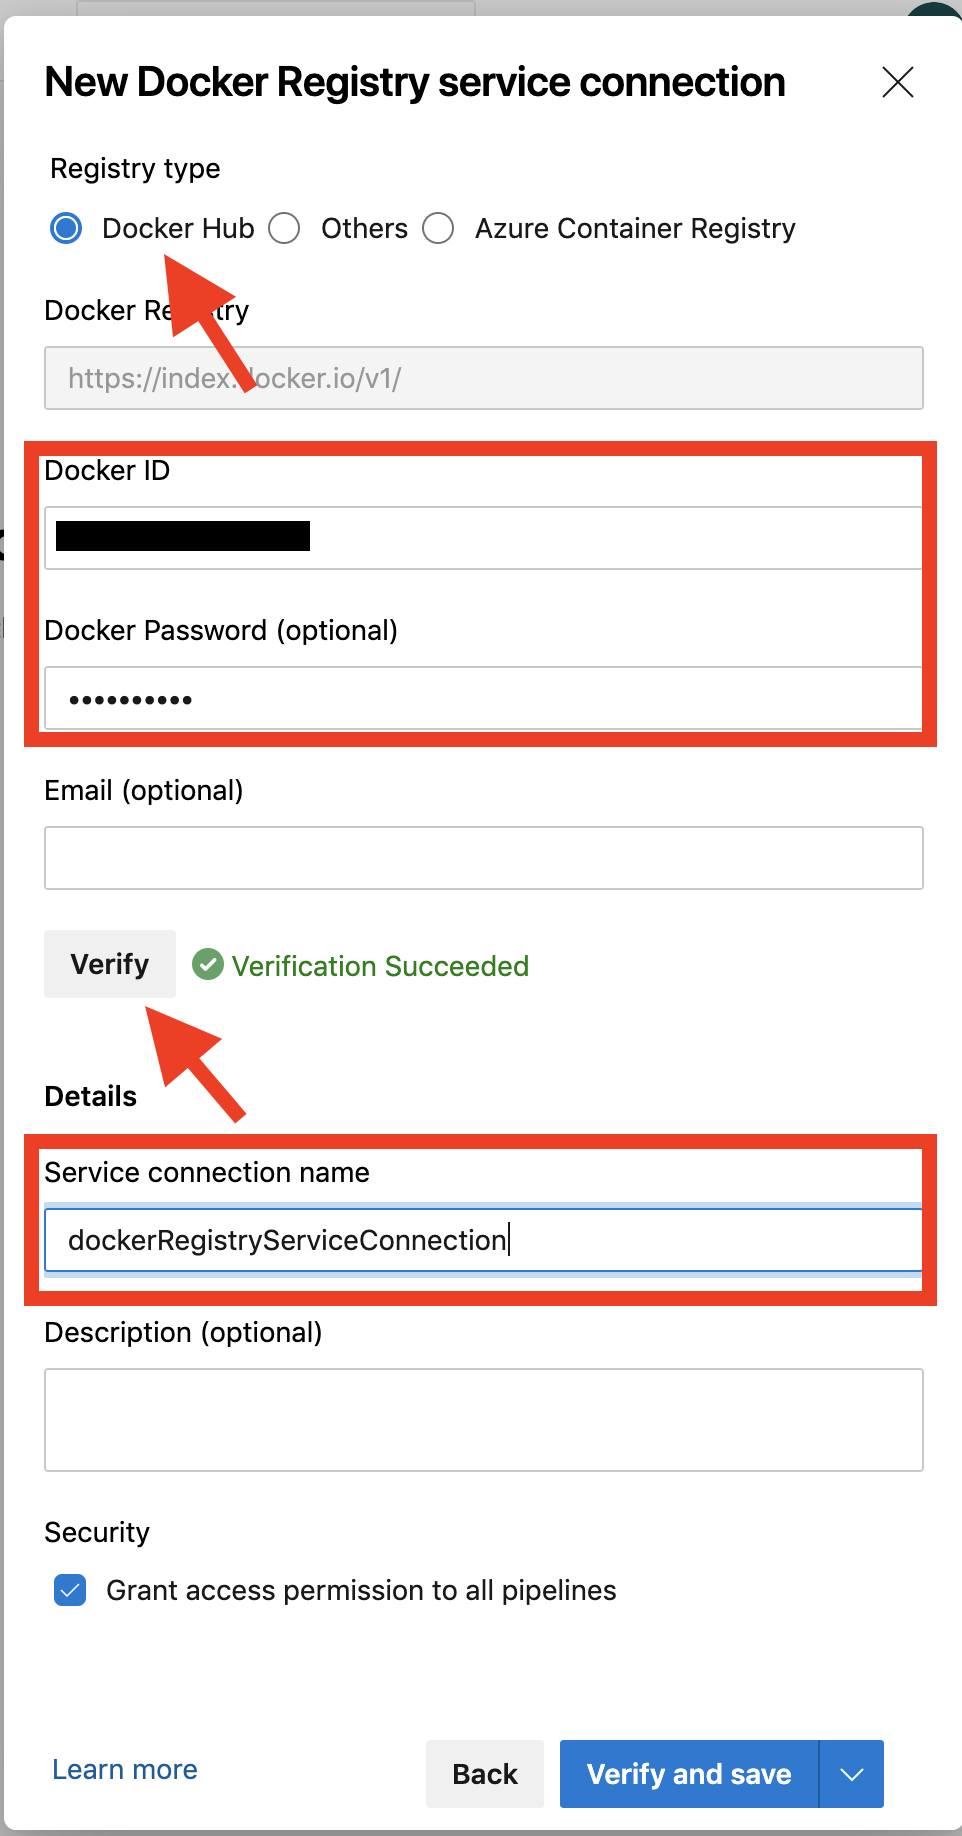
Service connection nameは後々使用しますのでメモっておいてください。
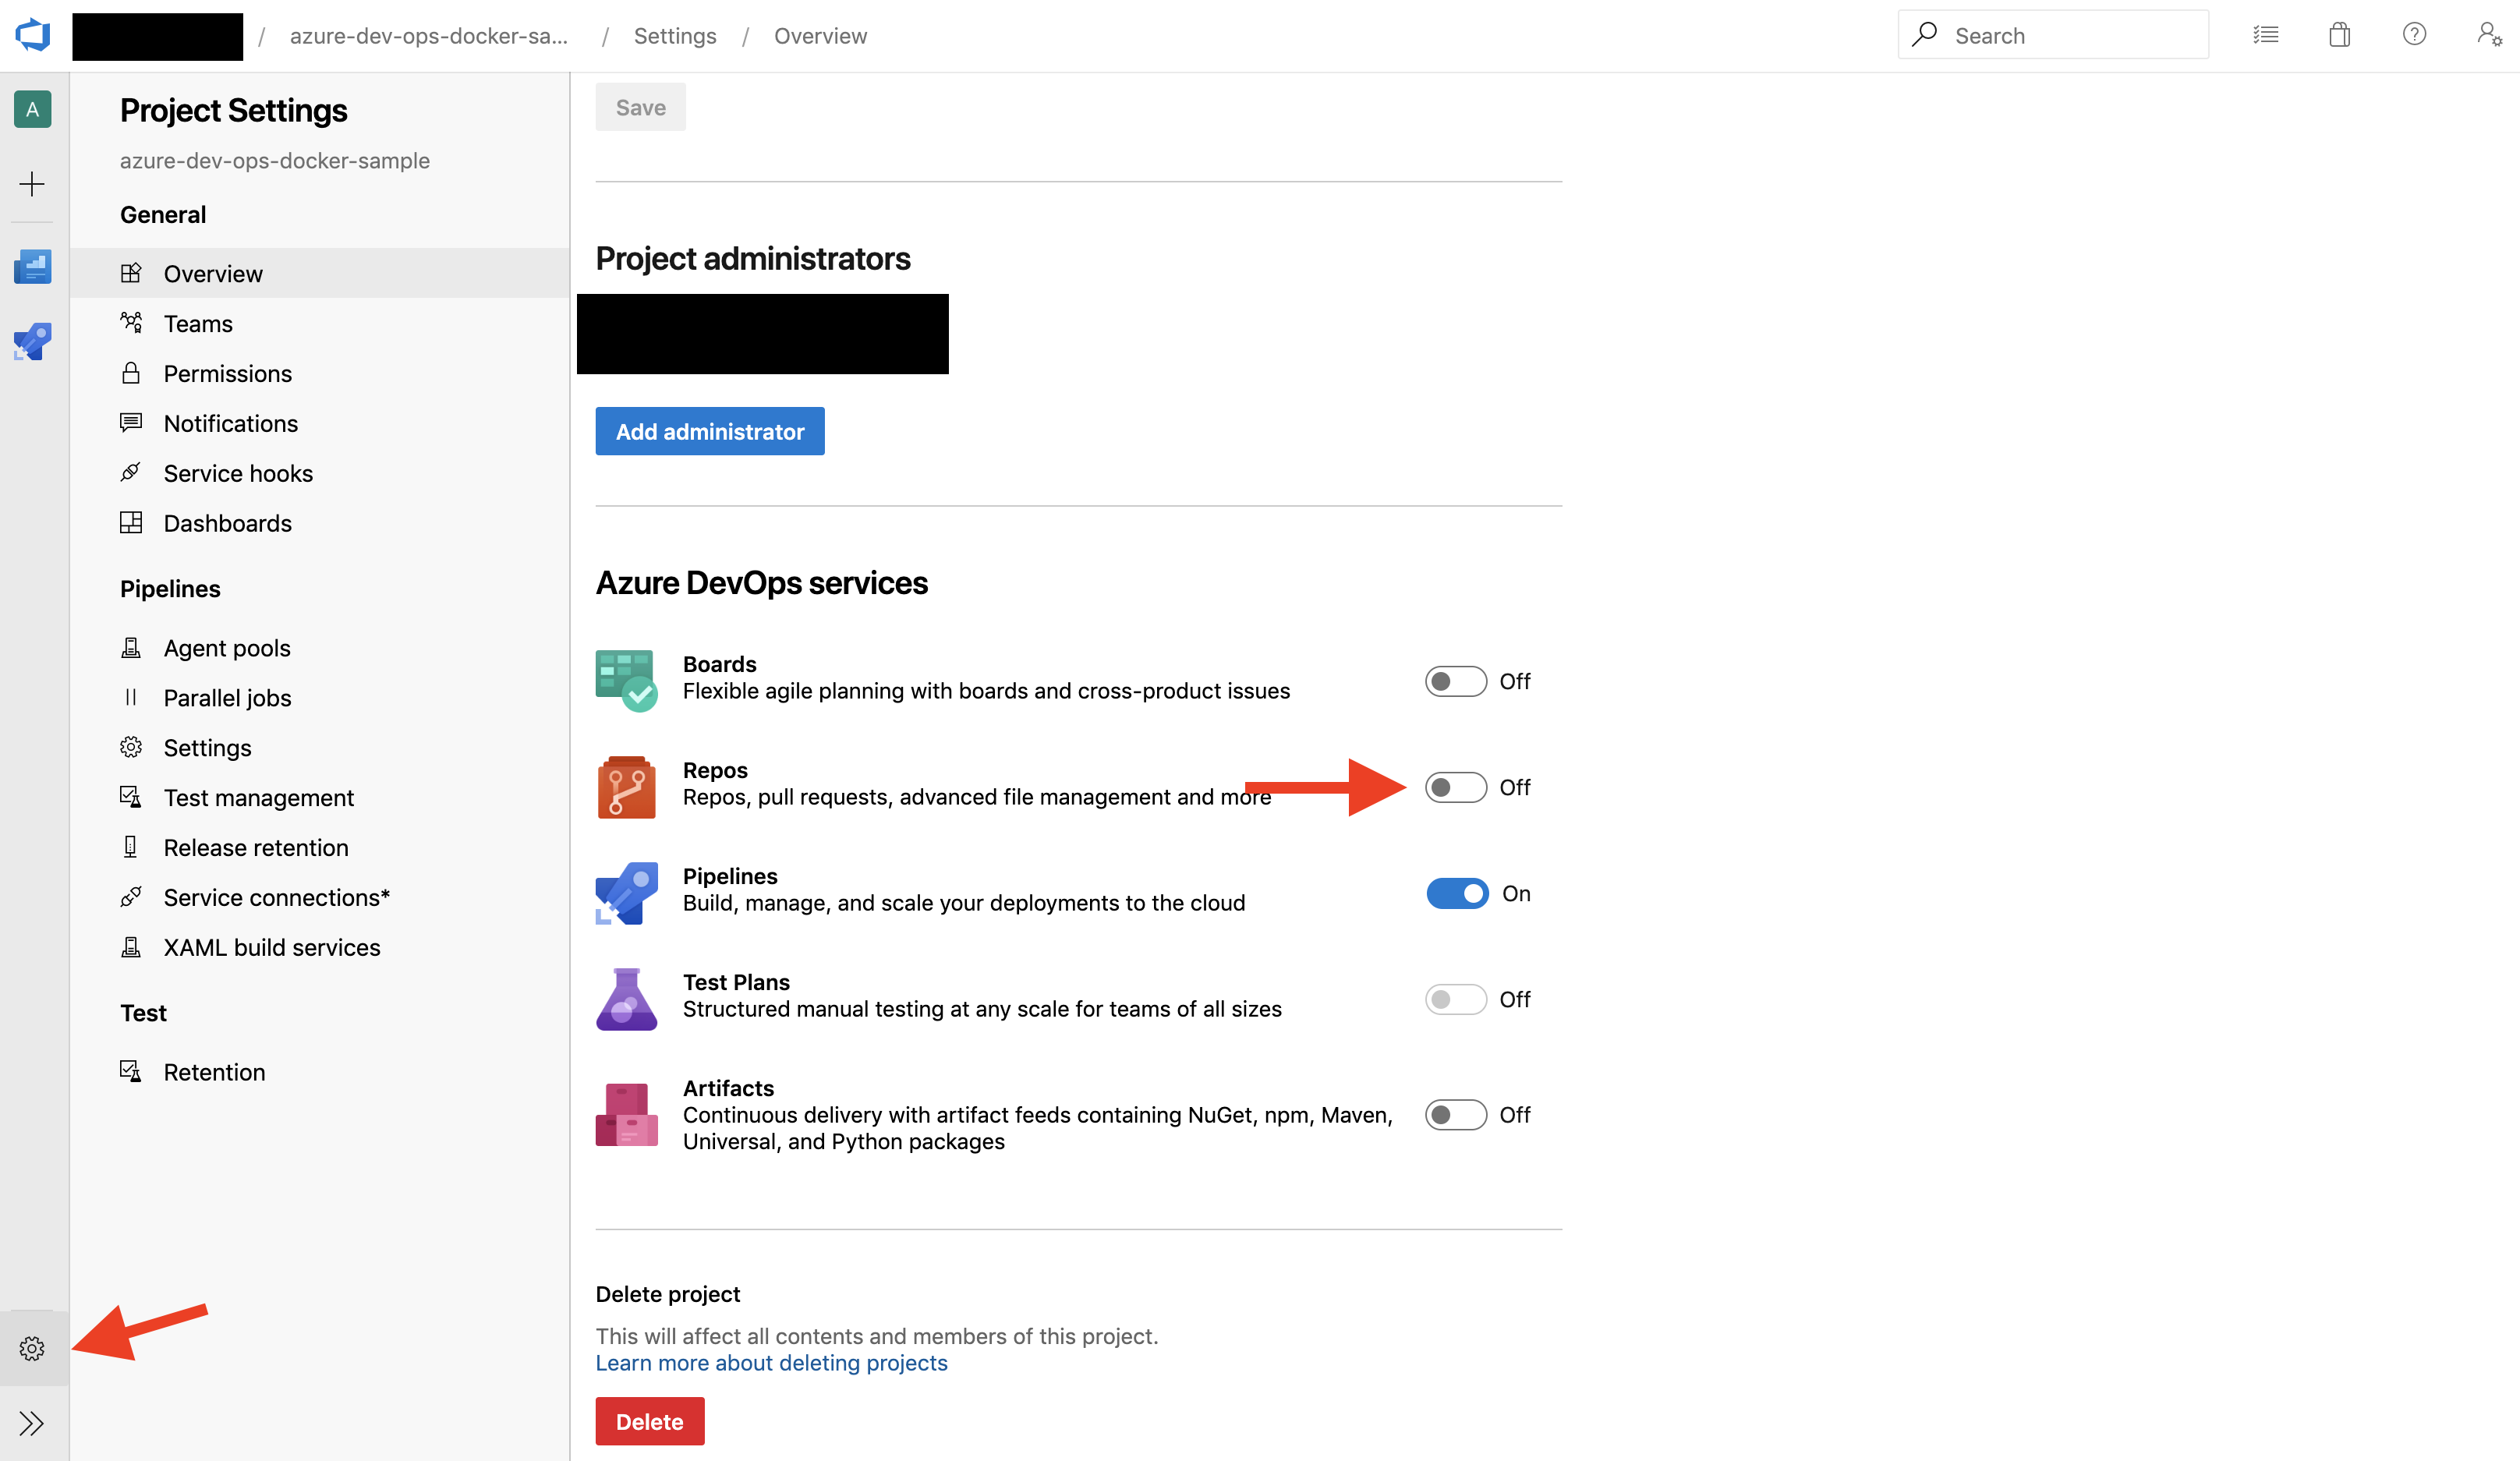
次にAzure DevOpsのプロジェクトを作成します。
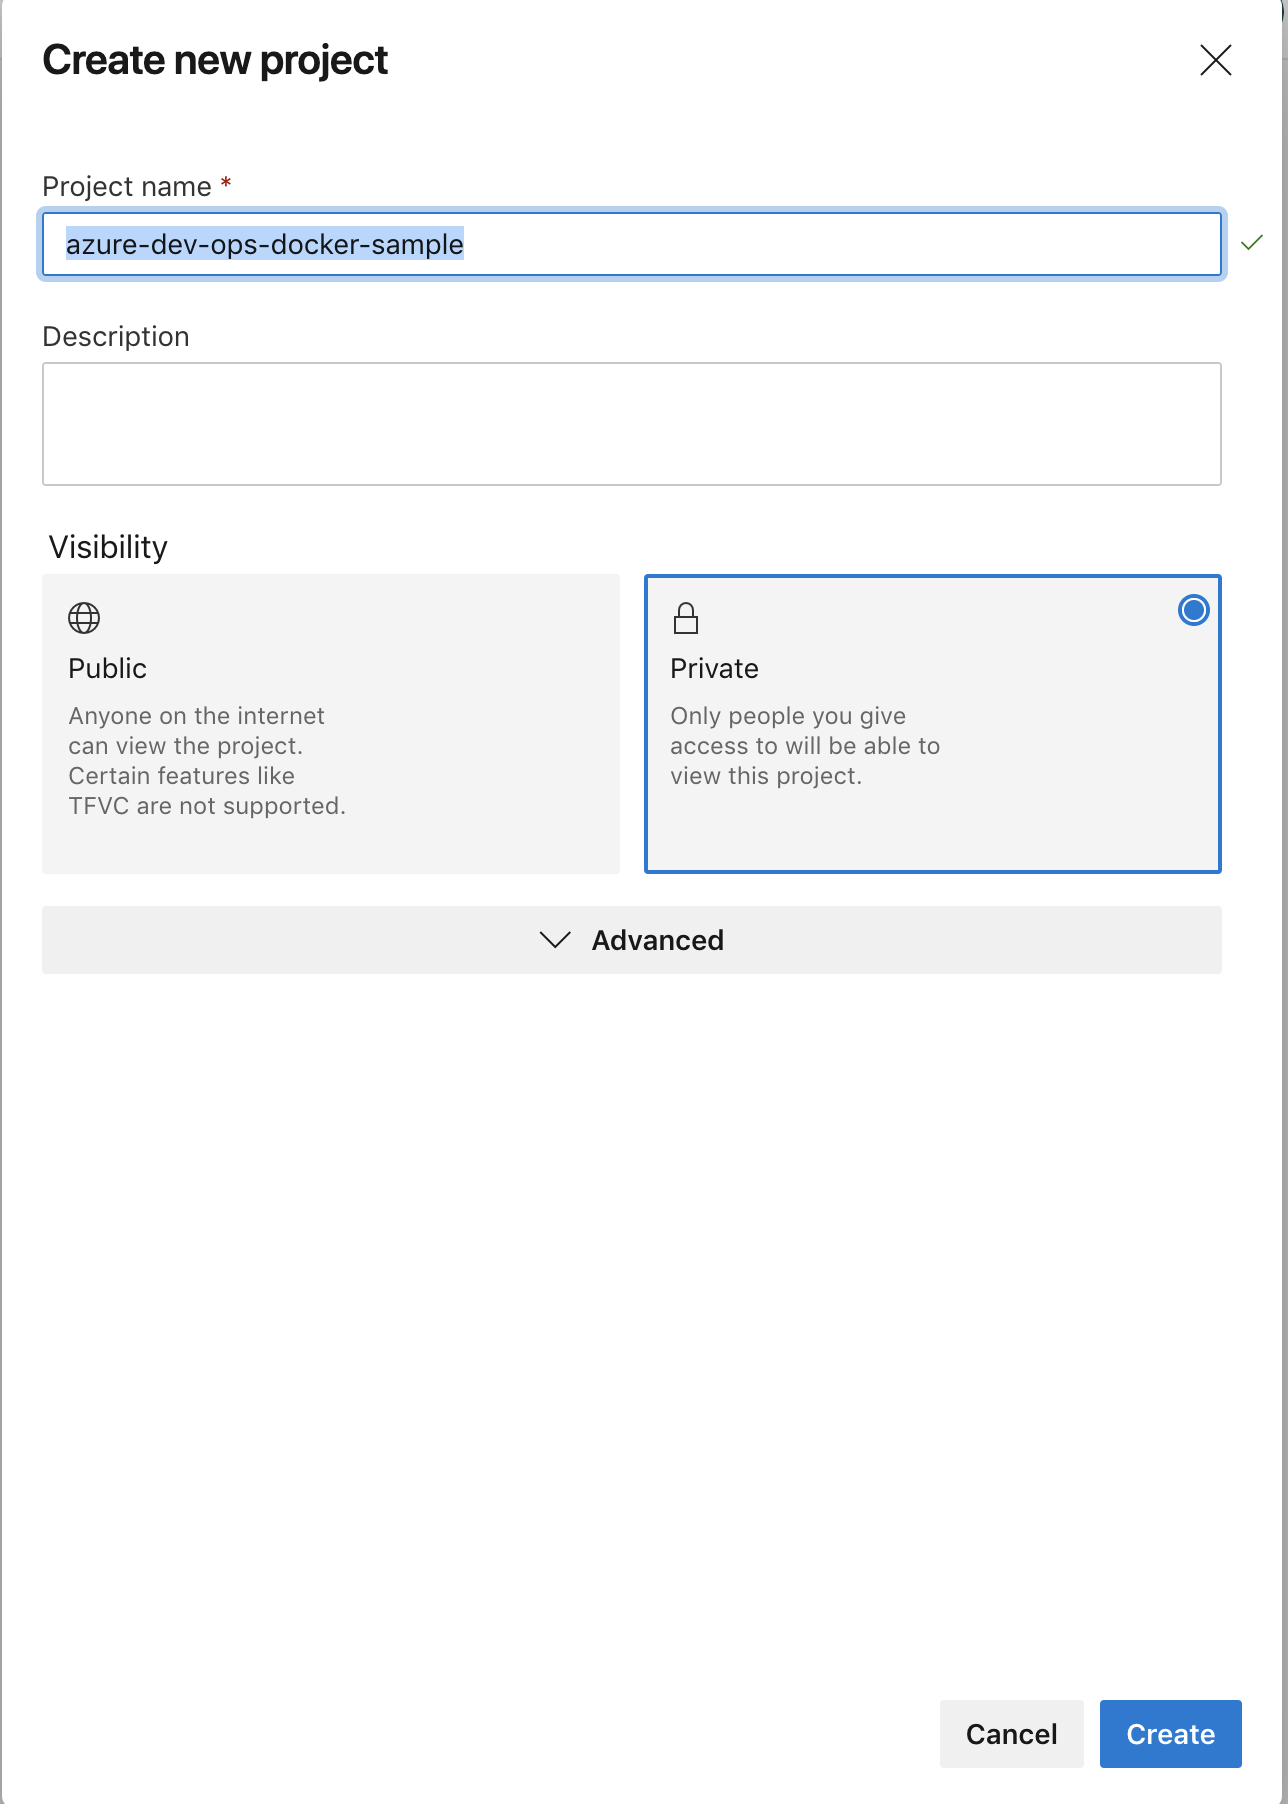
コードは今回はAzure Repos Gitに配置することにしますので、設定からAzure Repos Gitをオンにします。
次に「Hello, Azure DevOps!」を出力するDockerfileを作成していきます。
FROM alpine:3.4
CMD echo "Hello, Azure DevOps!"
Azure Pipelinesのコードを記述
Dockerfileを作成を作成したら、Azure Pipelinesのコードを記述していきます。
jobs:
- job: docker build and push job
  pool:
    vmImage: 'ubuntu-16.04'
  steps:
    - task: Docker@2
      displayName: Login to Docker Hub
      inputs:
        command: login
        containerRegistry: dockerRegistryServiceConnection
    - task: Docker@2
      displayName: 'Build and Push'
      inputs:
        command: buildAndPush
        containerRegistry: dockerRegistryServiceConnection
        repository: <あなたのDocker Hubのアカウント>/azure-dev-ops-docker-sample
        tags: latest
        Dockerfile: Dockerfile
        buildContext: .
Azure DevOpsが用意しているDocker TaskにはloginやBuildAndPushが用意されているので、今回はそれを利用します。
containerRegistryには、先ほど設定したService connection nameを設定します。
BuildAndPushでは、repositoryには、はじめに作成したdokerhubのrepositoryを指定します。
tagはlatestとしておきます。
Dockerfileには、Dockerfileの場所を記述します。
buildContextは、その名の通り、imageをbuildする際のコンテキストを指定します。
たった数十行で、DockerのBuildとPushを記述でき、とても読みやすいコードになりました。
では、コミットして、Azure Repos GitにPushしましょう。
git init
git add .
git commit -m 'Add hello'
git remote add origin https://path/to/your/azure/repos
git push -u origin --all
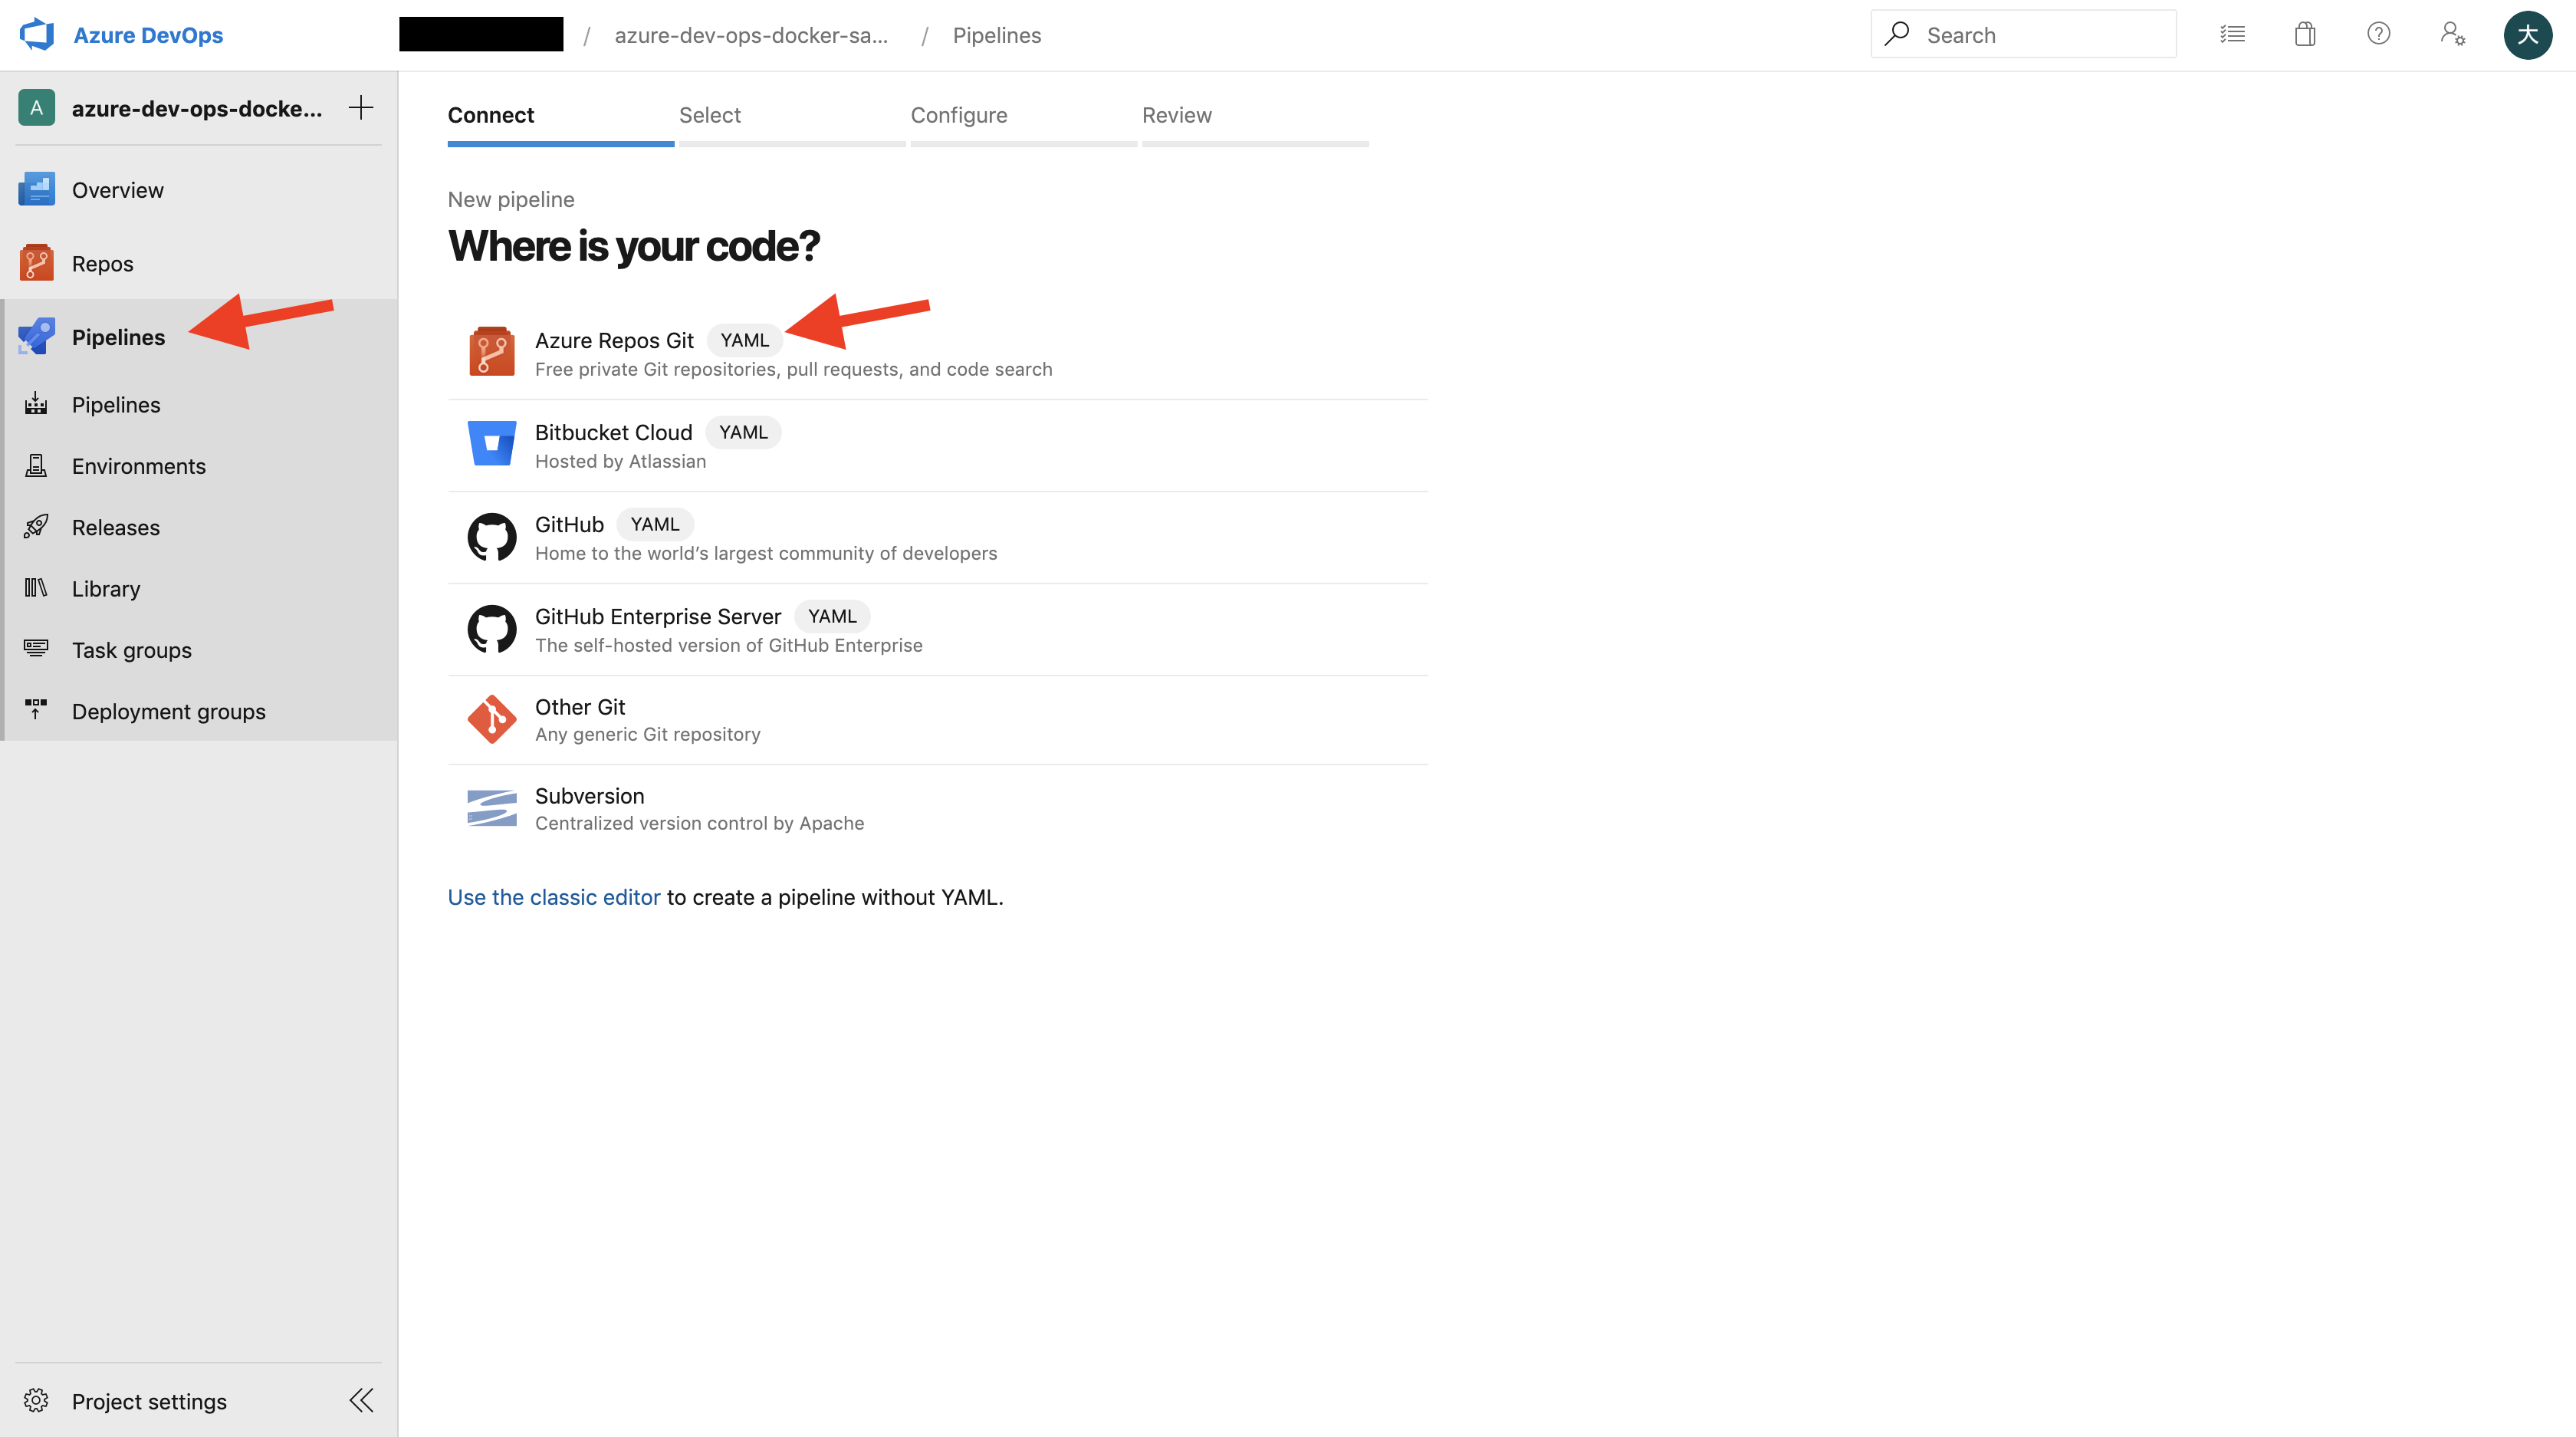
Pipelinesを実行する
Azure Repos GitにPushしたら、Pipelinesの初期設定を行なっていきます。
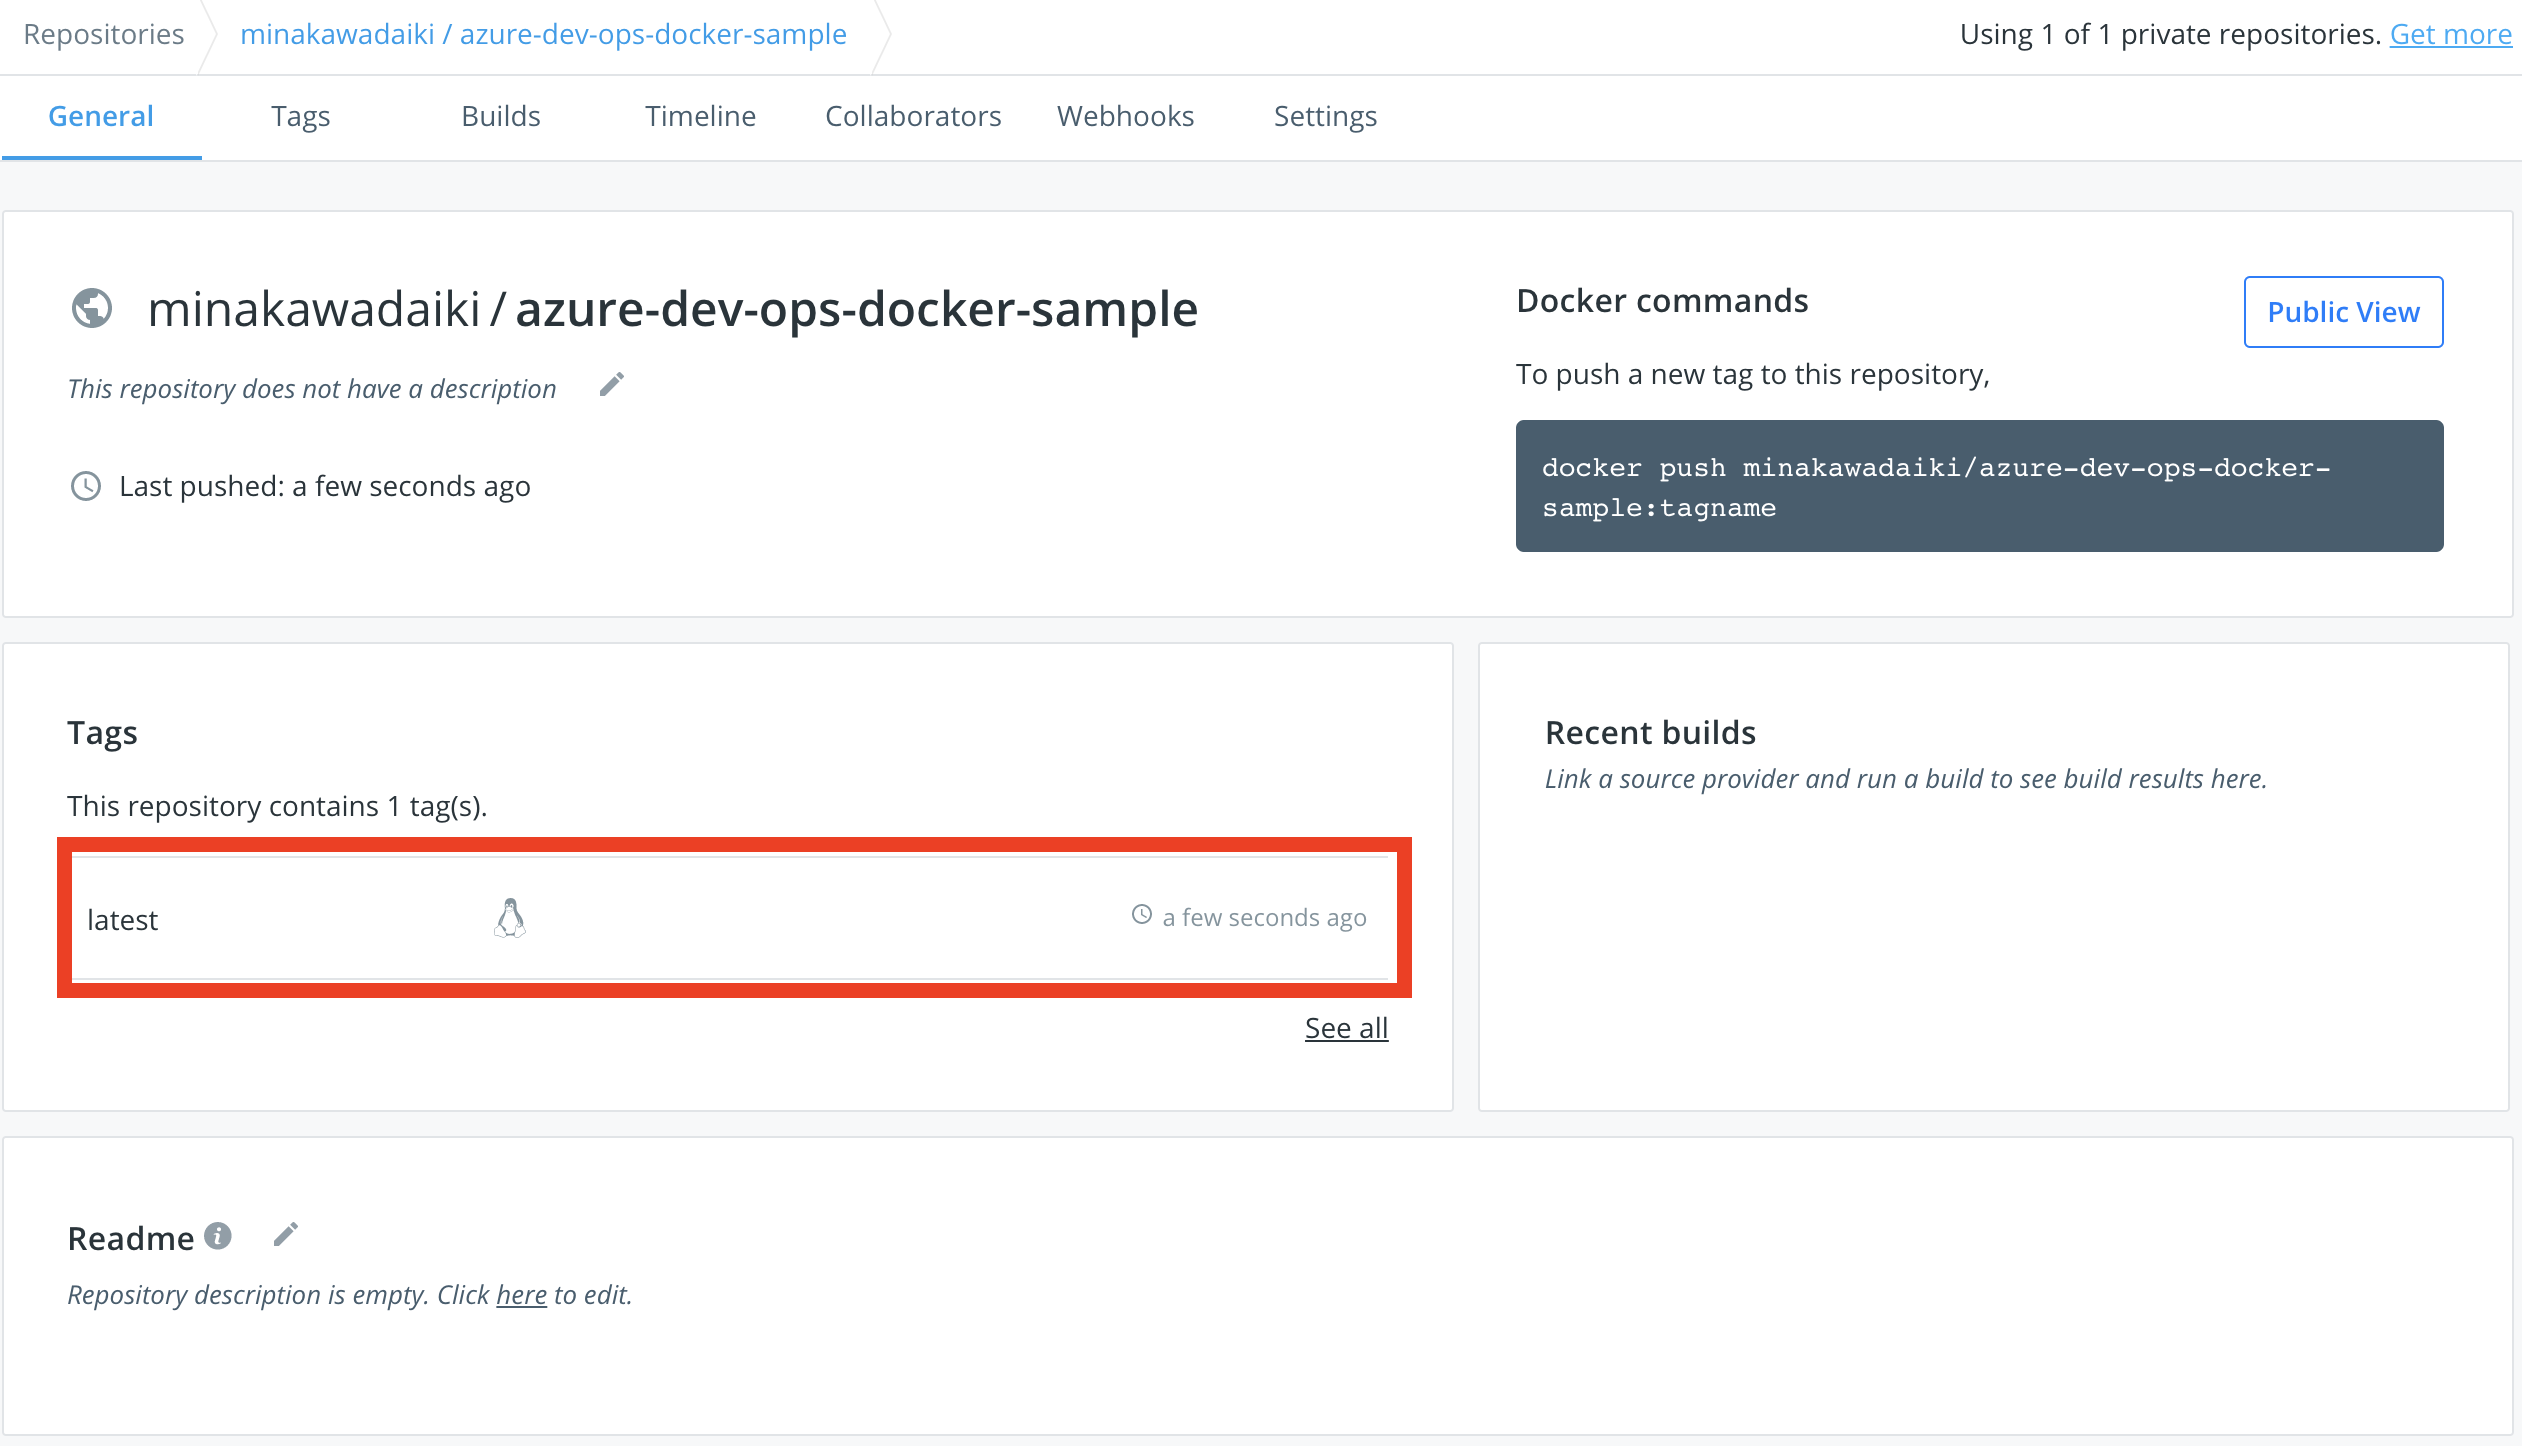
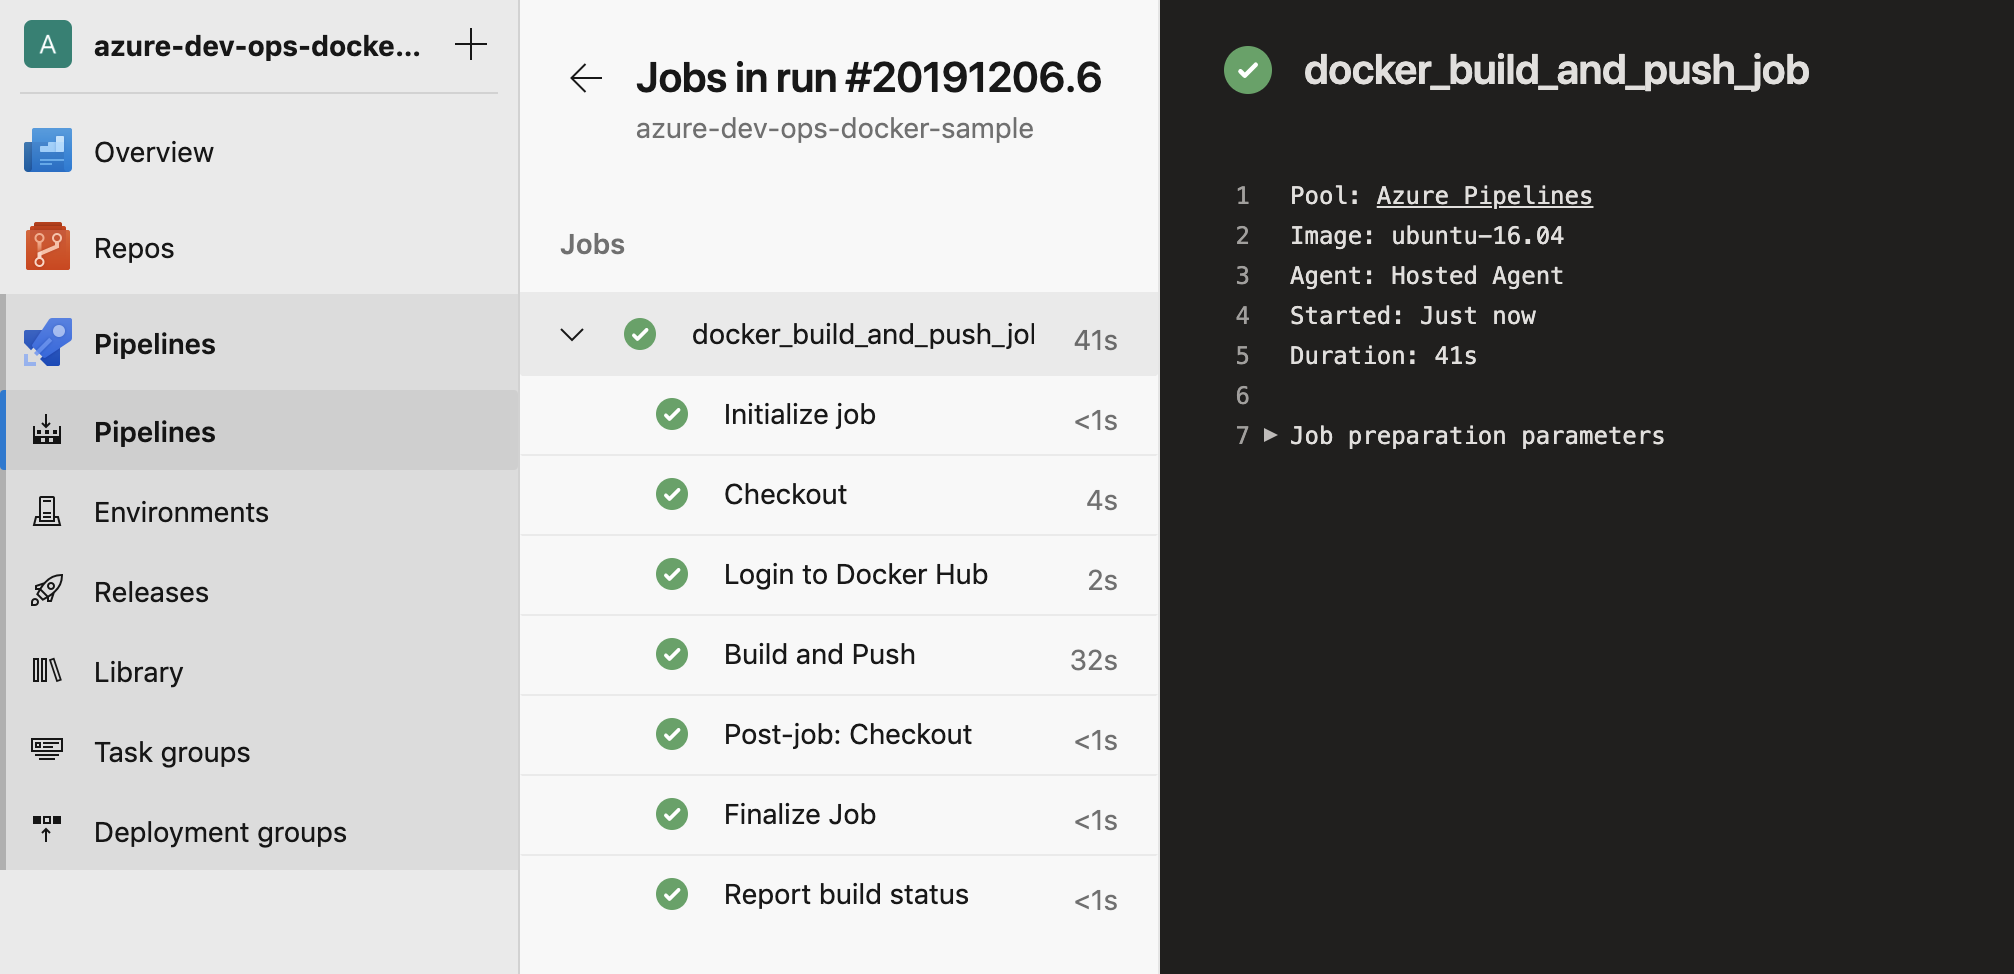
最後のReviewのところのRunを押すことで、初回のPipelinesが実行されます。数分待つことで、Docker HubにPushされます。
次回からは、Git Pushすることで、毎回Pipelineが回ります。
これであなたも良きDevOpsライフを送りましょう。以上!