ExpoのNotification機能について下記の記事で詳しく検証しました。
Expo/Notificationの各機能を使ってみる
https://qiita.com/mildsummer/items/9dbfac3bf2ef857ca74f
この記事では、アプリ側で通知に対応する処理を掘り下げ、
通知をタップしたらアプリ内の特定のページを開くというような処理を実装してみます。
やり方は色々あると思うので、あくまで例として簡単なサンプルコードを用意し説明していきます。
トークンを取得する
トップページ、およびA、B、Cのサブページがあり、通知に反応していずれかのサブページに遷移するというような構造を作っていきます。
まずはトップのページでExpoPushTokenを取得します。
本来ならDBなどに保存するかと思いますが、サンプルなので、コンソールに表示してPC側でコピーできるようにします。
import React, { Component } from "react";
import { Text, View, Alert } from "react-native";
import { Notifications } from "expo";
import * as Permissions from "expo-permissions";

class Top extends Component {
  state = {
    token: null
  };

  componentDidMount() {
    this.getToken();
  }

  // トークンを取得
  getToken = async () => {
    const { status: existingStatus } = await Permissions.getAsync(
      Permissions.NOTIFICATIONS
    );
    let finalStatus = existingStatus;

    if (existingStatus !== "granted") {
      const { status } = await Permissions.askAsync(Permissions.NOTIFICATIONS);
      finalStatus = status;
    }
    if (finalStatus !== "granted") {
      return;
    }
    const token = await Notifications.getExpoPushTokenAsync();

    console.log("[EXPO NOTIFICATION TOKEN]", token);
    console.log(
      `Try running the command "node pushNotification.js ${
        token.match(/\[(.+)]/)[1]
      } [SCREEN NAME(A|B|C) or URL] [ID]"`
    );
    console.log(
      `ex) $ node pushNotification.js ${token.match(/\[(.+)]/)[1]} A 123`
    );
    this.setState({ token });
  };

  render() {
    const { token } = this.state;
    return (
      <View
        style={{
          flex: 1,
          width: "100%",
          justifyContent: "center",
          alignItems: "center"
        }}
      >
        <Text>{token || "getting token..."}</Text>
        <Text>Please look your console</Text>
      </View>
    );
  }
}

トークンを取得して表示するだけのトップページができました。
React Navigation Stackでページ構造を準備
通知の内容に応じてページ遷移させたいので、react-nativetionとreact-navigation-stackを使ってページの構造を準備しておきます。
サンプルとして、先ほどのトップの他に同じようなサブページA、B、Cをまとめて生成してしまいます。
import { createAppContainer } from "react-navigation";
import { createStackNavigator } from "react-navigation-stack";

...

const stackOptions = {
  top: {
    screen: Top,
    navigationOptions: {
      header: null
    }
  }
};

// 同じようなサブページをまとめて作る
[
  { routeName: "A", color: "#6200EE" },
  { routeName: "B", color: "#03DAC6" },
  { routeName: "C", color: "#B00020" }
].forEach(option => {
  stackOptions[option.routeName] = {
    screen: props => (
      <View
        style={{
          flex: 1,
          width: "100%",
          justifyContent: "center",
          alignItems: "center",
          backgroundColor: option.color
        }}
      >
        <Text style={{ color: "#FFF", fontSize: 16 }}>screen name</Text>
        <Text style={{ color: "#FFF", fontSize: 24 }}>{option.routeName}</Text>
        <Text style={{ color: "#FFF", fontSize: 16, marginTop: 24 }}>ID</Text>
        <Text style={{ color: "#FFF", fontSize: 24 }}>
          {props.navigation.state.params.id || "-"}
        </Text>
      </View>
    ),
    navigationOptions: ({ navigation }) => ({
      headerTitle: `${option.routeName} ID:${navigation.state.params.id}`
    })
  };
});

const AppContainer = createAppContainer(
  createStackNavigator(stackOptions, {
    initialRouteName: "top"
  })
);

export default class App extends Component {
  render() {
    return (
      <AppContainer />
    );
  }
}
[2020/04/04追記]
react-navigationの最新版(v5)に合わせて書き換えた例を下記の記事で紹介しています。こちらはBare Workflowのexpo-notificationsを使用しています。
https://qiita.com/mildsummer/items/5acc267152449c86b2b1#%E7%94%BB%E9%9D%A2%E3%81%AE%E4%BD%9C%E6%88%90
Push処理を実装
直接curlコマンド等を使ったりPostmanを使ったりでもいいのですが、
まず試しやすいように、Node.jsで通知を送信する処理を簡単に実装しました。
const request = require("request");

const [, , token, routeName, id] = process.argv;

const isWebView = /http/.test(routeName);

request(
  {
    url: "https://expo.io/--/api/v2/push/send",
    method: "POST",
    json: {
      to: `ExponentPushToken[${token}]`,
      title: "通知サンプル",
      body: "ここに説明文が入ります",
      data: isWebView
        ? {
            url: routeName,
            params: { id }
          }
        : {
            routeName,
            params: { id }
          },
      _displayInForeground: false
    }
  },
  function(error, response, body) {
    if (error) {
      console.log(error);
    } else {
      console.log(body);
    }
  }
);
$ node pushNotification.js [TOKEN] [SCREEN NAME(A|B|C) or URL] [ID]
引数に
- ExpoPushTokenのランダム文字列部分
- React Navigationの
routeNameにあたるスクリーン名あるいはWebViewで表示するURL - 任意のID(React Navigationのスクリーンにパラメータとして渡す例として)
を渡せるようにしています。
_displayInForegroundをtrueにすると、アプリ画面を開いている時にも通知が表示されるようになります。
アプリ側で通知に対応する
Appコンポーネントに通知に対応する処理を追加します。
import { NavigationActions, StackActions } from "react-navigation";
import { Notifications } from "expo";
import * as WebBrowser from "expo-web-browser";

export default class App extends Component {
  componentDidMount() {
    Notifications.addListener(notification => {
      console.log("received notification", notification);
      if (notification.origin === "selected") {
        this.respond(notification);
      } else if (notification.origin === "received") {
        Alert.alert("通知が届きました", "画面へ移動しますか?", [
          {
            text: "キャンセル",
            style: "cancel"
          },
          {
            text: "移動する",
            onPress: () => {
              this.respond(notification);
            }
          }
        ]);
      }
    });
  }

  respond(notification) {
    if (notification.data.url) { // URLの場合はWebViewを開く
      WebBrowser.openBrowserAsync(notification.data.url);
    } else if (this.navigator) { // サブページに遷移
      const actionOptions = {
        routeName: notification.data.routeName || "top",
        params: notification.data.params
      };
      if (this.navigator.state.nav.routes.length > 1) {
        // 現在もサブページの場合はスタック追加せず差し替える
        this.navigator.dispatch(StackActions.replace(actionOptions));
      } else {
        this.navigator.dispatch(NavigationActions.navigate(actionOptions));
      }
    }
  }

  render() {
    return (
      <AppContainer
        ref={ref => {
          this.navigator = ref;
        }}
      />
    );
  }
}
Notification.addListenerでリスナー関数を追加して、Notificationインスタンスを取得します。
originプロパティの詳しい挙動はこちらの記事を参照してください。
selectedの場合は、通知が表示され、タップされたことでアプリ画面に来た場合なので、直接画面を遷移させます。
receivedの場合はアプリを起動中に通知が届いた場合です。そのまま勝手に遷移させるのは良くないため、確認ダイアログを表示させるようにしました。
Notificationには任意のdataプロパティが渡せますが、先ほどのスクリプトではURLを指定した場合data.urlにURLを、それ以外の場合はdata.routeNameとdata.params.idにスクリーン名とIDが入るようにしてあり、アプリ側ではその情報をみてWebViewを立ち上げるかReact Navigationのアクションをdispatchしてページ遷移させるようにします。
通知を送ってみる
まずはアプリを起動して、通知を許可したらターミナルかリモートデバッグのコンソールにトークンなどが表示されるかと思います。
トークンを使って先ほどのNode.jsスクリプトを叩くと、
$ node pushNotification.js [TOKEN] A 123
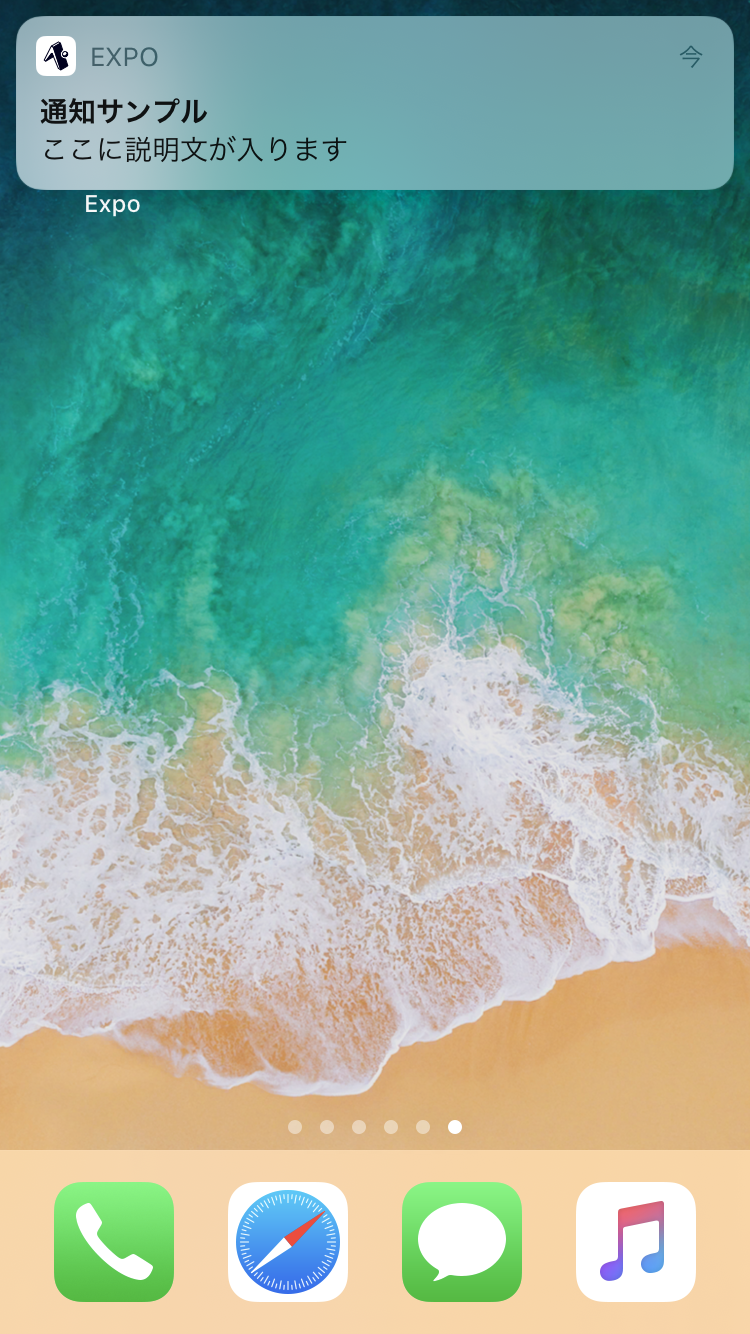
アプリがバックグラウンドの時にはこのように通知が表示されます。(起動中の場合はダイアログが表示されます)

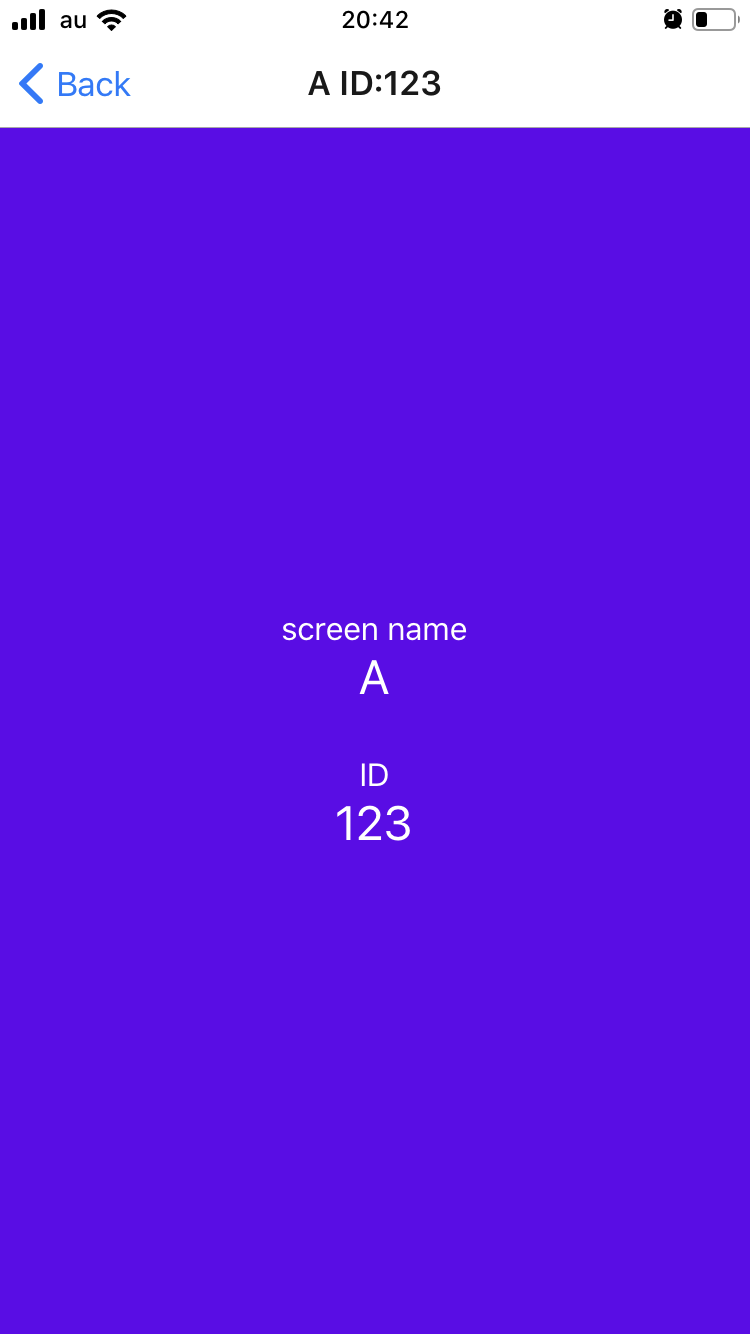
このようにアプリを開いたらすぐに指定したページへ遷移されます。
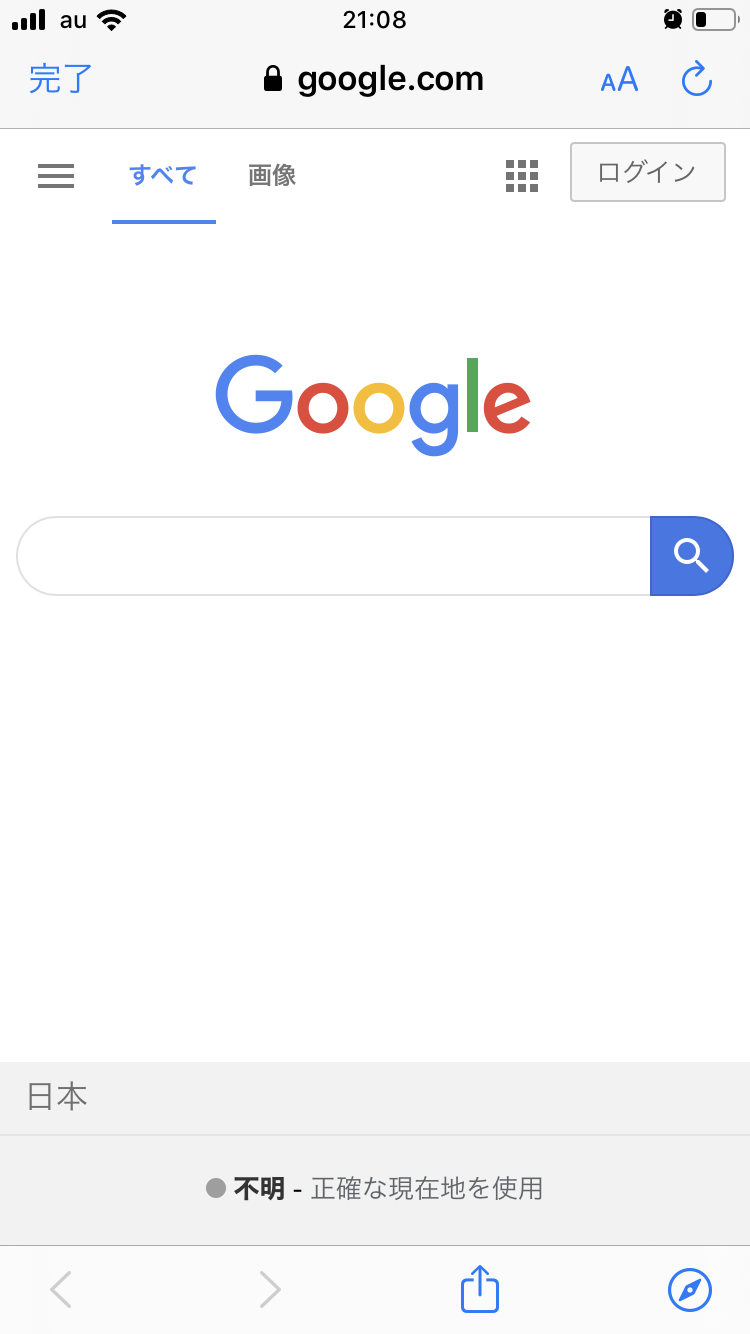
また、このようにURLを指定した場合
$ node pushNotification.js [TOKEN] https://google.com
Github
使用したソースコードはこちら。
https://github.com/mildsummer/expo-notification-example

