ExpoでCanvasやWebGLを使用するためのパッケージは公式で開発されているみたいなのですが(Introducing the Canvas 2D Context API for Expo)、最新バージョンではなんだかんだでちゃんと使用できなかったので、さくっとWebViewを介してCanvasを使ってみることにしました。
コンポーネント化してみたものがこちら。
WebViewCanvas.js
import WebView from 'react-native-webview';
import { View } from 'react-native';
import PropTypes from 'prop-types';
import React from 'react';

export default class WebViewCanvas extends React.Component {
  constructor(props) {
    super(props);
    this.onLoad = this.onLoad.bind(this);
  }

  onLoad() {
    const { onLoad, variables } = this.props;
    Object.keys(variables).forEach((name) => {
      this.webview.injectJavaScript(`var ${name} = ${JSON.stringify(variables[name])};`);
    });
    this.webview.injectJavaScript(`
      var canvas = document.querySelector('canvas');
      canvas.style.width = window.innerWidth + 'px';
      canvas.style.height = window.innerHeight + 'px';
      try {
        (${onLoad.toString()}).apply(null, [canvas, window.ReactNativeWebView.postMessage]);
      } catch (e) {
        window.ReactNativeWebView.postMessage('error: ' + e.message);
      }
    `);
  }

  render() {
    const { width, height } = this.props;
    const html = `
      <html>
        <head></head>
        <body style="margin: 0;">
          <canvas width="${width}" height="${height}" />
        </body>
      </html>
    `;
    return (
      <View style={{ width, height }}>
        <WebView
          style={{ width: '100%', height: '100%' }}
          ref={(ref) => {
            if (ref) {
              this.webview = ref;
            }
          }}
          originWhitelist={["*"]}
          source={{ html }}
          onLoad={this.onLoad}
          onMessage={(event) => {
            console.log(event.nativeEvent.data);
          }}
          onError={(syntheticEvent) => {
            const { nativeEvent } = syntheticEvent;
            console.warn("WebView error: ", nativeEvent);
          }}
        />
      </View>
    );
  }
}

WebViewCanvas.defaultProps = {
  variables: {}
};

WebViewCanvas.propTypes = {
  width: PropTypes.number.isRequired,
  height: PropTypes.number.isRequired,
  onLoad: PropTypes.func.isRequired,
  variables: PropTypes.object
};
react-native-webviewを使用します。linkの必要はありません。
WebView内でのJavaScriptはアプリ側からは文字列として渡す必要があり多少面倒なのですが、意外と簡単に使用できました。
JSはpropsにinjectedJavaScriptを渡すか、直接injectJavaScriptメソッドを使うかのどちらかの方法があります。
injectJavaScriptメソッドはcomponentDidMountされていてもWebViewがloadされていないと使用できません(エラーも出ないので嵌りやすいかも)。
使用例
const data = [...]; // 外部の変数

...
<WebViewCanvas
  width={200}
  height={200}
  onLoad={(canvas, debug) => {
    const context = canvas.getContext('2d');
    debug('canvas has loaded');
    debug(data);
    ...
  }}
  variables={{ data }}
/>
propsのonLoadは最終的に文字列化してWebViewに渡すので、間接的に変数も渡せるようにしてみました。使い勝手悪いですね。。。
Pixiなど、外部ライブラリを読み込むなどする際にはまた工夫が必要だと思います。
これを使って以前の記事のQRコンポーネントをCanvas化してみると、
CanvasQRCode.js
import React from 'react';
import PropTypes from 'prop-types';
import { View } from 'react-native';
import qrcode from 'qrcode-generator';
import times from 'lodash.times';
import WebViewCanvas from './WebViewCanvas';

export default class CanvasQRCode extends React.PureComponent {
  constructor(props) {
    super(props);
    this.state = {
      size: null
    };
    this.onLayout = this.onLayout.bind(this);
  }

  componentWillReceiveProps(nextProps, nextContext) {
    if (nextProps.size !== this.props.size) {
      this.setState({
        size: null
      });
    }
  }

  onLayout(e) {
    console.log('layout');
    const { width } = e.nativeEvent.layout;
    if (this.state.size !== width) {
      this.setState({ size: width });
    }
  }

  render() {
    const { data, cellSize, margin, typeNumber, errorCorrectionLevel, color } = this.props;
    const size = this.state.size || this.props.size;
    const QRCode = qrcode(typeNumber, errorCorrectionLevel);
    QRCode.addData(data);
    QRCode.make();
    let calculatedCellSize = cellSize;
    if (typeof calculatedCellSize !== 'number' && typeof size === 'number') {
      calculatedCellSize = typeof margin === 'number' ? Math.round((size - margin * 2) / QRCode.getModuleCount())
        : Math.round(size / (QRCode.getModuleCount() + 8));
    }
    const moduleCount = QRCode.getModuleCount();
    const uri = QRCode.createDataURL(calculatedCellSize, margin);
    const map = times(moduleCount).map((x) => times(moduleCount).map((y) => (QRCode.isDark(x, y))));
    return (
      <View
        key={uri}
        onLayout={this.onLayout}
        style={{
          width: size,
          aspectRatio: 1,
          justifyContent: 'center',
          alignItems: 'center'
        }}
      >
        {calculatedCellSize ? (
          <View
            style={{
              position: 'relative',
              width: calculatedCellSize * moduleCount,
              aspectRatio: 1
            }}
          >
            <WebViewCanvas
              width={calculatedCellSize * moduleCount}
              height={calculatedCellSize * moduleCount}
              onLoad={(canvas) => {
                const context = canvas.getContext('2d');
                context.fillStyle = color;
                map.forEach((row, x) => {
                  row.forEach((isDark, y) => {
                    if (isDark) {
                      context.fillRect(x * calculatedCellSize, y * calculatedCellSize, calculatedCellSize, calculatedCellSize);
                    }
                  });
                });
              }}
              variables={{
                color,
                calculatedCellSize,
                map
              }}
            />
          </View>
        ) : null}
      </View>
    );

  }
}

CanvasQRCode.defaultProps = {
  typeNumber: 0 // 自動
};

CanvasQRCode.propTypes = {
  color: PropTypes.string,
  data: PropTypes.string.isRequired, // データ文字列
  size: PropTypes.oneOfType([PropTypes.number, PropTypes.string]).isRequired, // 画像の大きさ
  cellSize: PropTypes.number, // セルの大きさ
  margin: PropTypes.number, // 余白の大きさ
  typeNumber: PropTypes.number, // 型番
  errorCorrectionLevel: PropTypes.string.isRequired // 誤り訂正レベル
};
App.js
import React from 'react';
import { View } from 'react-native';
import QRCode from "./CanvasQRCode";

export default class App extends React.Component {
  render() {
    return (
      <View
        style={{
          flex: 1,
          justifyContent: 'center',
          alignItems: 'center'
        }}
      >
        <QRCode
          data='test qr code'
          size='60%'
          color='lightskyblue'
          errorCorrectionLevel='H'
        />
      </View>
    );
  }
}
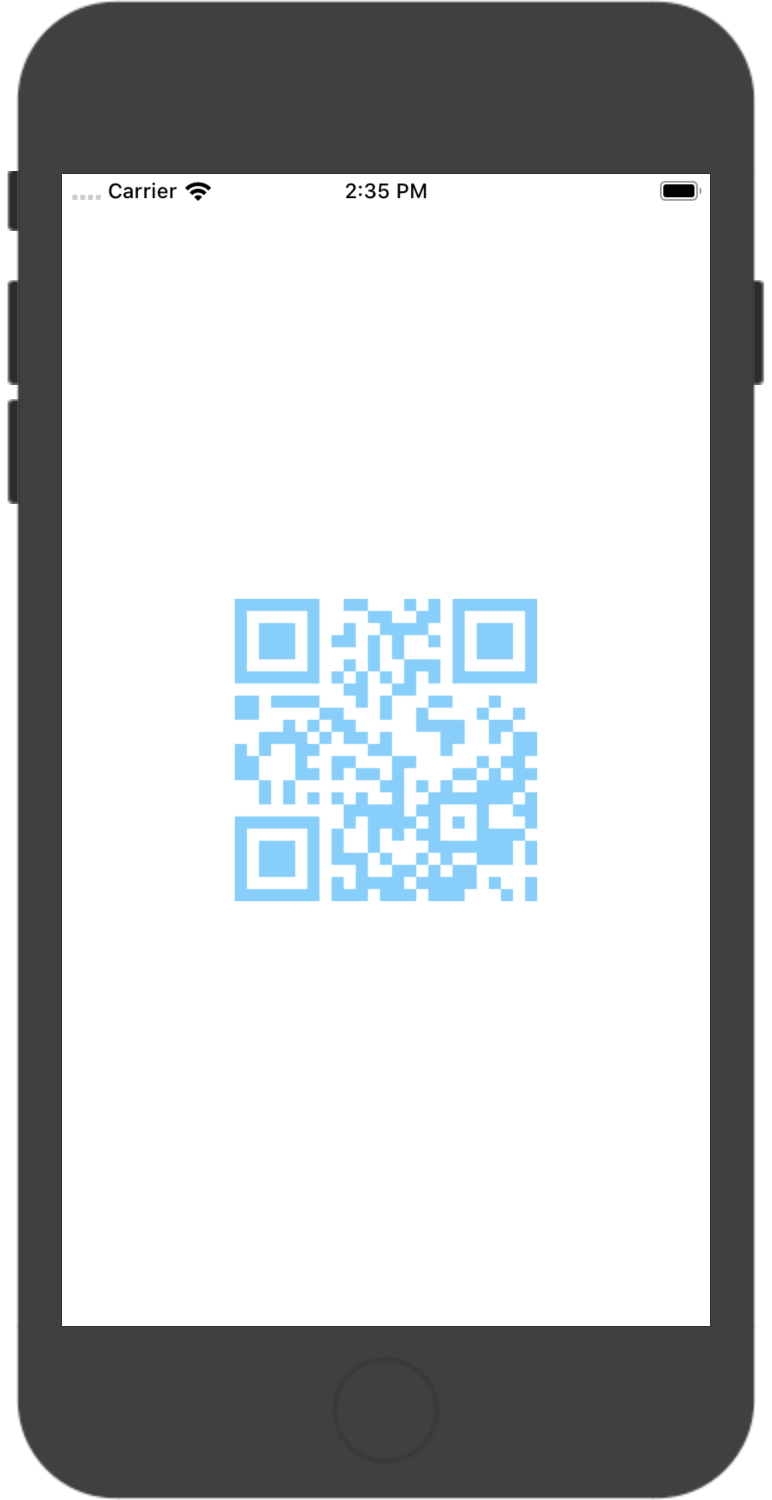
こんな感じに。
色の変更や飾りつけ(ロゴを載せる等)もこれでできそうですね。