はじめに
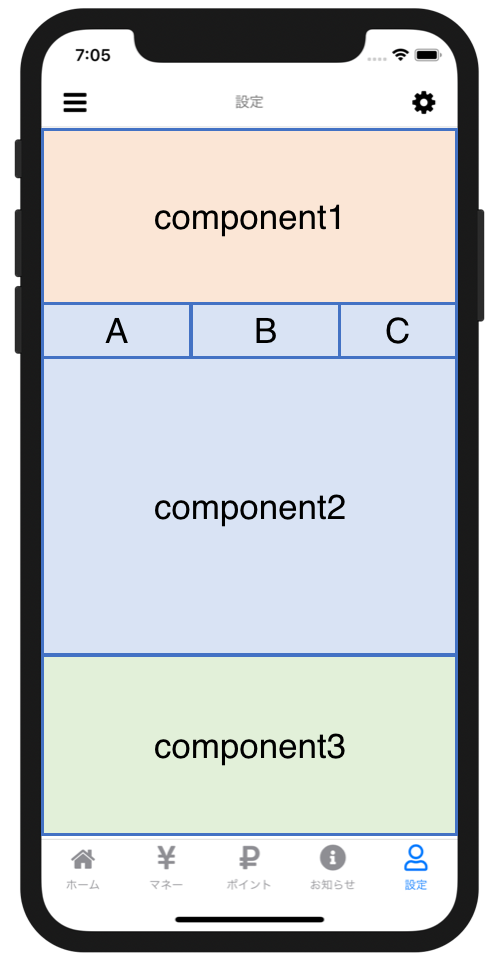
React NavigationでタブUIを作成し、下図のようにスクリーン内にコンポーネントとして設置する方法を調べました。
開発環境
- Expo v35.0.0
- ReactNavigation v4.0.10
- ReactNavigationTabs v2.5.6
手順 1
まずはApp.jsです。
今回の主旨には関係ないですが、 createBottomTabNavigator を使って大元のタブ構造を作ります。
import React from 'react';

import { createAppContainer } from 'react-navigation';
import { createBottomTabNavigator } from 'react-navigation-tabs';

import Home from './screens/Home';
import Sub from './screens/Sub';

const HomeTab = createBottomTabNavigator(
  {
    Home: {
      screen: Home
    },
    Sub: {
      screen: Sub
    }
  }
);

const AppContainer = createAppContainer(HomeTab);

export default class App extends React.Component {
  render() {
    return (
      <AppContainer />
    );
  }
}
では、Home スクリーンの中にコンポーネント化したタブを入れてみたいと思います(Sub 画面については任意です)。
手順 2
タブのコンポーネントを作っておきます。
import React from 'react';
import { createMaterialTopTabNavigator } from 'react-navigation-tabs';
import Icon from 'react-native-vector-icons/FontAwesome';

import First from '../screens/First';
import Second from '../screens/Second';

export default createMaterialTopTabNavigator(
  {
    First: {
      screen: First,
      navigationOptions: {
        title: 'First',
        tabBarIcon: ({ tintColor }) => <Icon size={24} name="home" color={tintColor} />
      }
    },
    Second: {
      screen: Second,
      navigationOptions: {
        title: 'Second',
        tabBarIcon: ({ tintColor }) => <Icon size={24} name="cog" color={tintColor} />
      }
    }
  },
  {
    defaultNavigationOptions: ({ navigation }) => {
      return {
        tabBarOptions: {
          style: {
            backgroundColor: "#eee"
          },
          indicatorStyle: {
            backgroundColor: "#ccc"
          },
          showIcon:true,
          activeTintColor:"#333",
          inactiveTintColor:"#aaa"
        }
      }
    }
  }
);
手順 3
Homeスクリーンを作ります。
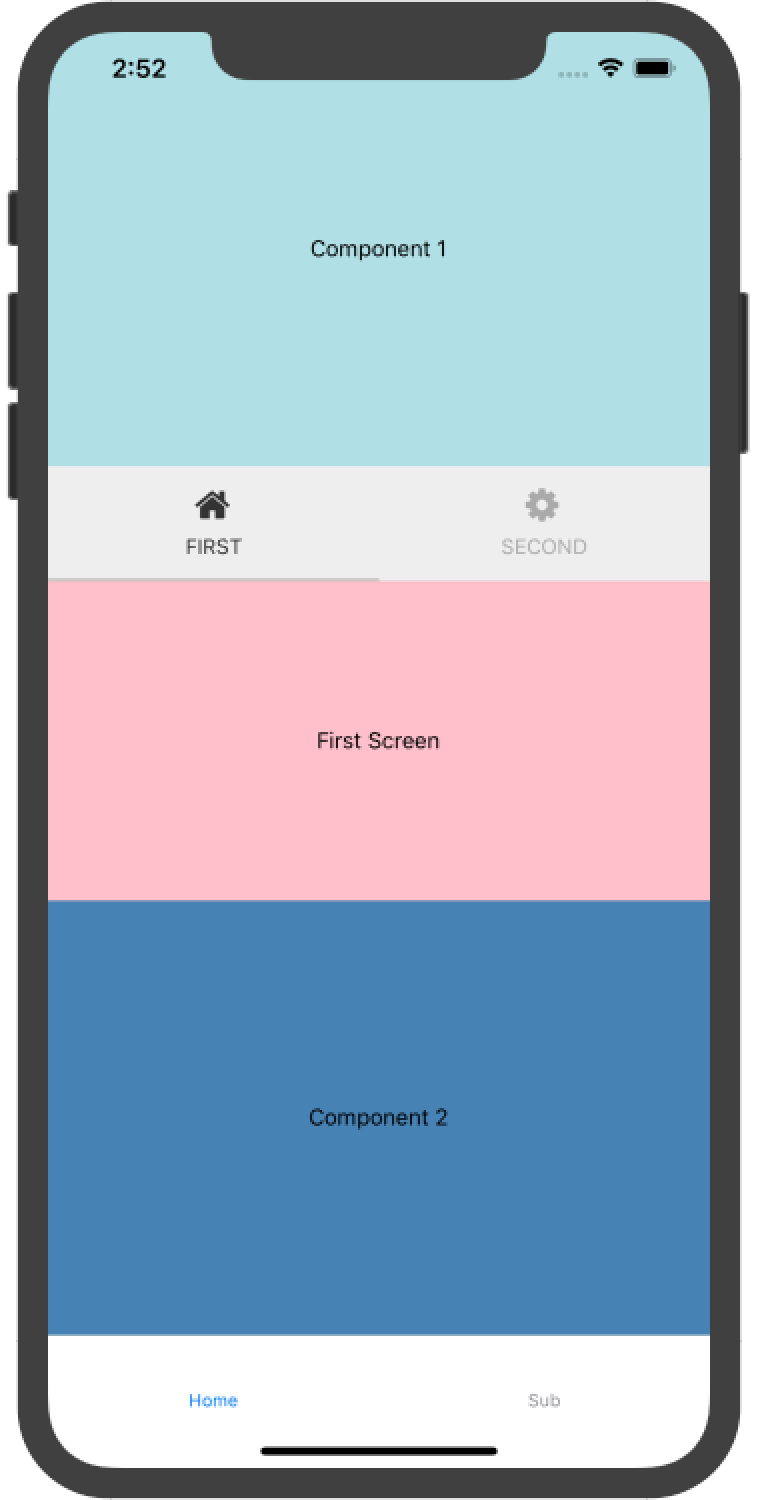
1つのView内にコンポーネント1、タブ、コンポーネント2の順番で設置してみます。
import React, { Component } from 'react';
import { View, Text } from 'react-native';
import Tab from '../components/Tab';

export default class Home extends Component {
  render() {
    return (
      <View
        style={{
          flex: 1
        }}
      >
        <View
          style={{
            flex: 1,
            backgroundColor: 'powderblue',
            flexDirection: 'column',
            justifyContent: 'center',
            alignItems: 'center'
          }}
        >
          <Text>Component 1</Text>
        </View>
        <Tab
          style={{
            flex: 1
          }}
        />
        <View
          style={{
            flex: 1,
            backgroundColor: 'steelblue',
            flexDirection: 'column',
            justifyContent: 'center',
            alignItems: 'center'
          }}
        >
          <Text>Component 2</Text>
        </View>
      </View>
    );
  }
}
するとここでエラー。
Invariant Violation: The navigation prop is missing for this navigator. In react-navigation 3 you must set up your app container directly. More info: https://reactnavigation.org/docs/en/app-containers.html

先ほどApp.js内でcreateAppContainerしたContainerからnavigationオブジェクトが子要素にprops経由で渡されるので、それをタブコンポーネントにも自力で渡してあげないといけないようです。
Home.jsのrender内を修正してみます。
render() {
    const { navigation } = this.props;
    return (
      <View
        style={{
          flex: 1
        }}
      >
        <View
          style={{
            flex: 1,
            backgroundColor: 'powderblue',
            flexDirection: 'column',
            justifyContent: 'center',
            alignItems: 'center'
          }}
        >
          <Text>Component 1</Text>
        </View>
        <Tab
          navigation={navigation}
          style={{
            flex: 1
          }}
        />
        <View
          style={{
            flex: 1,
            backgroundColor: 'steelblue',
            flexDirection: 'column',
            justifyContent: 'center',
            alignItems: 'center'
          }}
        >
          <Text>Component 2</Text>
        </View>
      </View>
    );
  }
するとエラーが変わりました。
TypeError: No "routes" found in navigation state. Did you try to pass the navigation prop of a React component to a Navigator child? See https://reactnavigation.org/docs/en/custom-navigators.html#navigator-navigation-prop

参照先URLが書いてあります。
要は親スクリーン内に子コンポーネントとしてタブナビゲーションを含ませる場合は、親スクリーン自体もナビゲーションコンポーネントとして振舞わなければいけないということになります。
親スクリーン(ここではHome)に子のタブナビゲーションに含まれるrouterというオブジェクト(あるいはその代替)を持たせればよさそうです。
URLを参考にして、Home.jsは最終的に以下のようになりました。
import React, { Component } from 'react';
import { View, Text } from 'react-native';
import Tab from '../components/Tab';

export default class Home extends Component {
  static router = Tab.router;

  render() {
    const { navigation } = this.props;
    return (
      <View
        style={{
          flex: 1
        }}
      >
        <View
          style={{
            flex: 1,
            backgroundColor: 'powderblue',
            flexDirection: 'column',
            justifyContent: 'center',
            alignItems: 'center'
          }}
        >
          <Text>Component 1</Text>
        </View>
        <Tab
          navigation={navigation}
          style={{
            flex: 1
          }}
        />
        <View
          style={{
            flex: 1,
            backgroundColor: 'steelblue',
            flexDirection: 'column',
            justifyContent: 'center',
            alignItems: 'center'
          }}
        >
          <Text>Component 2</Text>
        </View>
      </View>
    );
  }
}
これによって、親スクリーンがタブ子要素内のルーターを持っているという感じになりますね。
スクリーン内に他の子要素と同列でタブナビゲーションを設置できました。
Todo
親スクリーンがタブ子要素内のルーターを持っていると書きましたが、このソースの場合、親スクリーンは1つの子タブ要素のルーターのみ持っていることになるので、親スクリーンに複数の独立したタブ子要素を設置することはできません。
常に同じ状態をもつ(同期した)タブを複数設置するのは可能ですが...。
これでは完全にコンポーネント化したとは言えないので、何かしらの工夫が必要だと思います。
追記(2019/10/25)
完全にコンポーネントとして使用する場合は、TabNavigatorが内部的に使っているreact-native-tab-viewを直接使う方が良さそうです。
この場合はコンポーネント内のstateで管理するため、ナビゲーションとは独立して動作します。
import React, { Component } from 'react';
import { TabView, TabBar, SceneMap } from 'react-native-tab-view';
import Icon from 'react-native-vector-icons/FontAwesome';

import First from '../screens/First';
import Second from '../screens/Second';

export default class Tab extends Component {
  constructor(props) {
    super(props);
    this.state = {
      index: 0,
      routes: [
        { key: 'first', title: 'First', renderIcon: (color) => (<Icon size={24} name="home" color={color} />) },
        { key: 'second', title: 'Second', renderIcon: (color) => (<Icon size={24} name="cog" color={color} />) }
      ],
    };
  }

  render() {
    return (
      <TabView
        navigationState={this.state}
        renderScene={SceneMap({
          first: First,
          second: Second
        })}
        renderTabBar={(props) => (
          <TabBar
            {...props}
            {...{
              style: {
                backgroundColor: "#eee"
              },
              indicatorStyle: {
                backgroundColor: "#ccc"
              },
              showIcon: true,
              activeColor: '#333',
              inactiveColor: '#aaa'
            }}
            renderIcon={({ route, color }) => route.renderIcon(color)}
          />
        )}
        onIndexChange={index => this.setState({ index })}
      />
    );
  }
};

Github