macOS Mojava 10.14.6 / Xcode 11.3.1 / Swift 5.0
クラスの作成
NSViewクラスのサブクラスを作成し、次の機能を組み込む。
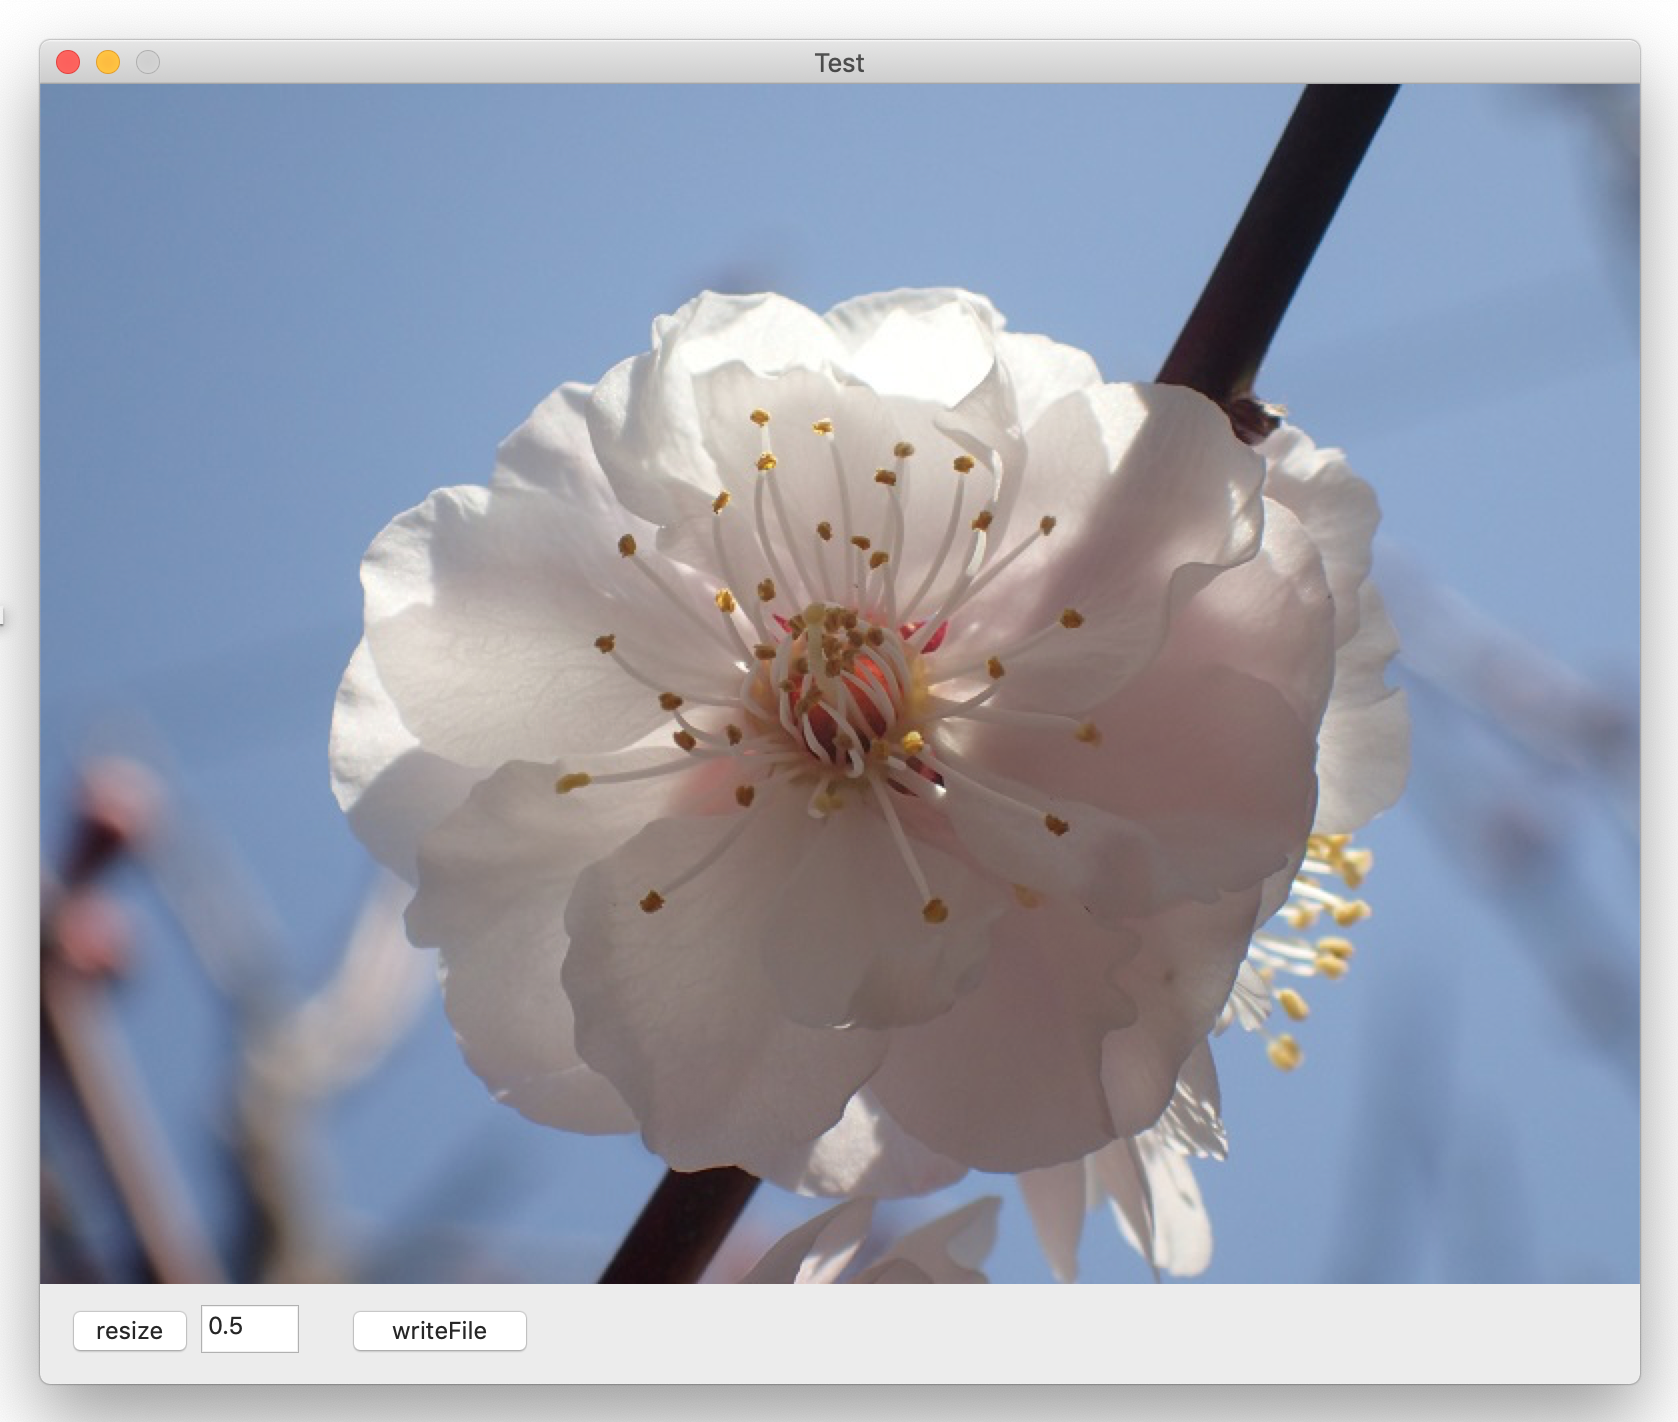
1. イメージファイルを読み込む
2. イメージを描画する
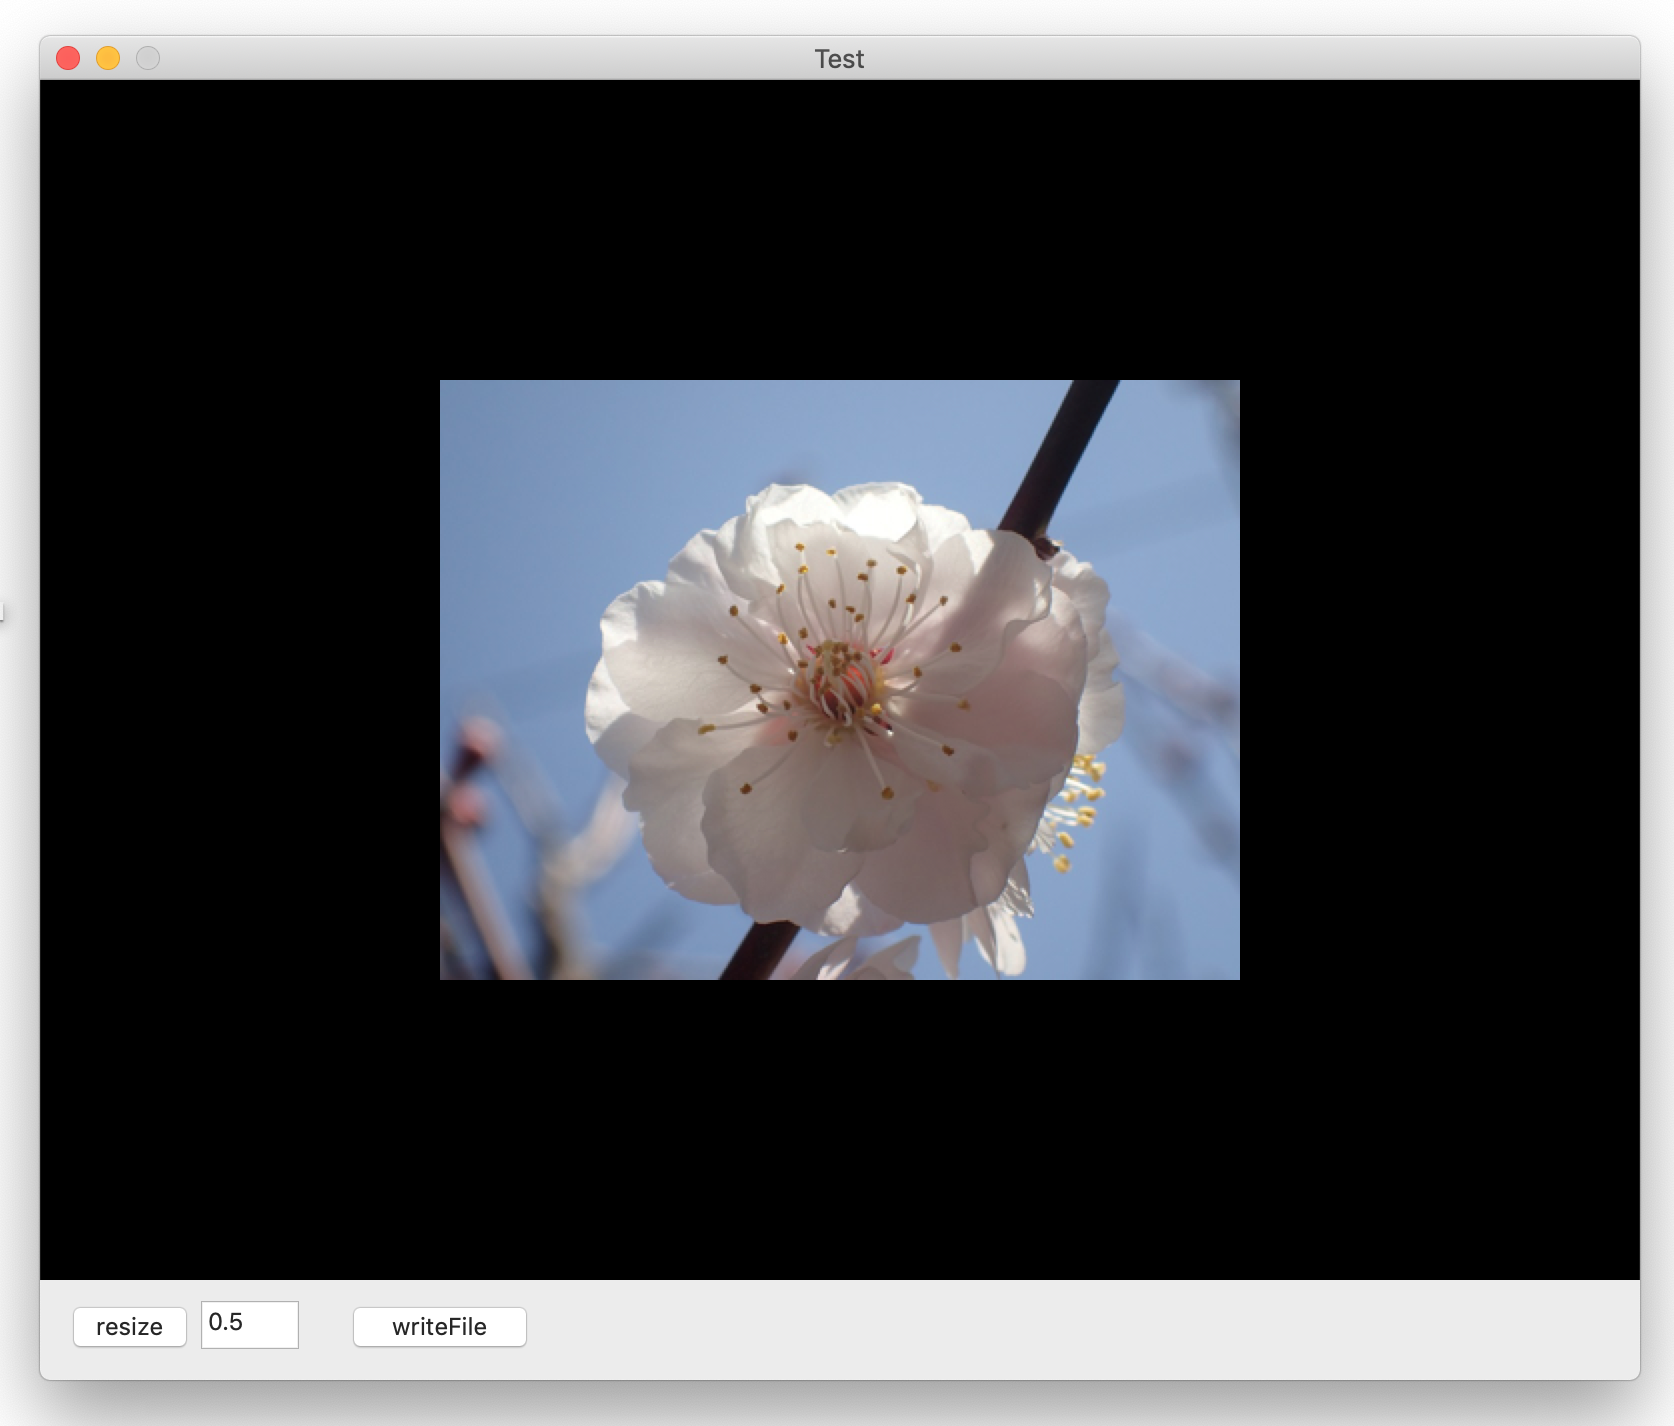
3. イメージを拡大・縮小する
4. イメージファイルに書き出す
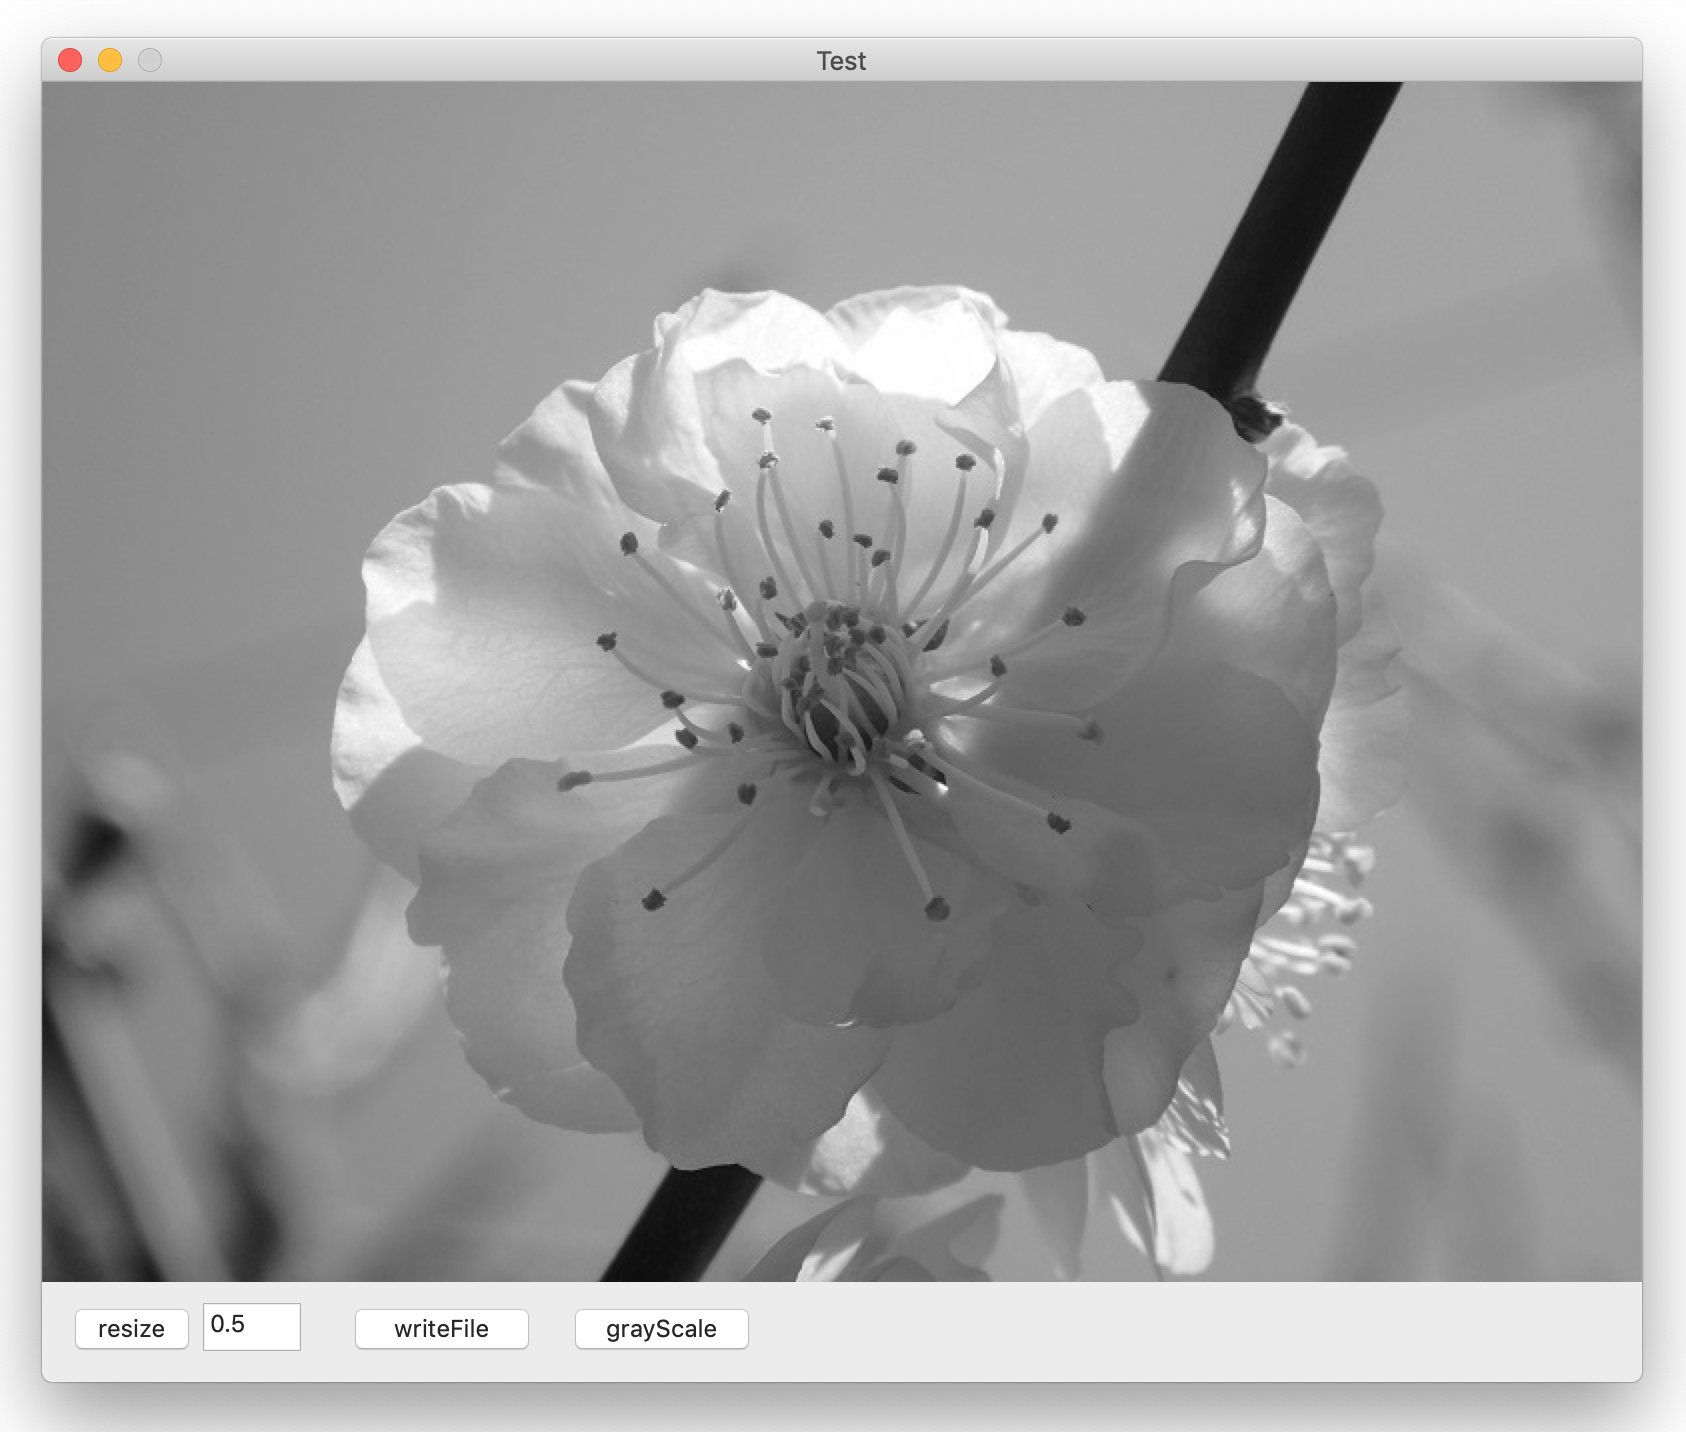
5. イメージをグレースケール化する
プロパティ定義
class UAView: NSView {
    var cgOriginalImage: CGImage? = nil{ //オリジナルイメージ
        didSet{
            self.cgNewImage = self.cgOriginalImage
        }
    }
    var cgNewImage: CGImage? = nil  //サイズ変更後のイメージ
    ....
}
イメージファイルを読み込む
func readFile(){
    let url = NSURL.fileURL(withPath: NSHomeDirectory() + "/Pictures/sakura.jpg")
    if let cgImageSource = CGImageSourceCreateWithURL(url as CFURL, nil){
        cgOriginalImage = CGImageSourceCreateImageAtIndex(cgImageSource, 0, nil)
    }
}
イメージを描画する
NSViewクラスの drawメソッドをオーバーライドする。グラフィックコンテキストを取得し、コンテキストの drawメソッドによりイメージをビューに描画する。
override func draw(_ dirtyRect: NSRect) {
    if let context = NSGraphicsContext.current?.cgContext{
        if let image = cgNewImage{
            let x = Int(dirtyRect.width / 2  - CGFloat(image.width / 2))
            let y = Int(dirtyRect.height / 2  - CGFloat(image.height / 2))
            context.draw(image, in: CGRect(x: x, y: y,
                                           width: image.width, height: image.height))
        }
    }
}
イメージを拡大・縮小する
新しいグラフィックコンテキストを作成し、drawメソッドによりサイズを指定してイメージを書き出す。この時点でコンテキストにはサイズを変更したイメージが作成される。そこから makeImageメソッドによりイメージを取り出す。
func resizeImage(_ rate: CGFloat){
    let w = Int((CGFloat)(cgOriginalImage!.width) * rate)
    let h = Int((CGFloat)(cgOriginalImage!.height) * rate)
    let newSize = CGSize(width: w, height: h)
    let imageColorSpace = CGColorSpace(name: CGColorSpace.sRGB)
    let newContext = CGContext.init(data: nil,
                                    width: Int(newSize.width),
                                    height: Int(newSize.height),
                                    bitsPerComponent: 8,
                                    bytesPerRow: Int(newSize.width) * 4,
                                    space: imageColorSpace!,
                                    bitmapInfo: CGImageAlphaInfo.premultipliedLast.rawValue)
    newContext?.draw(cgOriginalImage!, in: CGRect.init(x: 0, y: 0,
                                                       width: newSize.width,
                                                       height: newSize.height))
    cgNewImage = newContext?.makeImage()
    self.needsDisplay = true
}
イメージファイルに書き出す
CGイメージ → Bitmapイメージ → Dataオブジェクト
func writeFile(){
    let url = NSURL.fileURL(withPath: NSHomeDirectory() + "/Pictures/sakura_resized.png")
    //ビットマップイメージに変換する
    let bitmap = NSBitmapImageRep.init(cgImage: cgNewImage!)
    //png形式のDataオブジェクトに変換する
    guard  let data = bitmap.representation(using: .png, properties: [:]) else {
        print("bitmap.representation error")
        return
    }
    do {
        try data.write(to:url) //ファイル出力
    }catch{
        print(error.localizedDescription)
        return
    }
    let alert = NSAlert();
    alert.messageText = "ファイルし出力成功";
    alert.informativeText = url.path;
    alert.runModal()
}
イメージをグレースケール化する
実装のポイントは、グラフィックコンテキストに作成したビットマップデータをCポインタ経由で参照し更新するところ。グレースケールを求める係数はいくつかあり、ここでは、HDTV係数を使用している。他には、NTSC係数などがある。

func grayScaleImage(){
    var bitmapContext: CGContext?
    let dataSize = cgOriginalImage!.width * cgOriginalImage!.height * 4 //ピクセル数x4バイト(RGBA)
    var pixelData = [UInt8](repeating: 0, count: Int(dataSize))
    let colorSpace = CGColorSpaceCreateDeviceRGB()
    //変換用コンテキストの生成・入力イメージと同じ大きさ
    bitmapContext = CGContext(data: &pixelData,
                             width: Int(cgOriginalImage!.width),
                            height: Int(cgOriginalImage!.height),
                  bitsPerComponent: 8,
                       bytesPerRow: 4 * Int(cgOriginalImage!.width),
                             space: colorSpace,
                        bitmapInfo: CGImageAlphaInfo.noneSkipLast.rawValue)
    //変換用コンテキストにイメージオブジェクトを描画する
    let rect = CGRect(x: 0, y: 0, width: cgOriginalImage!.width, height: cgOriginalImage!.height)
    bitmapContext?.draw(cgOriginalImage!, in: rect)
    //bindMemoryによりコンテキストのデータをポインタ経由で参照する
    let count = Int(cgOriginalImage!.width) * Int(cgOriginalImage!.height)
    if let buffer = bitmapContext?.data?.bindMemory(to: UInt8.self, capacity: count){
        //グレースケール変換
        for i in stride(from:0, to: dataSize-1, by:4){
            //グレースケール変換 HDTV係数
            let grayInt = UInt8(0.2126 * CGFloat(buffer[i]) +
                                0.7152 * CGFloat(buffer[i+1])  +
                                0.0722 * CGFloat(buffer[i+2]))
            buffer[i] = grayInt
            buffer[i+1] = grayInt
            buffer[i+2] = grayInt
        }
    }
    cgNewImage = bitmapContext?.makeImage()
    self.needsDisplay = true
}

