やりたいこと
Nginxでリーバスプロキシを動かして、Apacheに処理を任せる
①アクセス → ②Nginx → ③Apache → ④処理を返す
リバースプロキシとは?
一言で言うと、サーバー側のプロキシ
使うメリットとして、
・ 本来のサーバーを隠蔽できる
・ 複数台のサーバーを使う事によって負荷分散ができる
以上の事がメリットとして上げられる。
なぜNginxなのか
Apacheでもリバースプロキシの機能はありますが、単純なリクエストを大量に捌くのが得意というNginxの特徴をうまく活かせる点から、Nginxを採用する事例が多いようです。
今回はWebサーバにもNginxを使用しますが、複雑なアプリケーション処理はApacheで行い、NginxによるリバースプロキシがApacheにリクエストを転送するという構成が用いられることもあります。
引用URL
Nginxのインストール
CentOs7にApacheがインストールされている事を前提に、Nginxをインストールします。
Nginxとポートが被るのでApacheを止めておく
systemctl stop httpd
リポジトリの設定ファイルを記述
まずリポジトリの設定をするためにファイルを作成
# vi /etc/yum.repos.d/nginx.repo
ファイルの中に下記を記述
[nginx]
name=nginx repo
baseurl=http://nginx.org/packages/centos/7/$basearch/
gpgcheck=0
enabled=1
サンプルコード
[nginx]
name=nginx repo
baseurl=http://nginx.org/packages/{OS}/{OSRELEASE}/$basearch/
gpgcheck=0
enabled=1
Nginxのインストール
# yum install nginx
Nginxの起動と停止
# 自動起動
 systemctl enable nginx

# 起動
 systemctl start nginx

# 停止
 systemctl stop nginx
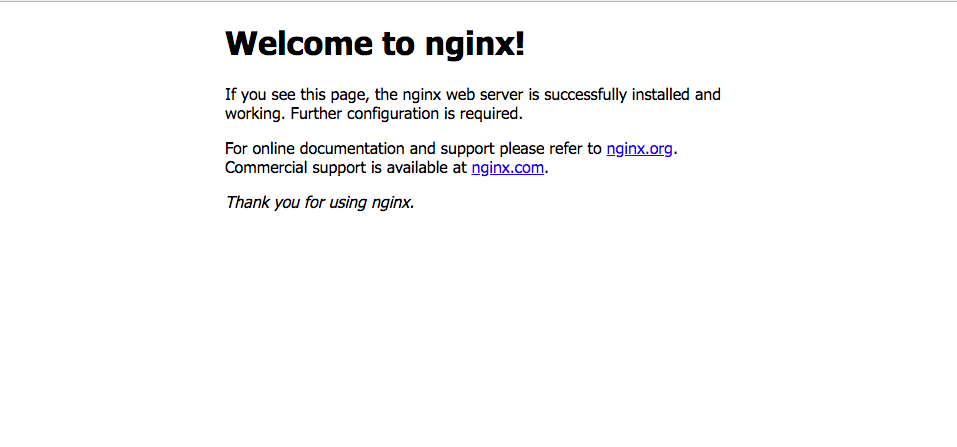
起動確認
http://localhost
にアクセスしてNginxの画面が出たらインストール完了

リバースプロキシの設定
Apacheのポートを変更
Nginxとポートが被るので、Apacheのポート番号を80から8080へ変更
Listen 80
    ↓         #変更
Listen 8080
Apache再起動
# systemctl restart httpd
リーバスプロキシを設定
/etc/nginx/conf.d/にreverse_proxy.confファイルを作成
ファイル名はなんでもよい、ただし拡張子はconfを付けてください
server {
  listen 80;               # ポート番号80番でアクセスされたら
  server_name localhost;   # http://localhost でアクセスされたら

  location / {
    proxy_pass http://127.0.0.1:8080; # どこにアクセスさせるか
    proxy_redirect                          off;
    proxy_set_header Host                   $host;
    proxy_set_header X-Real-IP              $remote_addr;
    proxy_set_header X-Forwarded-Host       $host;
    proxy_set_header X-Forwarded-Server     $host;
    proxy_set_header X-Forwarded-Proto      $scheme;
    proxy_set_header X-Forwarded-For        $proxy_add_x_forwarded_for;
  }
}
サーバーのバージョンを隠す
http {
  # ↓これを追加
  server_tokens off;
}
Nginxの再起動
systemctl restart nginx
http://localhostにアクセスすると、Apacheの画面が表示されます。
これでリバースプロキシの設定が完了しました。
メモ
/etc/nginx/nginx.conf