はじめに
MySQLのインストール手順を書こうと思う。
環境
OS : Windows11
2023/1/14 時点
インストーラーのダウンロード
MySQL公式サイトへ移動。
「DOWNLOADS」をクリック。
「MySQL Community (GPL) Downloads »」をクリック。

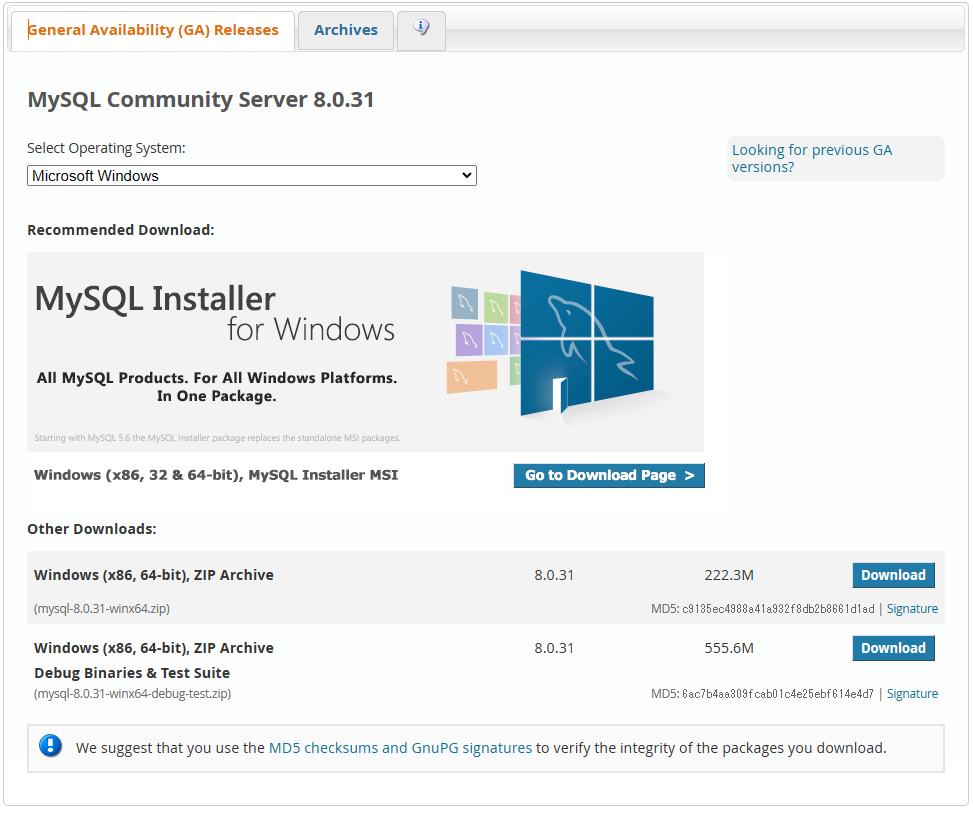
「MySQL Community Server」をクリック。

「Recommended Download:」の下の画像をクリック。
「(mysql-installer-community-8.0.31.0.msi)」の方の「Download」をクリック。
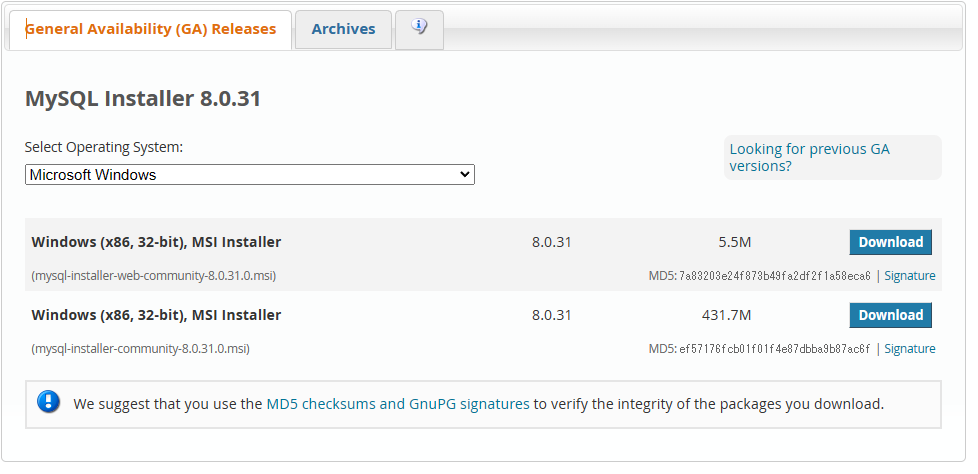
「No thanks, just start my download.」をクリックするとダウンロードが始まる。

インストーラー起動
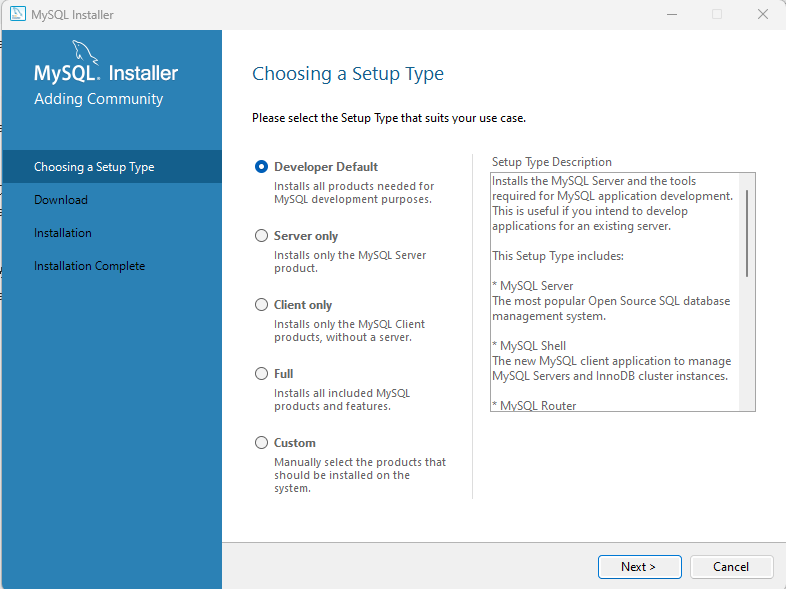
ダウンロードした「mysql-installer-community-8.0.31.0.msi」を開く。
「Developer Default」のまま「Next」を押す。
そのまま「Next」をクリック。

「Yes」をクリック。

「Execute」をクリック。
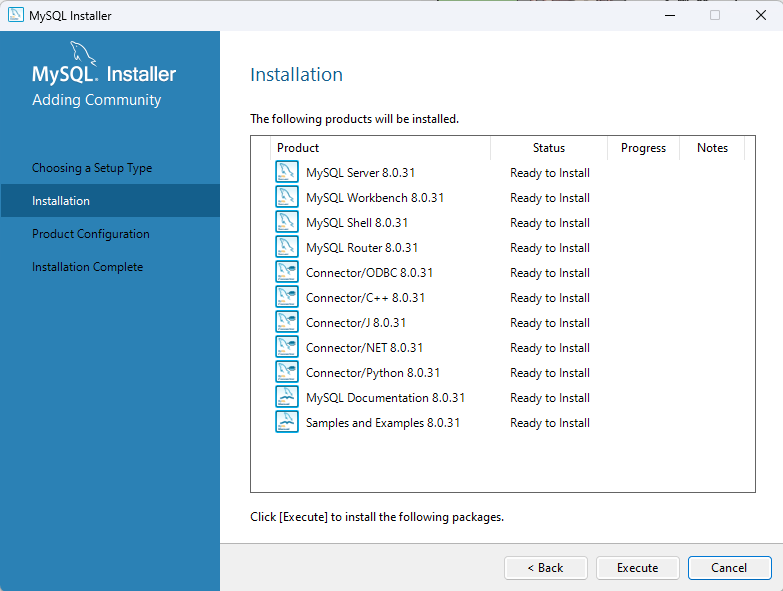
一つインストールに失敗していますが、既にインストールしてあるPythonのファイルが邪魔したのではないかと思う。
「Next」をクリック。

「Next」をクリック。

「Next」をクリック。

「Next」をクリック。

管理者用のパスワードを入力し、「Next」をクリック。

「Next」をクリック。

「Next」をクリック。

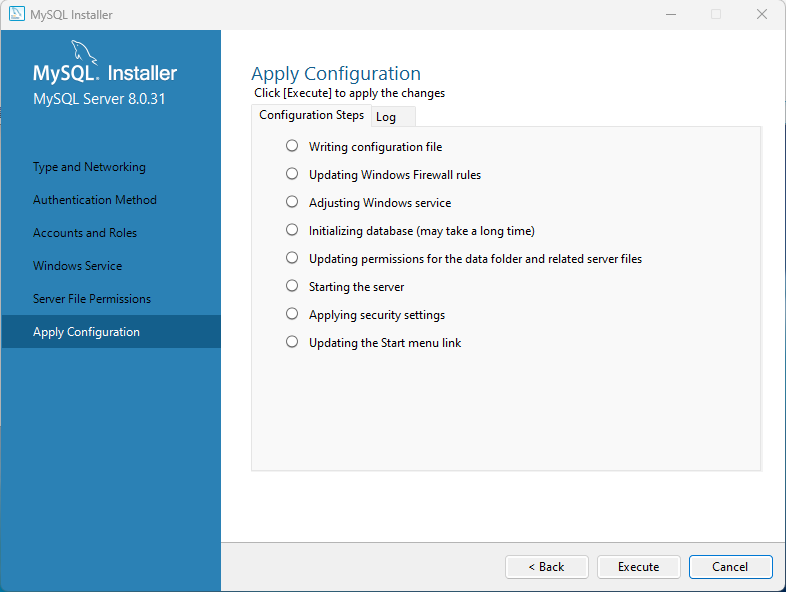
「Execute」をクリック。
「Finish」をクリック。

「Next」をクリック。

「Finish」をクリック。

再度同じ画面が表示されるので、「Next」をクリック。

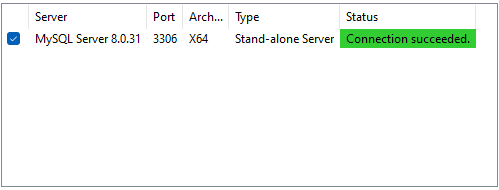
管理者用のパスワードを入力し、「Check」をクリック。

パスワードが一致すれば「Status」が「Connection succeeded.」に変わり、緑のマーカーが引かれる。
「Next」をクリック。
「Execute」をクリック。

「Finish」をクリック。

再度同じ画面が表示されるので、「Next」をクリック。
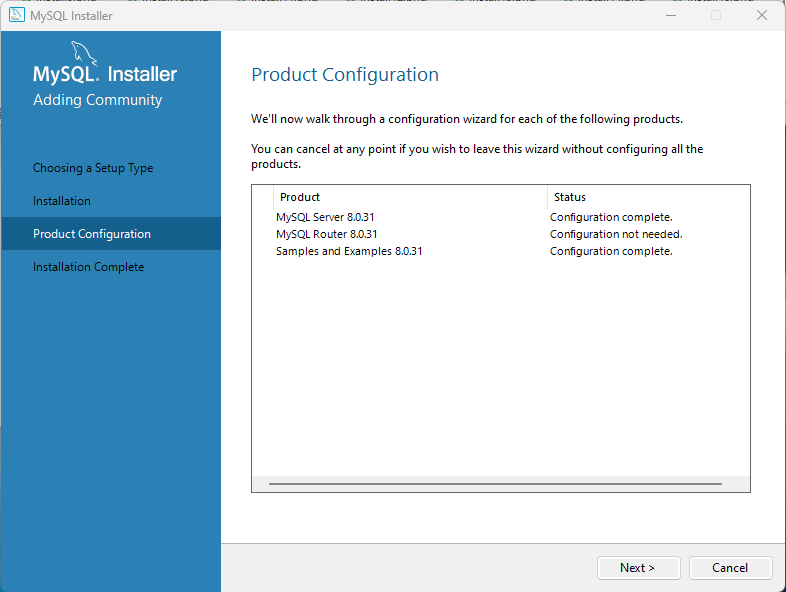
「Finish」をクリック。

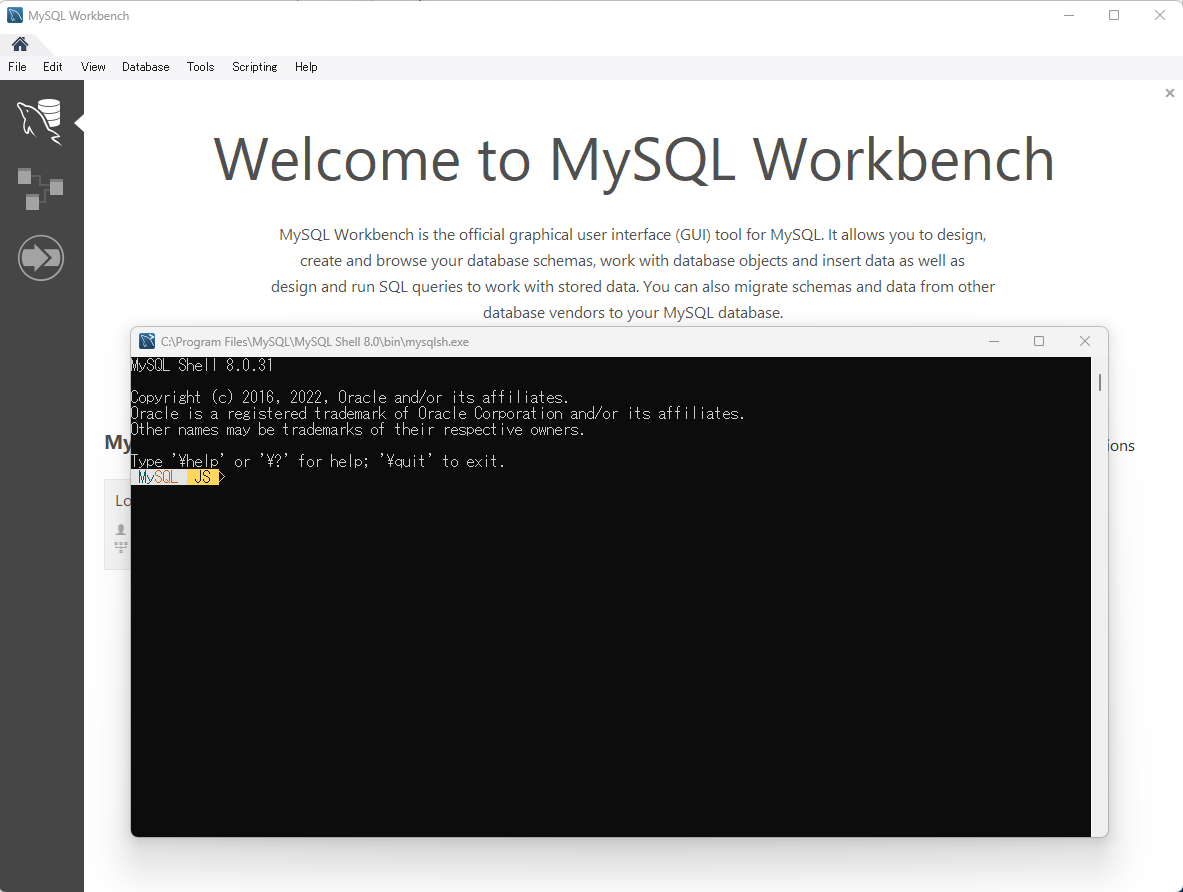
コマンドラインのウィンドウと初期ウィンドウが開いたら終了。
接続確認
コンピューターの管理を開く。

「サービスとアプリケーション」→「サービス」をクリック。
「MySQL80」が「実行中」なのでOK。
