 作ったもの
作ったもの
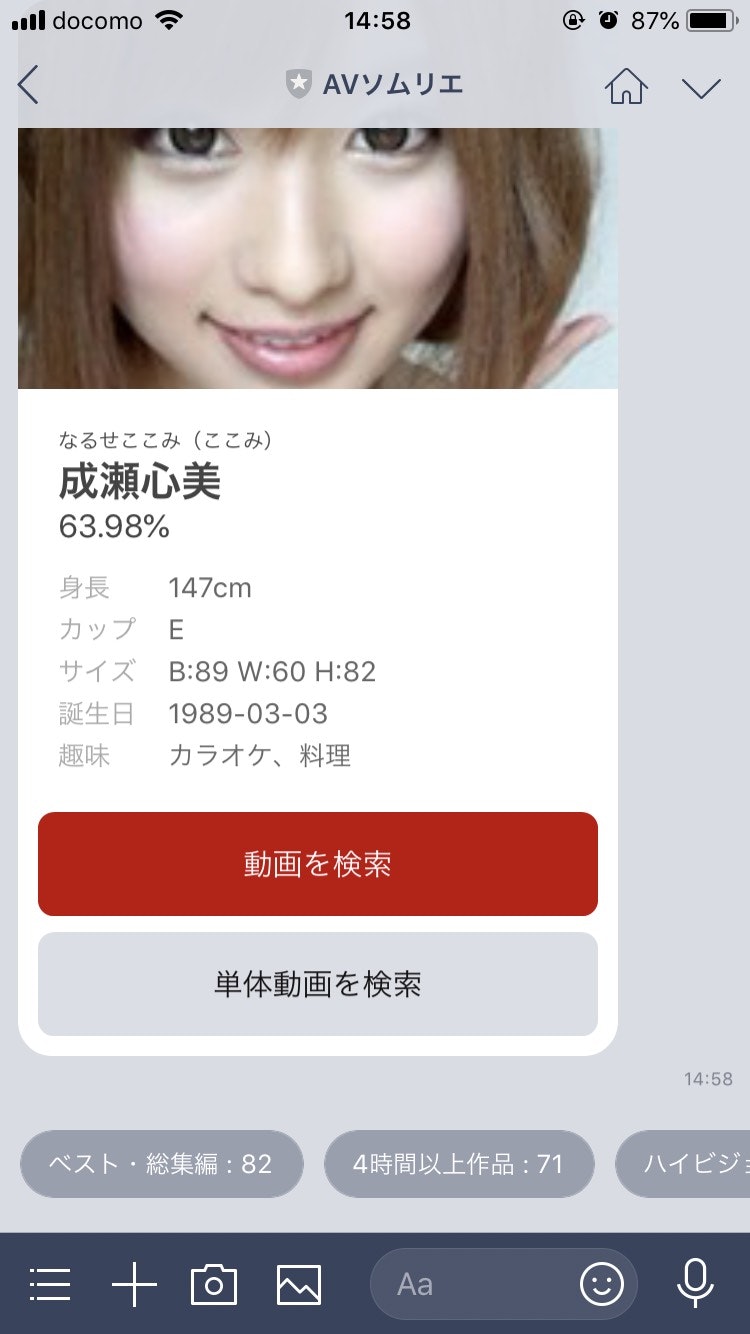
画像からAV女優を検索するLINEbotを作ってみました!
— みかん三世 (@mikan_the_third) 2018年8月12日
LINEの新機能「Flex Message」「クイックリプライ」も使ってみました。
名前やキーワードから動画を検索することも可能です。
追加はこちらからhttps://t.co/Yt1YQfJwXE pic.twitter.com/rUhTH1AGMT
 使い方
使い方
- 次のボタン、QRコード、もしくは
@yjw3583gでID検索すると友達に追加できます
 参考にしたサービス
- AIで似ているAV女優を紹介しているスケベAI「スケベ博士」を作りました。
- こちらがサービス停止中みたいだったので自分で作って改良してみました
 機能
機能
 画像から検索
- 顔の写った画像を送信すると似ているAV女優をAIで検索します
- 画像のURL(
https://xxxx.jpgなど)を送ることでも同様に検索できます - 人気の女優を優先的に1000名以上のAV女優を登録しており、随時更新しています

 名前から検索
- 文字を送るとAV女優を検索します(例:上 → 上原亜衣 尾上若葉 など)
- ひらがなの検索にも対応しています(例:あさくら → 麻倉憂 朝倉ことみ など)
- 「ランダム」もしくは該当する結果がなかった時は、おすすめのAV女優をランダムで表示します

 動画を検索
動画を検索
- 「成瀬心美 マジックミラー」など、2単語以上を送信すると動画を検索します
- さらに、下の方に表示されるジャンル(単体作品 総集編 など)を選択することで絞り込みができます

 工夫した点
工夫した点
- 「スケベ博士」では画像URLしか対応していなかったようなので、LINEから画像をアップロードしても検索できるように対応しました
- 「名前から検索」「動画を検索」もできるようにしました
- LINEの新機能「Flex Message」を使って返信の情報を増やして表示デザインもキレイにしました
- LINEの新機能「クイックリプライ」を使って簡易な操作で動画の絞り込み検索ができるようにしました
- FaceAPIでLargePersonGroupを使うことで最大100万人まで登録できるようにしました
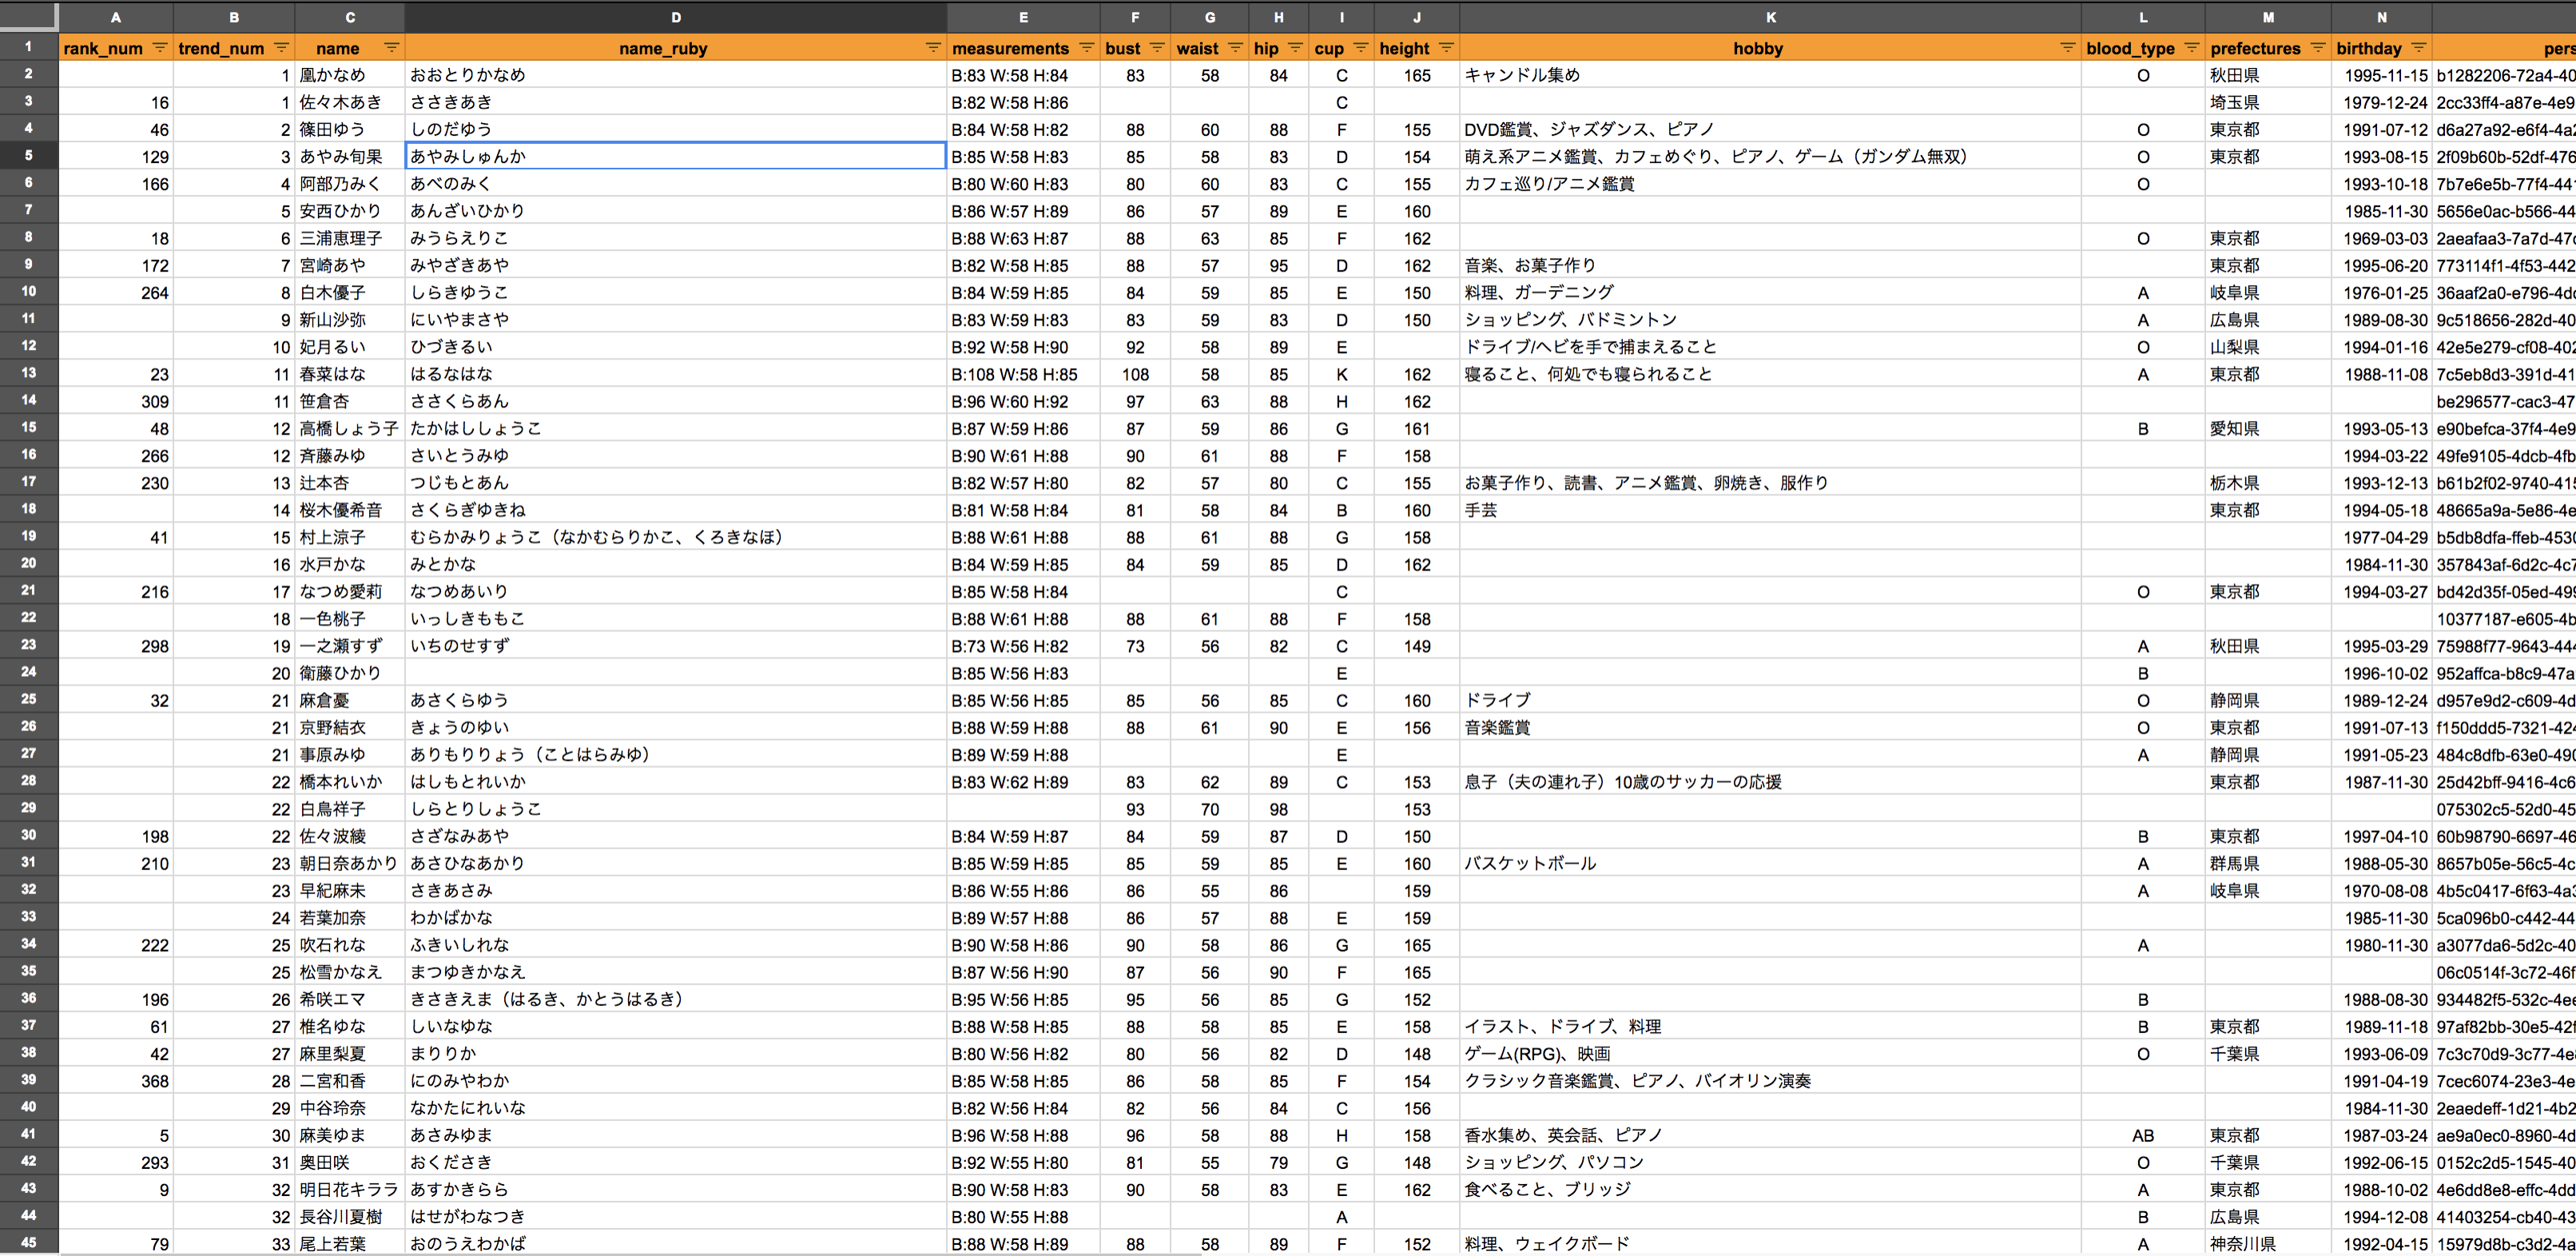
- FaceAPIではどの画像を登録したか確認することができないため、GoogleSpreadSheetに登録結果を記録するようにしました
- FANZA(旧DMM.R18)のスマホサイトだとなぜかジャンル検索ができないので、LINE上でできるようにしました
 実装の概要
実装の概要
- スクレイピングで登録する名前とhttpsの画像の一覧を取得し、GoogleSpreadSheetに記録する
- DMMの女優検索APIから画像や女優情報を取得する
- MicrosoftのFaceAPIを使用して顔の画像を登録し、学習させる
- Google画像検索などから取得した本人か不明な画像については顔識別を行い、定めた閾値以上の場合は同一人物と判断して顔画像を追加する
- LINE Developersでbot(新規チャネル)を作成する
- LINEからwebhookを受け取って返信するAPIを作る
- LINEのFlexMessageSimulatorでFlexMessageのテンプレートを作成する
- 画像または画像URLが送られてきた場合、FaceAPIで顔検出を行ってfaceIdを取得し、続けて顔識別を行って似ている顔を取得し、FlexMessageで返すようにする
- テキストが送られてきた場合、名前もしくは読み仮名の部分一致検索を行い、FlexMessageで返す
- テキストを半角スペースなどで分割できる場合、DMMの商品検索APIでキーワード検索を行い、結果をFlexMessageで返す
- 返信の際、ジャンルのリストを商品の多い順に並び替えてクイックリプライとして追加する
 補足
補足
 登録する名前とhttpsの画像の一覧を取得
- これは「スケベ博士」とほぼ同じ実装だと思いますが、SeleniumとBeautifulSoupでスクレイピングしました
- 取得できるデータが微妙に違ったり、あったりなかったりするので、データの整形が必要です
 GoogleSpreadSheetに記録する
- SheetAPIでGoogleSpreadSheetに記録し、2度目以降のスクレイピングでデータが重複しないような処理を追加します
- もちろん、ちゃんとDBを用意するのが良いと思いますが、カラム名を変えたり追加したり試行錯誤しながら作っていたので、今回は簡単に編集できるGoogleSpreadSheetで記録するようにしました
- SheetAPIを使うにはGoogleCloudPlatformでプロジェクトを作成してSheetAPIを追加した後、認証情報を追加する必要があります
- シートの読み取りだけであればAPIキーで良いのですが、書き込みが必要な場合は
OAuth 2.0 クライアント IDまたはサービス アカウント キーが必要になります - 参考:Google Sheets API リファレンス
- 参考:PythonとSheets API v4でGoogleスプレッドシートを読み書きする
- 自分の場合は次のように実装しました

gspread.py
import os
from datetime import datetime
from pprint import pprint

from apiclient.discovery import build
from oauth2client import client, tools
from oauth2client.file import Storage
from settings import DEVELOPER_KEY


try:
    import argparse
    flags = argparse.ArgumentParser(parents=[tools.argparser]).parse_args()
except ImportError:
    flags = None


SCOPES = 'https://www.googleapis.com/auth/spreadsheets'
CLIENT_SECRET_FILE = 'client_secret.json'
APPLICATION_NAME = 'Google Sheets API Python Quickstart'


def get_sheet_values(sheet_id, _range):
    service = build('sheets', 'v4', developerKey=DEVELOPER_KEY)
    response = service.spreadsheets().values().get(
        spreadsheetId=sheet_id,
        range=_range,
        key=DEVELOPER_KEY,
    ).execute()
    return response


def update_sheet_values(sheet_id, _range, body):
    credentials = get_credentials()
    service = build('sheets', 'v4', credentials=credentials)
    response = service.spreadsheets().values().update(
        spreadsheetId=sheet_id,
        range=_range,
        body=body,
        valueInputOption='USER_ENTERED'
    ).execute()
    pprint(response)
    return response

def get_credentials():
    """Gets valid user credentials from storage.

    If nothing has been stored, or if the stored credentials are invalid,
    the OAuth2 flow is completed to obtain the new credentials.

    Returns:
        Credentials, the obtained credential.
    """
    home_dir = os.path.expanduser('~')
    credential_dir = os.path.join(home_dir, '.credentials')

    if not os.path.exists(credential_dir):
        os.makedirs(credential_dir)

    credential_path = os.path.join(
        credential_dir,
        'sheets.googleapis.com-python-quickstart.json')

    store = Storage(credential_path)
    credentials = store.get()
    if not credentials or credentials.invalid:
        flow = client.flow_from_clientsecrets(CLIENT_SECRET_FILE, SCOPES)
        flow.user_agent = APPLICATION_NAME
        if flags:
            credentials = tools.run_flow(flow, store, flags)
        else:  # Needed only for compatibility with Python 2.6
            credentials = tools.run(flow, store)
        print('Storing credentials to ' + credential_path)
    return credentials
 DMMの女優検索APIから画像や女優情報を取得する
- DMMのAPIを使用するためにはDMMアフィリエイトに申請&承認が必要で、申請にはwebサイトが必要となります。
- DMMのAPI自体はGETメソッドのみで分かりやすい仕様になってますので、リファレンスをご確認ください
- 参考:DMM 女優検索API リファレンス
- 自分は次のように実装しました
dmm.py
import requests
from settings import DMM_AFFILIATE_ID, DMM_API_ID


dmm_endpoint = "https://api.dmm.com/affiliate/v3"


def search_actress(keyword):
    endpoint = '/ActressSearch'

    params = {
        'api_id': DMM_API_ID,
        'affiliate_id': DMM_AFFILIATE_ID,
        'keyword': keyword,
        'output': 'json',
    }

    res = requests.get(
        dmm_endpoint + endpoint,
        params=params,
    )
    data = res.json()

    return data


def search_genre(floor_id=43, hits=500):
    endpoint = '/GenreSearch'

    params = {
        'api_id': DMM_API_ID,
        'affiliate_id': DMM_AFFILIATE_ID,
        'floor_id': floor_id,
        'hits': hits,
        'output': 'json',
    }

    res = requests.get(
        dmm_endpoint + endpoint,
        params=params,
    )
    data = res.json()

    return data


def search_items(
    site='FANZA',
    service='digital',
    floor='videoa',
    keyword=None,
    article=None,
    article_id=None,
    hits=100,
):
    endpoint = '/ItemList'

    params = {
        'api_id': DMM_API_ID,
        'affiliate_id': DMM_AFFILIATE_ID,
        'site': site,
        'service': service,
        'floor': floor,
        'keyword': keyword,
        'article': article,
        'article_id': article_id,
        'hits': hits,
        'output': 'json',
    }

    res = requests.get(
        dmm_endpoint + endpoint,
        params=params,
    )
    data = res.json()

    return data
 MicrosoftのFaceAPIを使用して顔の画像を登録し、学習させる
- Microsoft Azureに登録し、FaceAPIのAPIキーを発行する必要があります
- アカウント合計でPersonの登録が1000名までなどAPIの制限がありますが無料プランでも可能です。
- 今回の場合は1000名以上登録しているので従量課金制の有料プランを使用しています
- LargePersonGroupを作成後、Personを作成し、それぞれにFaceを登録していく流れになります
- 参考:FaceAPI LargePersonGroup リファレンス
- 自分の実装は次のような感じ
face.py
face_endpoint = 'https://eastasia.api.cognitive.microsoft.com/face/v1.0'

def get_person_list(person_group_id=person_group_id):
    endpoint = '/largepersongroups/' + person_group_id + '/persons'
    print("endpoint:", endpoint)

    headers = {'Ocp-Apim-Subscription-Key': FACE_API_KEY}

    res = requests.get(
        face_endpoint + endpoint,
        headers=headers,
    )

    data = res.json()

    return data

def create_person(name, person_group_id=person_group_id):
    endpoint = '/largepersongroups/' + person_group_id + '/persons'
    print(name, endpoint)

    headers = {
        'Ocp-Apim-Subscription-Key': FACE_API_KEY,
        'Content-Type': 'application/json',
    }

    _json = {'name': name}

    res = requests.post(
        face_endpoint + endpoint,
        headers=headers,
        json=_json,
    )
    data = res.json()

    return data

def add_person_face(
    person_id,
    image_url,
    name,
    user_data=None,
    person_group_id=person_group_id,
):
    endpoint = '/largepersongroups/%s/persons/%s/persistedfaces' \
        % (person_group_id, person_id)

    print(name, endpoint)

    headers = {
        'Ocp-Apim-Subscription-Key': FACE_API_KEY,
        'Content-Type': 'application/json',
    }

    _json = {'url': image_url}
    params = {'userData': user_data}

    res = requests.post(
        face_endpoint + endpoint,
        headers=headers,
        params=params,
        json=_json,
    )

    data = res.json()

    return data

def train_person_group(person_group_id=person_group_id):
    endpoint = '/largepersongroups/' + person_group_id + '/train'
    print("endpoint:", endpoint)

    headers = {'Ocp-Apim-Subscription-Key': FACE_API_KEY}

    res = requests.post(
        face_endpoint + endpoint,
        headers=headers,
    )
    status = res.status_code

    if status == 202:
        return {}

    data = res.json()
    pprint(data)
    raise Exception()

def get_training_status(person_group_id=person_group_id):
    endpoint = '/largepersongroups/' + person_group_id + '/training'
    print("endpoint:", endpoint)

    headers = {'Ocp-Apim-Subscription-Key': FACE_API_KEY}

    res = requests.get(
        face_endpoint + endpoint,
        headers=headers,
    )
    data = res.json()
    return data
 LINE MessagingAPIでFlexMessageを送る
- FlexMessageとは2018/06/12に公開された新機能で、HTMLに近い感覚で自由なレイアウトが可能なメッセージタイプです
- 参考:【LINE】「Messaging API」の新しいメッセージタイプとして、 画像やボタンなどを自由にレイアウトが可能な「Flex Message」を公開
- FlexMessageSimulator では次の画像のようにFlexMessagemのテンプレートを作成することができます
- ソースを見る限り、python用SDK line-bot-sdk-python も対応しているようですが、READMEに説明がなく、FlexMessageの中身を様々なmodelで作成しないといけないので、リファレンスにあるように普通にdict型をjsonに変換して送りつけた方が楽だと思います
-
'text': ""など空文字などを送りつけるとエラーになってしまうので、その辺の処理だけ注意が必要です - 参考:LINE MessagingAPI リファレンス FlexMessage
{
  "type": "bubble",
  "hero": {
    "type": "image",
    "url": "https://pics.dmm.co.jp/digital/video/84mkmp00215/84mkmp00215pl.jpg",
    "size": "full",
    "aspectRatio": "20:13",
    "aspectMode": "cover",
    "action": {
      "type": "uri",
      "uri": "http://linecorp.com/"
    }
  },
  "body": {
    "type": "box",
    "layout": "vertical",
    "contents": [
      {
        "type": "text",
        "text": "成瀬心美〜10thAnniversary SpecialSuperBest〜",
        "weight": "bold",
        "wrap": true,
        "size": "md"
      },
      {
        "type": "box",
        "layout": "baseline",
        "margin": "md",
        "contents": [
          {
            "type": "icon",
            "size": "sm",
            "url": "https://scdn.line-apps.com/n/channel_devcenter/img/fx/review_gold_star_28.png"
          },
          {
            "type": "icon",
            "size": "sm",
            "url": "https://scdn.line-apps.com/n/channel_devcenter/img/fx/review_gold_star_28.png"
          },
          {
            "type": "icon",
            "size": "sm",
            "url": "https://scdn.line-apps.com/n/channel_devcenter/img/fx/review_gold_star_28.png"
          },
          {
            "type": "icon",
            "size": "sm",
            "url": "https://scdn.line-apps.com/n/channel_devcenter/img/fx/review_gold_star_28.png"
          },
          {
            "type": "icon",
            "size": "sm",
            "url": "https://scdn.line-apps.com/n/channel_devcenter/img/fx/review_gray_star_28.png"
          },
          {
            "type": "text",
            "text": "4.0",
            "size": "sm",
            "color": "#999999",
            "margin": "md",
            "flex": 0
          }
        ]
      },
      {
        "type": "box",
        "layout": "vertical",
        "margin": "lg",
        "spacing": "sm",
        "contents": [
          {
            "type": "box",
            "layout": "baseline",
            "spacing": "sm",
            "contents": [
              {
                "type": "text",
                "text": "ジャンル",
                "color": "#aaaaaa",
                "size": "sm",
                "flex": 1
              },
              {
                "type": "text",
                "text": "単体作品\n4時間以上作品\n女優ベスト・総集編\n巨乳\n中出し\n美少女\nハイビジョン",
                "wrap": true,
                "color": "#666666",
                "size": "sm",
                "flex": 3
              }
            ]
          },
          {
            "type": "box",
            "layout": "baseline",
            "spacing": "sm",
            "contents": [
              {
                "type": "text",
                "text": "女優",
                "color": "#aaaaaa",
                "size": "sm",
                "flex": 1
              },
              {
                "type": "text",
                "text": "成瀬心美(ここみ)",
                "wrap": true,
                "color": "#666666",
                "size": "sm",
                "flex": 3
              }
            ]
          },
          {
            "type": "box",
            "layout": "baseline",
            "spacing": "sm",
            "contents": [
              {
                "type": "text",
                "text": "メーカー",
                "color": "#aaaaaa",
                "size": "sm",
                "flex": 1
              },
              {
                "type": "text",
                "text": "ケイ・エム・プロデュース",
                "wrap": true,
                "color": "#666666",
                "size": "sm",
                "flex": 3
              }
            ]
          },
          {
            "type": "box",
            "layout": "baseline",
            "spacing": "sm",
            "contents": [
              {
                "type": "text",
                "text": "レーベル",
                "color": "#aaaaaa",
                "size": "sm",
                "flex": 1
              },
              {
                "type": "text",
                "text": "million(ミリオン)",
                "wrap": true,
                "color": "#666666",
                "size": "sm",
                "flex": 3
              }
            ]
          },
          {
            "type": "box",
            "layout": "baseline",
            "spacing": "sm",
            "contents": [
              {
                "type": "text",
                "text": "監督",
                "color": "#aaaaaa",
                "size": "sm",
                "flex": 1
              },
              {
                "type": "text",
                "text": "KMP2",
                "wrap": true,
                "color": "#666666",
                "size": "sm",
                "flex": 3
              }
            ]
          },
          {
            "type": "box",
            "layout": "baseline",
            "spacing": "sm",
            "contents": [
              {
                "type": "text",
                "text": "発売日",
                "color": "#aaaaaa",
                "size": "sm",
                "flex": 1
              },
              {
                "type": "text",
                "text": "2018-02-09 10:00:16",
                "wrap": true,
                "color": "#666666",
                "size": "sm",
                "flex": 3
              }
            ]
          },
          {
            "type": "box",
            "layout": "baseline",
            "spacing": "sm",
            "contents": [
              {
                "type": "text",
                "text": "サンプル",
                "color": "#aaaaaa",
                "size": "sm",
                "flex": 1
              },
              {
                "type": "text",
                "text": "あり",
                "wrap": true,
                "color": "#666666",
                "size": "sm",
                "flex": 3
              }
            ]
          }
        ]
      }
    ]
  },
  "footer": {
    "type": "box",
    "layout": "vertical",
    "spacing": "md",
    "contents": [
      {
        "type": "button",
        "style": "primary",
        "color": "#c10100",
        "action": {
          "type": "uri",
          "label": "詳細を見る",
          "uri": "https://linecorp.com"
        }
      }
    ]
  }
}
 LINEのクイックリプライを追加する
- クイックリプライとは2018/07/31に公開された新機能で、画面下に最大13個クイックリプライボタンを表示することで手軽に返信ができるような機能です
- 参考:【LINE】「Messaging API」の新機能、「クイックリプライ」を公開 返答内容を選択・タップするだけで、メッセージへ返信
- 実装は簡単で、これまでのメッセージに
"quickReply": {"items": []}みたいに要素を追加するだけです - 参考:LINE MessagingAPI クイックリプライを使う

 最後に
最後に
- 意見・要望などございましたらコメントいただけると嬉しいです
- 「動画を検索」などのボタンからDMMのサイトにアクセスすると雀の涙程度のアフィリエイト収入が発生しますが、FaceAPIの利用料の方が高くなりそうです・・・
- 学習用の画像データは随時追加していきます
- Twitterのbotとしても作りたいのですが、TwitterAPIが厳格化されて審査が必要となったため保留中です
- 参考:Twitter、API使用条件を厳格化 「厳しすぎる」開発者から悲鳴も

