 はじめに
はじめに
- フロントエンドで利用されているフレームワークでReactがjQueryを抜いて1位になったというアンケート結果が公表されました
調査:フロントエンドまわりのアンケート調査結果 2019年版。Sass の利用率77%。JSはReactがjQueryを上回っています。英語ですが要チェック! https://t.co/hs4h5TCF2e
— Webクリエイター ボックス (@webcreatorbox) November 14, 2019
Q. Which JavaScript libraries and/or frameworks do you currently use most frequently on projects?

- 自分も普段からReactを使用しているのですが、日本ではReactに関するイベントも少なく、イマイチ盛り上がりに欠けるような気がしています
- Vueは Vue Fes Japan を開催していて羨ましい・・・(今年は台風で中止でしたが)
- 確かに、自分も初めてReactに触れた時はこれまでのJavaScriptと概念も書き方も違いすぎて困惑しましたし、次々と新しい機能がリリースされるのでキャッチアップが大変な面もありました
- それでも、慣れてしまえばサクサクComponentを作成できますし、パフォーマンスの面でも優れていますし、React Nativeでネイティブアプリも作ることもできます
- 日本でもっとReactユーザーが増えて欲しい・盛り上がって欲しいという願いも込めて、実践的なチュートリアルっぽいものを作ってみました
作るもの
- Google Books のAPIを使って本の検索アプリを作る
主な技術・ライブラリなど
- React (Hooks)
- Redux (Hooks)
- TypeScript
- styled-components
- react-router
- immutable.js
- redux-saga
- axios
- eslint
- semantic-ui
- yarn
手順

yarn のインストール
- パッケージマネージャーについて、
npmがデフォルトで入ってますがyarnの方が高速で安定性があるのでyarnを使用しています - https://yarnpkg.com/lang/ja/docs/install/
terminal
brew install yarn
create react-appでアプリの基盤を作成
-
react-tutorialという名前のアプリを作成します -
--typescriptのオプションをつけることでTypeScriptでアプリを作成できます - https://create-react-app.dev/docs/getting-started/
- nodeのversionが古いとエラーになるので、その場合は
nodebrewなどで新しいversionにしておきましょう
terminal
yarn create react-app react-tutorial --typescript
- これだけでアプリを動かす環境が整いました
アプリを起動する
- 作成したアプリのディレクトリに移動して
yarn startで起動します - 他のスクリプトについても自動で生成された
READMEに説明があるので確認しておきましょう
terminal
cd react-tutorial
yarn start
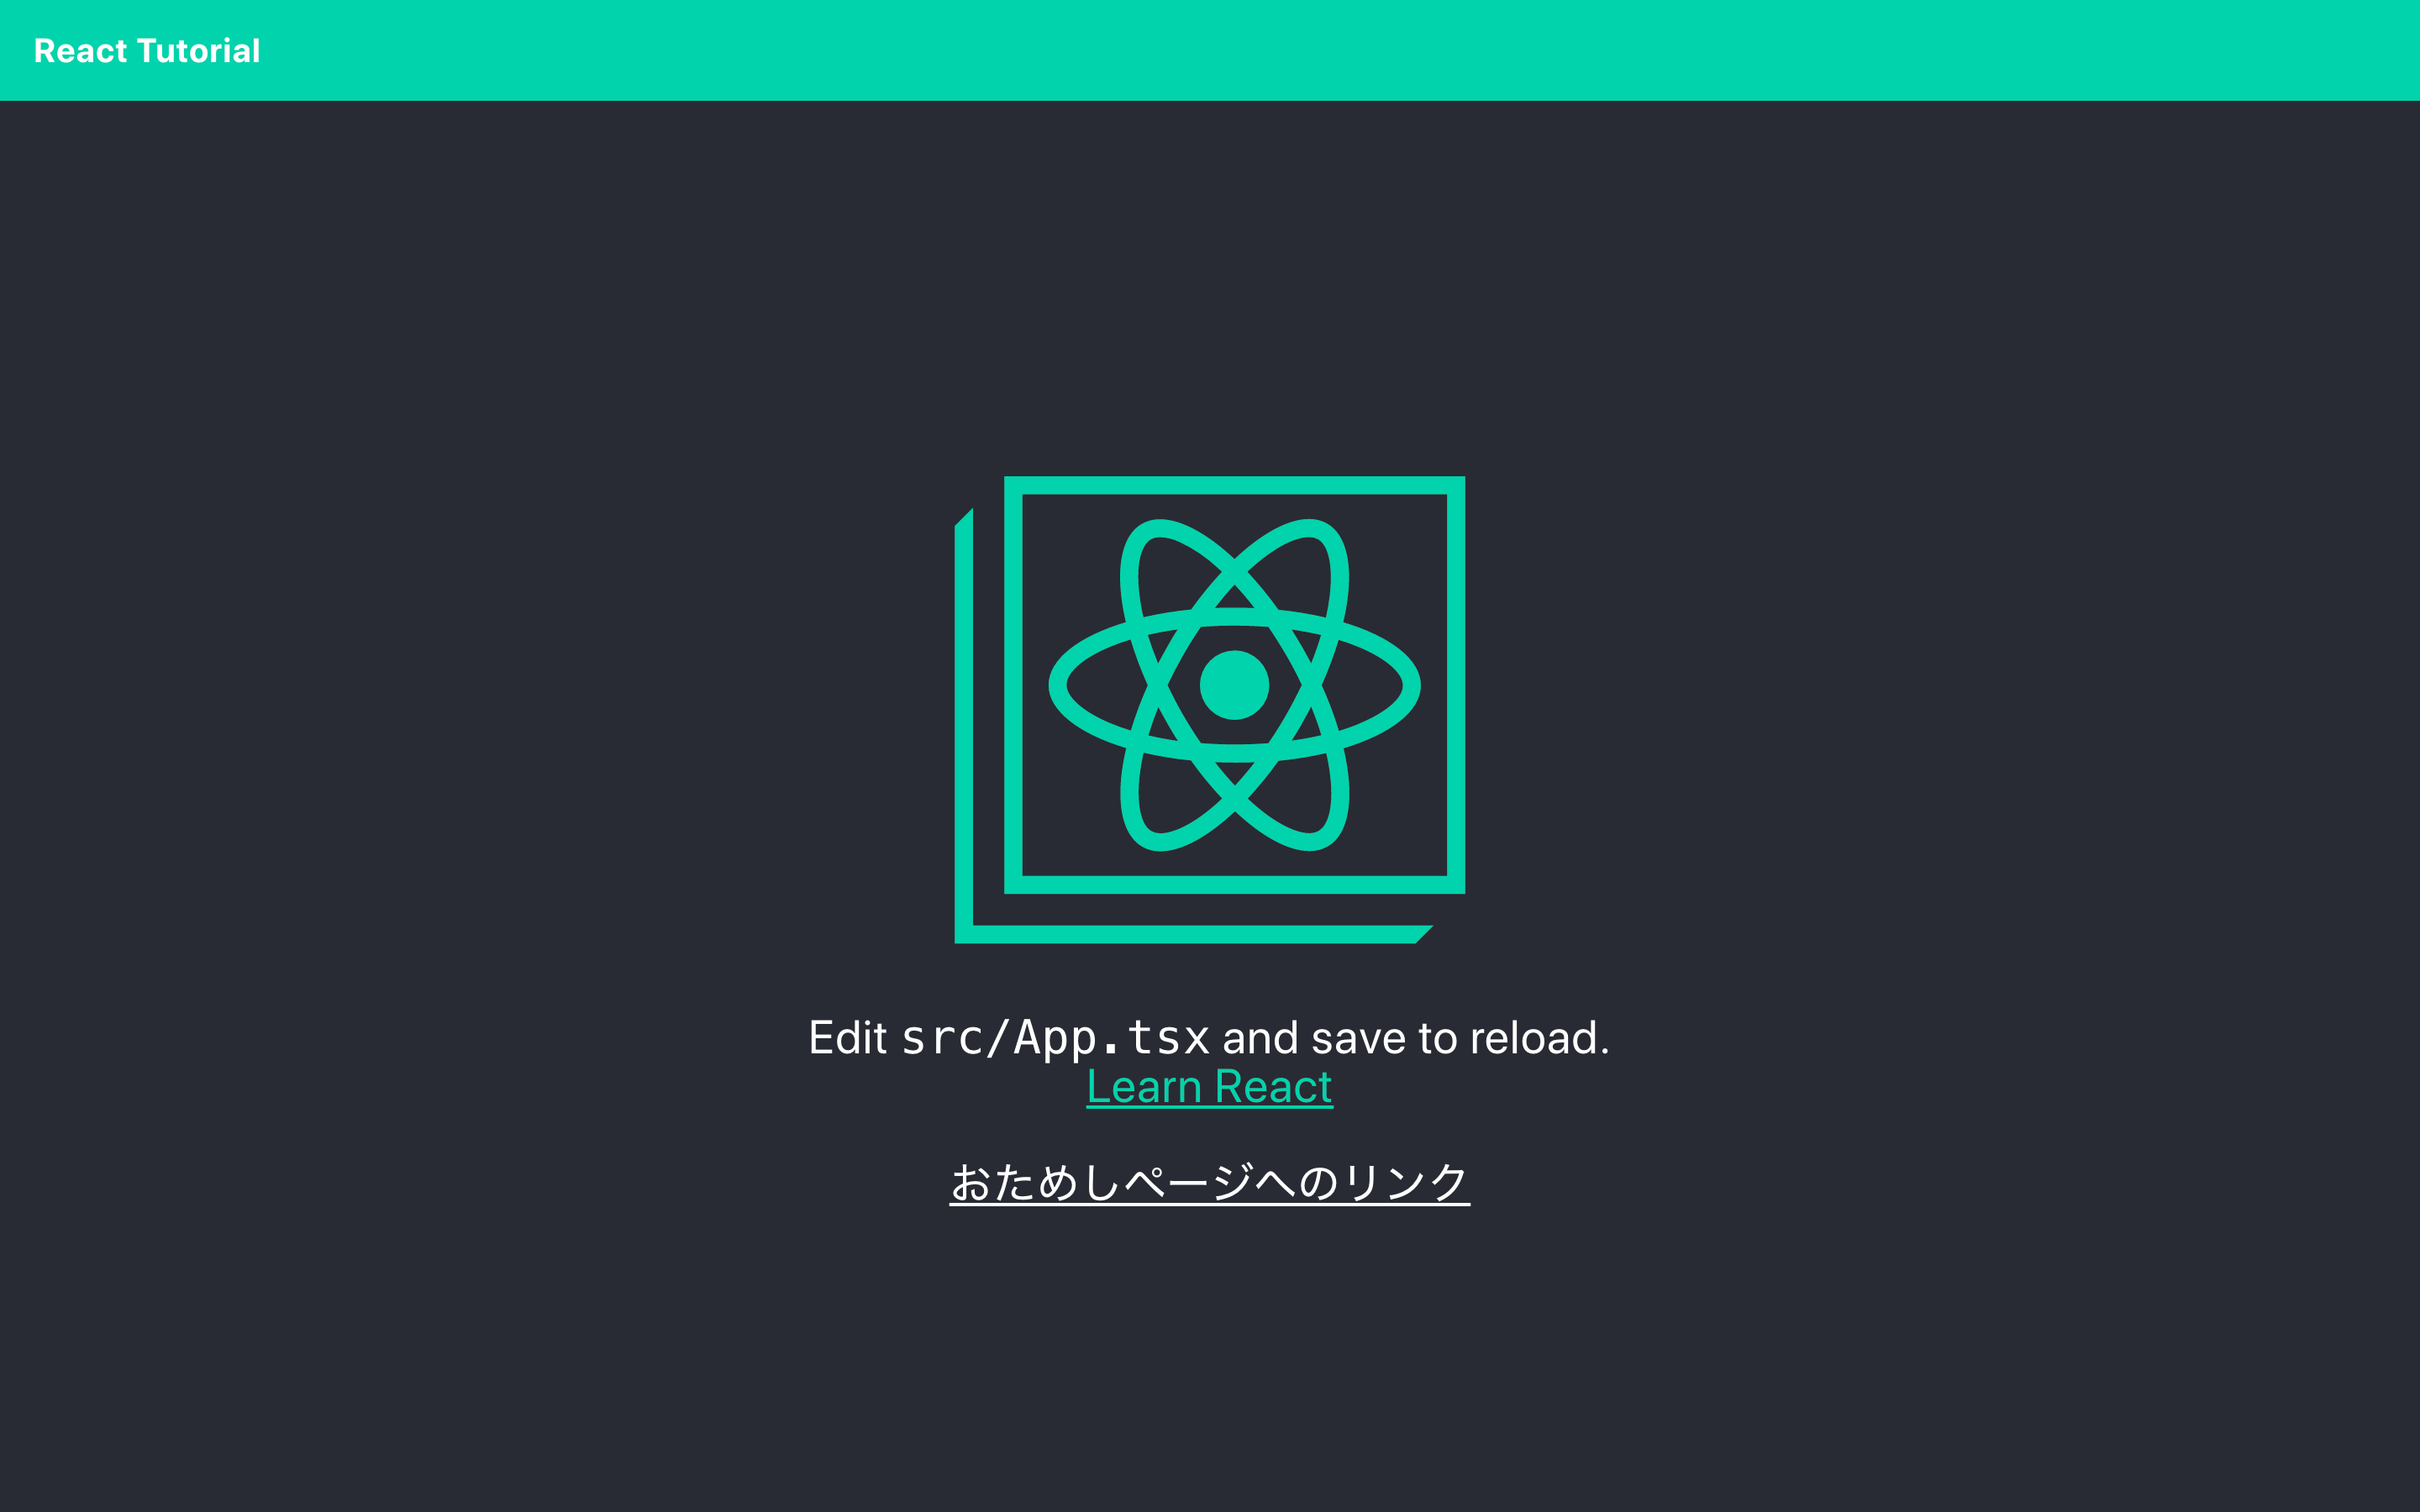
- デフォルトだと http://localhost:3000 で次のような画面が表示されるはずです

- この状態が次のコミットになります
eslint でコードの書き方を統一する
- 先に
eslintでコードの静的チェックをすることで不用意なエラーや書き方のズレを防ぐようにしておくと便利です - TypeScript用の
tslintもありますが、今後はeslintに統合されていくようなのでeslintだけ使用しています -
package.jsonのdevDependenciesに以下を追記し、yarn installを実行して必要なライブラリをinstallします
package.json
{

  ...

  "devDependencies": {
    "@typescript-eslint/eslint-plugin": "^2.0.0",
    "@typescript-eslint/parser": "^2.0.0",
    "eslint": "^6.1.0",
    "eslint-config-prettier": "^6.0.0",
    "eslint-config-react": "^1.1.7",
    "eslint-import-resolver-webpack": "^0.11.1",
    "eslint-plugin-import": "^2.18.2",
    "eslint-plugin-prettier": "^3.1.0",
    "eslint-plugin-react": "^7.14.3",
    "prettier": "^1.18.2"
  }

  ...

}
-
.eslintrc.jsonを作成してeslintの設定を記述します -
.eslintrc.jsonは好きなようにカスタマイズできますが、次に自分の例を載せておきます- 基本的にはrecommendedの設定をそのまま使用しています
- React, TypeScript, Prettier を併用できるようにpluginを設定しています
- また、importのソートも統一したかったので
eslint-plugin-importも追加しています - TypeScriptを使用している場合はPropTypesがほぼ不要になるため、今回は
"ignoreDeclarationSort": trueとしています
.eslintrc.json
{
  "extends": [
    "eslint:recommended",
    "plugin:react/recommended",
    "plugin:@typescript-eslint/recommended",
    "prettier/@typescript-eslint",
    "plugin:prettier/recommended",
    "plugin:import/errors",
    "plugin:import/warnings",
    "plugin:import/typescript"
  ],
  "plugins": ["react", "@typescript-eslint", "prettier"],
  "env": {
    "node": true,
    "browser": true,
    "jest": true,
    "es6": true
  },
  "rules": {
    "sort-imports": ["error", { "ignoreDeclarationSort": true }],
    "import/order": ["error", { "newlines-between": "always" }],
    "prettier/prettier": [
      "error",
      {
        "singleQuote": true,
        "semi": true,
        "printWidth": 120,
        "trailingComma": "all",
        "jsxSingleQuote": true
      }
    ]
  },
  "parser": "@typescript-eslint/parser",
  "settings": {
    "react": {
      "version": "detect"
    },
    "react/prop-types": ["error", { "skipUndeclared": true }],
    "import/ignore": ["node_modules"],
    "import/resolver": {
      "node": { "moduleDirectory": ["node_modules", "src"] }
    }
  }
}
- さらに、
scriptsにlint用の記述を追加しておくとyarn lint:fixのように呼び出せて便利です
package.json
{

  ...

  "scripts": {
    "lint": "eslint . --ext .js,.jsx,.ts,.tsx",
    "lint:fix": "yarn lint --fix"
  },

  ...

}
-
lintに対応したのが次のコミットになります
-
VSCodeを使用している場合は
.vscode/setting.jsonに次のようにワークスペースの設定を追加しておくと捗ります- VSCodeデフォルトのフォーマッターとバッティングしてしまうので
"editor.formatOnSave": falseにしておく必要があります
- VSCodeデフォルトのフォーマッターとバッティングしてしまうので
.vscode/setting.json
{
  "editor.rulers": [120],
  "files.trimTrailingWhitespace": true,
  "eslint.enable": true,
  "editor.renderWhitespace": "all",
  "css.lint.ieHack": "warning",
  "javascript.implicitProjectConfig.checkJs": true,
  "typescript.updateImportsOnFileMove.enabled": "always",
  "eslint.validate": [
    "javascript",
    "javascriptreact",
    {
      "language": "typescript",
      "autoFix": true
    },
    {
      "language": "typescriptreact",
      "autoFix": true
    }
  ],
  "editor.formatOnSave": false,
  "eslint.autoFixOnSave": true
}
スタイルを styled-components で記述する
-
styled-componentsを導入することで、class名でスタイルのマッピングをすることを辞め、コンポーネントに直感的にスタイルを適用することができるようになります - https://www.styled-components.com/
- ライブラリに型定義ファイルが提供されている場合、
@types/XXXをinstallできます - 型定義ファイルのように開発環境のみで使用するライブラリは
devDependenciesに記述するため、-Dオプションが必要です
terminal
yarn add styled-components
yarn add -D @types/styled-components
- 試しに、既存の
.cssファイルを置き換えてみます - VSCodeをご利用の方は次のようなextensionもあるのでオススメです
- https://marketplace.visualstudio.com/items?itemName=jpoissonnier.vscode-styled-components
- グローバル(アプリ全体)に適用させるスタイルは
createGlobalStyleで定義します -
<>は<React.Fragment>の省略で、複数の要素を返す場合に1つにまとめる時に使用します - https://ja.reactjs.org/docs/fragments.html
App.tsx
import React from 'react';
import styled, { createGlobalStyle } from 'styled-components';

import logo from './logo.svg';

const App: React.FC = () => {
  return (
    <>
      <GlobalStyle />

      <Wrapper>
        <Header>
          <Logo src={logo} className='App-logo' alt='logo' />
          <Text>
            Edit <CodeText>src/App.tsx</CodeText> and save to reload.
          </Text>
          <OfficialLink className='App-link' href='https://reactjs.org' target='_blank' rel='noopener noreferrer'>
            Learn React
          </OfficialLink>
        </Header>
      </Wrapper>
    </>
  );
};

const GlobalStyle = createGlobalStyle`
  body {
    margin: 0;
    font-family: -apple-system, BlinkMacSystemFont, 'Segoe UI', 'Roboto', 'Oxygen',
      'Ubuntu', 'Cantarell', 'Fira Sans', 'Droid Sans', 'Helvetica Neue',
      sans-serif;
    -webkit-font-smoothing: antialiased;
    -moz-osx-font-smoothing: grayscale;
  }

  code {
    font-family: source-code-pro, Menlo, Monaco, Consolas, 'Courier New',
      monospace;
  }
`;

const Wrapper = styled.div`
  text-align: center;
`;

const Header = styled.header`
  background-color: #282c34;
  min-height: 100vh;
  display: flex;
  flex-direction: column;
  align-items: center;
  justify-content: center;
  font-size: calc(10px + 2vmin);
  color: white;
`;

const Logo = styled.img`
  height: 40vmin;
`;

const OfficialLink = styled.a`
  color: #09d3ac;
`;

const Text = styled.p``;

const CodeText = styled.code``;

export default App;
-
styled-componsntsに対応したのが次のコミットになります
新しいルーティングにコンポーネントを追加する
-
react-routerを使用することでURLによって表示するコンポーネントを切り替えるルーティングを実装することができます -
react-routerはreact-router-domに含まれているので、react-router-domのみ追加すれば大丈夫です
yarn add react-router-dom
yarn add -D @types/react-router-dom
- 先に新しいルーティングで表示する仮のOtameshiコンポーネントを作成しておきます
Otameshi.tsx
import React from 'react';
import styled from 'styled-components';

export const Otameshi: React.FC = () => {
  return <Wrapper>Otameshi</Wrapper>;
};

const Wrapper = styled.div``;
-
routes.tsxを作成してルーティングを定義します -
Switchを使用するとpathが一番最初に合致したRouteのみ表示させることができます - 一番最後に
Redirectを記述することで、どれにも合致しなかった時にtoにリダイレクトさせることができます -
Redirectの代わりに404ページなどを表示させたい場合は、pathの指定のないRouteを記述すればOKです
routes.tsx
import React from 'react';
import { Switch, Route, Redirect } from 'react-router-dom';

import App from 'App';
import { Otameshi } from 'Otameshi';

export const Path = {
  app: '/',
  otameshi: '/otameshi',
};

const routes = (
  <Switch>
    <Route exact path={Path.app} component={App} />
    <Route exact path={Path.otameshi} component={Otameshi} />
    <Redirect to={Path.app} />
  </Switch>
);

export default routes;
- これを
ReactDOM.renderで描画するように書き換えます -
Routerにはブラウザの履歴を記録するhistoryが必要なので、createBrowserHistoryで生成しています
index.tsx
import React from 'react';
import ReactDOM from 'react-dom';
import { createBrowserHistory } from 'history';
import { Router } from 'react-router-dom';

import routes from 'routes';
import * as serviceWorker from './serviceWorker';

const history = createBrowserHistory();

ReactDOM.render(<Router history={history}>{routes}</Router>, document.getElementById('root'));

serviceWorker.unregister();
- これでrouterが適用されたので、 http://localhost:3000/otameshi にアクセスすると仮のOtameshiコンポーネントが表示されます
- http://localhost:3000/otameshiiii など定義していないURLアクセスするとリダイレクトされることも確認できます
- さらに、Appコンポーネントにこのpathへのリンクを作ってみましょう
- styled-componentsでは
styled(XXX)のようにコンポーネントのスタイルを拡張することができます - ここでは、
styled(Link)としてLinkコンポーネントを拡張してスタイルを当てています
App.tsx
import React from 'react';
import styled, { createGlobalStyle } from 'styled-components';
import { Link } from 'react-router-dom';

import logo from './logo.svg';
import { Path } from 'routes';

const App: React.FC = () => {
  return (
    <>
      <GlobalStyle />

      <Wrapper>
        <Header>
          <Logo src={logo} className='App-logo' alt='logo' />
          <Text>
            Edit <CodeText>src/App.tsx</CodeText> and save to reload.
          </Text>
          <OfficialLink className='App-link' href='https://reactjs.org' target='_blank' rel='noopener noreferrer'>
            Learn React
          </OfficialLink>
          <OtameshiLink to={Path.otameshi}>おためしページへのリンク</OtameshiLink>
        </Header>
      </Wrapper>
    </>
  );
};


...

const OtameshiLink = styled(Link)`
  color: #fff;
  margin-top: 30px;
`;

...
- 上記の対応は次のコミットを参考にしてみてください
React Hooksで状態管理を行う
- React Hooksを使用するとFunctional Componentでもstate(状態)を管理できるようになります
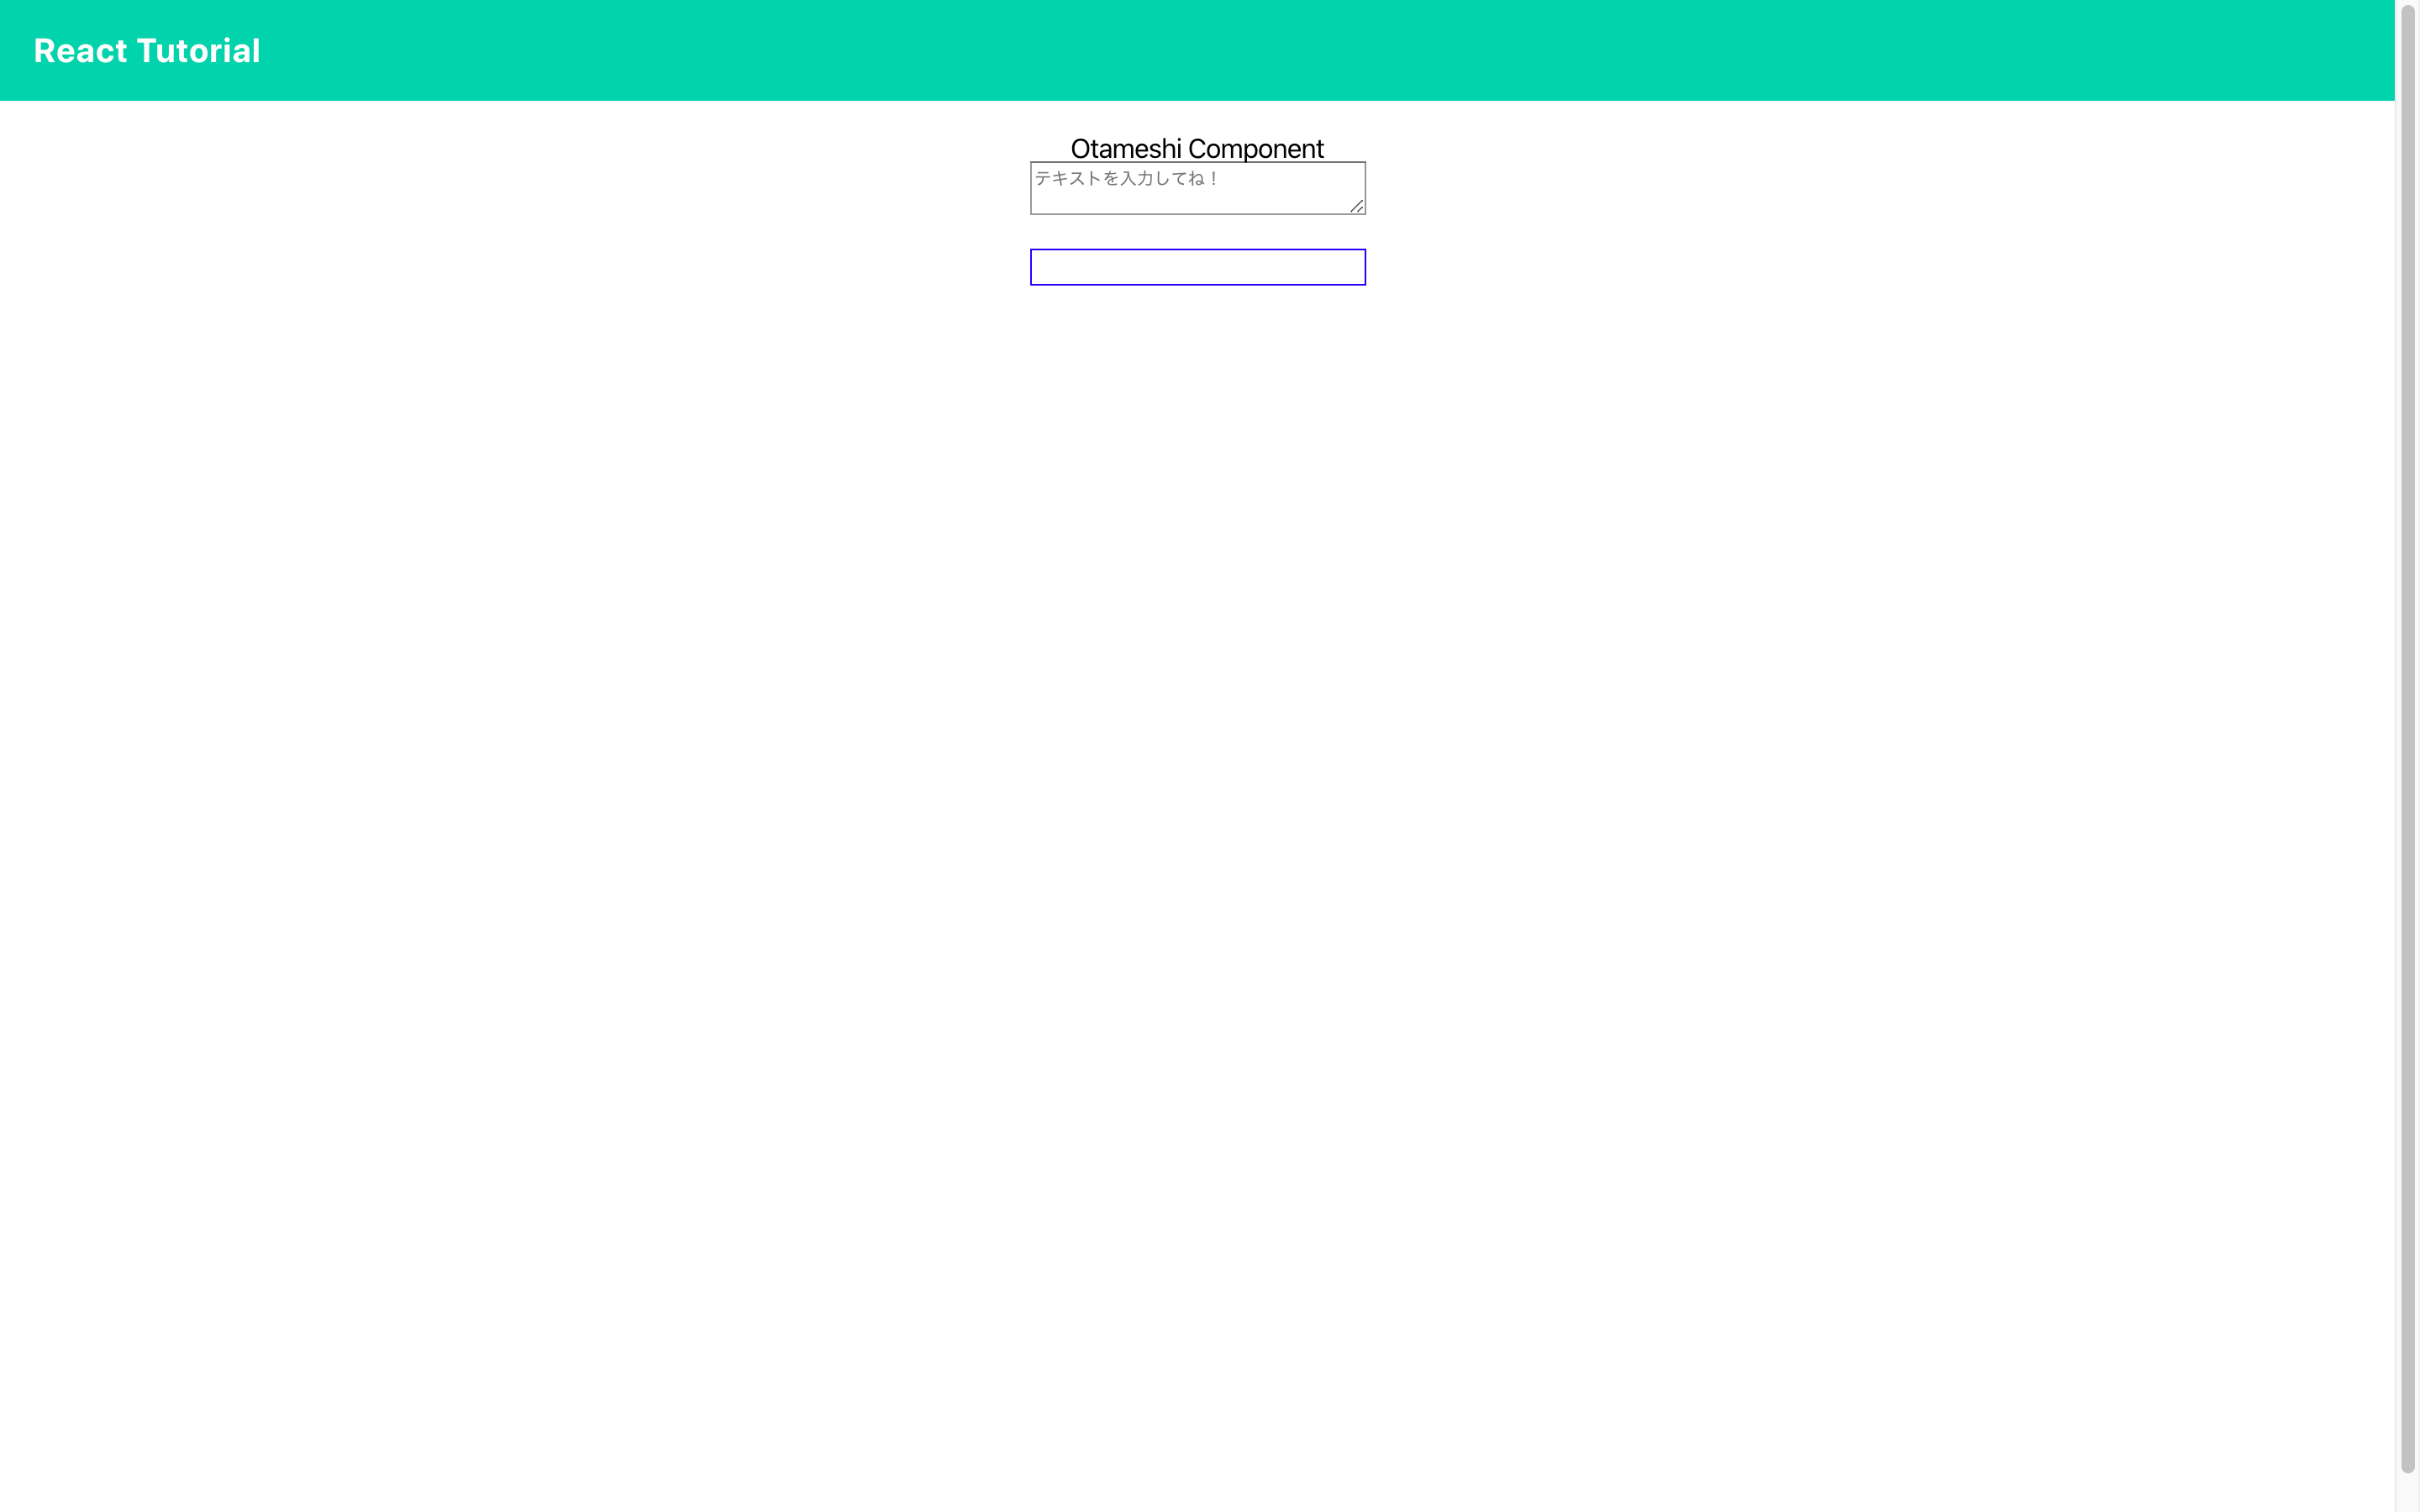
- 試しに、入力したテキストを受け取って表示させてみましょう
-
useStateを使用する場合はconst [state名, stateを変更する関数名] = useState(初期値);のように定義します - テキストエリアに入力された時に
onChangeイベントが発火し、入力されたvalueをchangeTextに渡して更新しています - 公式の説明
Otameshi.tsx
import React, { useState } from 'react';
import styled from 'styled-components';

export const Otameshi: React.FC = () => {
  const [text, changeText] = useState('');
  return (
    <Wrapper>
      <Body>
        <Title>Otameshi Component</Title>

        <TextArea placeholder='テキストを入力してね!' onChange={(event): void => changeText(event.target.value)} />

        <TextResult>{text}</TextResult>
      </Body>
    </Wrapper>
  );
};

const Wrapper = styled.div`
  display: flex;
  justify-content: center;
`;

const Body = styled.div``;

const Title = styled.h1`
  text-align: center;
`;

const TextArea = styled.textarea`
  display: block;
  margin: 0 auto;
  box-sizing: border-box;
  width: 200px;
`;

const TextResult = styled.p`
  width: 200px;
  padding: 10px;
  margin: 20px auto;
  border: 1px solid blue;
  white-space: pre-wrap;
  box-sizing: border-box;
`;

- 上記の対応は次のコミットを参考にしてみてください
Layoutコンポーネントを作成する
- HeaderやFoooterなど複数のページで表示したい共通コンポーネントがある場合、別々に呼び出すのは面倒です
- そこで、react-routerの仕組みを使って複数のコンポーネントに共通コンポーネントを当てることができます
- ここでは全てのコンポーネントの枠組みとなるLayoutコンポーネントを作成してみましょう
- Globalスタイルなどもここに移植しましょう
- childrenはコンポーネントの子要素が渡ってきます
Layout.tsx
import React from 'react';
import styled, { createGlobalStyle } from 'styled-components';
import { Reset } from 'styled-reset';

export const Layout: React.FC = ({ children }) => {
  return (
    <>
      <Reset />
      <GlobalStyle />

      <Wrapper>
        <Header>React Tutorial</Header>
        <Body>{children}</Body>
      </Wrapper>
    </>
  );
};

const GlobalStyle = createGlobalStyle`
  body {
    margin: 0;
    font-family: -apple-system, BlinkMacSystemFont, 'Segoe UI', 'Roboto', 'Oxygen',
      'Ubuntu', 'Cantarell', 'Fira Sans', 'Droid Sans', 'Helvetica Neue',
      sans-serif;
    -webkit-font-smoothing: antialiased;
    -moz-osx-font-smoothing: grayscale;
  }

  code {
    font-family: source-code-pro, Menlo, Monaco, Consolas, 'Courier New',
      monospace;
  }
`;

const Wrapper = styled.div`
  height: 100%;
`;

const Header = styled.div`
  display: flex;
  align-items: center;
  height: 60px;
  color: #fff;
  background-color: #09d3ac;
  font-size: 20px;
  font-weight: bold;
  padding: 0 20px;
`;

const Body = styled.div`
  height: calc(100vh - 60px);
`;
-
routes.tsxで<Switch>の親要素にLayoutを適用しましょう
routes.tsx
import React from 'react';
import { Redirect, Route, Switch } from 'react-router-dom';

import { Layout } from 'components/Layout';
import { App } from 'components/App';
import { Otameshi } from 'components/Otameshi';

export const Path = {
  app: '/',
  otameshi: '/otameshi',
};

const routes = (
  <Layout>
    <Switch>
      <Route exact path={Path.app} component={App} />
      <Route exact path={Path.otameshi} component={Otameshi} />
      <Redirect to={Path.app} />
    </Switch>
  </Layout>
);

export default routes;
- これで必ずLayoutコンポーネントを経由して子要素が呼ばれるようになりました
- App, Otameshi両方のコンポーネントにHeaderが表示されます
- 今回はここまでです!
今後の予定
↓次はこちら
React + Redux + TypeScript でモダンなwebアプリを作るチュートリアルを考えてみた②
- reduxの導入
- redux hooksでの状態管理
- redux-sagaでの非同期処理
- axiosでの通信処理
- immutable.jsでデータのモデル化