概要
前回の記事ではpropsについてまとめさせて頂きましたが、今回はpropsのように状態を管理する__『state』__についてまとめたいと思います!
前回の記事
Reactにおける『props』を理解しよう!
stateとは
ReactのComponentではComponentの内部で状態を持つことができます。この内部の状態のことを__『state』と言います。
propsは親のComponentから値を渡されたのに対して、stateはComponentの内部でのみ使用されるという点でpropsとは異なります。
またpropsは変更不可能な値なのに対して、『state』__は変更が可能です。
実際にコードを書いてみよう!
では、実際のコードではどのように__『state』__が使われているのか、入力した文字数を返すプログラムを例に見ていきましょう!
import React, {Component} from 'react';

const App = () => <Counter />;

class Counter extends Component {
  constructor(props) {
    super(props);
    this.state = {count: 0, textValue: 'initial value'};
  }

  handleTextChange(textValue) {
    this.setState({textValue});
  }

  handleCountChange(textLength) {
    this.setState({count: textLength});
  }

  render() {
    return (
      <React.Fragment>
        <div>文字数: {this.state.count}</div>
        <textarea
          type="text"
          onChange={e => this.handleTextChange(e.target.value)}
          onKeyUp={e => this.handleCountChange(e.target.value.length)}
        />
      </React.Fragment>
    );
  }
}

export default App;
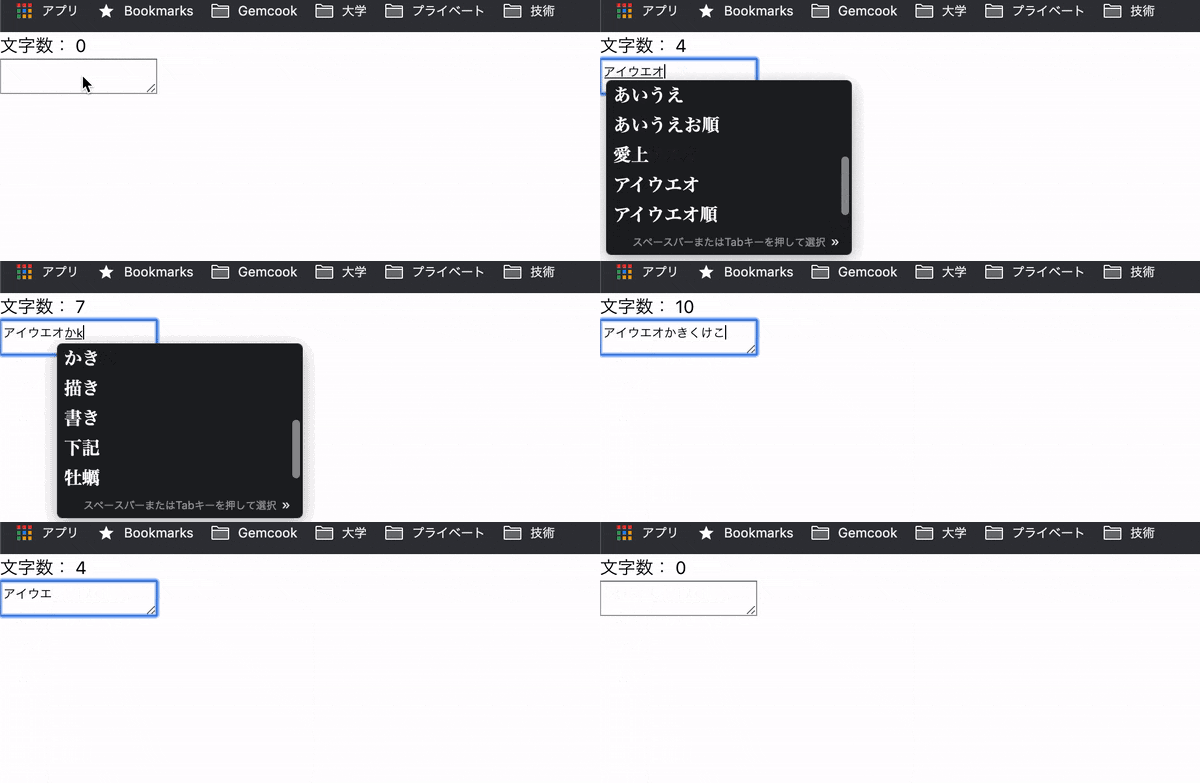
以上のコードを書くと以下のような機能を実装できます
解説
constructorはComponentの作成時に最初に実行されるメソッドです。その中でthis.state = {count: 0, textValue: 'initial value'};と書くことで、他のメソッドからthis.state.countなどのように__『state』__を取得することが可能です。
constructor(props) {
    super(props);
    this.state = {count: 0, textValue: 'initial value'};
  }
setStateは状態を変更したいときに使うお決まりのメソッドです。setStateを使うことで、その状態に関連するDOMが再描画されます。
  handleTextChange(textValue) {
    // this.setState({textValue: textValue}); 下記のように省略可
    this.setState({textValue});
  }

  handleCountChange(textLength) {
    this.setState({count: textLength});
  }
<textarea>の属性にonChangeとonKeyUpをつけることでtextareaの中身が変わった時と、キーボードの何れかのキーを放した時にそれぞれ__『state』__を変更するイベントが起こります!
そして、<div>文字数: {this.state.count}</div>と書いていることでtextareaの文字数をブラウザにレンダリングすることができます。
render() {
    return (
      <React.Fragment>
        <div>文字数: {this.state.count}</div>
        <textarea
          type="text"
          onChange={e => this.handleTextChange(e.target.value)}
          onKeyUp={e => this.handleCountChange(e.target.value.length)}
        />
      </React.Fragment>
    );
  }
最後に
次回からは__『Redux』__についてまとめていきたいと思います!
