前回は、サンプルとして Zoom Video SDK の最もシンプルな活用事例として 1 to 1 のビデオチャットをご紹介しました。今回は録画機能を紹介したいと思います。
録画機能のご利用には、Zoom Video SDK Recording のアドオンのご購入、または Zoom SDK Universal Credit のご購入が必要です。Zoom SDK Universal Credit の場合、Video SDK Universal Credit Plan で紹介されている各種機能
- Video SDK Sessionの従量課金時間
- オーディオカンファレンスの利用時間
- 翻訳・文字起こしの利用時間
- Cloud Room Connectorの利用時間
- Cloud Recordingの利用時間・ストレージ利用量
のどれに使うこともできる、共通のプリペイドクレジットとして利用することができます。詳細はお問い合わせください。
Cloud Recording の開始方法
Cloud Recording は、REST APIからもSDKからも呼び出すことができます。使い方も簡単です。
Video SDK for Web からの呼び出し
let cloudRecording = client.getRecordingClient()
cloudRecording.startCloudRecording()
最初にZoomVideoインスタンスの getRecordingClient を呼び出し、その中のメソッド startCloudRecording をコールするだけです。
REST API からの呼び出し
こちらもややこしいことはなく、
https://api.zoom.us/v2/videosdk/sessions/{sessionId}/events
このエンドポイント(Authorizationヘッダで必要なJWTトークンやsessionIdは事前に取得しておきます)に対して、
{
	"method": "recording.start"
}
をコールするだけです。
実装例
実際試してみましょう。
前回のファイルディレクトリを確認すると、以下のようになっていると思います。
.
├── .env
├── node_modules
│   ├── ...(たくさんのフォルダとファイル)
├── index.js
├── package.json
├── package-lock.json
├── public
│   ├── index.html
│   └── js
│       └── index.js
└── README
HTMLへのボタン追加
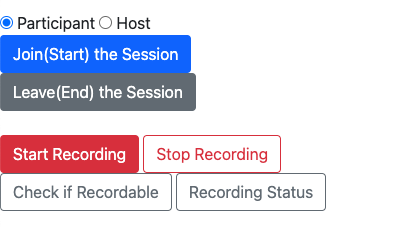
この、 public/index.htmlの、Join/Leaveボタンの下あたりに以下のようにボタンを追加します。
<button type="button" class="btn btn-danger" id="start-recording">Start Recording</button>
<button type="button" class="btn btn-outline-danger" id="stop-recording">Stop Recording</button>
<button type="button" class="btn btn-outline-secondary" id="ask-recordable">Check if Recordable</button>
<button type="button" class="btn btn-outline-secondary" id="status-recording">Recording Status</button>
Javascript イベントリスナの追加
さらに、追加したボタンのクリックイベントをJavascriptから扱えるよう、public/js/index.js に以下を追加します。
document.getElementById('start-recording').addEventListener('click',startRecording)
document.getElementById('stop-recording').addEventListener('click',stopRecording)
document.getElementById('ask-recordable').addEventListener('click',askRecordable)
document.getElementById('status-recording').addEventListener('click',statusRecording)
Javascript 関数追加
同じファイルに、Clickイベントが発生した際に実行する、SDKのメソッドをコールする部分を追加します。
// Start Recording
function startRecording() {
  let cloudRecording = client.getRecordingClient()
  cloudRecording.startCloudRecording()
  console.log(`Cloud Recording Started.`)
}
// Stop Recording
function stopRecording() {
  let cloudRecording = client.getRecordingClient()
  cloudRecording.stopCloudRecording()
  console.log(`Cloud Recording Stopped.`)
}
//  Recording Availability
function askRecordable() {
  let cloudRecording = client.getRecordingClient()
  let recordable = cloudRecording.canStartRecording()
  console.log(`This session is recordable: ${recordable}`)
}
//  Recording Status
function statusRecording() {
  let cloudRecording = client.getRecordingClient()
  let recordingStatus = cloudRecording.getCloudRecordingStatus()
  console.log(`Recording Status ${recordingStatus}`)
}
実装追加内容としては以上です。
実際に試す
前回同様、
node index.js
これで起動します。その後は、
http://localhost:3010
にブラウザでアクセスすると画面が表示されます。CORS の件、お忘れなく。
Joinボタンのすぐ上のRole選択で、Hostを選択してからJoinします。
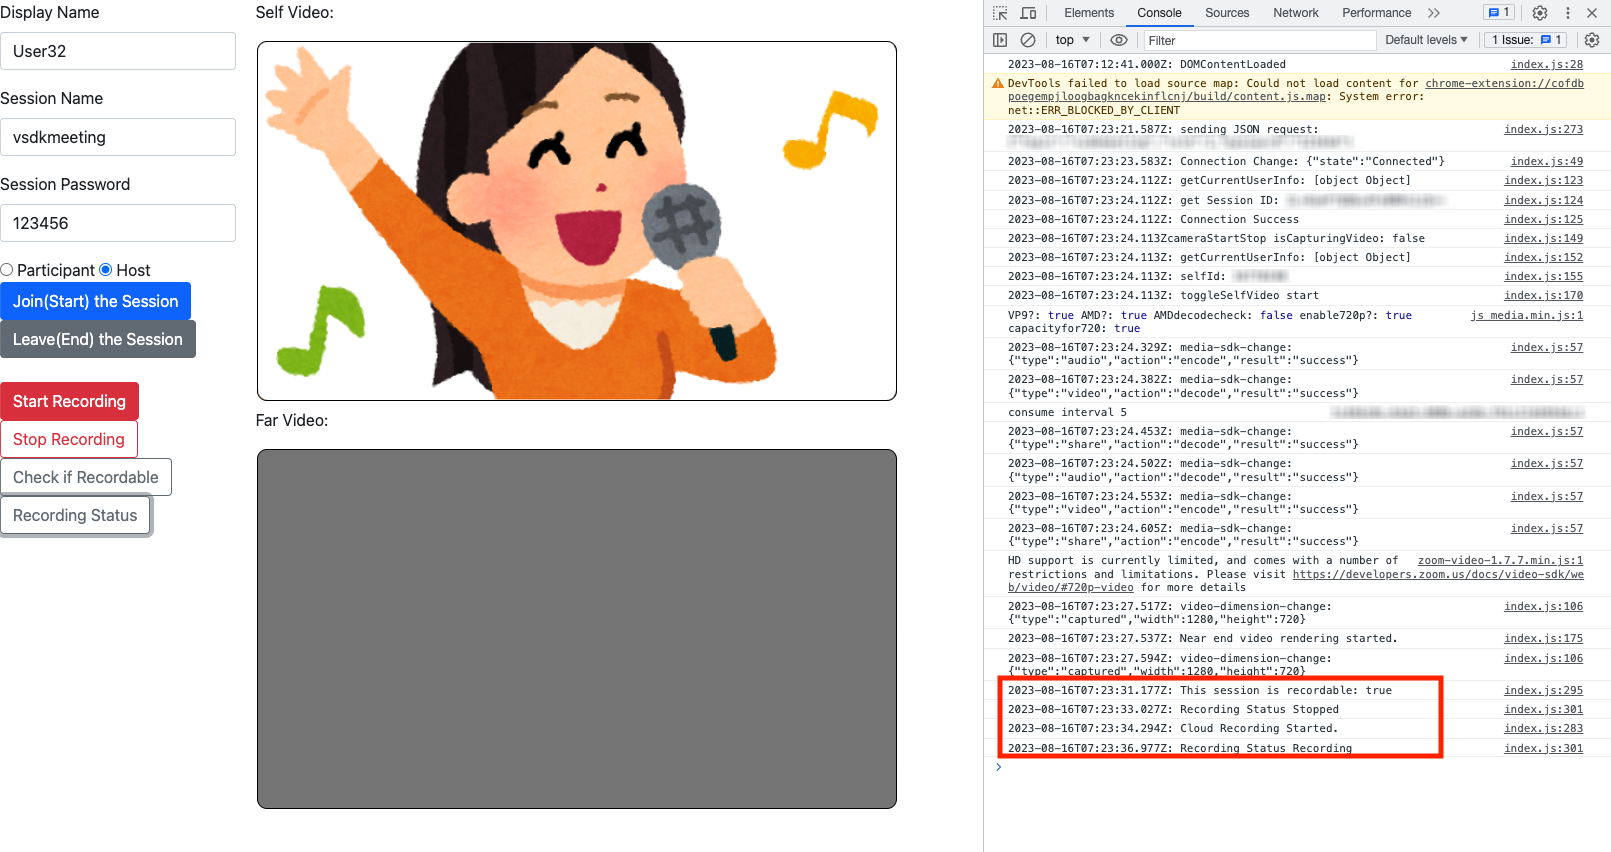
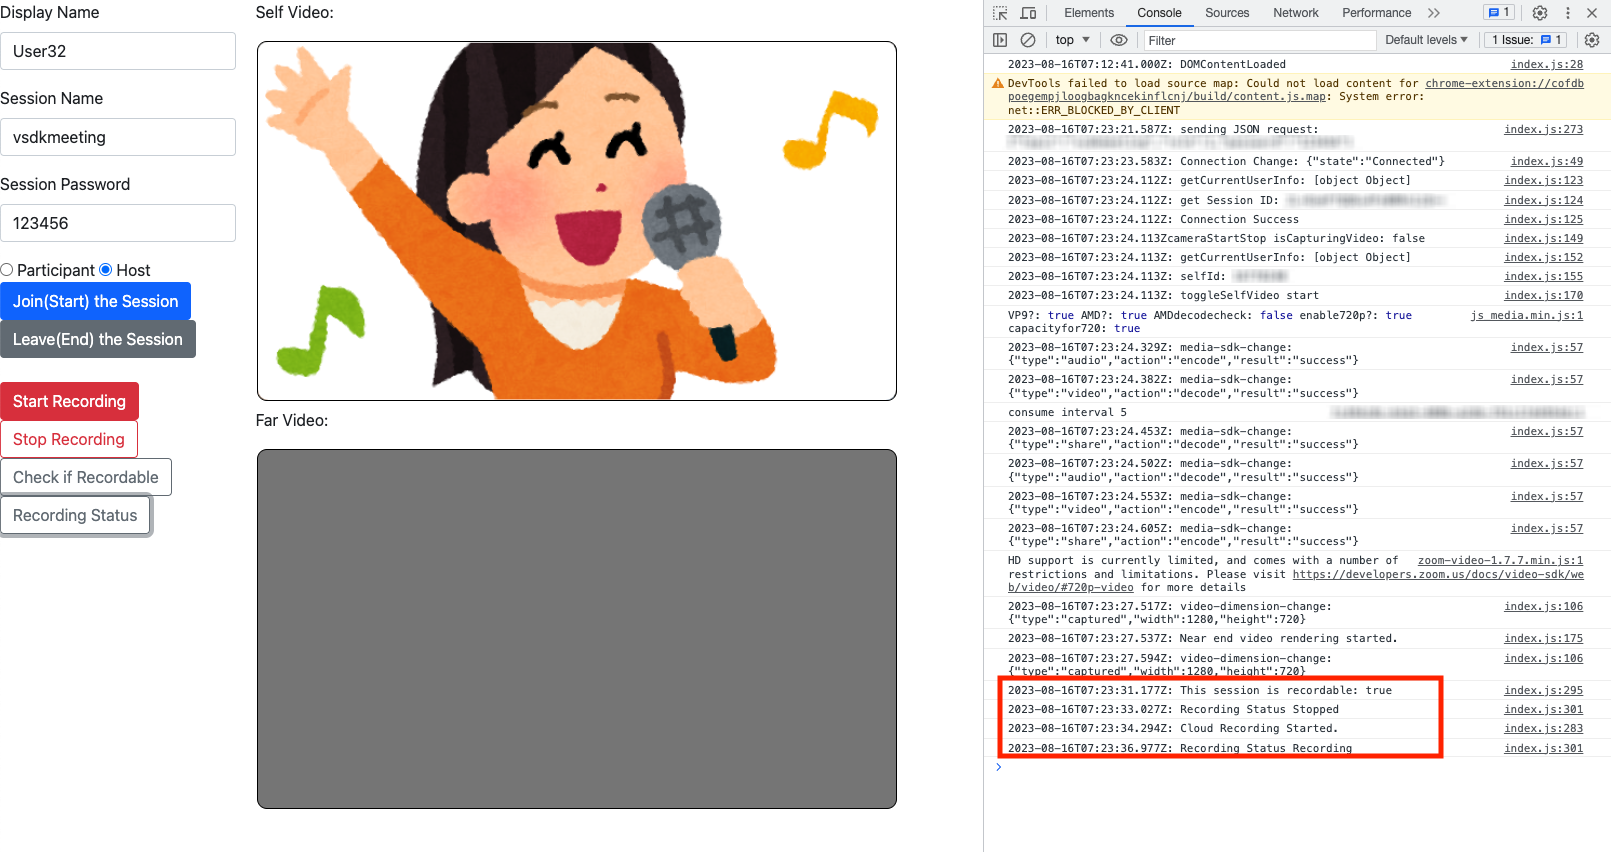
Joinが完了したら、コンソールログを確認しましょう。
この辺り参考にしてください。ここで、Check if Recordable をクリックすると、録画が可能かどうかが true or false で帰ってきます。(Trueなら録画可能)
Trueなら、Start Recording で録画を開始しましょう。
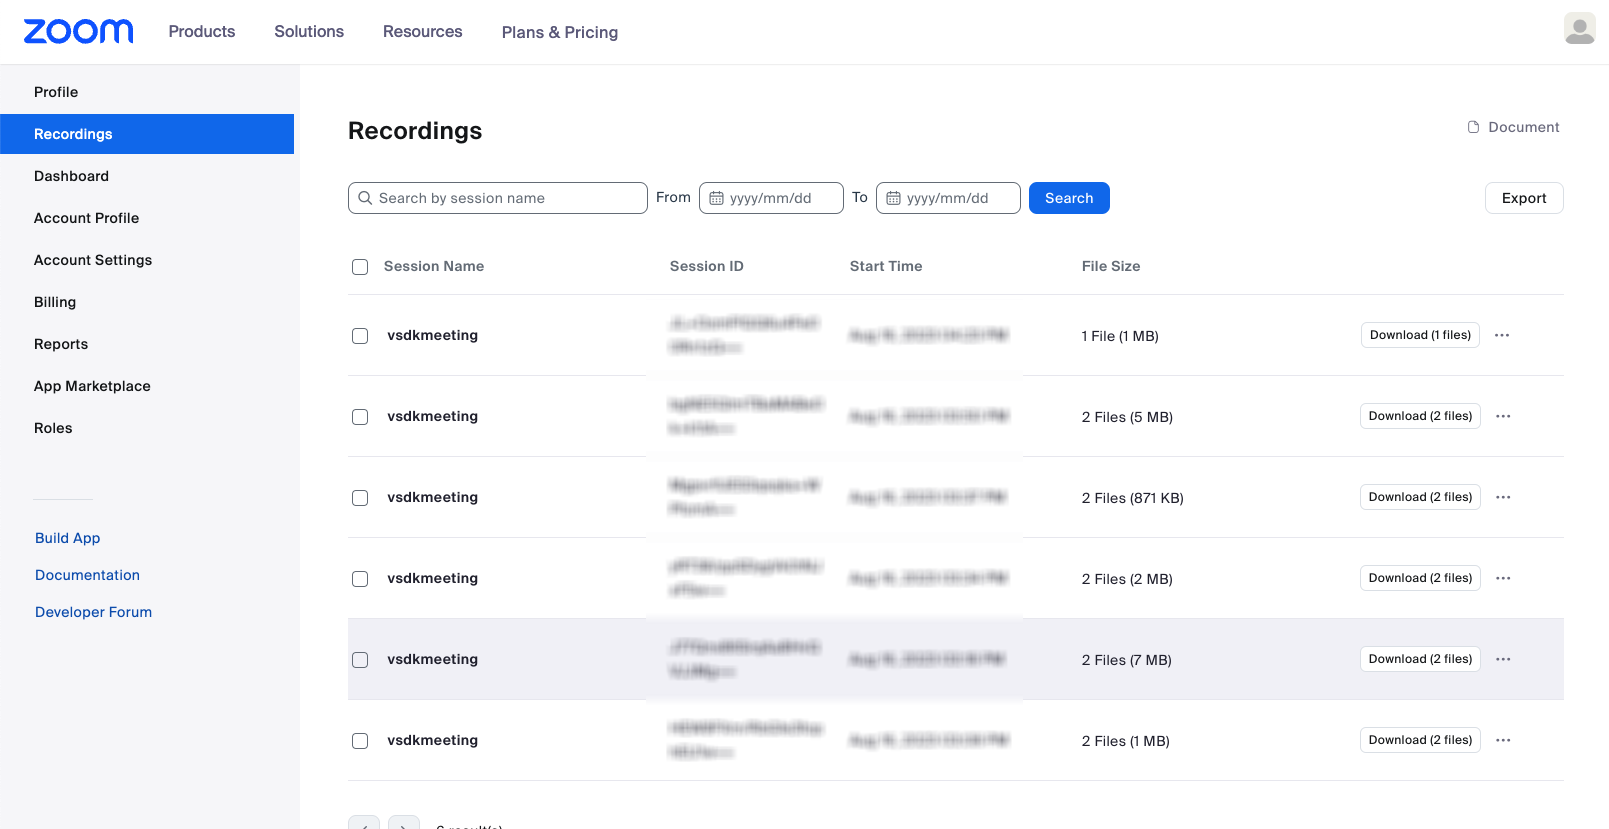
終了したら、ZoomのWebコンソール画面で、録画したデータを確認できます。
また録画形式については、同じくコンソール画面の Account Settings にある、Recordingの設定にて変更が可能です。こちらも参照ください。
以上です。ぜひお試しください。


