概要
ServiceNowのアプリケーション開発は、Gitでソースコードを管理することができる。
本記事は、ServiceNowとGitHubとの連携方法について記す。
GitHubアカウントの登録
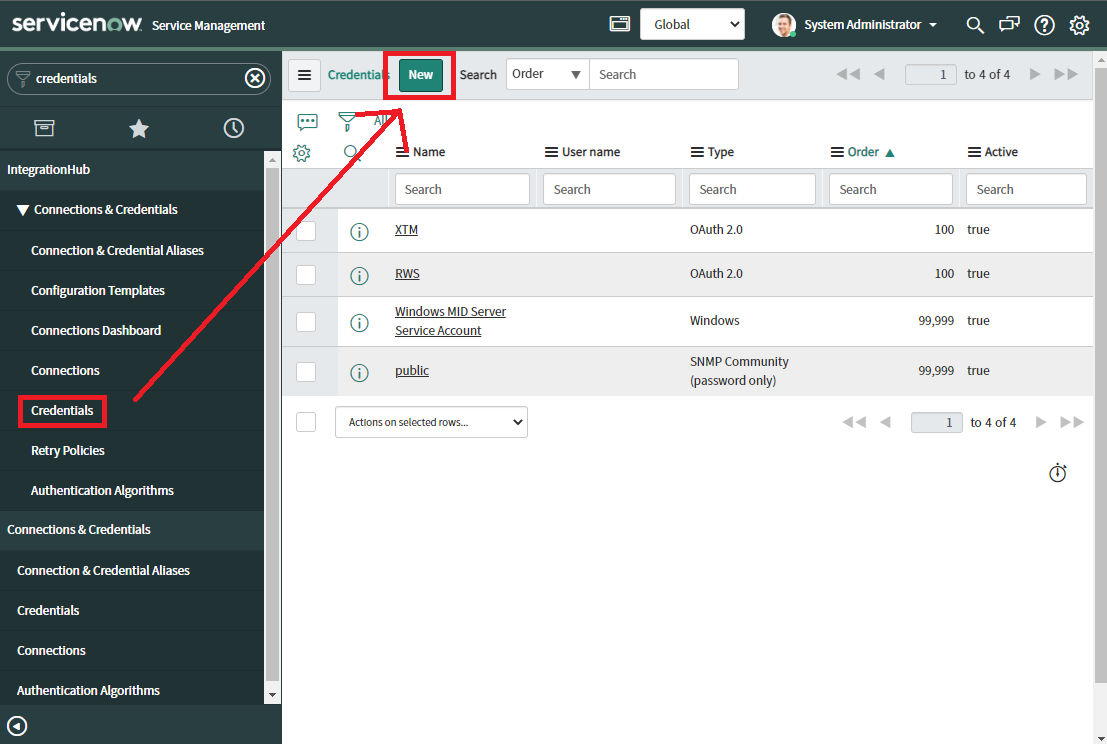
GitHubでソースコードを管理するために、GitHubのアカウント情報をServiceNowのCredentialに登録する。
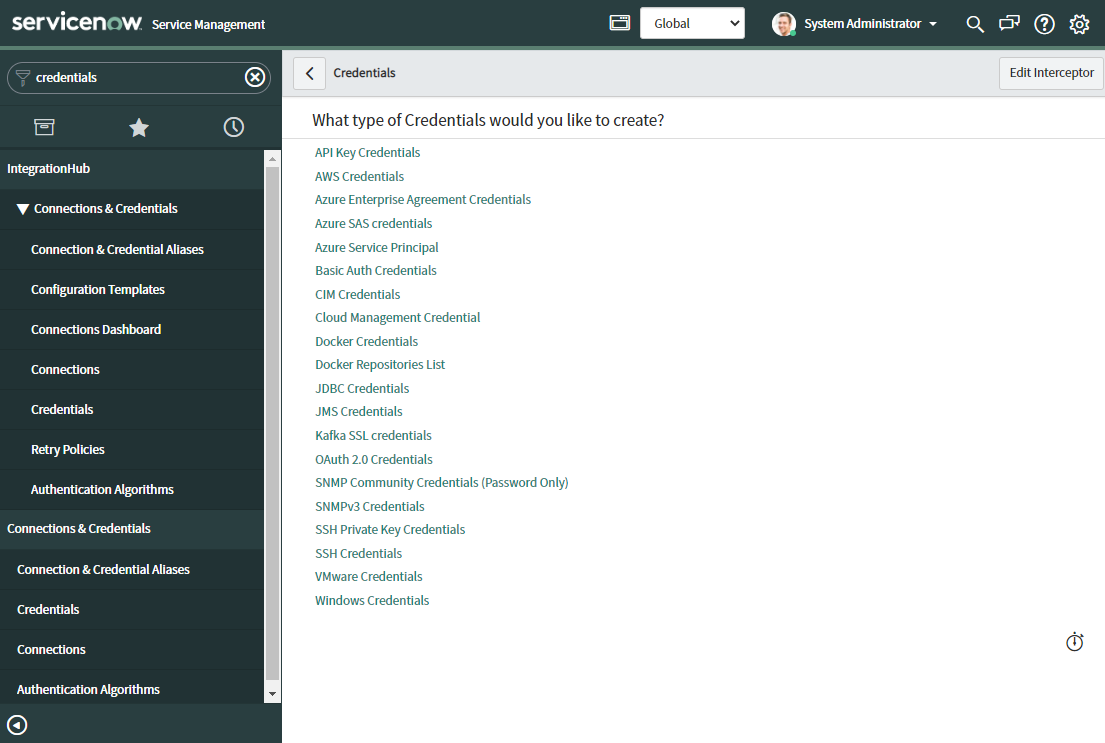
Credentialの種類は「Basic Auth Credentials」を選択。
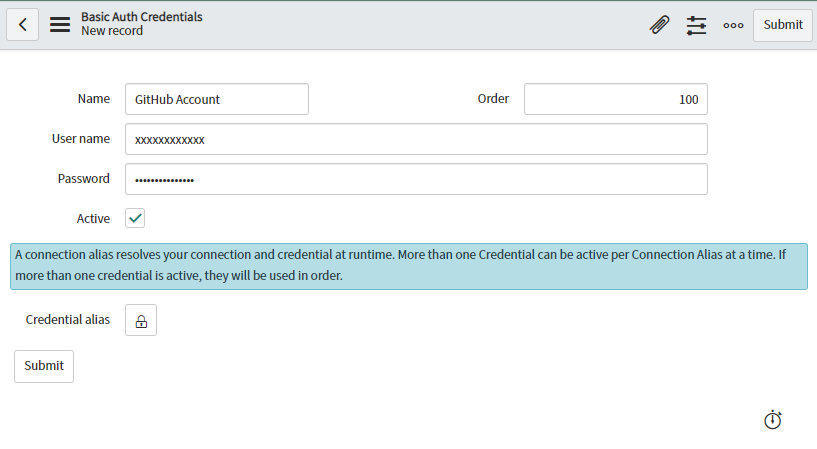
GitHubのアカウント情報を入力する。
- Name: Credentialを識別する名前
- User name: GitHubアカウントのユーザー名
- Password: Personal access tokens
※Personal access tokensの作成方法に関しては、以下を参照
https://docs.github.com/en/authentication/keeping-your-account-and-data-secure/creating-a-personal-access-token#creating-a-token
GitHubと連携手順
ServieNowとGitHubとの連携手順を、2つのパターンに分けて記載する。
ServiceNow -> GitHub
ServiceNowで作成したアプリケーションを、GitHubで管理する。
あらかじめGitHubに空のリポジトリを用意している前提で記載する
リポジトリのURLをコピーしておく。

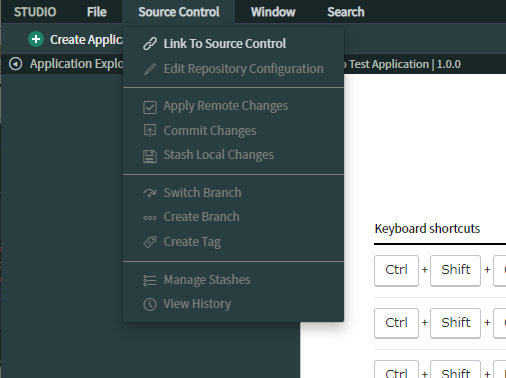
Studioで連携するアプリケーションを開き、[Source Control]→[Link to Source Control]を選択。
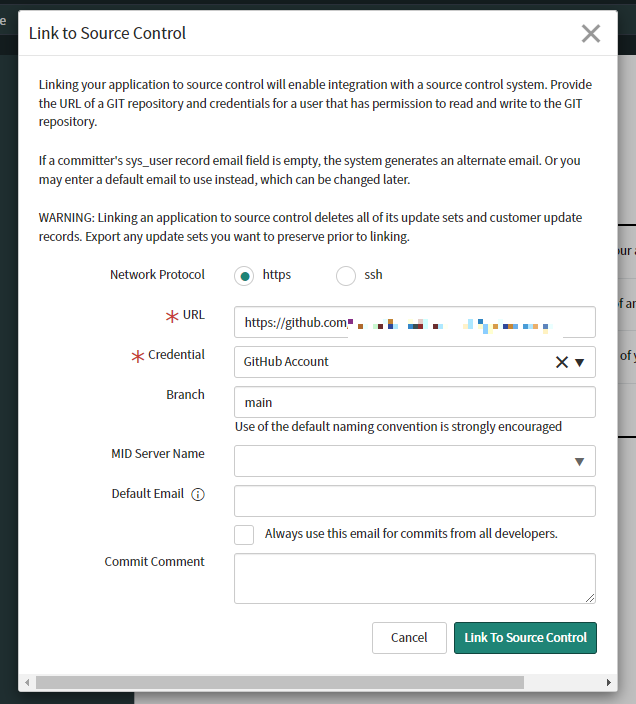
各項目を入力し、[Link To Source Control]をクリック。
- URL: あらかじめ確認したリポジトリのURL
- Credential: 作成しておいたGitHubアカウントのCredential
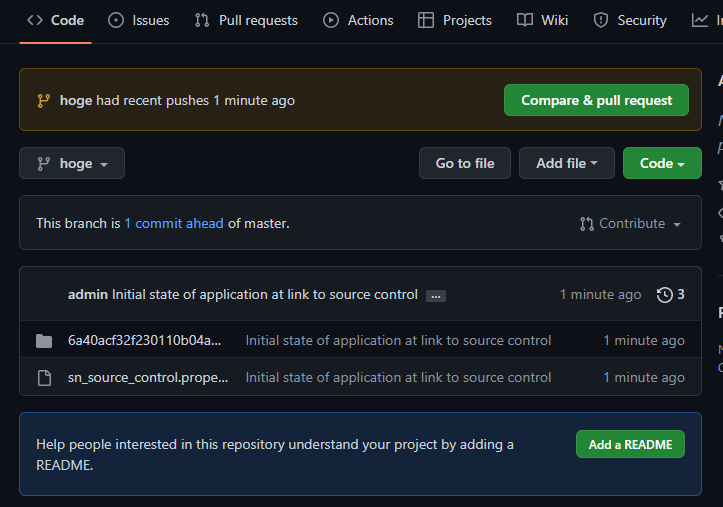
正常に完了すれば、リポジトリに上記で指定したBranchとファイルが作成されている。
GitHub -> ServiceNow
GitHub上に存在するServiceNowアプリケーションを、自分のインスタンスに取り込む。
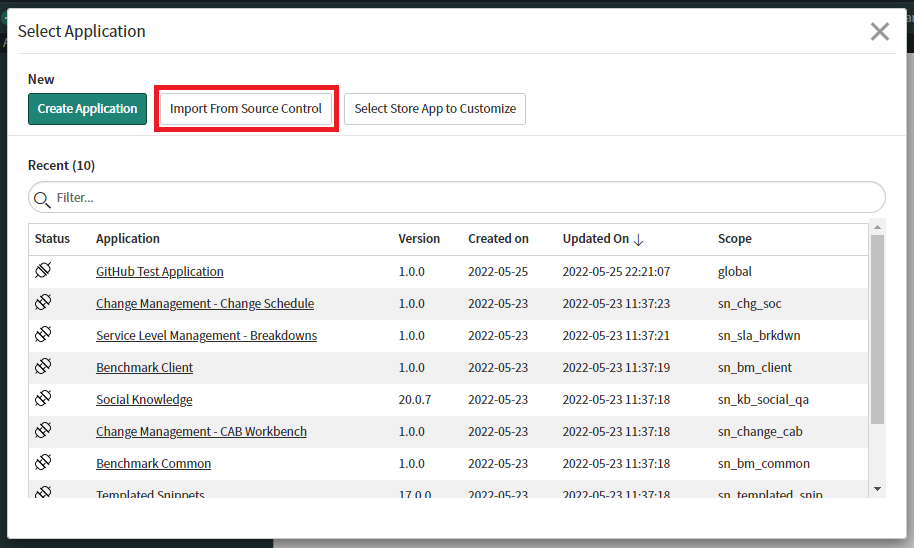
Studioを開き、「Select Application」で[Import From Source Control]を選択。
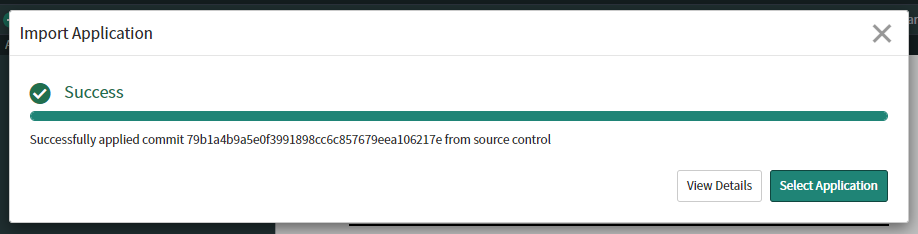
各項目を入力し、[Import]を実行。
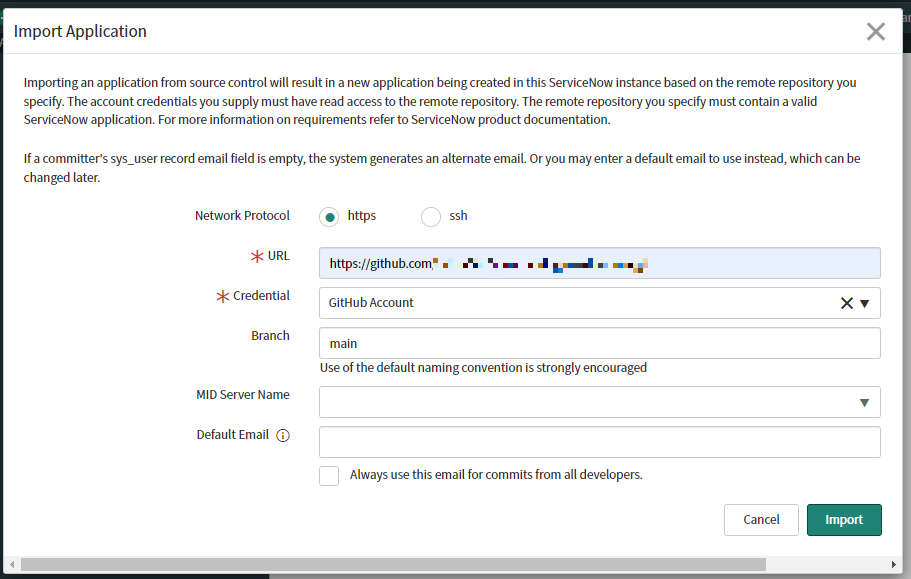
入力値に問題がなければ以下のように表示される。