An introduction to the web modern stack:
- CSS pre-processors
- HTML template engine
- GIT Version Control
- Github for team collaboration
- Gulp
1. Why use CSS processors ?
CSS is simple but limited for big projects:
- CSS code is messy (usually 1 big file with a lot of code)
- => diffcult to maintain
- => where to put the code ?
- CSS language is limited: No variables, a lot of repetitions and copy-paste (ex: color value, selectors)
So we need something more powerful than CSS!
But browsers only understand CSS...
The solution: using a CSS processor like Sass, Less or Stylus.
Pattern:
[input]       [building process]   [output]
.sass/.less code    =================>   normal CSS code
CSS processors benefits:
- Easy to split code into several files
- Variables (convenient for colors, Responsive Web Design...)
- Nesting selectors (to avoid repetition of code)
- It is OK to add a lot of comments
- Useful functions and helpers to
- Adjust colors (to make a color darker or lighter)
- Create background gradients
- Optimization tools can be added in the building process
- Minify Output CSS
- Add browser prefixes
-webkit-*and-moz-border-*
2. CSS processors
Sass

2 syntax's:
- default syntax (
*.scssfiles): compatible with CSS - indented (
*.sassfiles): more compact
Less

- Used to build Bootstrap
Stylus

- Super-compact syntax: no
;no{}no:
a.button
  border-radius 5px
3. Online tools
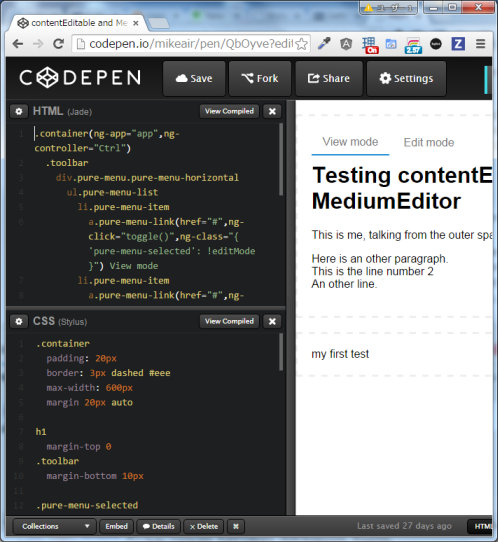
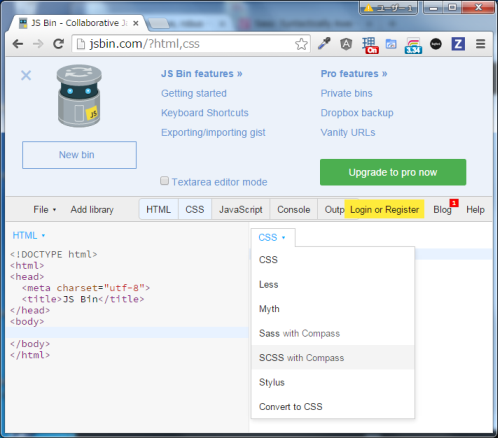
Use these tools to write CSS code using Sass, Less or Stylus.
Auotmatically, CSS code is generated and HTML result is refreshed. It's magic!
Sass in detail
Main file VS. Partials
app
├─ styles
├─── main.scss
├─── _layout.scss
├─── _base.scss
├─── _buttons.scss
@import 'layout';
@import 'base';
@import 'buttons';
Comments
//This is a comment. It will not be added to the CSS :)

/* This is a normal CSS comment. It will be output :( */
Nesting selectors
.sidebar{
  a {
   color: red;
  }
}
& is the "parent selector"
    a {
      color: #222;
      &:hover {
        color: #313131;
      }
    }
Too much nesting can be dangerous => difficult to override!
Variables
Variables names start with $
$primary-color: #990000;
Variables can be:
- Numbers:
5px,1em... - Colors:
#cccccc,red,rgba(255, 0, 0, 0.5)... - Strings:
Arial
If !default is added, an other variable with the same name will not be overwritten.
$padding: 10px !default;
Interpolation: dynamic property names
$side: "left";
.block {
  border-#{$side}: 4px solid #ccc;
Mixins
Bad CSS code:
.btn-a {
 background: #777;
 border: 1px solid #ccc;
 font-size: 1em;
 text-transform: uppercase;
}
.btn-b {
 background: #ff0;
 border: 1px solid #ccc;
 font-size: 1em;
 text-transform: uppercase;
}
Mixins are useful to avoid repeat property declaration.
Example: vendor prefixes.
STEP1: define a mixin with @mixin XXX
@mixin button {
 border: 1px solid #ccc;
 font-size: 1em;
 text-transform: uppercase;
}
.sass syntax
=button
STEP2: call a mixin with @include XXX
.btn-a {
 @include button;
 background: #777;
}
.btn-b {
 @include button;
 background: #ff0;
}
Using arguments
@mixin my-block($bg: #fff, $pad: 10px) {
  background: $bg;
  border: 1px solid #ccc;
  padding: $pad;
}

.factory {
  @include my-block;
}
.highrise {
  @include my-block(#797979, 20px);
}
Note: we can also use "named arguments":
@include my-block($bg: #797979, $pad: 20px);
.sass syntax:
+button()
Extend
share a set of CSS properties from one selector to another
.message {
  border: 1px solid #ccc;
  padding: 10px;
  color: #333;
}

.success {
  @extend .message;
  border-color: green;
}

.error {
  @extend .message;
  border-color: red;
}

.warning {
  @extend .message;
  border-color: yellow;
}
Sass VS Less
Less variables name start with @
@primary-color: #990000;
Mixins are just CSS class selectors, that can be used as functions
STEP 1: Define a mixin:
.my-message-block{
  width: 100%;
}
STEP 2: Call the mixin
.alert{
  .my-message-block()
  background-color: #dddddd;
}
Set up a project using a CSS processor and Gulp
Requirements
- install node.js
- install GIT
- install a modern editor like Brackets
- From Brackets, install brackets-git extension
Project architecture
app
├─ styles
├─── main.sass
├─── _layout.sass
├─── _base.sass
├─── _buttons.sass
www
├─ index.html
├─ css
├─── main.css
Gulp setup
Gulp is a node.js tool that can be used to compile Sass / Less files.
CSS files are automatically built when the the source files are updated.
Example of Gulp configuration file:
var gulp = require('gulp');
var less = require('gulp-less');


//Compiles .less files to css
gulp.task('style', function (done) {
  return gulp.src('./app/styles/app.less')
    .pipe(less())
    .on('error', function(err) {
      console.log('Less error', err.message);
      //To prevent watch task from stopping if an error occurs.
      done();
    })
    .pipe(gulp.dest('./www/css'));
});

//Watch the source files and build the web files
gulp.task('watch', function () {
  gulp.watch('./app/styles/**/*.*', ['style']);
});
How to launch Gulp
gulp watch
Using Git and Brackets
GIT is used to manage versions of the source files (sass, less, templates...)
Advantages:
- Safe: history of all version is saved
- Team collaboration is easy with Github
STEP 0 (only the first time): Clone an existing project
From a Github repository, copy the project git URL from Github (Example: https://github.com/ZCloud-Firstserver/glitter.git)
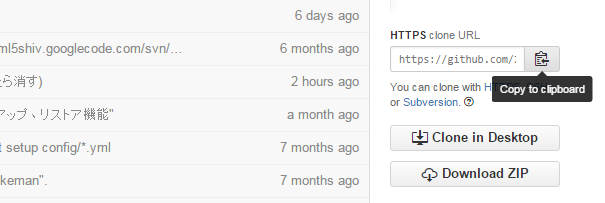
In Brackets, click on the "Clone" button.

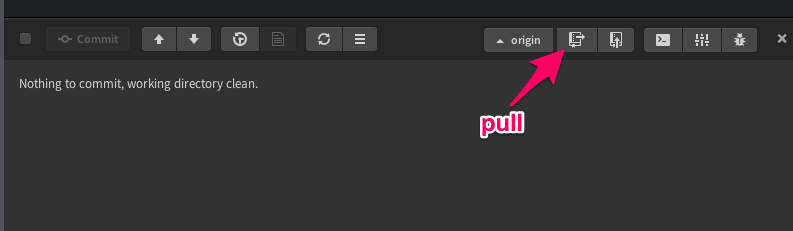
STEP 1: download the latest changes from Github.
Click on the "pull" icon.
STEP 2: Commit changes
Open Brackets GIT extension pannel.
Check files to commit and push the "commit" button.

STEP 3: Upload changes to Github.
Click on the "push" icon.
