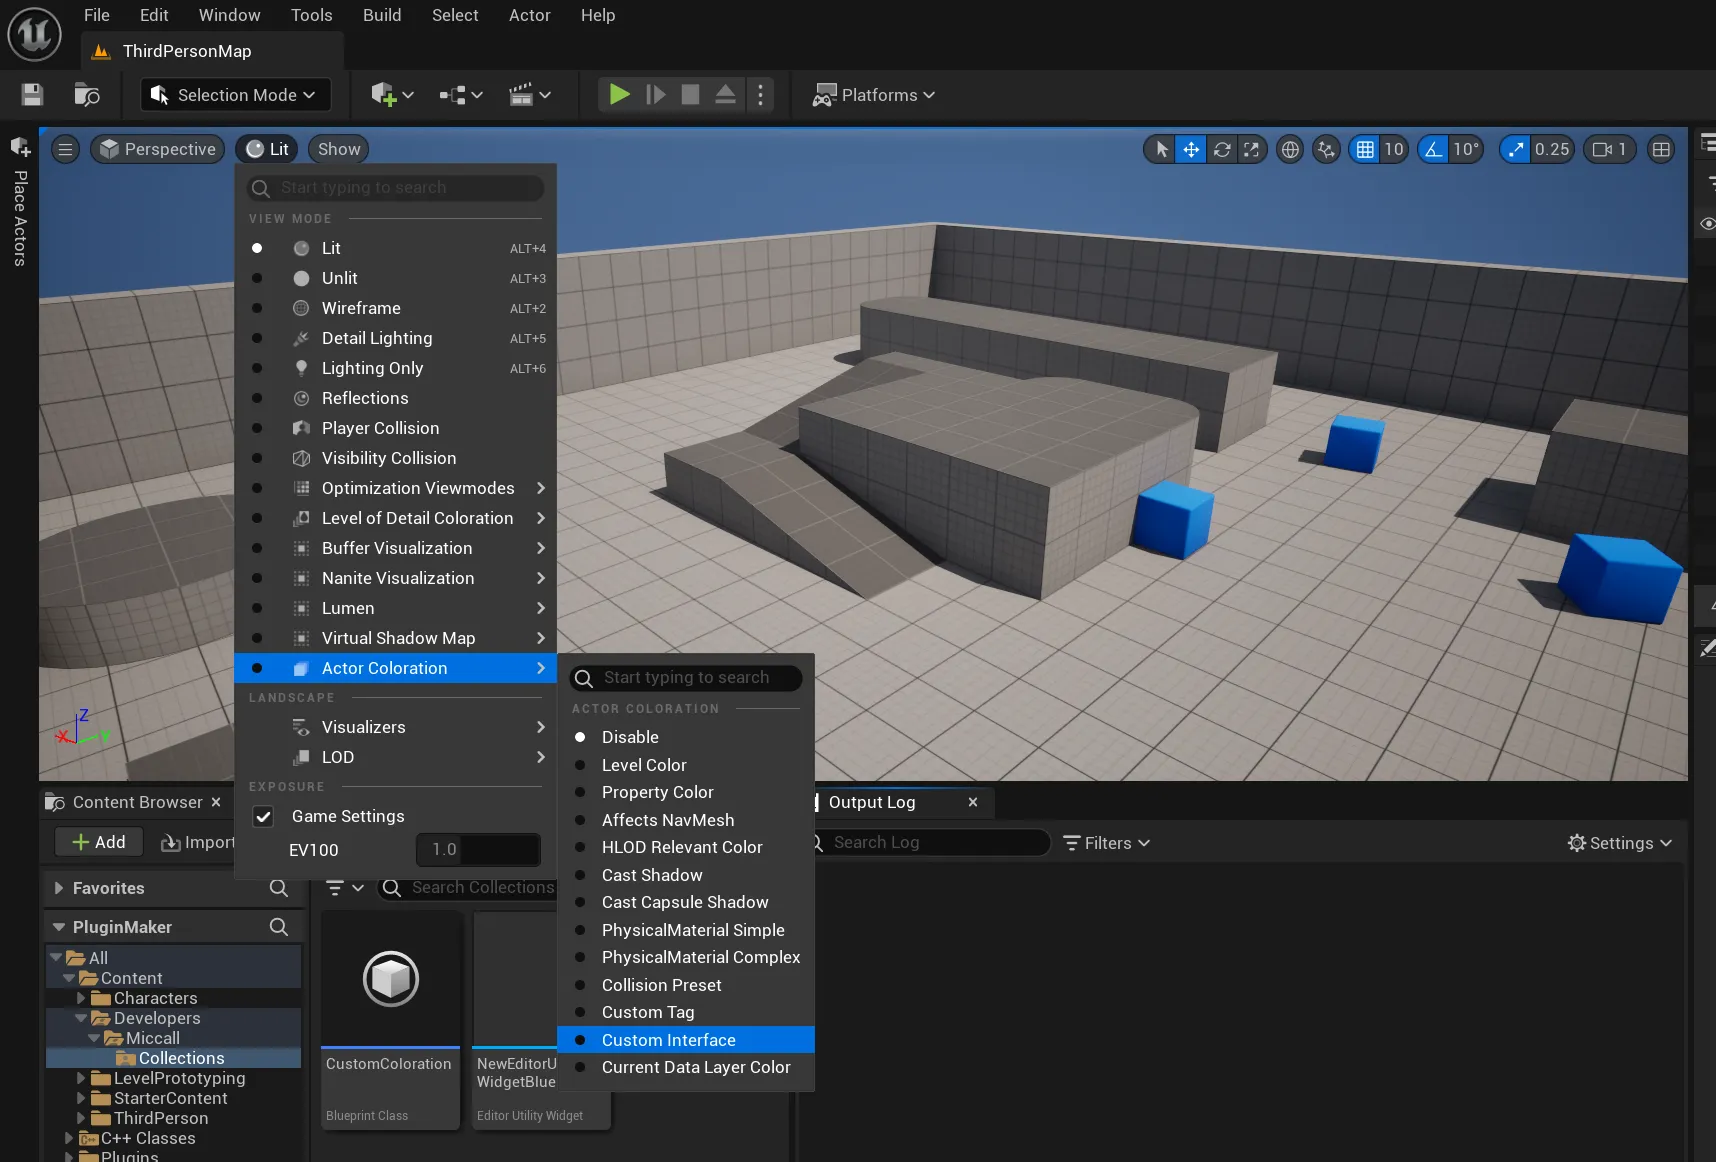
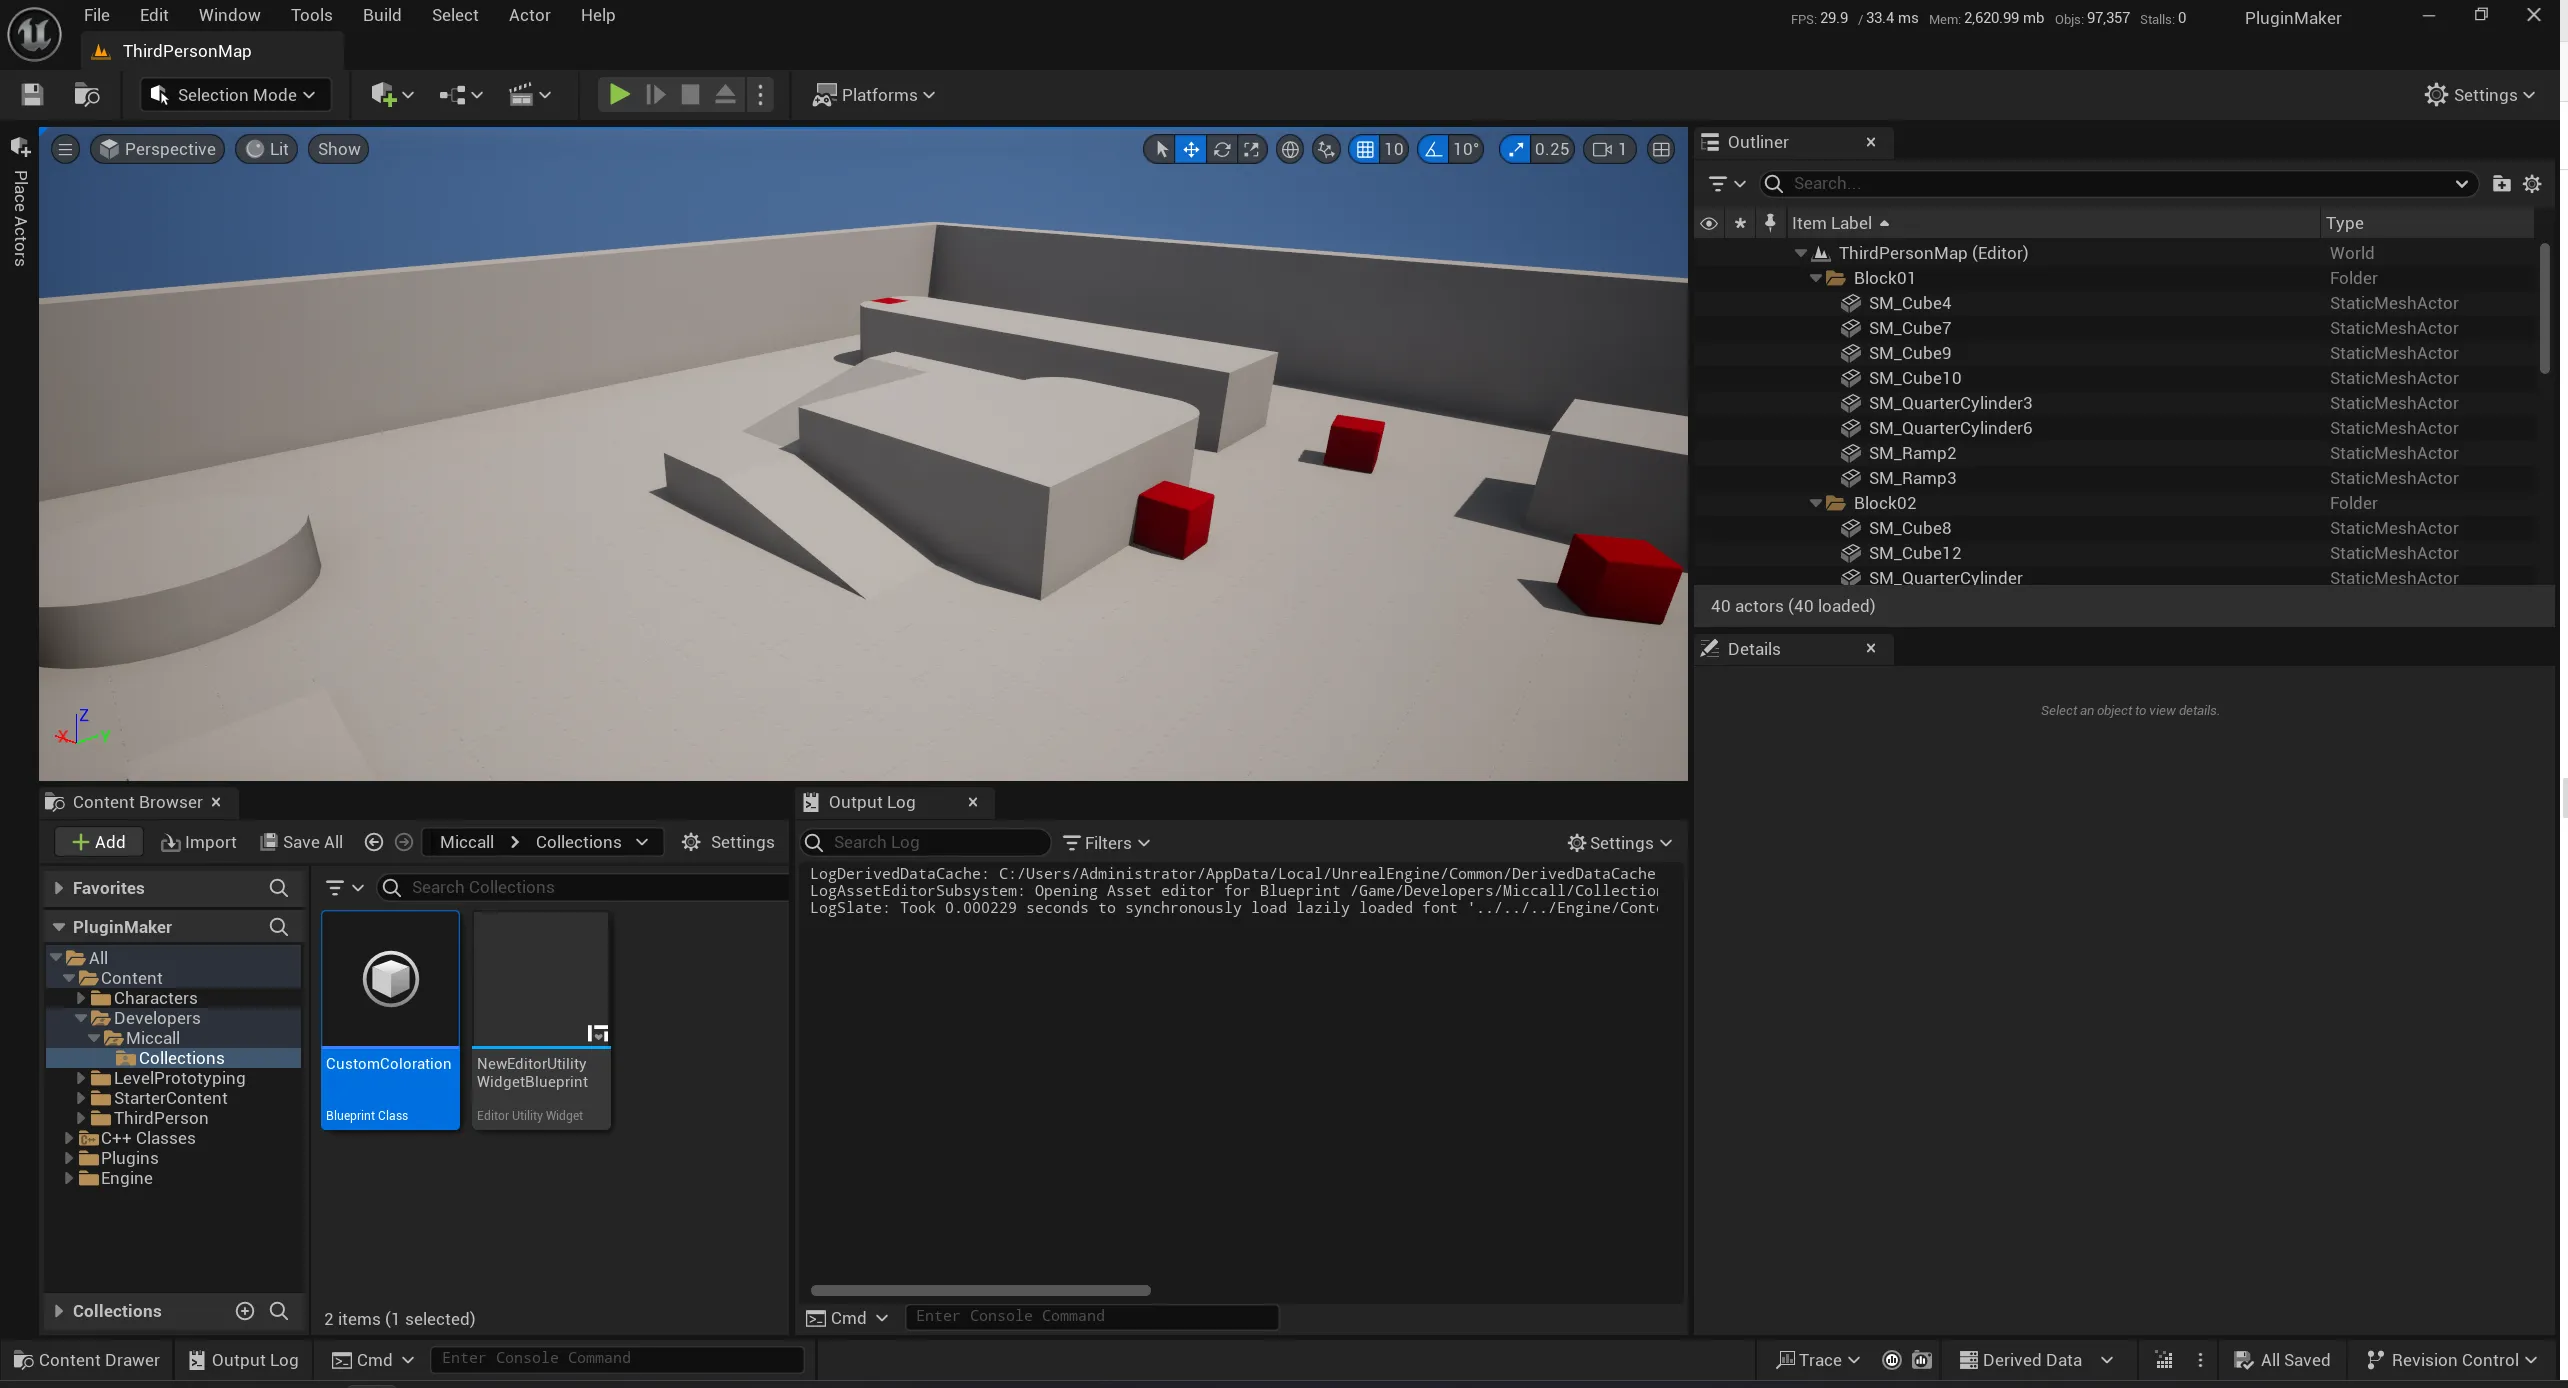
Actor Coloration 是一个 UE5.3 带来的新框架 , 可以在 ViewMode 中, 检视不同的 Actor 到不同的颜色
官方文档上介绍 :
Actor coloration framework comes by default with the option to colorize each individual level instance with a unique random color to help identify where actors are coming from.
在最新的 UE5.4 中 , 作者@EGJ-Kaz_Okada 优化了框架 , 可以自己写 Plugin 进行属性注册, 他自己本身写了一套 Demo 插件 , 拓展了一些常用属性
插件链接 : https://github.com/pafuhana1213/UE5_CustomActorColoration
在插件中 , 作者使用 注册 的方式 , 把用户需要的逻辑加入到 Actor Coloration 中 , 我们可以照着这样拓展插件
拓展 1 : 使用了自定义 Actor Tag 的 Actor
在 Acor Coloration 的 Plugin 的 Setting 中 , 添加我们的拓展
	UPROPERTY(EditDefaultsOnly, Config, Category="Tags")
	bool bUseColorationCustomTag = true;
	UPROPERTY(EditDefaultsOnly, Config, Category="Tags")
	FString ColorationCustomTagText = "";
在 CustomActorColorationRegister 中
// Custom Actor Tag
if (Settings->bUseColorationCustomTag)
{
			FActorPrimitiveColorHandler::Get().RegisterPrimitiveColorHandler(TEXT("CustomTag"),LOCTEXT("CustomTag", "Custom Tag"),[](const UPrimitiveComponent* InPrimitiveComponent) -> FLinearColor
			{
				if (const AActor* OwnerActor = InPrimitiveComponent->GetOwner())
				{
					for (TArray<FName> ActorTags = OwnerActor->Tags; const FName& Tag : ActorTags)
					{
						if (Tag.ToString() == UCustomActorColorationSettings::Get()->ColorationCustomTagText)
						{
							return FLinearColor::Red;
						}
					}
				}

				return FLinearColor::White;

});
写起来并不是很复杂
拓展 2 : 不想经常编译插件 , 把规则开出来 , 在蓝图里面写
在 Acor Coloration 的 Plugin 的 Setting 中 , 继续添加我们的拓展
	UPROPERTY(EditDefaultsOnly, Config, Category="CustomInterface")
	bool bUseColorationCustomInterface = true;
	UPROPERTY(EditDefaultsOnly, Config,Category="CustomInterface")
	TSubclassOf<UObject> CustomInterfaceUObject;
此时 , 我们需要传入一个 UObject 蓝图 , 然后这个蓝图, 只要实现我们的 接口就行
UCustomColorationInterface

		// Custom Interface
		if (Settings->bUseColorationCustomInterface)
		{
			FActorPrimitiveColorHandler::Get().RegisterPrimitiveColorHandler(TEXT("CustomInterface"),LOCTEXT("CustomInterface", "Custom Interface"),[](const UPrimitiveComponent* InPrimitiveComponent) -> FLinearColor
			{
				if (!UCustomActorColorationSettings::Get()->CustomInterfaceUObject->GetDefaultObject()->Implements<UCustomColorationInterface>())
					return FLinearColor::White;

				const auto PackageObjectName = UCustomActorColorationSettings::Get()->CustomInterfaceUObject->GetDefaultObject()->GetClass()->GetClassPathName();
				const auto PackageObject = PackageObjectName.GetPackageName().ToString() + "."+PackageObjectName.GetAssetName().ToString();
				const auto BlueprintPath = "Blueprint '"+PackageObject+"'";

				const UClass* BPClass = StaticLoadClass(UObject::StaticClass(), nullptr, *(BlueprintPath));
				if (!BPClass)
					return FLinearColor::White;

				UObject* CopyRulesIt = NewObject<UObject>(GetTransientPackage(),BPClass);
				if (!CopyRulesIt)
					return FLinearColor::White;

				if (ICustomColorationInterface::Execute_ColorationPick(CopyRulesIt,InPrimitiveComponent))
					return FLinearColor::Red;
				return FLinearColor::White;
			});
		}
当注册 规则的时候 , 去调用我们蓝图的接口实现 , 这样就可以在不编译工程的情况下 , 去拓展我们的功能
如何使用 :
新建蓝图 选择 UObject 类型, 在蓝图设置里面 , 选择实现接口 , 加入 UCustomColorationInterface
实现接口逻辑
为了演示 . 我们随便写个逻辑 , 来判断一下 物体的缩放值
编译保存, 此时需要在 Project Setting 中 , 重新 勾选一次 used 选项 , 就可以生效了

我已经上传到 自己的 github , 给作者提交了 pr , 希望可以早日合入 ~
参考链接
作者的演示 : https://www.docswell.com/s/leon-gameworks/K1JDQG-UEMConnect_008
Github : https://github.com/miccall/UE5_CustomActorColoration


