Vite + React + TypeScriptでChrome拡張機能開発
この記事では、Viteプラグインを使った簡単な環境構築から、Chrome拡張機能の主な構成要素であるPopup、Content Scripts、Service Workerの各環境でHello worldするところまでを説明しています。
拡張機能を作ったときに、手っ取り早く公開されているサンプルコードやチュートリアルをベースにカスタマイズして開発したかったのですが、これらの技術を使用したシンプルなサンプルプロジェクトが見つからなかったため、プロジェクト作成の手順をまとめました。
この記事に含まれないこと:
拡張機能を構成する概念(manifest, service worker, content scriptsなど)やReact、TSの詳しい説明は含まれません。
環境構築
Viteプロジェクトの作成
// yarnの場合
$ yarn create vite
// npmの場合 (以降npmのコマンドはyarnに続いてカッコ内に記載します)
$ npm create vite@latest

// コマンドのダイアログに従いプロジェクトをセットアップ
✔ Project name: … my-chrome-extension
✔ Select a framework: › React
✔ Select a variant: › TypeScript

$ cd my-chrome-extension

$ yarn
($ npm i)
プロジェクト名はmy-chrome-extensionとします。
CRXJS Vite Pluginのインストールと設定
CRXJS Vite Pluginは、ViteプロジェクトをChrome拡張機能に最適化してビルドしてくれるViteプラグインです。
例えばViteでプロジェクトを作成すると、標準でJSファイルはmoduleとしてビルドされますが、拡張機能の代表的な構成要素である「コンテンツスクリプト」はページに注入するスクリプトであるため、import構文などを使用することができずエラーが発生してしまいます。
ビルド後のjsからimport構文を無くすには、viteの設定に一手間の工夫が必要となりますが、CRXJSを使用すればこのような面倒なビルド設定を一手に引き受けてくれるのです。
またCRXJSのホットリロードを使用すれば、コードの更新の都度、Chromeに拡張機能の読み込みをしなおす必要なく非常に快適に開発することができます。
それではCRXJSのドキュメントを参照してパッケージインストールと設定をしていきます。
パッケージインストール
$ yarn add --dev @crxjs/vite-plugin@beta
($ npm install --save-dev @crxjs/vite-plugin@beta)
vite.config.ts
configファイルにプラグインを追加します
import { defineConfig } from 'vite'
import react from '@vitejs/plugin-react'
+ import { crx } from '@crxjs/vite-plugin'
+ import manifest from './manifest.json'

export default defineConfig({
  plugins: [
    react(),
+    crx({ manifest })
  ]
})
manifest.json
manifest.jsonはvite.config.tsと同じ階層に作成します
{
  "manifest_version": 3,
  "name": "My Chrome Extension",
  "version": "1.0.0",
  "action": {
    "default_popup": "index.html"
  }
}
Chrome API 型定義ファイルのインストール
@types/chrome
chrome.types APIにはChromeの型定義が含まれています。
エディタにChrome APIの型を認識させたり、オートコンプリート機能を有効にするため、型定義ファイルのパッケージをインストールしておきます。
$ yarn add --dev @types/chrome
($ npm install --save-dev @types/chrome)
サーバー起動
$ yarn dev
($ npm run dev)
➜ Local: http://localhost:5173/ のように表示されるLocalのURLにアクセスしてVite + Reactのスタート画面が表示されることを確認してください。
Chromeに拡張機能ファイルをロードする
devサーバーを起動した状態で、下記の手順でプロジェクトファイルをロードすることで、ホットリロードを活用して開発ができます。
- Google Chromeの拡張機能の管理画面にアクセス chrome://extensions/
-
Developer mode/デベロッパー モードをONにする -
Load unpacked/パッケージ化されていない拡張機能を読み込むを選択する - 作成したプロジェクトの
distフォルダを選択しロードする
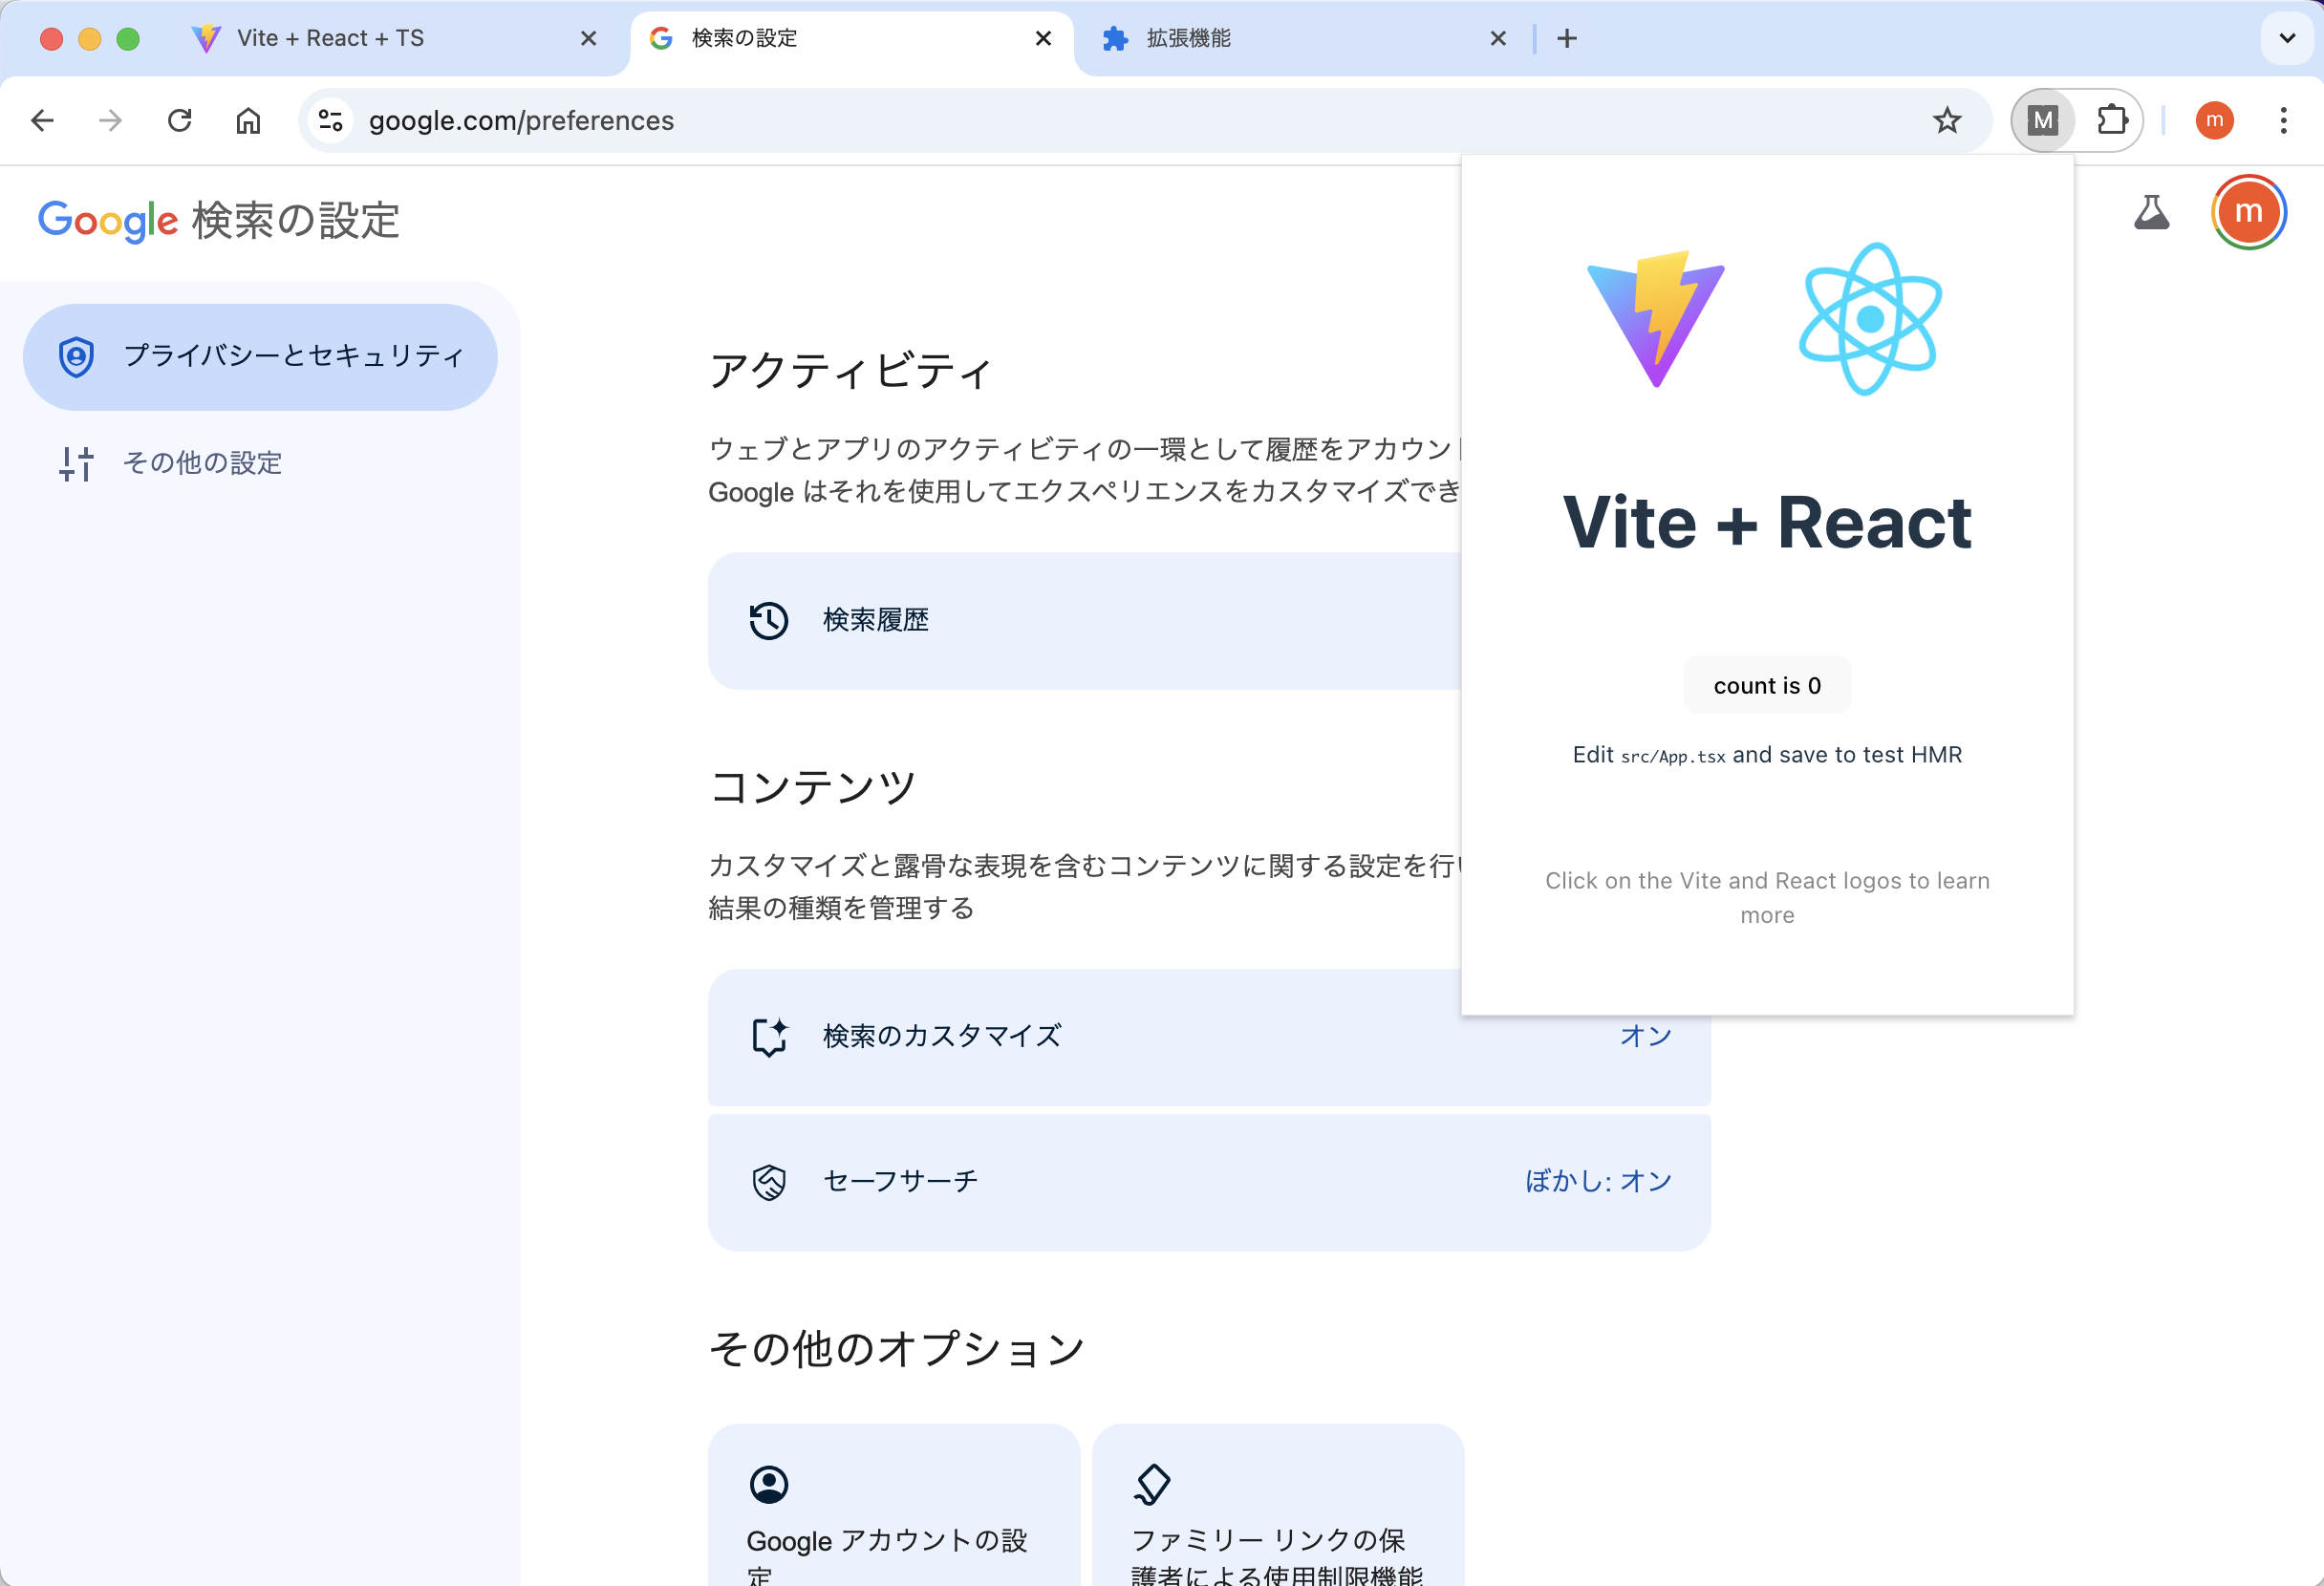
拡張機能の一覧 / All Extensions に"My Chrome Extension"が追加されたことを確認したら、新しいタブを開き、拡張機能アイコンをクリックします。
ポップアップが表示され、Vite+Reactのサンプル画面が表示されていれば環境構築は完了です。

Popup、Content Script、Service Worker 各環境でスクリプトを実行する
【参考】最終的なディレクトリ構成
下記にはこの記事で扱わないファイルもありますが、最終的な構成をイメージしやすいように、参考までに記載しています。
.
├── dist/
├── public/
│   └── images/
│       └── icon_16.png
├── src/
│   ├── background/ ...service worker
│   │   └── background.ts
│   ├── content/ ...content scripts
│   │   ├── Example.tsx
│   │   └── index.tsx
│   ├── popup/ ... popup
│   │   ├── Example.tsx
│   │   ├── index.tsx
│   │   └── index.html
│   └── shared/ ... 共通ファイルなど
│       ├── types.tsx
│       └── utilities.ts など
├── manifest.json
├── package.json
├── vite.config.ts
実装準備
Viteプロジェクトを生成した状態から、srcディレクトリから不要なファイルを削除し、各ファイル群を格納するフォルダを作成しておきます。
(一部の設定ファイルを省略しています)
  .
  ├── dist/
  ├── public/
  ├── src/
+ │   ├── background/
+ │   ├── content/
+ │   ├── popup/
- │   ├── App.css
- │   ├── App.tsx
- │   ├── index.css
- │   └── main.tsx
- ├── index.html
  ├── manifest.json
  ├── package.json
  ├── vite.config.ts
以降の実装を行う際に、manifestを含むファイル更新の都度Chromeに拡張機能フォルダをロードしなおしたり、Devサーバーを起動しなおしたりする必要はありません。
ポップアップの実装
まずはポップアップに"Hello Popup"と表示してみます。

  .
  ├── src/
  │   ├── background/
  │   ├── content/
  │   ├── popup/
+ │   │   ├── index.tsx
+ │   │   ├── index.html
<!doctype html>
<html lang="en">
  <head>
    <meta charset="UTF-8" />
    <meta name="viewport" content="width=device-width, initial-scale=1.0" />
    <title>Vite + React + TS</title>
  </head>
  <body>
    <div id="root"></div>
    <script type="module" src="/src/popup/index.tsx"></script>
  </body>
</html>
import {StrictMode} from 'react'
import { createRoot } from 'react-dom/client'

// 1. consoleにテキストを出力
console.log('Hello Popup')

const root = document.createElement('div')
root.id = 'crx-popup-root'
document.body.appendChild(root)

createRoot(root).render(
  <StrictMode>
    // 2. ポップアップ画面にテキストを表示
    <h1>Hello Popup!</h1>
  </StrictMode>
)
manifest.jsonに、拡張機能アイコンをクリックした時に表示するポップアップファイルを登録します。
CRXJSの公式サイトを参考に設定した初期状態では/index.htmlが指定されていたので、そのパスを参照してviteのサンプルプログラムであるcounterが表示されていました。
修正して、新たに追加したpopupのファイルのパスを登録します。
{
  "manifest_version": 3,
  "name": "My Chrome Extension",
  "version": "1.0.0",
  "action": {
-    "default_popup": "index.html"
+    "default_popup": "src/popup/index.html"
  }
}
再度アイコンをクリックして、Hello Popup!が表示されていることを確認します。
PopupのConsole logの確認
ポップアップのコンソールは拡張機能のアイコンを右クリック
Inspect Popupで開発者ウィンドウを表示することができます。
"Hello Popup"のテキストが出力されていることを確認できます。
Content Scriptsの実装 (ページで実行されるスクリプト)
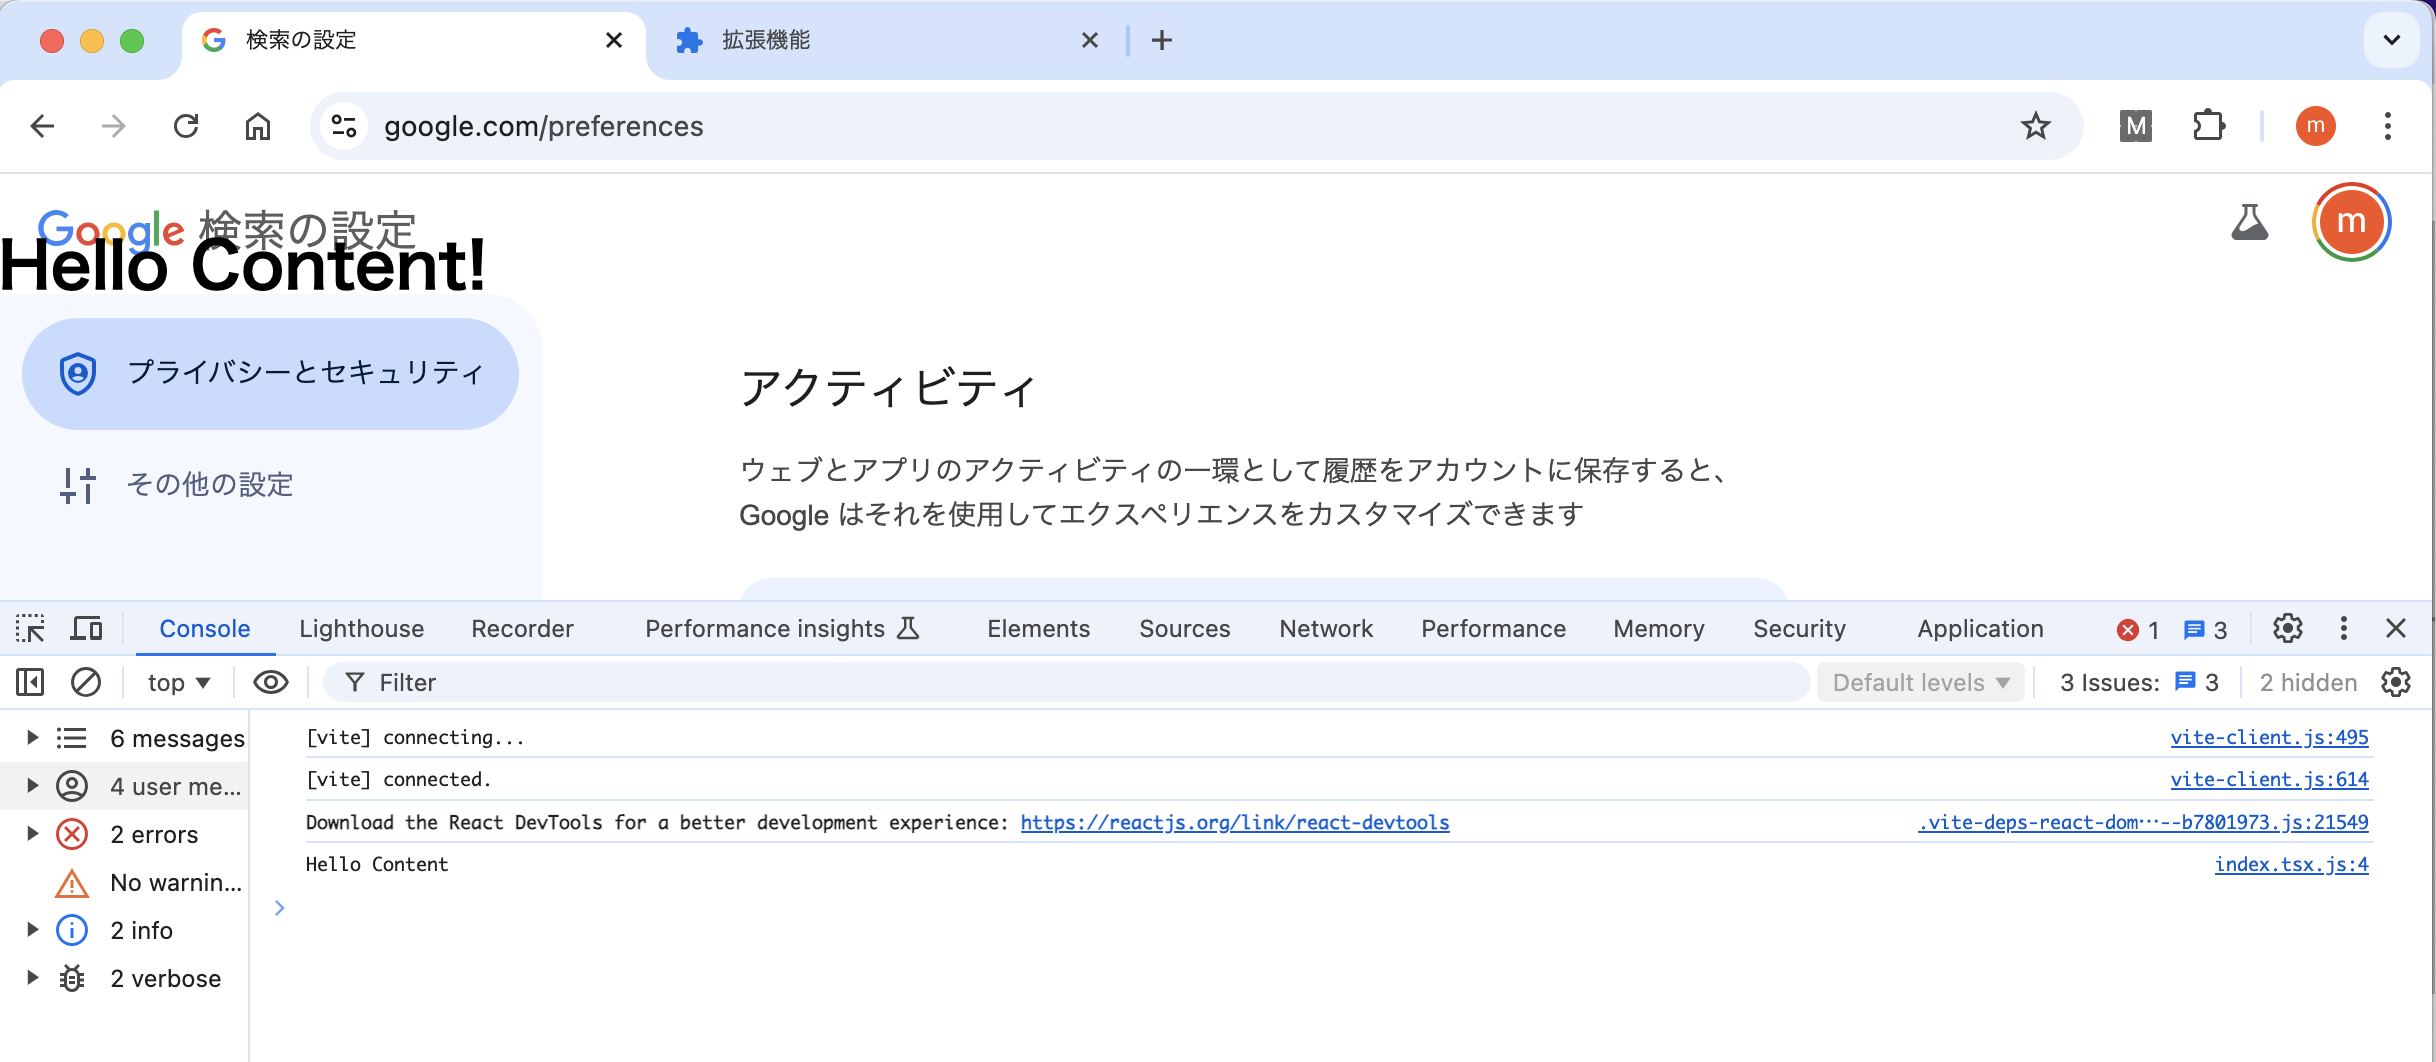
次に、Webページに要素を挿入し、"Hello Content!"のテキストを表示します。
  .
  ├── src/
  │   ├── background/
  │   ├── content/
+ │   │   ├── index.tsx
  │   ├── popup/
  │   │   ├── index.tsx
  │   │   ├── index.html
import { StrictMode } from 'react'
import { Root, createRoot } from 'react-dom/client'

// 1. consoleにテキストを出力
console.log('Hello Content')

// 2. reactのルートとなる要素を作成
const rootEl: HTMLElement = document.createElement('div')
document.body.insertBefore(rootEl, document.body.firstElementChild)

// 3. reactルートを挿入しページにテキストを表示
const root: Root = createRoot(rootEl)
root.render(
  <StrictMode>
    <h1 style={{position: 'fixed', zIndex: 999}}>Hello Content!</h1>
  </StrictMode>
)
{
  "manifest_version": 3,
  "name": "My Chrome Extension",
  "version": "1.0.0",
  "action": {
    "default_popup": "src/popup/index.html"
  },
+  "content_scripts": [
+    {
+      "js": ["src/content/index.tsx"],
+      "matches": ["https://www.google.com/*"]
+    }
+  ]
}
js ... 作成したtsxファイルのパスを指定します。
matches ... スクリプトが実行されるURLの条件を指定していますが、ここではグーグル検索ページで実行されるようにドメイン指定しました。
Content ScriptsのConsole logの確認
閲覧中のページの開発者ツールを開き、consoleを表示します。"Hello Content"が出力されていることが確認できます。
Service Workerの実装 (バックグラウンドで実行されるスクリプト)
最後に、Sevice workerのConsoleに"Hello Background"のテキストを出力します。
  .
  ├── src/
  │   ├── background/
+ │   │   ├── index.ts
  │   ├── content/
  │   │   ├── index.tsx
  │   ├── popup/
  │   │   ├── index.tsx
  │   │   ├── index.html
console.log('Hello Background')
{
  "manifest_version": 3,
  "name": "My Chrome Extension",
  "version": "1.0.0",
+  "background": {
+    "service_worker": "src/background/index.ts"
+  },
  "action": {
    "default_popup": "src/popup/index.html"
  },
  "content_scripts": [
    {
      "js": ["src/content/index.tsx"],
      "matches": ["https://www.google.com/*"]
    }
  ]
}
Service WorkerのConsole logの確認
拡張機能の管理画面にアクセスします chrome://extensions/
Inspect views: service workerのテキストリンクをクリックすると開発者ツールが表示され、service workerのConsoleを表示することができます。

Consoleに"Hello Background"とログが出力されていれば成功です。


