はじめに
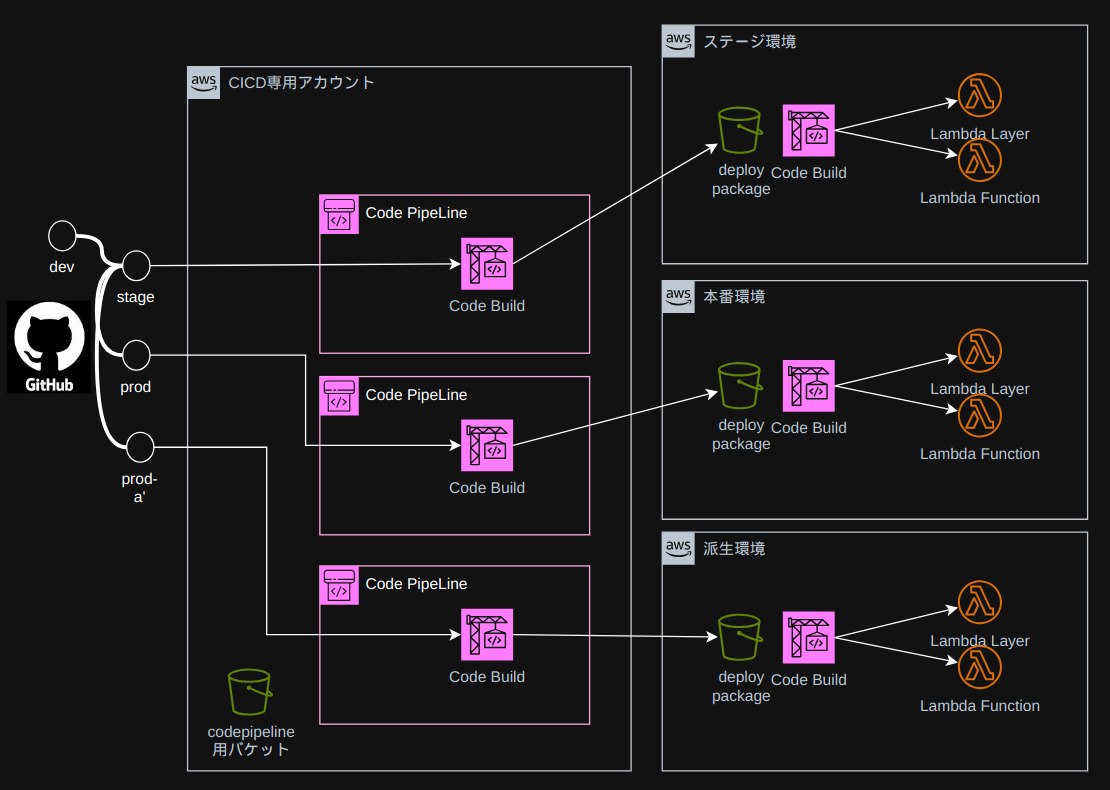
AWS Lambdaを使用したアプリケーショのCI/CDのパターンとして、CodePipelineとCodeBuildを組み合わせて、テストからデプロイまでの自動実行環境を設定してみました。
複雑なアプリケーションでの利用を想定し、AWS Lambdaのレイヤー関数に対応しました。
今回の構成
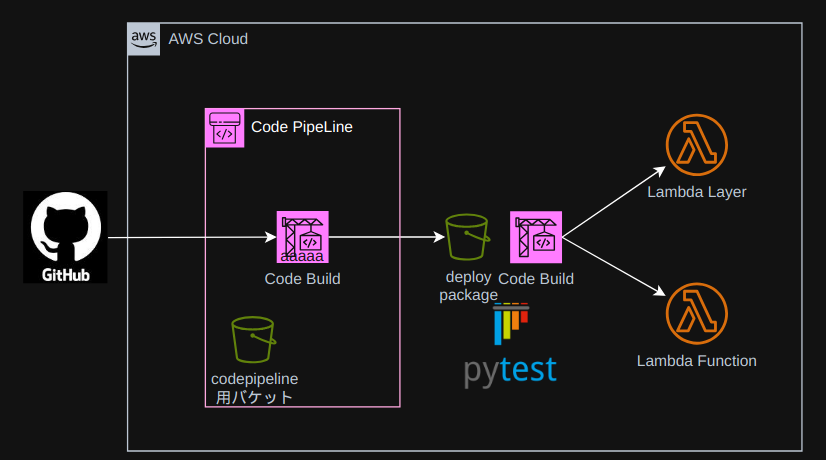
- GitHubのソースコードが更新されたらS3バケットへ反映するCodePipelineを構築
- S3バケットをソースとして、CodeBuildでテストとデプロイを実行
ソースフォルダ構成
myproject
├── ConsoleLoginNotificationLambda
│   └── index.py
├── pytest.ini
├── python   # ← LayerとなるLambda関数は、pythonフォルダに格納する
│   └── layerFunction
│       └── common.py
├── template.yml
└── tests
    ├── ConsoleLoginNotificationLambda
    │   ├── test_1.py
    │   ├── test_2.py
    │   ├── test_2_data.json
    │   └── test_3.py
    └── common
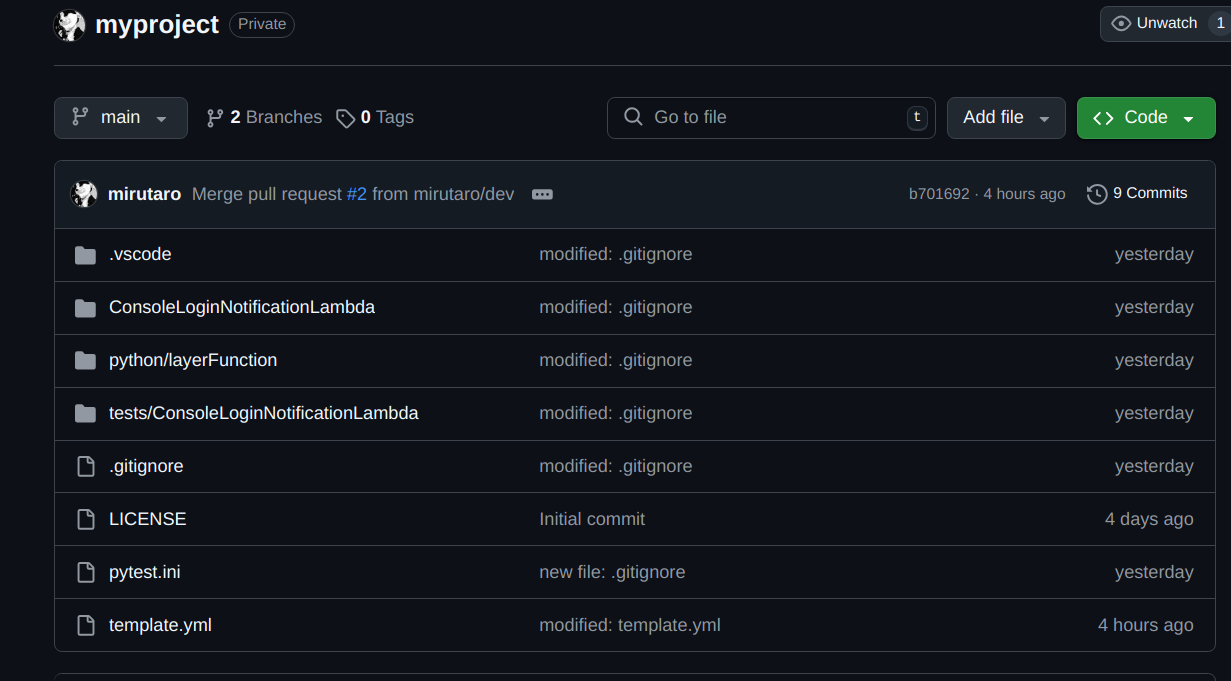
以前の記事で作成したコードを上記の構造でGitに格納します。
今回Lambdaレイヤーを使用した構成とするため、index.pyの一部をcommon.pyに移行します。
import os
import boto3

def Store_Data(inputData):
    省略

def Publish_sns(subject, message):
    省略
# coding: utf-8
import json
import base64
import gzip
import datetime
from dateutil import tz
from layerFunction.common import Store_Data # ←common.pyにコードを移動して、インポート
from layerFunction.common import Publish_sns # ←common.pyにコードを移動して、インポート

def lambda_handler(event, context):
    省略
プロジェクト直下にpytest.iniを以下の内容で作成し、pytest実行時に必要なモジュールへのパスを通します。
[pytest]
pythonpath = ./python
             ./ConsoleLoginNotificationLambda
構成変更に伴い一部ファイル参照パスを修正します。
        省略
        #                       ↓ テストデータの読み込みパスを修正
        with open('tests/ConsoleLoginNotificationLambda/test_2_data.json', 'r', encoding='utf-8') as fp:
        省略
samテンプレートファイルtemplate.ymlを作成し、プロジェクト直下に追加します。
AWSTemplateFormatVersion: '2010-09-09'
Transform: AWS::Serverless-2016-10-31
Description: SAM template for Console Login Notification Lambda

Resources:
  # Lambda Layer
  CommonLayer:
    Type: AWS::Serverless::LayerVersion
    Properties:
      LayerName: common-layer
      Description: Layer containing common functions
      ContentUri: python/
      CompatibleRuntimes:
        - python3.12
      RetentionPolicy: Retain

  # Lambda Function
  ConsoleLoginNotification:
    Type: AWS::Serverless::Function
    Properties:
      CodeUri: ConsoleLoginNotificationLambda/
      Handler: index.lambda_handler
      Runtime: python3.12
      Architectures:
        - x86_64
      Timeout: 30
      MemorySize: 128
      Layers:
        - !Ref CommonLayer
      Environment:
        Variables:
          LOG_LEVEL: INFO
      Policies:
        - CloudWatchLogsFullAccess
        # Add other required IAM policies here based on your function's needs

Outputs:
  ConsoleLoginNotificationFunction:
    Description: Console Login Notification Lambda Function ARN
    Value: !GetAtt ConsoleLoginNotification.Arn
  ConsoleLoginNotificationFunctionIamRole:
    Description: IAM Role created for Console Login Notification function
    Value: !GetAtt ConsoleLoginNotificationRole.Arn
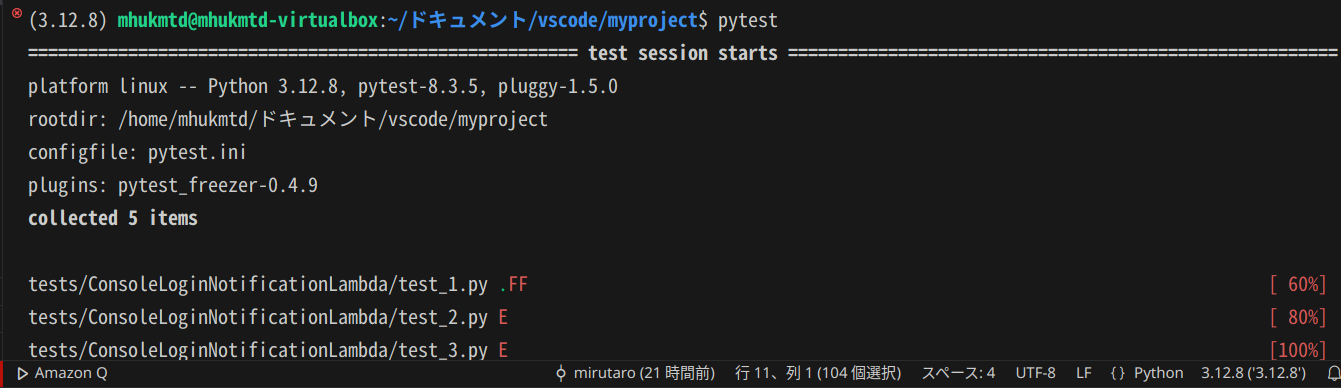
ローカル環境でpytestを実行し、パスが通っていることを確認します。
GitHubとCodePipelineを接続
ソースコードをGitHubに格納します。
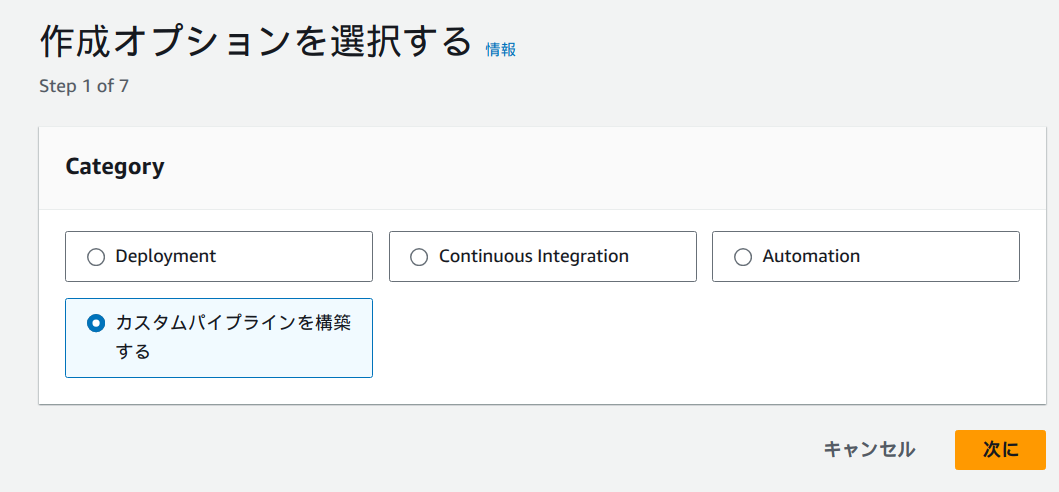
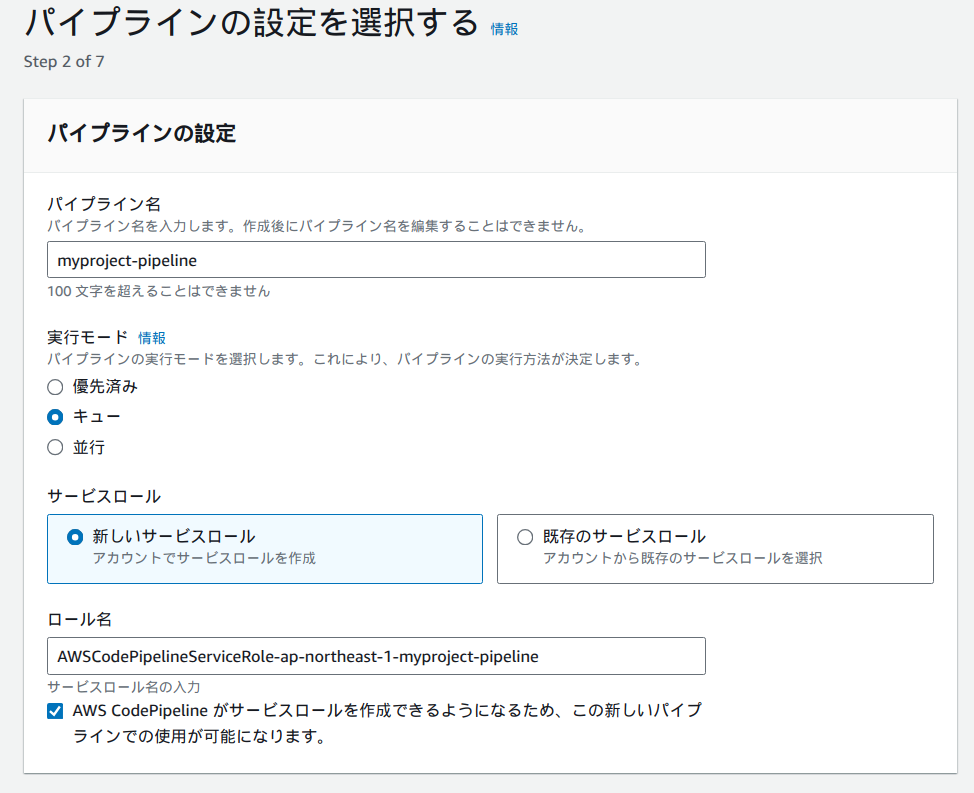
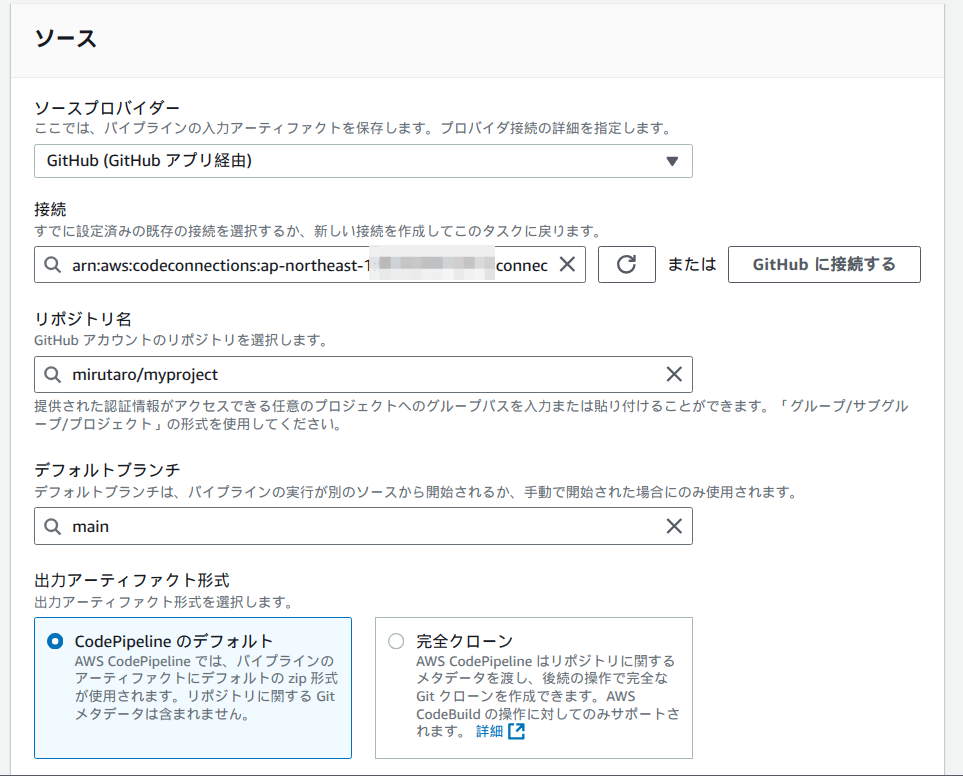
Pipelineを設定します。
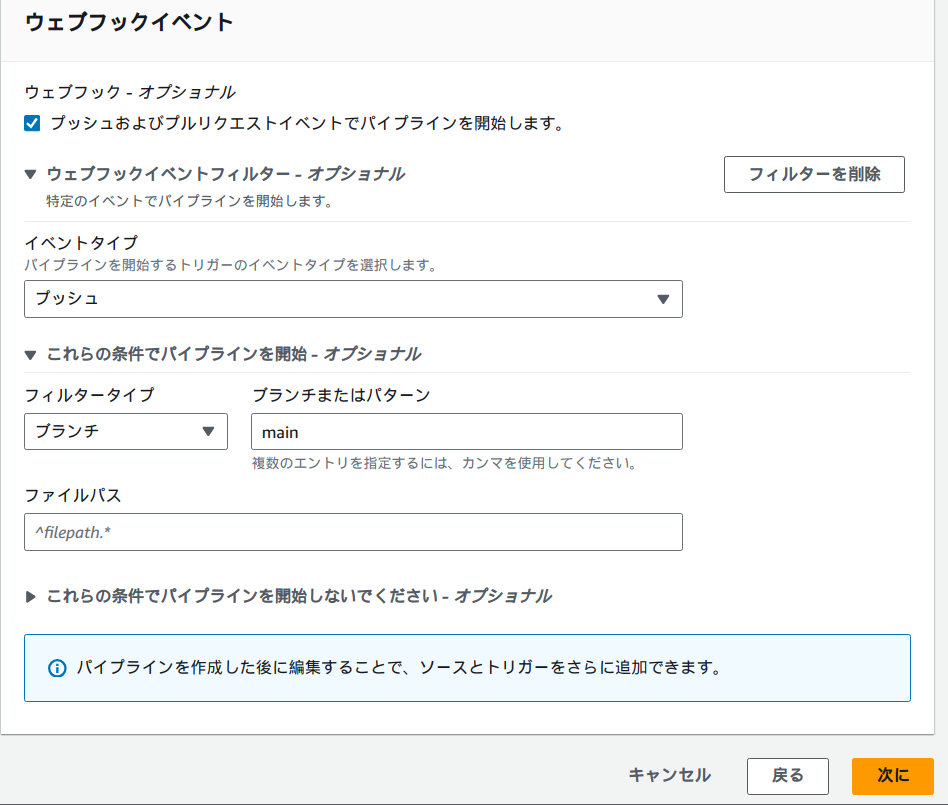
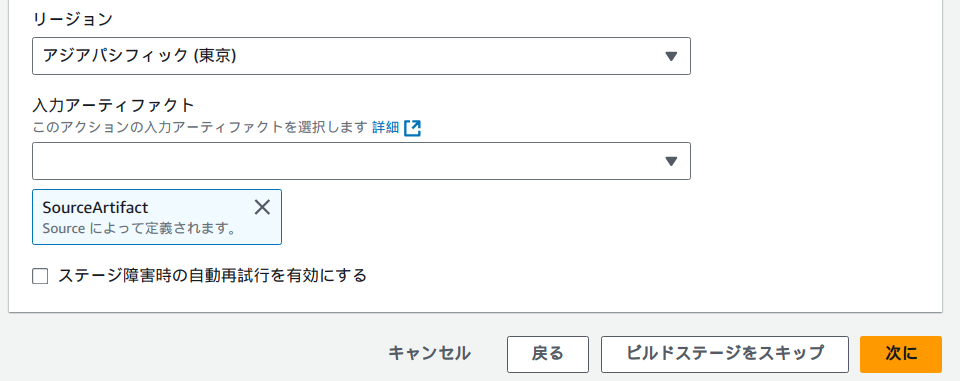
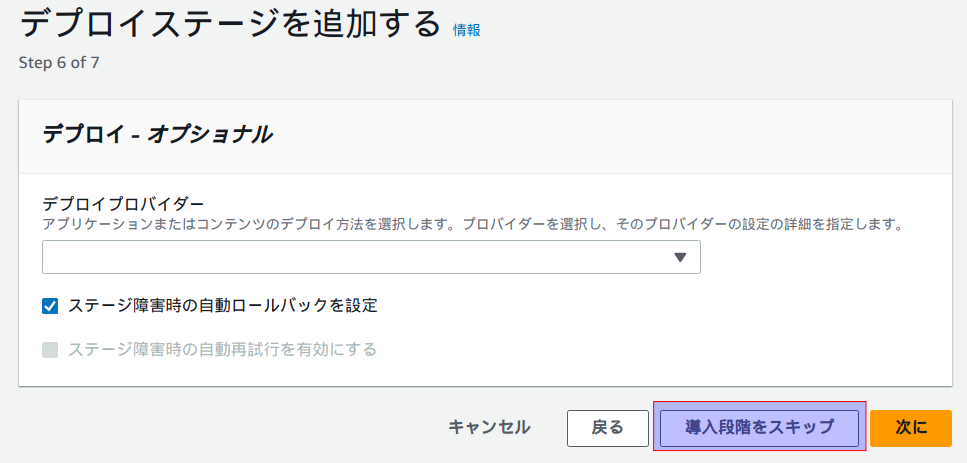
トリガー、ソース、ビルドを設定し、テストとデプロイステージはスキップします。
今回mainブランチの更新がかかったらトリガーさせるために下図のように設定します。
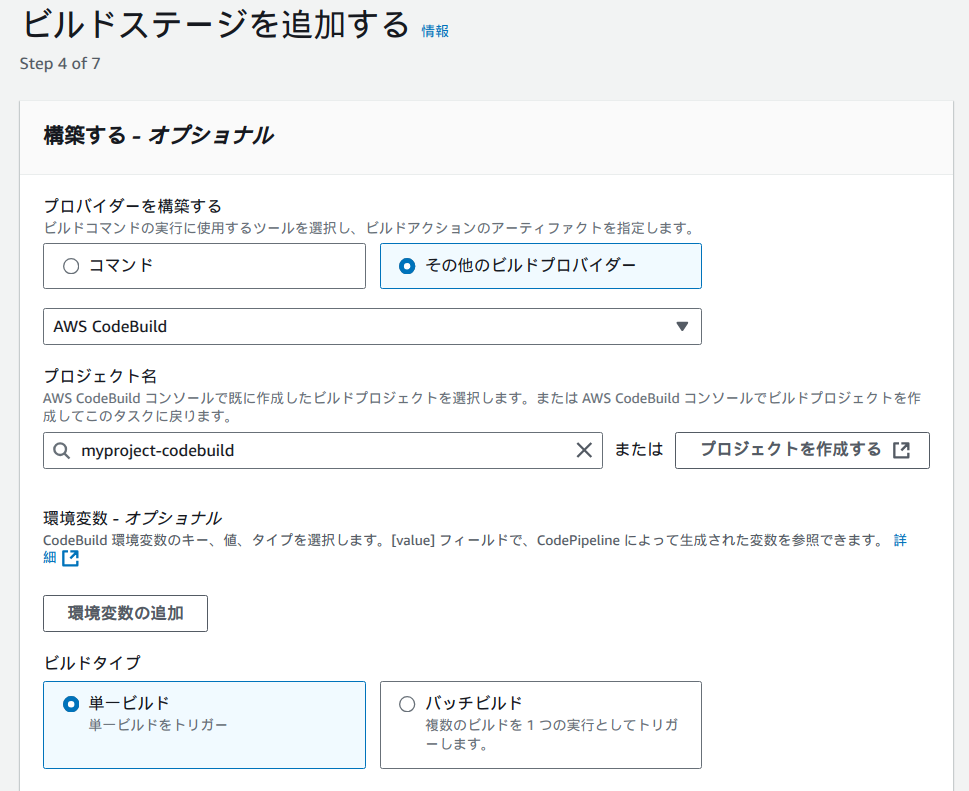
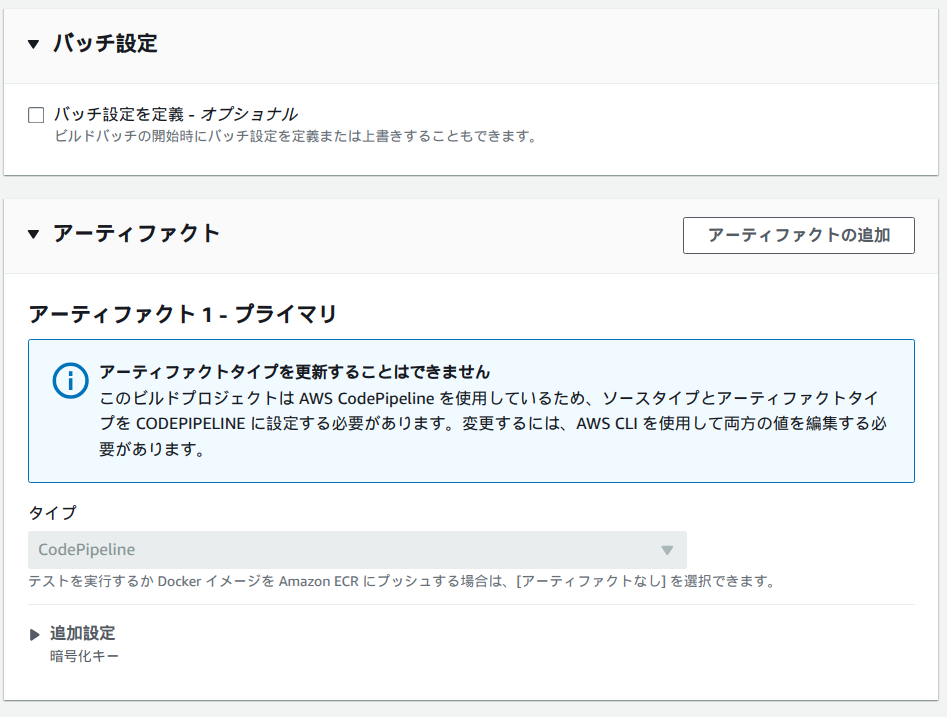
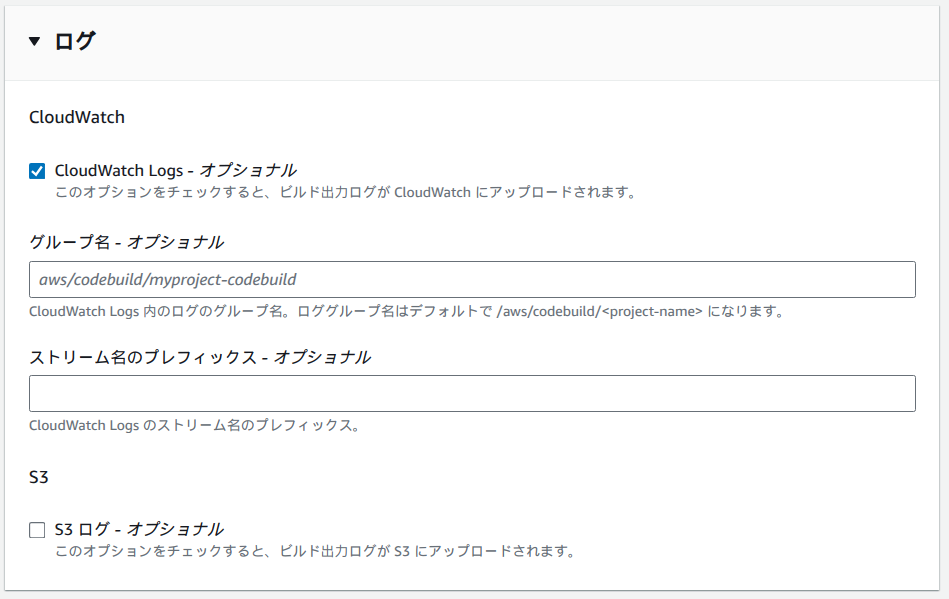
S3へ同期するためのCodeBuildプロジェクトを作成します。(設定内容は後述)

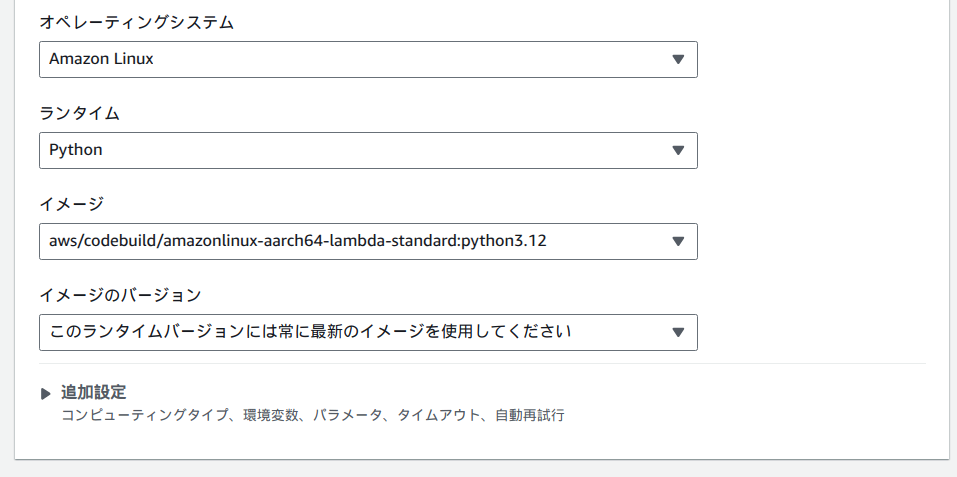
CodeBuild
GitHubリポジトリのソースコードをS3へ同期するための設定です。
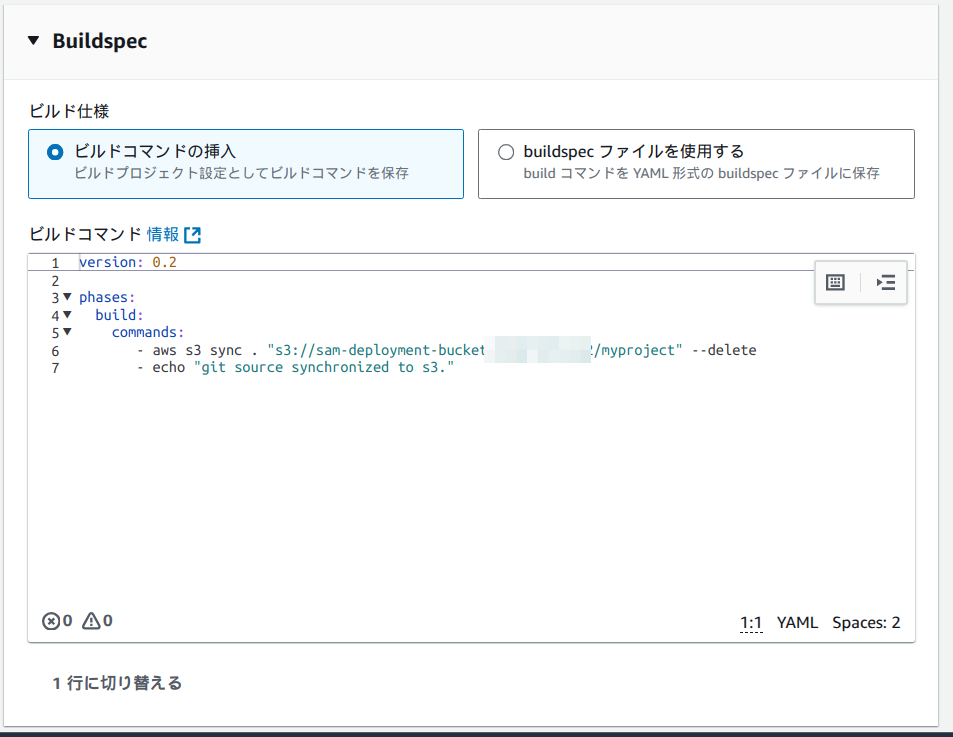
version: 0.2

phases:
  build:
    commands:
       - aws s3 sync . "s3://sam-deployment-bucket-123456789012/myproject" --delete
       - echo "git source synchronized to s3."
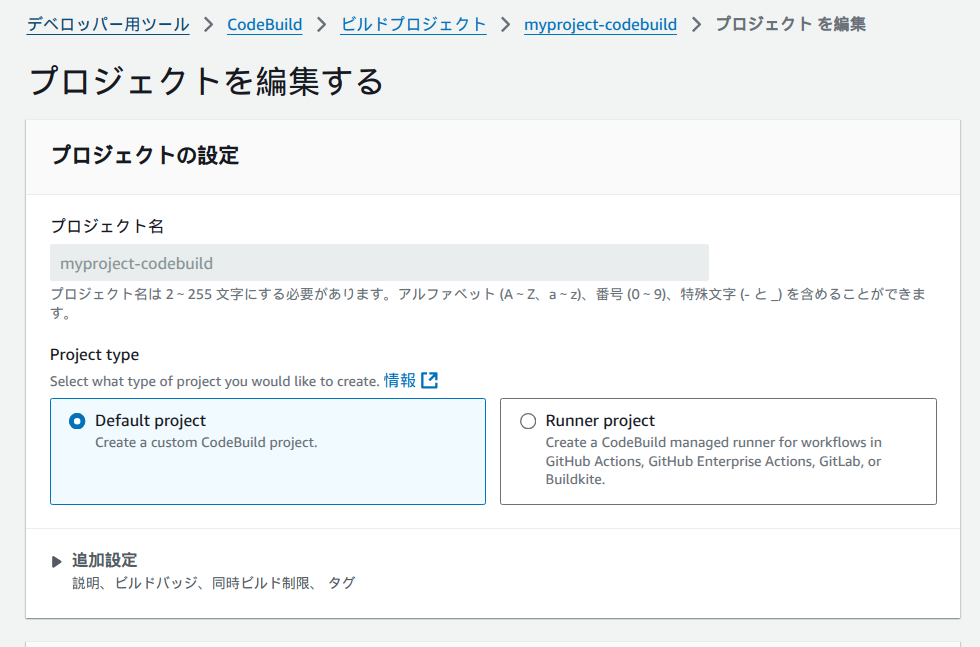
サービスロールは新規作成(下図は作成後の編集画面)
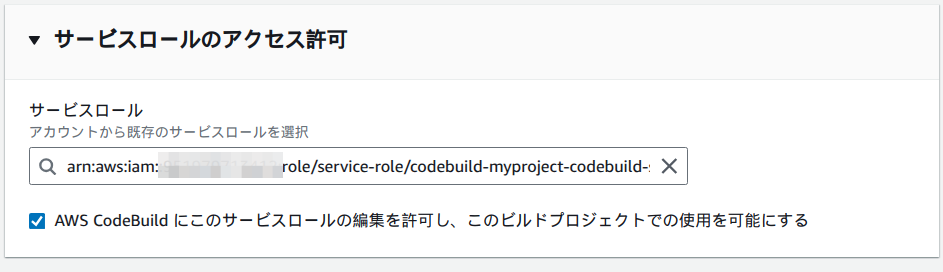
サービスロールには、ソースを格納するS3バケットへの権限を後で追加してください。
ここまでの設定で、ソースコードをmainブランチへプッシュすると、GitHubリポジトリとS3が同期されます。
S3同期の確認
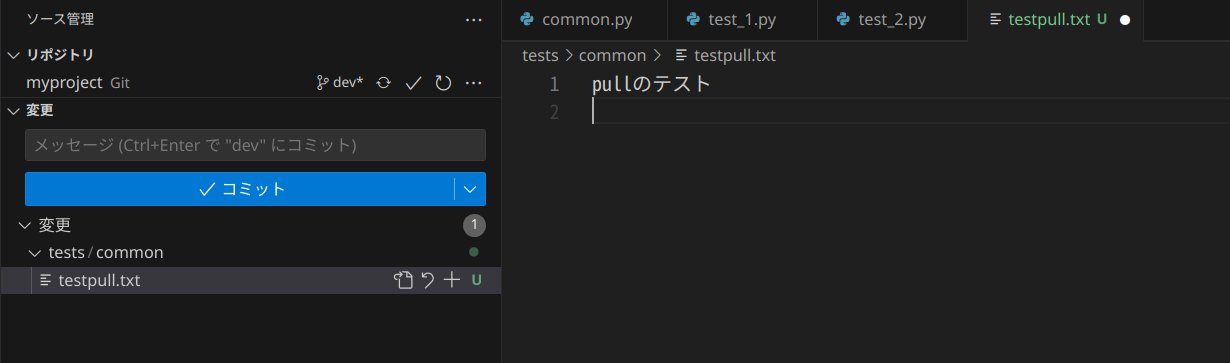
テスト用のファイルを作成しコミットします。
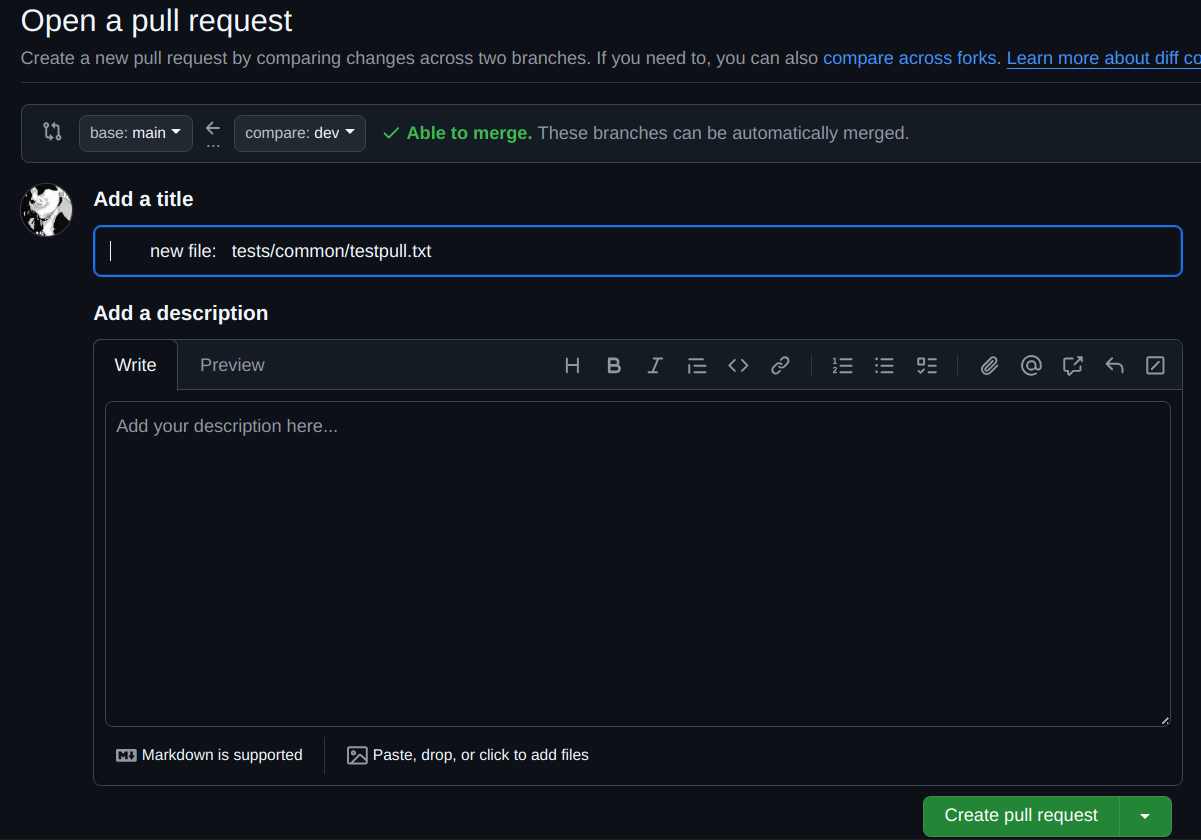
GitHubでプルリクエストを行い、mainブランチへ追加したテストファイルをプッシュします。

ソース変更がトリガーとなり、CodeBuildプロジェクトが開始されます。
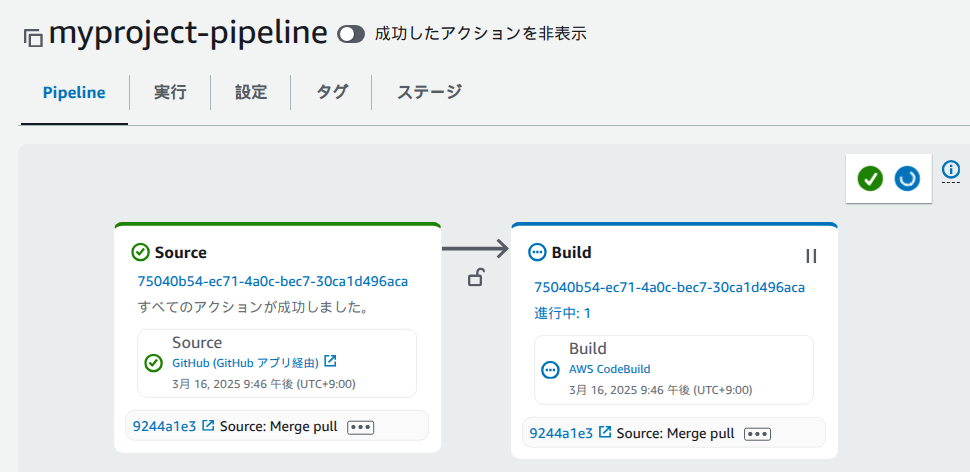
ビルドログより、コンテナ上でS3同期コマンドが実行されていることが確認できます。
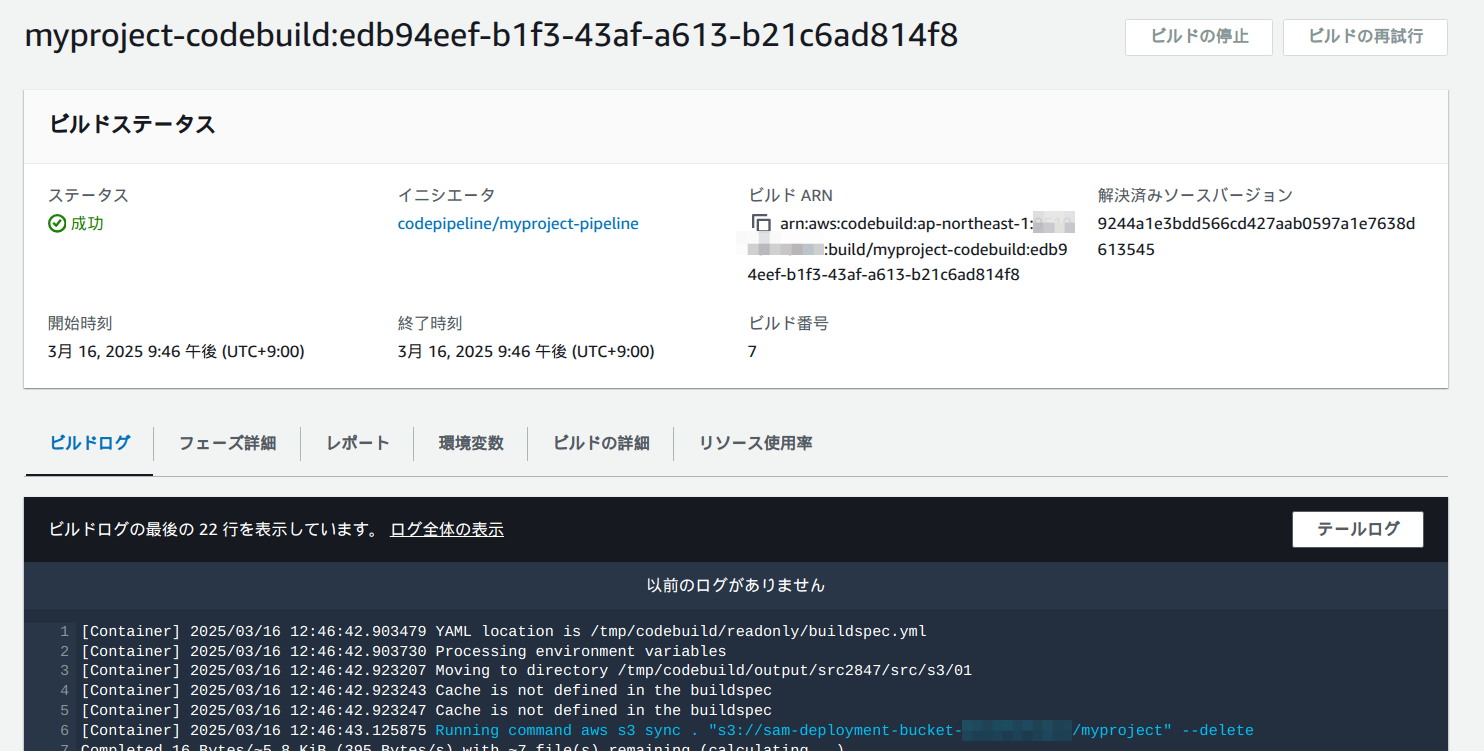

追加したテストファイルが、S3に反映されました。Pipelineは正しく構成されたようです。

自動テストとデプロイ
次に、S3に同期したソースコードからLambda関数をデプロイするための、もう1つのCodeBuildプロジェクトを作成します。Pipelineに組み込み、一連のタスクとして実行できると思いますが、デプロイの直前に人間による確認と操作を要求するようにしたいため、敢えて独立したプロジェクトにします。
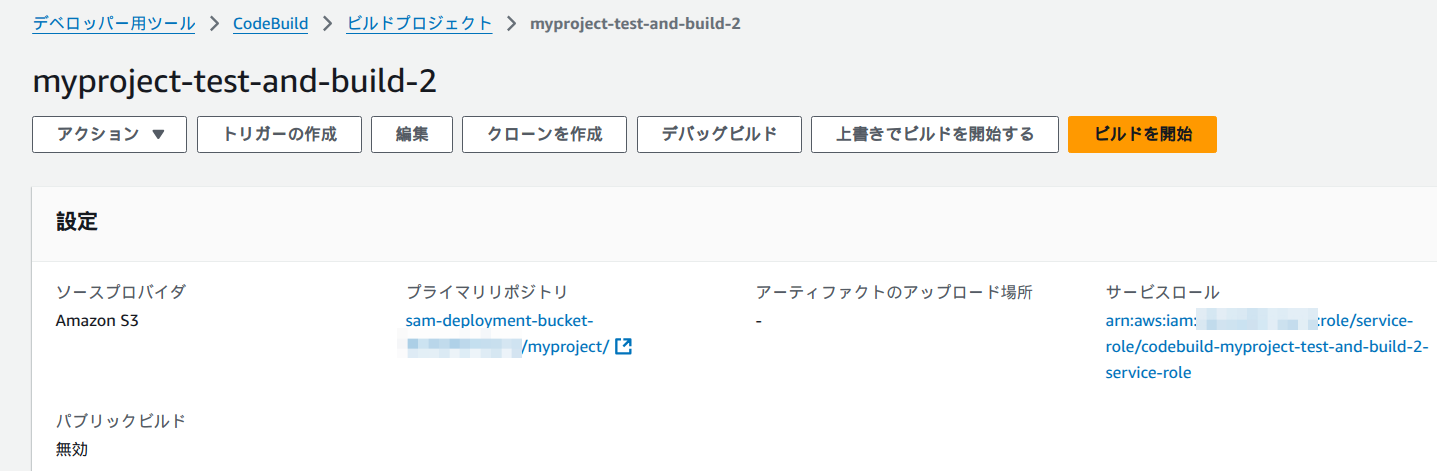
2つめのCodeBuild(1つめとの違いのみ記載)
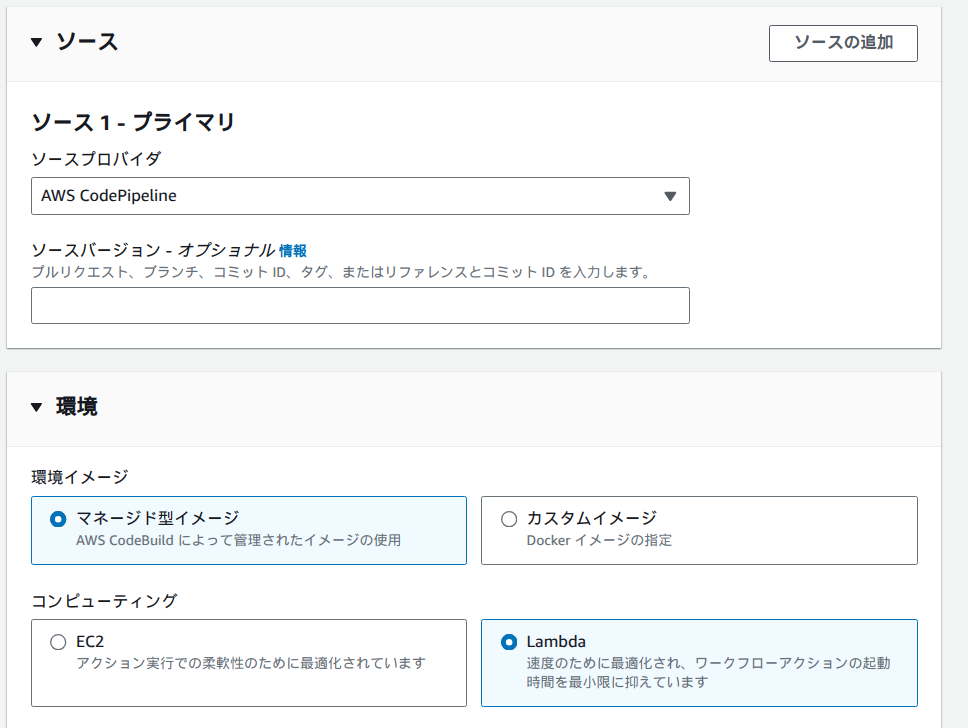
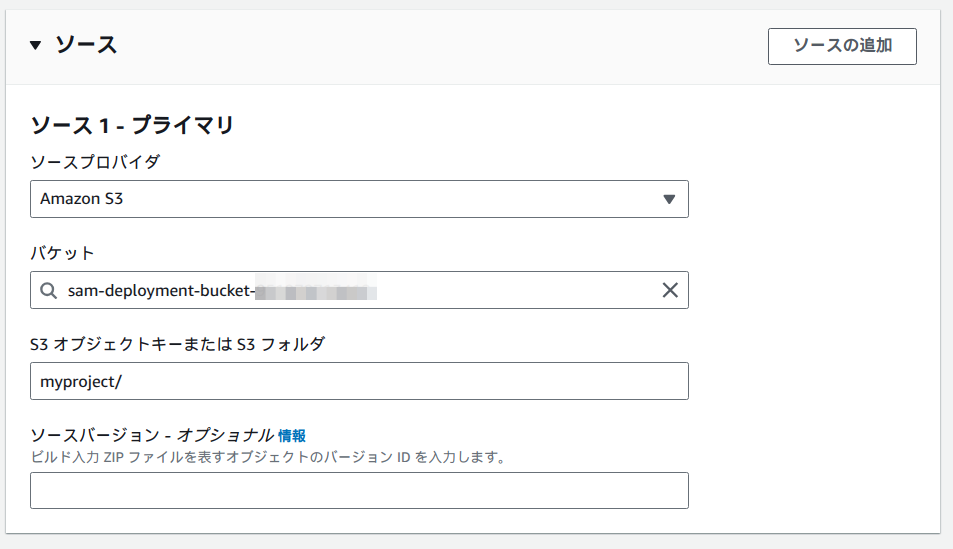
S3バケットをソースに設定します。
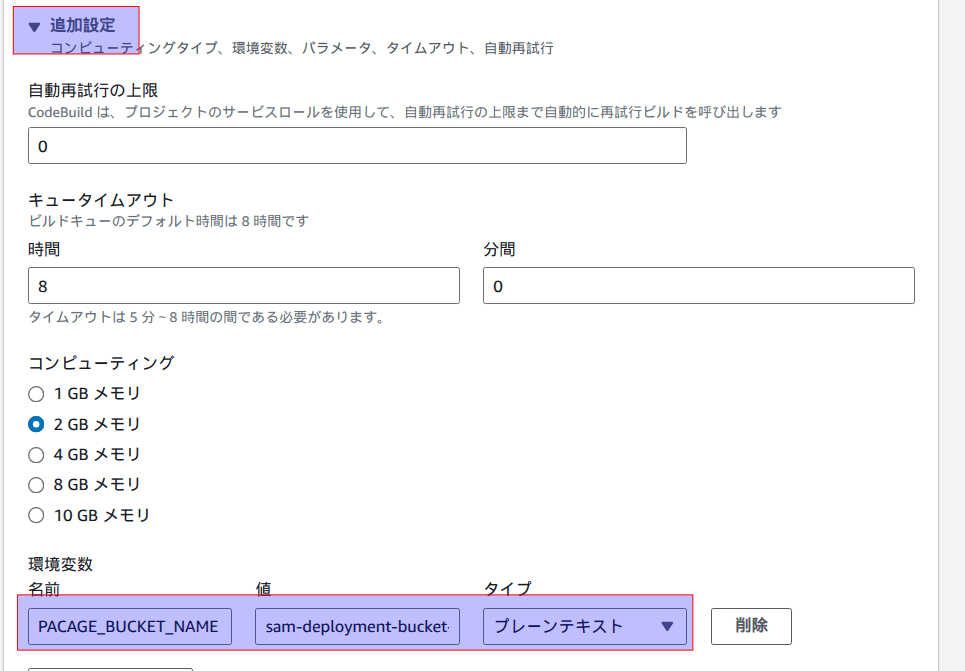
環境変数を設定します。(ビルドパッケージを格納するバケットの指定で使用)
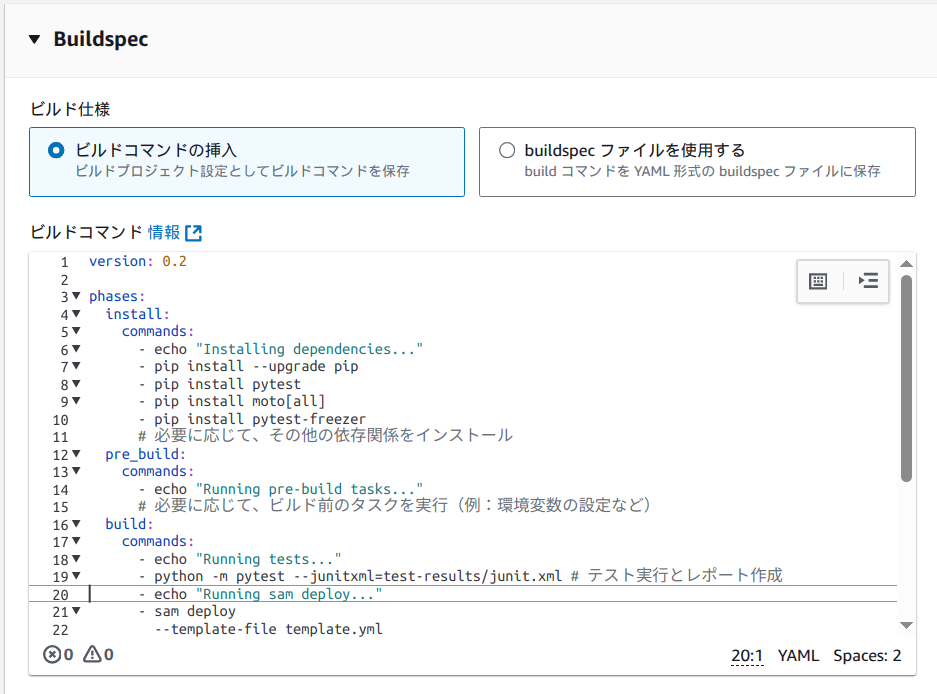
version: 0.2

phases:
  install:
    commands:
      - echo "Installing dependencies..."
      - pip install --upgrade pip
      - pip install pytest
      - pip install moto[all]
      - pip install pytest-freezer
      # 必要に応じて、その他の依存関係をインストール
  pre_build:
    commands:
      - echo "Running pre-build tasks..."
      # 必要に応じて、ビルド前のタスクを実行(例:環境変数の設定など)
  build:
    commands:
      - echo "Running tests..."
      - python -m pytest --junitxml=test-results/junit.xml # テスト実行とレポート作成
      - echo "Running sam deploy..."
      - sam deploy
        --template-file template.yml
        --stack-name myproject-app
        --capabilities CAPABILITY_IAM CAPABILITY_NAMED_IAM CAPABILITY_AUTO_EXPAND
        --s3-bucket ${PACAGE_BUCKET_NAME}
        --s3-prefix package
  post_build:
    commands:
      - echo "Post-build tasks..."
      # 必要に応じて、ビルド後のタスクを実行(例:成果物のアップロードなど)
reports:
  pytest_reports:
    files:
      - '**/*'
    base-directory: ./test-results
    file-format: JUNITXML
サービスロールには、CloudFormation、Lambda、IAMを操作するための権限を後で追加してください。
テストがエラーとなる場合の動作
CodeBuildプロジェクトを手動で実行します。
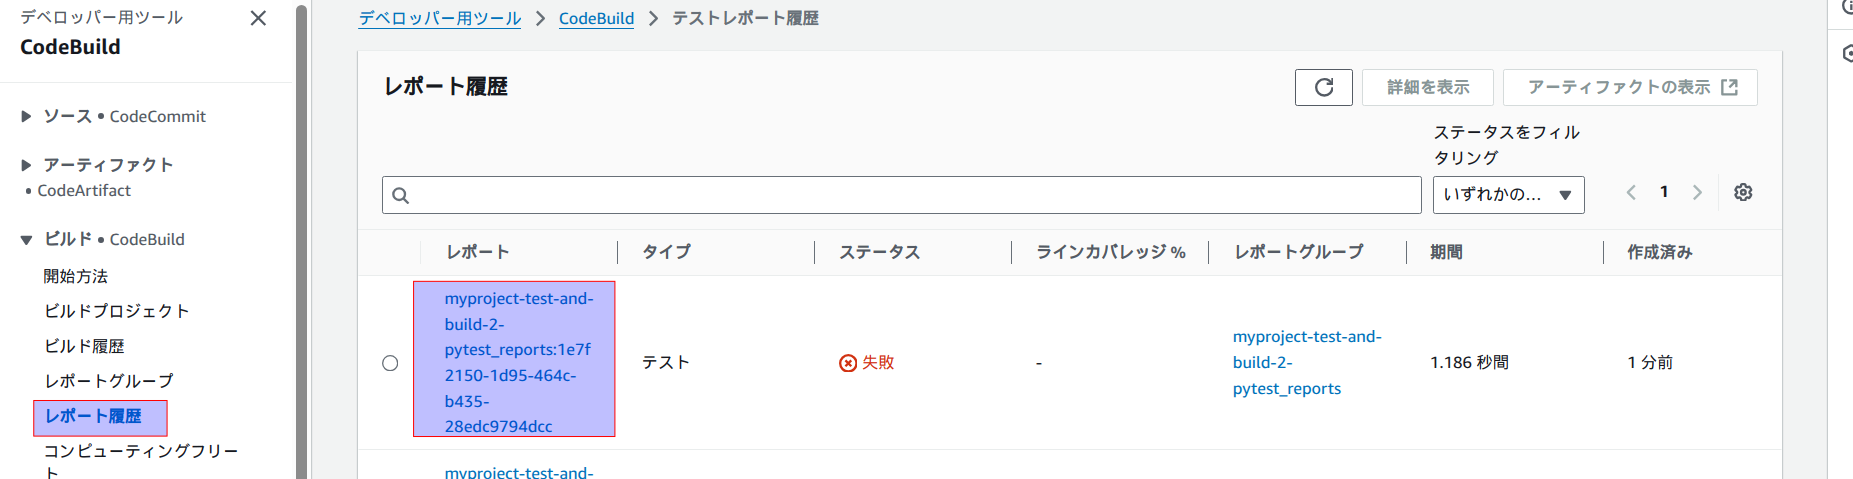
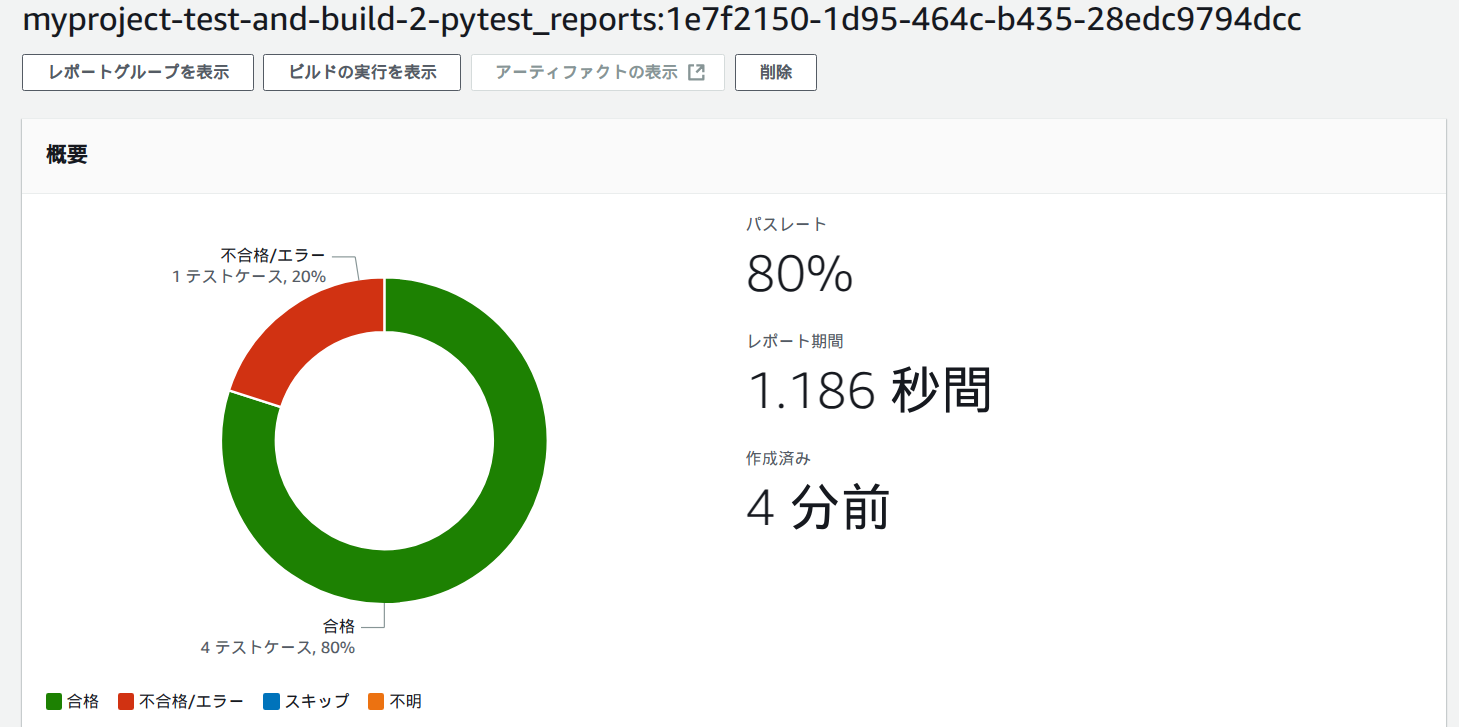
ビルドログに、テストFAILが表示されて、後続のデプロイが実行されていないことが確認できます。

左ペイン「レポート履歴」から、テストのサマリーを確認できます。
※buildコマンド中で、単体テスト結果をレポート出力するようオプション指定しています。
テストがOKとなる場合の動作
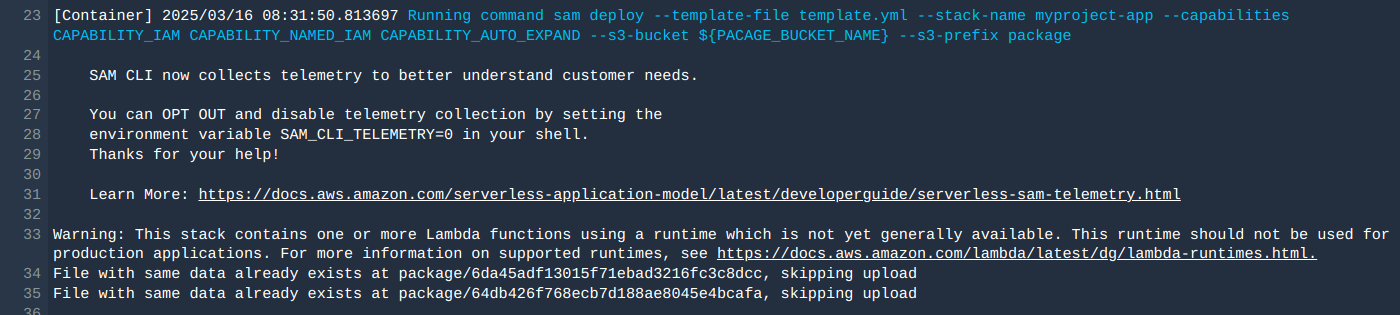
単体テストがOKだった場合、ビルドログにLambda関数のデプロイ処理が出力されます。
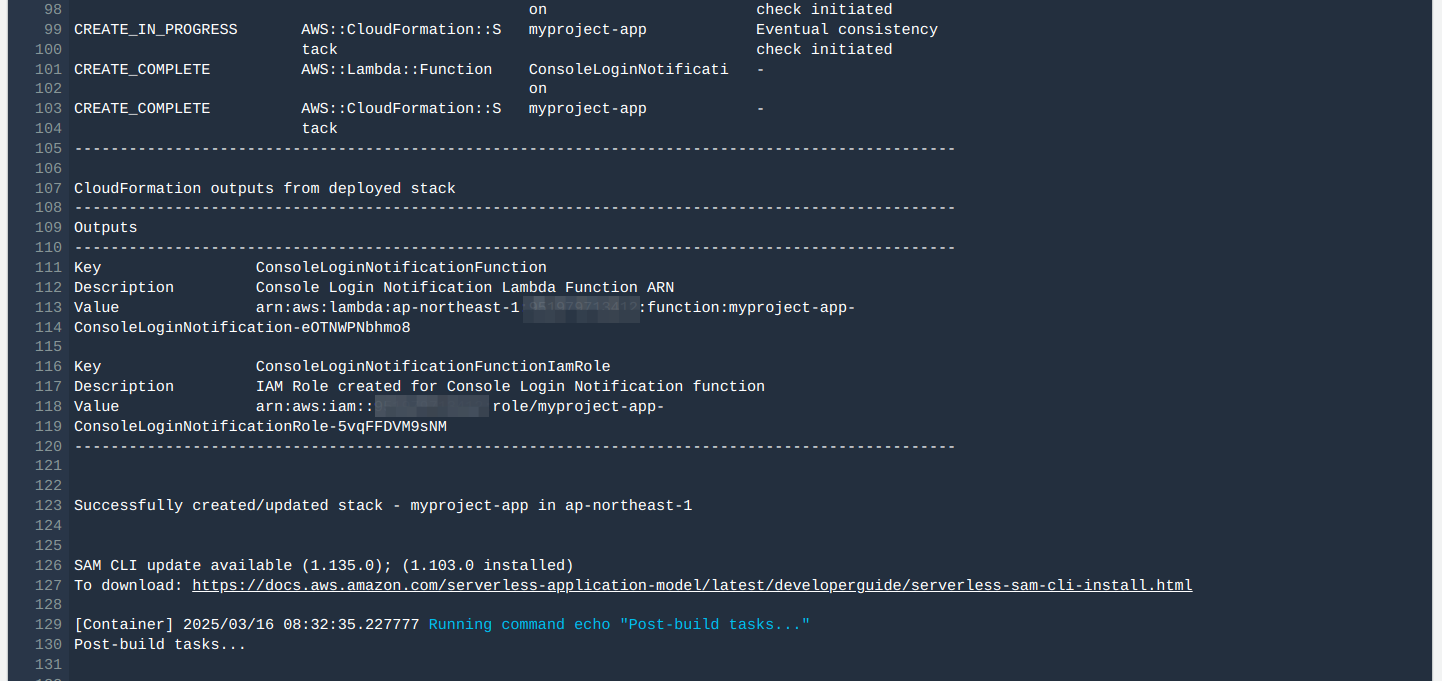
CloudFormationを確認すると、samアプリケーション用のスタックが作成され、Lambda関数、レイヤー関数、IAM Roleリソースが作成されていることが確認できます。
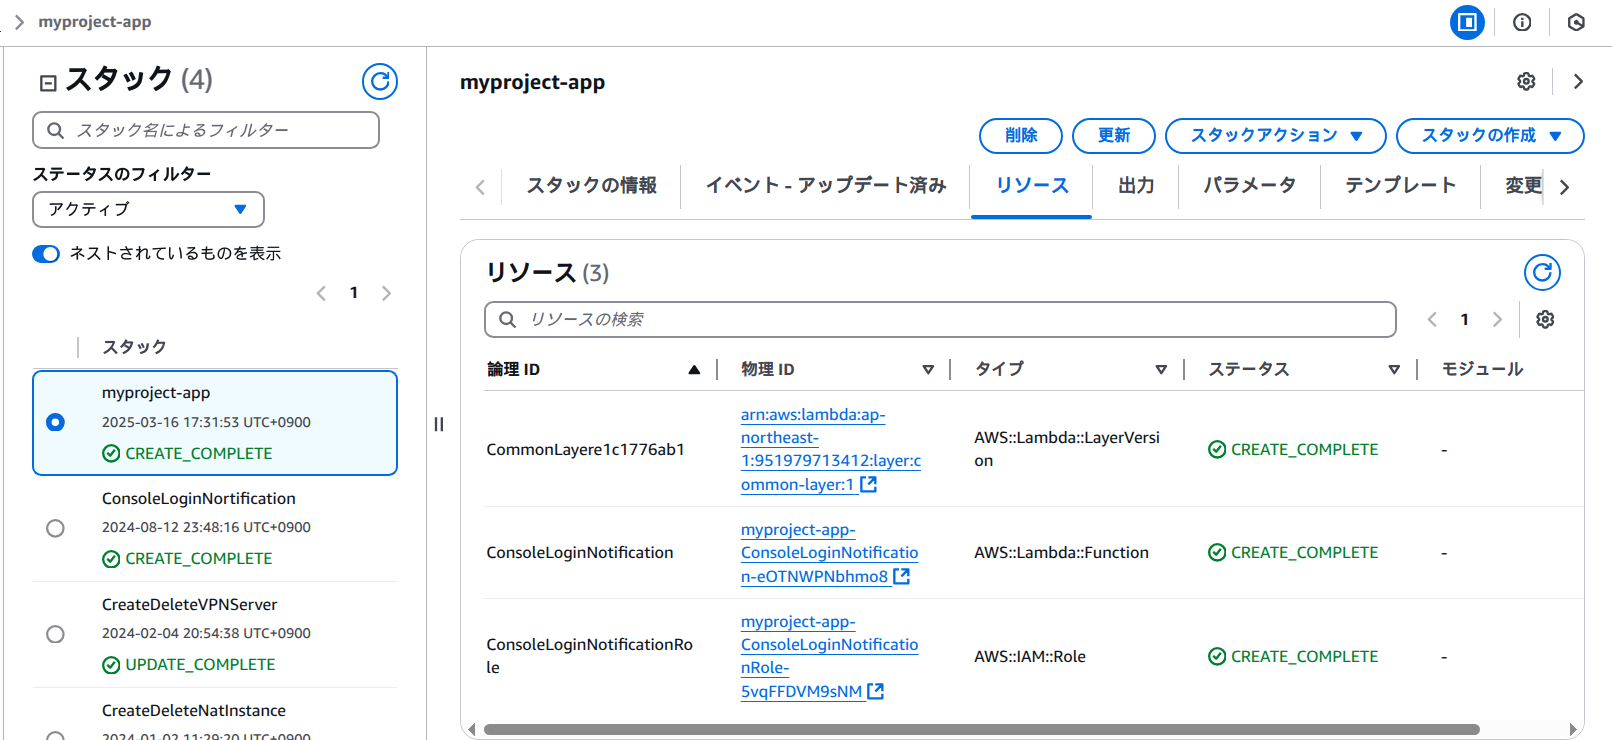


テストとデプロイを行うCodeBuildプロジェクトが無事設定できました。
応用
今回は単一のアカウントでのPipeline化でしたが、マルチアカウント環境でも構成可能です。
- ブランチ毎に対応するアカウントへデプロイする構成
- CodeBuildeがS3へアクセスするためのクロスアカウントでの権限設定が必要
最後に
今回やっと自分の理解が追いつき、AWS LambdaのCI/CD環境をCodePipelineとCodeBuildを用いたパターンで構成できました。私自身、今回の対応を実務に応用することでソースコードが管理しやすくなり、テストとデプロイの自動化によって作業時間の短縮とミスの軽減に繋がると期待しています。Lambdaレイヤーにも対応しましたので、ある程度複雑なアプリケーションの構成にも適用できると思われます。本記事が皆様のお役に立てれば幸いです。