Gatsbyとは
Reactベースの静的サイトジェネレータのこと
利点や仕組みなどについては
Reactベース静的サイトジェネレータGatsbyの真の力をお見せします
https://qiita.com/uehaj/items/1b7f0a86596353587466
に記載されています。技術ブログを開始しようと考えるにあたりReactベースのわりと新しめの技術を使いかったため使用いたしました。
Netlify
静的なサイトを超高速で提供できるWebサービスのこと
上記のGatsbyと組み合わせることで、GitHubにPUSHしたフロントエンド資材を一気に公開することができます。
手順(yarn)
gatsby-cliをグローバルにインストールします
yarn global add gatsby-cli
cliを利用して、ブログを作成します。
デザインテンプレートは Gatsby Starters を利用します。
gatsby new <site-name> <Gatsby Starters>
コンソール上にも表示されるが、
以下のコマンドで、内容をローカル確認することができる。
cd <site-name>
gatsby develop
http://localhost:8000/
ファイルの構造は、利用したスターターによると思うので、readmeとかを覗いて調べる。
GitHubへPUSH
GitHubにプッシュしたNetlifyへのデプロイという流れなので、
まずはGitHubにPUSHします。
git init
git add .
git commit -m "first commit"
git remote add origin <追加したいリポジトリURL>
git push -u origin master
Netlifyでデプロイ
アカウント作成後、以下のNew site from Gitをクリックします。

Create a new siteのページに移るので
GitHubを選択します。

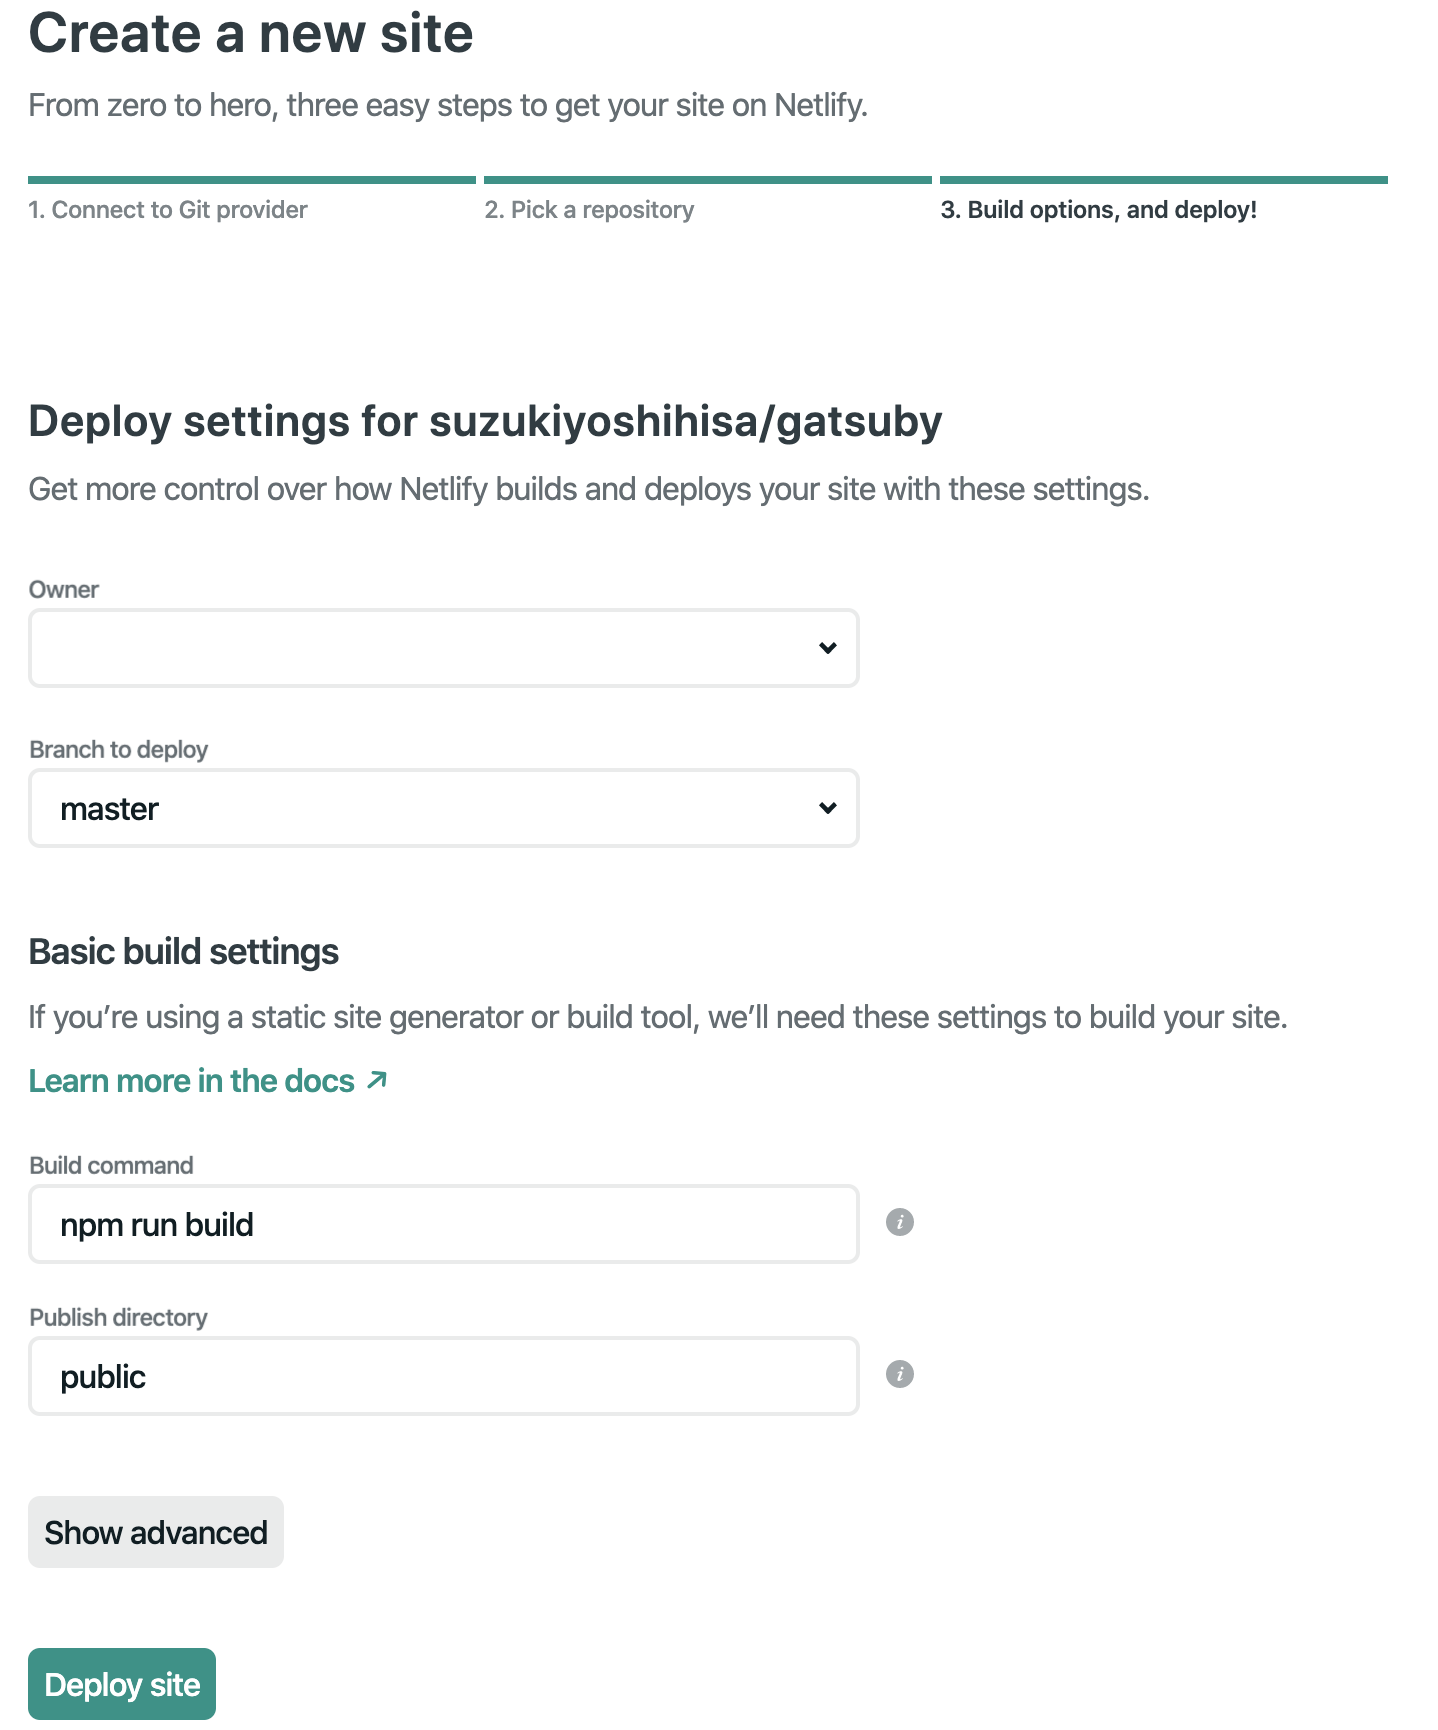
ownerやBranchを設定して
最後に下のDeploy Siteを選択するとサイトがデプロイされます。
