なにをするのか?
UnityのAndroid SDKがないときに手動でいれる.
環境
- Windows 10 Pro
- Unity 2019.4.8f1
なんでやったか?
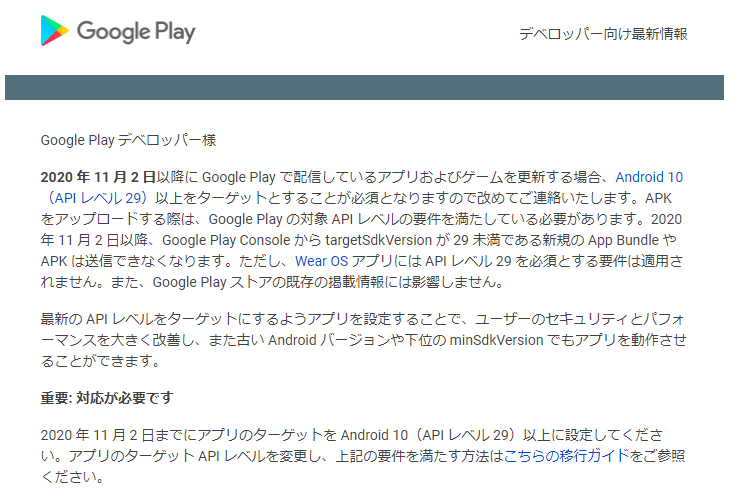
2020年11月2日以降にGoogle Playで公開するアプリは Android 10(API 29以上)にする必要があったため.
APIレベルを指定する方法
Unityでは,ビルドするときにAPIレベルを指定することができます.
Build Settings > Player > Identification > Minimum API Levelここを変えることで変更することができます.
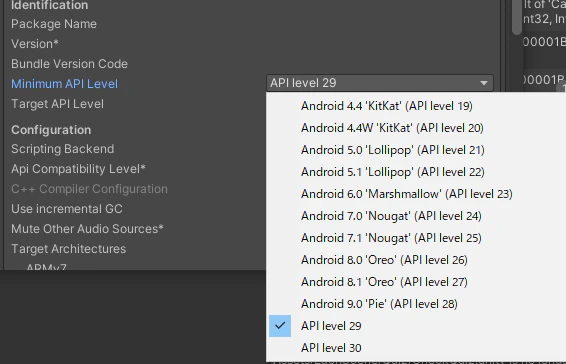
ここを指定してビルドしたときに,ビルドが成功すればAPIレベルを指定したものでアプリが作られます.
しかし,次の画像のように,Android SDK が見つからないというエラーが出た場合は手動でSDKを入れて対処することができます.
手動でAndroid SDKを入れる
Android SDKを手に入れる
- Android Studioを起動し,
Configure > SDKManagerを選択します.(Android Studioを入れていない方) - 手に入れたいAPIレベルを選択します.(今回はAndroid10.0 API Level29)
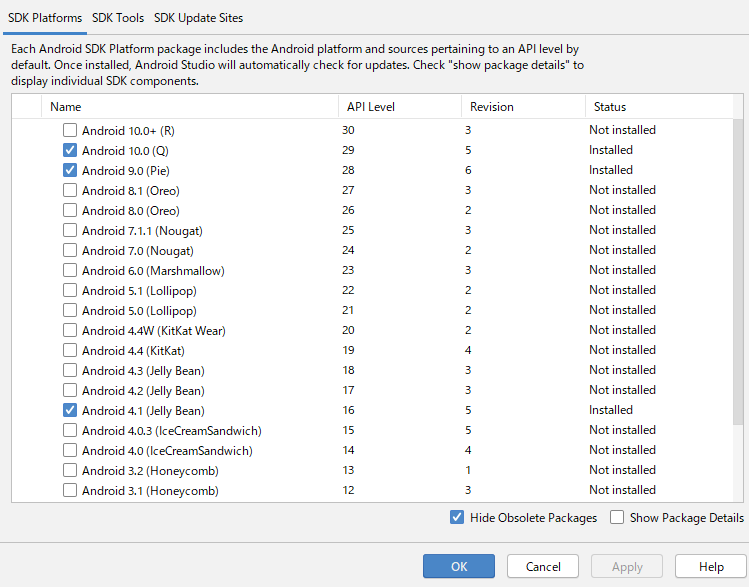
- Applyを押して待ちます.
- インストールが終わったら,Andorid SDK Locationのパスをコピーして,エクスプローラなどで開きます.
- 開いたフォルダの
platformsを選択するとandroid-29などインストールしたデータがあると思います.
UnityにSDKを追加する
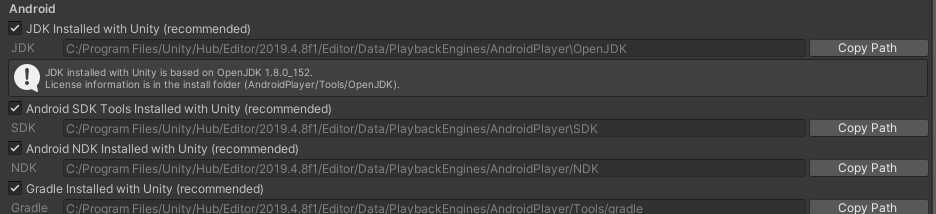
まずUnity内のAndroid SDKのパスを調べます.
Preferences > External Tools > Androidにパスが書いてあるのでコピーしてみてみましょう.
コピーしたフォルダの中にplatformsがあるのでその中に行きます.
するとandroid-28(自分の場合)などのフォルダがあると思います.ここにandroid-29がないので,Unityで見つけられていません.
ここにAndroid Studioからインストールしたandroid-29(入れたいフォルダ)を追加するとUnityがそれを使ってビルドすることができるようになります.
ビルドする
ここまでくると更新したSDKでビルドを行うことができると思います!