はじめに
はじめまして、megalomaです。Qiita初投稿です。
今回は、Android Studio1.x系から3.2系に更新した時の設定方法について書きます。
結構久しぶり(2年半くらい?)にAndroidアプリを作ろうとした時、Android Studioの更新や昔のプロジェクトのビルド設定を書き換えたりプラグインのインストールなど行ったのでそれについて書いてます。
変更前の環境は、以下の内容です。
| OS | MacOS High Sierra |
|---|---|
| Android Studio | 1.5 |
| Java | 1.7.0_79(記事内で変更) |
| targetSdkVersion | 22(Android5.1向け) |
Android Studioのアップデート
とりあえず公式サイトからAndroid Studioの最新版をDLします。
https://developer.android.com/studio/
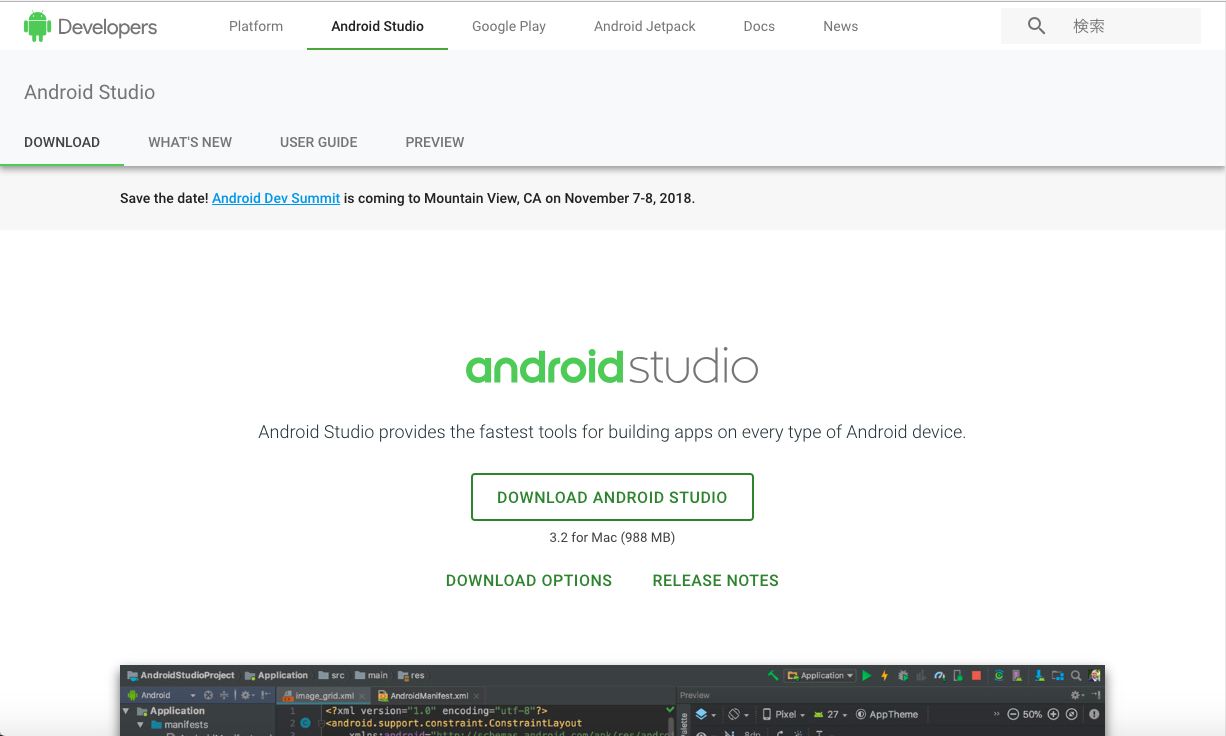
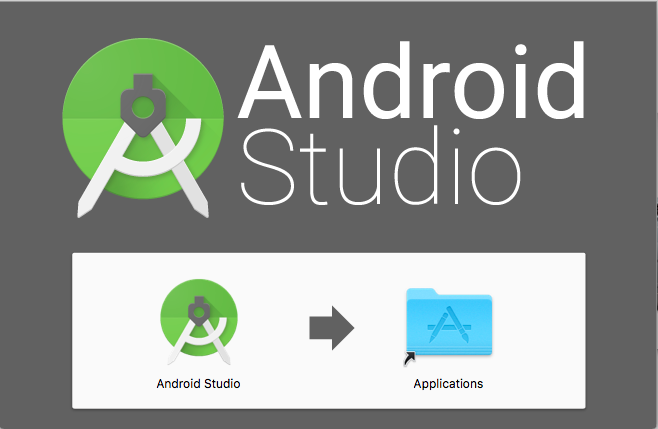
後は、Finderでdmgファイルを開き、アプリケーションにドラッグ&ドロップしファイルを上書きします。
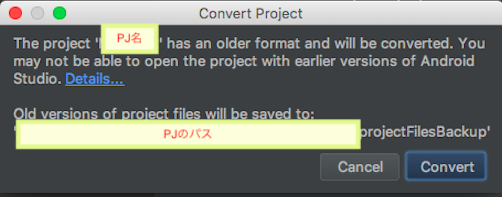
プロジェクトをコンバートする
最初にTOP画面からプロジェクトを開く時に下記のポップがでるのでプロジェクトを最新版の構成にコンバートします。
IDEプラグインをアップデートする
IDEの更新ポップが右下に出るので押下し更新する。
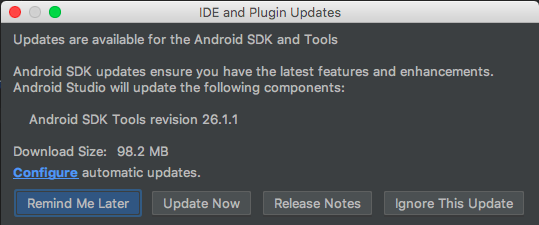
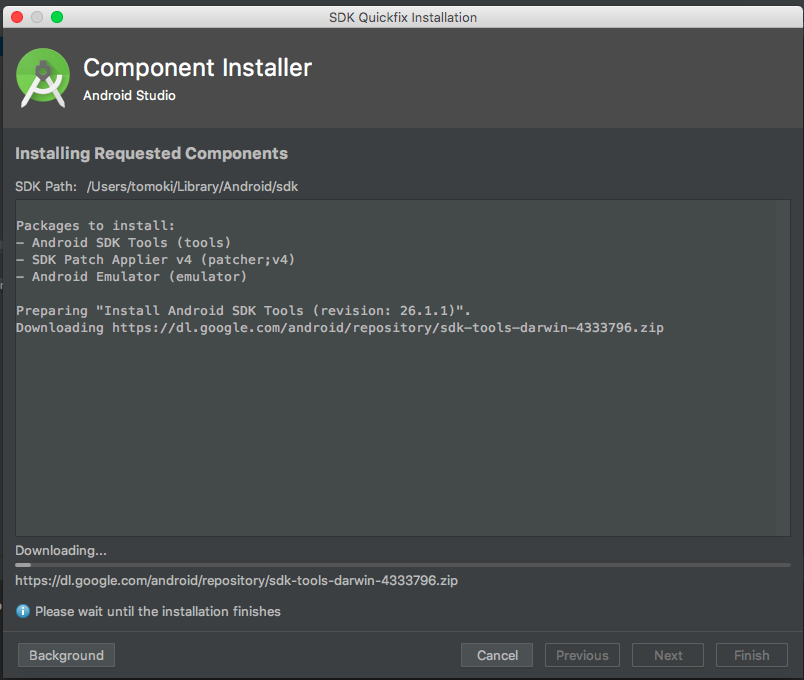
ポップがでるので承認すると以下のDL画面になる。
Gradleのアップデート
Event Logに以下のようなメッセージがでるのでGradleを更新する。
Gradle sync failed: Minimum supported Gradle version is 4.1. Current version is 2.4.
If using the gradle wrapper, try editing the distributionUrl in /【PJ名】/gradle/wrapper/gradle-wrapper.properties to gradle-4.1-all.zip
Consult IDE log for more details (Help | Show Log) (10 s 298 ms)
以下のファイルのURLをver4.1用に変更する。
distributionUrl=https\://services.gradle.org/distributions/gradle-4.1-all.zip
また、mavenのパスも変更する。
buildscript {
    repositories {
        jcenter()
        maven {
            url 'https://maven.google.com/'
            name 'Google'
        }
    }
    dependencies {
        classpath 'com.android.tools.build:gradle:3.0.1'
    }
}
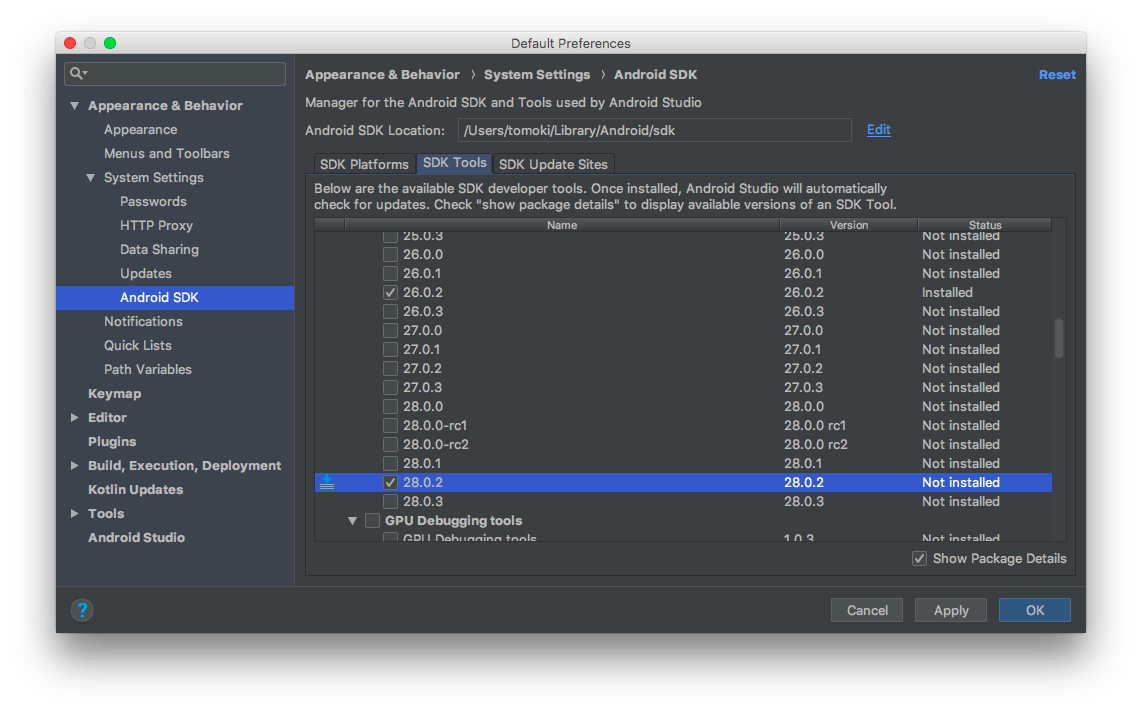
上記設定でビルドすると以下のエラーが出るので、対応するSDK Build-ToolsをDLする。
Gradle sync failed: Failed to find Build Tools revision 28.0.2
Consult IDE log for more details (Help | Show Log) (2 m 51 s 964 ms)
上部メニューから「Tools」->「SDK Manager」を選択する。
対応するAndroid SDK Build-Tools(今回は上記エラーメッセージからver28.0.2)をDLする。
Module側のbuild.gradleもBulild tool 28.0.2を使うように編集する。
(2018/10/02 コメントより修正)
2018年8月以降は、targetSdkVersionは26以上がリリースには必須のためcompileSdkVersionと一緒に28に変更しました。
また、Gradle 3.0.0以降ならbuildToolsVersionも指定しなければデフォルトを使うようなので削除しました。
参考:
Android plugin for Gradle 3.0.0からは、buildToolsVersionを指定しなくてもよくなったっぽい
android {
    compileSdkVersion 28

    defaultConfig {
        applicationId " ... "
        minSdkVersion 19
        targetSdkVersion 28
        versionCode 1
        versionName "1.0"
    }
    buildTypes {
        release {
            minifyEnabled false
            proguardFiles getDefaultProguardFile('proguard-android.txt'), 'proguard-rules.pro'
        }
    }
}
Javaのアップデート
(※1.8以上のバージョンを使ってる方は不要です。)
Build Logに以下のエラーが出るので、JDKを1.8に変更する。
com/android/build/gradle/AppPlugin : Unsupported major.minor version 52.0. Please use JDK 8 or newer.
Use embedded JDK (recommended)
Download JDK 8
Select a JDK from the File System
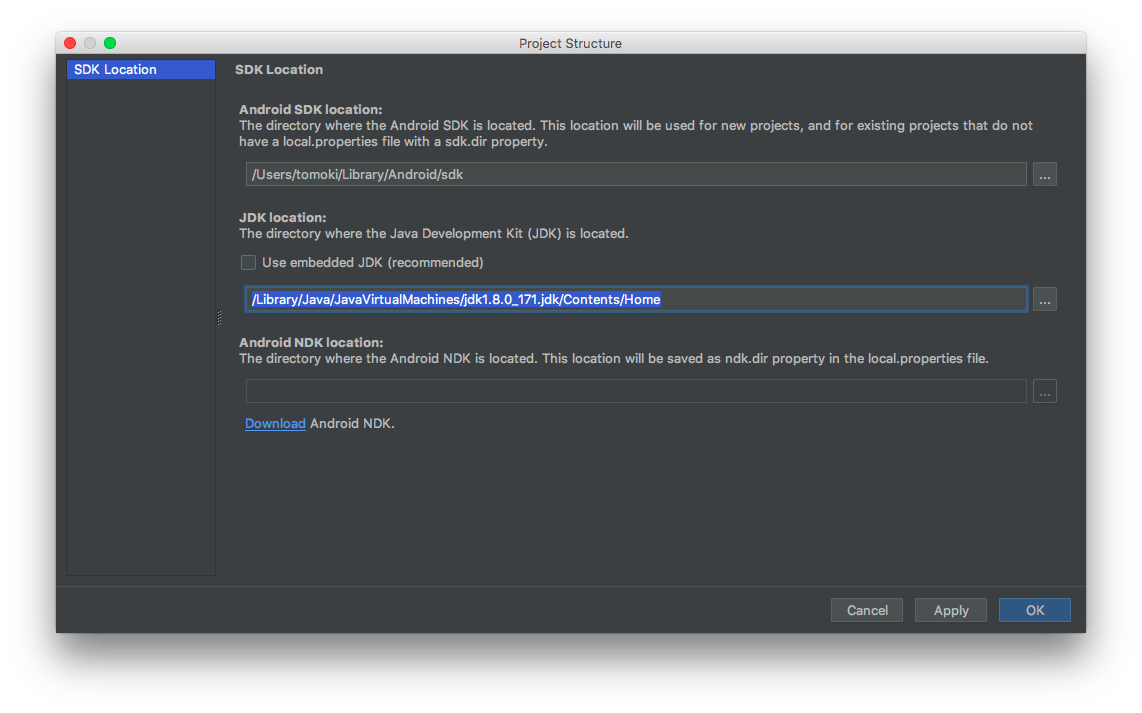
インストルーしてない場合は上記のリンクからDLしてインストール後、Android Studioに戻り
上部メニューから「File」->「Other Settingd」->「Default Project Structure」をクリックし「JDK location」を変更する。
Gradleのdependenciesを変更
ビルド後、以下の警告が出る。
下2つはプロジェクトによって異なるが、今回使用したプロジェクトはtestCompile,testApiを使用していたため出ている。
Configuration 'compile' is obsolete and has been replaced with 'implementation' and 'api'.
It will be removed at the end of 2018. For more information see: http://d.android.com/r/tools/update-dependency-configurations.html


Configuration 'testCompile' is obsolete and has been replaced with 'testImplementation' and 'testApi'.
It will be removed at the end of 2018. For more information see: http://d.android.com/r/tools/update-dependency-configurations.html


Configuration 'testApi' is obsolete and has been replaced with 'testImplementation'.
It will be removed at the end of 2018. For more information see: http://d.android.com/r/tools/update-dependency-configurations.html
どうやらbuild.gradle内のcompireやtestCompileなどは非推奨になったようなので、以下のようにimplementationやtestImplementationへ変更する必要があります。
参考:
Android Developer:Add build dependencies
TeraTail:Android Studio Gradle エラー
(2018/10/02 コメントより修正)
dependencies {
    compile fileTree(dir: 'libs', include: ['*.jar'])
    testCompile 'junit:junit:4.12'
    compile 'com.android.support:appcompat-v7:22.2.0'
    compile 'com.android.support:design:22.2.0'
}
↓
dependencies {
    implementation fileTree(dir: 'libs', include: ['*.jar'])
    testImplementation 'junit:junit:4.12'
    implementation 'com.android.support:appcompat-v7:22.2.0'
    implementation 'com.android.support:design:22.2.0'
}
とりあえず以上で設定終了です。
上記設定で、ビルドから実機実行までできました。
参考
ほとんど同じ記事(こっちのほうが詳しい?)
一応1.x系からの更新だったので変更点あるかと思って書いたけどほぼなかったです。
- Android Studioを2.3から3.0へ移行する