コード:https://github.com/mo49/firebase_test
Firebase console
Googleアカウントでログイン
https://console.firebase.google.com/
Firebase CLI
以下を参考に、プロジェクト作成までを行う
https://firebase.google.com/docs/cli/?hl=ja
プロジェクト自体はFirebase consoleで作っておいたほうがシンプル
(CLIではプロジェクトを選択するだけにする)
ローカルで起動させる
$ firebase serve
データベースのルール変更
親の階層のルールが子へとカスケードされる書き方
{
  "rules": {
    ".read": "true",
    "message": {
      ".write": "auth != null"
    },
    "info": {
      ".write": "true"
    }
  }
}
「データベース/messageの書き込みには認証が必要」
「データベース/infoの書き込みには認証が不要」という設定
書き込み・読み込み
書き込み
const databaseRef = firebase.database().ref();
// set
databaseRef.set()
読み込み
パスデータの変更をvalueイベントでリッスンする
// on
databaseRef.on('value',snapshot => {
  console.log(snapshot.val());
})
// once(1回のみ)
databaseRef.once('value').then(snapshot => {})
参考
https://firebase.google.com/docs/database/web/read-and-write
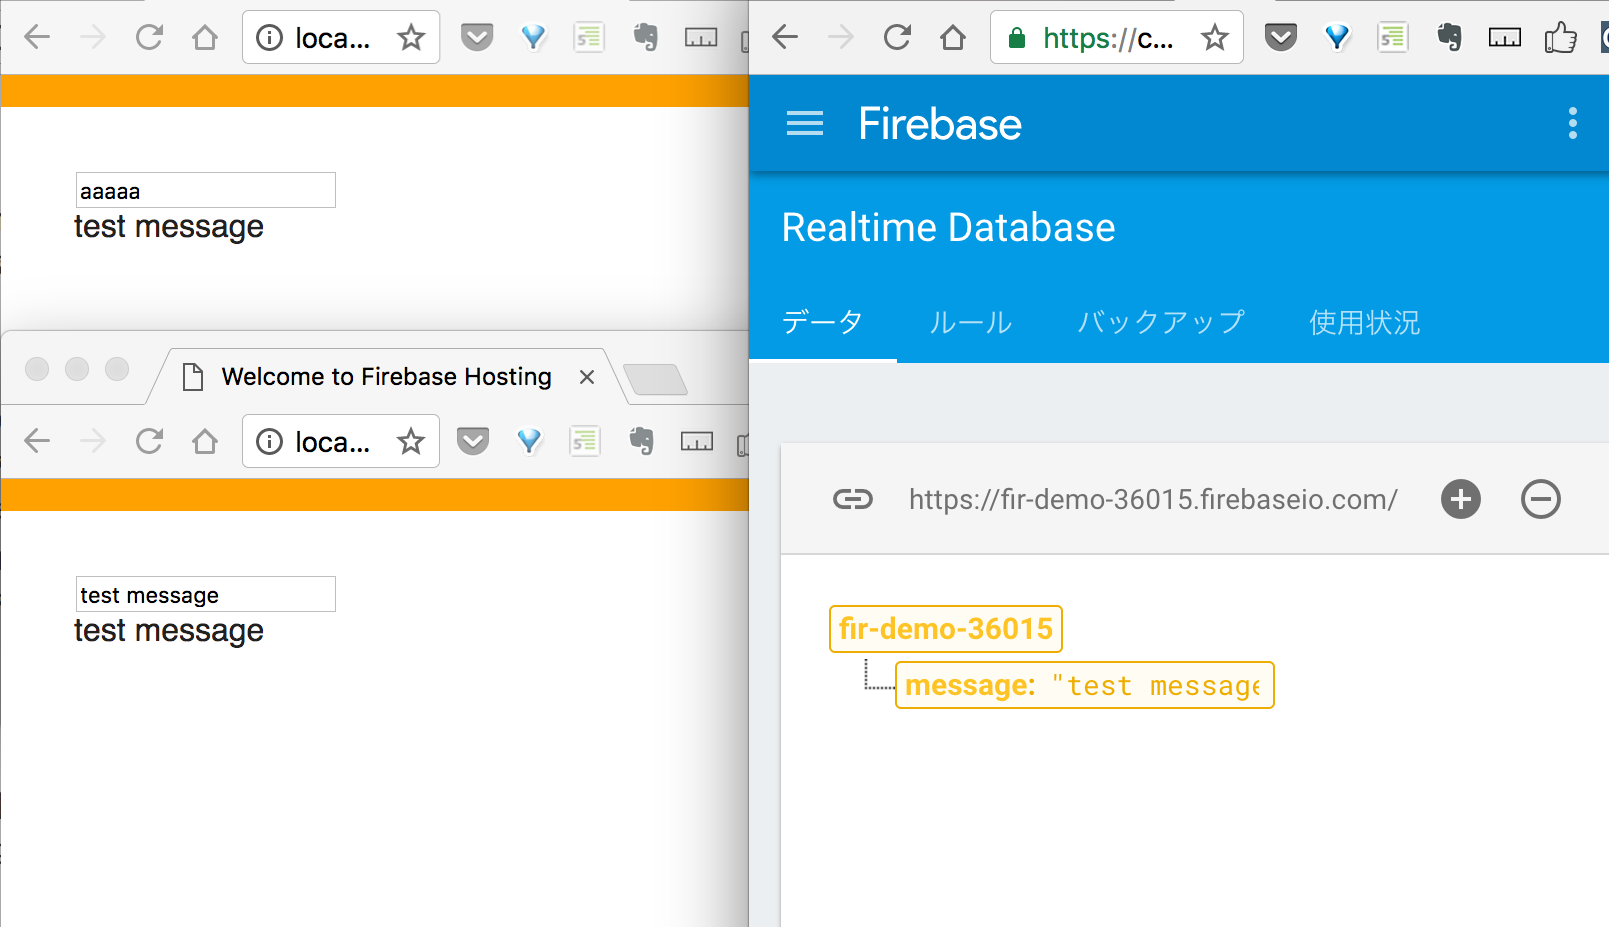
リアルタイムにテキストの変更を反映する
const $input = document.querySelector('#input')
const $output = document.querySelector('#output')

const db = firebase.database();
// データベース/messageへの参照を作成
const messageRef = db.ref('/message');

// write
$input.addEventListener('input', e => {
  messageRef.set(e.target.value);
})

// read
messageRef.on('value',snapshot => {
  $output.textContent = snapshot.val();
})
Firebase consoleの「Database > データ」にリアルタイム反映される
認証
サインイン・サインアウト
// どの認証手段を使うか
const provider = new firebase.auth.GoogleAuthProvider();

$signin.addEventListener('click', () => {
  // 指定したproviderのサインイン画面に飛ぶ
  firebase.auth().signInWithRedirect(provider);
})
ここではGoogleアカウントで認証
https://firebase.google.com/docs/auth/web/google-signin?hl=ja
^ 他アカウントでの認証も載っているので参考に!
$signout.addEventListener('click', () => {
  firebase.auth().signOut().then(() => {
    location.reload()
  })
})
変更をリッスン
firebase.auth().onAuthStateChanged(user => {
  if (user) {
    const $profile = document.querySelector('#profile')
    $profile.innerHTML = `
      <div>uid: ${user['uid']}</div>
      <div>displayName: ${user['displayName']}</div>
      <div>email: ${user['email']}</div>
      <img src="${user['photoURL']}" width="100">
    `
  } else {
    // 認証していない場合は自動的に認証画面へ
    // firebase.auth().signInWithRedirect(provider);
  }
})
データの操作
child
以下の3つは同じ意味。childを使うとシンプルになるよという話。
(以降、infoRefを使用)
const infoRef = db.ref('/info');
infoRef.child('user01').set({
  name: 'user01',
})
const infoRef = db.ref('/info');
infoRef.set({
  user01: {
    name: 'user01',
  }
})
const infoRef = db.ref('/info/user01');
infoRef.set({
  name: 'user01',
})
更新 | update
set:書き込む
update:変更があれば更新
// それぞれのメソッドでpromiseが返ってくるので、
// thenで処理をつなぐこともできる
infoRef.update()
  .then((value) => {
    console.log('更新完了');
  })
  .catch((err) => {
    console.log(err.message);
  })
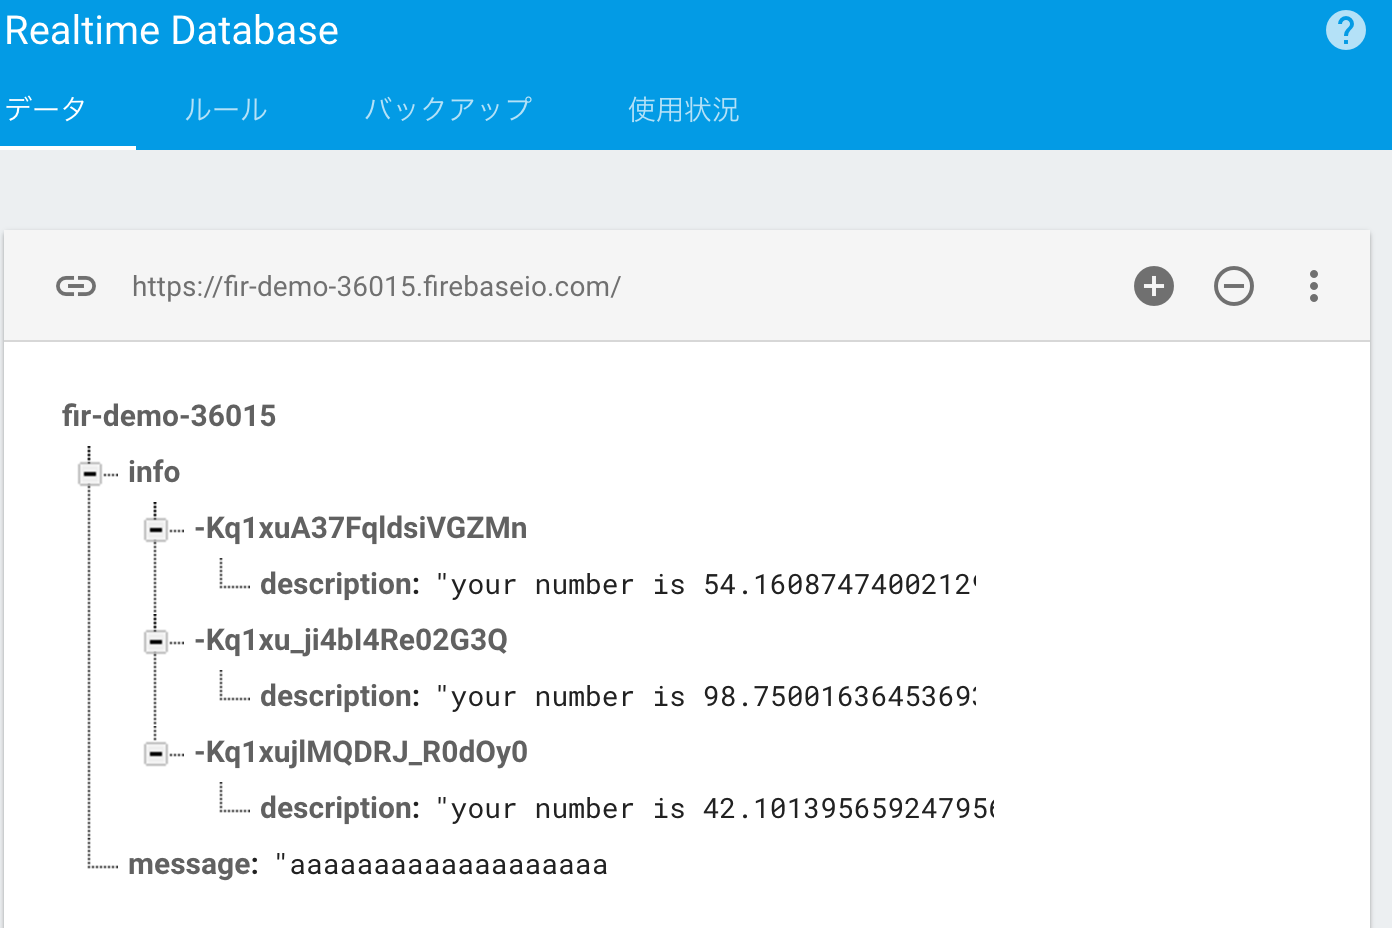
追加 | push
重複することのないユニークなキーを生成するので、
何度クリックしても別データとして追加されていく
$push.addEventListener('click', () => {
  infoRef.push({
    description: `your number is ` + Math.random() * 100,
  })
})
削除 | remove
infoRef.remove();
infoRef.set(null);
デプロイ
$ firebase deploy

