これはなに?
iOS11で機械学習(CoreML)をやってみたい方向けの初学者用メモ。備忘録。
ここで押さえている内容
- PythonでKerasを使って.mlmodelを作成し、iPhoneの手書き文字で数字認識
- 写真から数字認識
内容はハックするだけで、特に説明はない。
ポイント
- iPhoneがなくてもMacのシュミレータで試せる
- Xcode9が必要
- Apple Developの無料アカウントで落とせるGM版で作業は可能

Xcodeのダウンロードはとても根気がいるので先に落としておくのがいい
PythonでKerasを使って.mlmodelを作成し、iPhoneの手書き文字で数字認識
COMPUTER VISION IN IOS – COREML+KERAS+MNISTの流れ通りにすることで.mlmodelが作れる
- ページ下部にgithubに全コードがあるので困ることはない
r4ghu/iOS-CoreML-MNIST
トラブルシューティング
Support exports for Apple's new mlmodel format in Keras 2 #7007
coremltoolsをインストールするとv0.3.6(2017/9/16時点)が入る
keras==2.0.4ではなくkeras==2.0.6を入れることXcodeで.mlmodelを認識
Xcodeでmlmodelを取り込んだ際は、Target Membershipにチェックを入れること
なかなか認識しなかったりはする

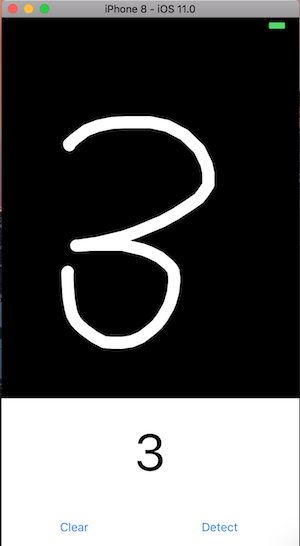
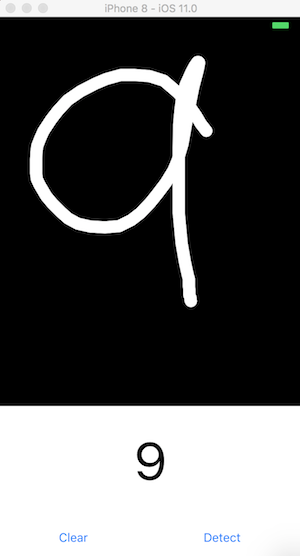
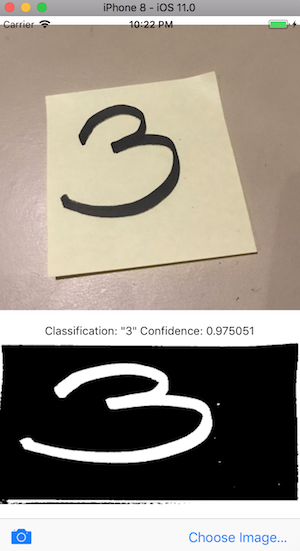
こんな感じで動作
| |
| |
|
処理としては、DrawView.swiftで28x28のグレースケール画像を作成して、CoreMLに放り込むだけ。
.mlmodelの使い方を見ておけばそれで良さそう。
写真から数字認識
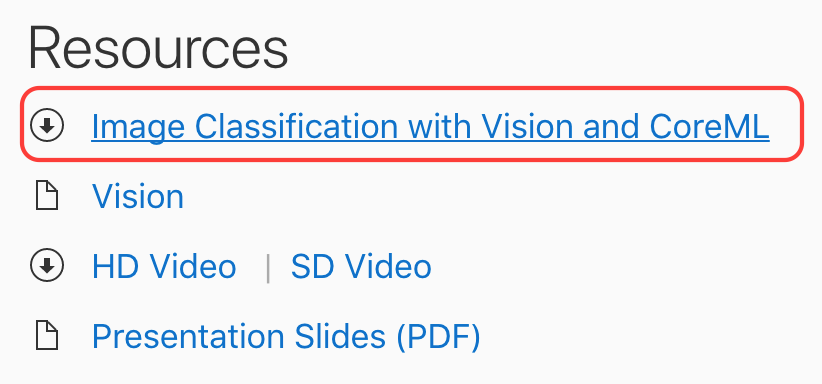
AppleのVision Framework: Building on Core ML
のページ下部にある「Image Classification with Vision and CoreML」からダウンロードする
- Swift4の変更によるエラーが出るのでコードの修正が必要。下記はパッチ
@@ -43,13 +43,13 @@
         guard let ciImage = CIImage(image: uiImage)
             else { fatalError("can't create CIImage from UIImage") }
         let orientation = CGImagePropertyOrientation(uiImage.imageOrientation)
-        inputImage = ciImage.applyingOrientation(Int32(orientation.rawValue))
+        inputImage = ciImage.oriented(orientation)

         // Show the image in the UI.
         imageView.image = uiImage

         // Run the rectangle detector, which upon completion runs the ML classifier.
-        let handler = VNImageRequestHandler(ciImage: ciImage, orientation: Int32(orientation.rawValue))
+        let handler = VNImageRequestHandler(ciImage: ciImage, orientation: orientation)
         DispatchQueue.global(qos: .userInteractive).async {
             do {
                 try handler.perform([self.rectanglesRequest])
@@ -105,18 +105,18 @@
         let bottomLeft = detectedRectangle.bottomLeft.scaled(to: imageSize)
         let bottomRight = detectedRectangle.bottomRight.scaled(to: imageSize)
         let correctedImage = inputImage
-            .cropping(to: boundingBox)
-            .applyingFilter("CIPerspectiveCorrection", withInputParameters: [
+            .cropped(to: boundingBox)
+            .applyingFilter("CIPerspectiveCorrection", parameters: [
                 "inputTopLeft": CIVector(cgPoint: topLeft),
                 "inputTopRight": CIVector(cgPoint: topRight),
                 "inputBottomLeft": CIVector(cgPoint: bottomLeft),
                 "inputBottomRight": CIVector(cgPoint: bottomRight)
             ])
-            .applyingFilter("CIColorControls", withInputParameters: [
+            .applyingFilter("CIColorControls", parameters: [
                 kCIInputSaturationKey: 0,
                 kCIInputContrastKey: 32
             ])
-            .applyingFilter("CIColorInvert", withInputParameters: nil)
+            .applyingFilter("CIColorInvert", parameters: [:])

         // Show the pre-processed image
         DispatchQueue.main.async {
シュミレータで見てみる
実行するとシュミレータではこんな感じで動く、
使っている画像はシュミレータのSafariで落としたもの
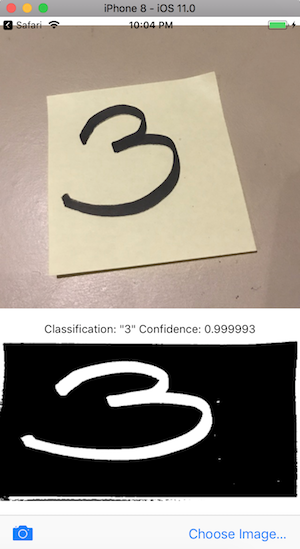
DLページのPDFにあるとおり、Vision Frameworkが四角の部分を認識するので、加工を施し、CoreMLで認識の流れになっている

Kerasで作ったモデルと比較
AppleからDL: 0.999993
Kerasで自作: 0.975051
Appleで落としたモデルのが高性能(ノ∀`)アチャー
Next Step
Apple Core MLページのサンプル
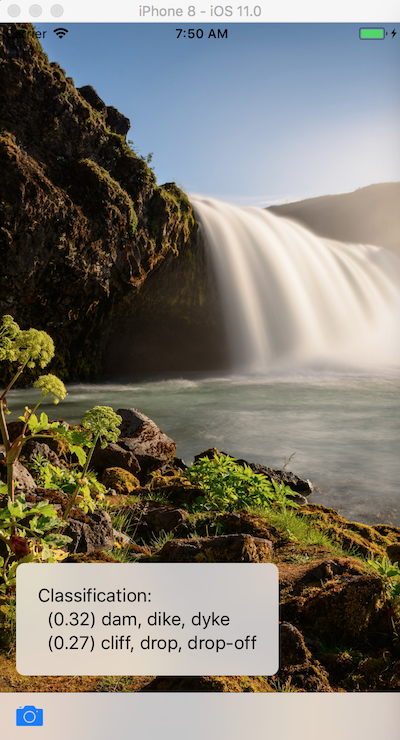
写真や静止画から分類、シュミレータに入っていた写真を利用
AzureのCustom Vision Service
Custom Vision ServiceではCoreML用に学習結果の出力ができる
また、リアルタイムに推論するコードも公開している。
※ 試すにはiOS11の入ったiPhoneが必要
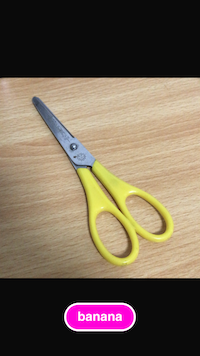
サンプルではフルーツを推論する学習結果が利用されている。
画像は手近にフルーツがないので適当な評価結果。
所感
機械学習の難しいことを知らなくてもやってみれば出来る感半端ない。
ひととおり流れをやると「ふーん、なるほどよくわからん」くらいにはなる