イントロダクション
Masato Shimizuさんの記事「myThingsをはじめよう - Part7: トリガーの閾値監視をRaspberry Piで行う」では環境センサBME280から読み取った温度の値と閾値をRaspberry Pi上で比較してトリガーを発火する方法が紹介されています。これと同じことをESP8266で行うようにしてみました。
myThingsアプリの設定は元記事を参照してください。
実装
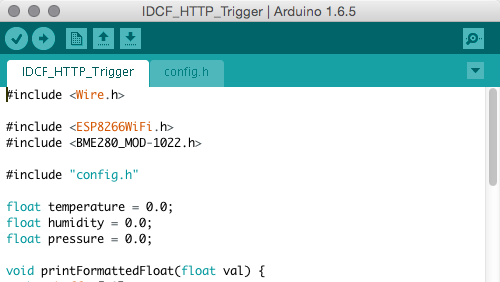
ファイルは2つに分かれています。Wi-FiアクセスポイントやIDCF CloudでのUUIDやトークンなど、各自で変更する必要のあるものはconfig.hという名前でArduino IDE上で別のタブ(実体はタブと同じ名前のファイル)にして分離しています。
config.h
// Wi-FiアクセスポイントのSSIDとパスワード
const char* ssid = "********";
const char* password = "********";

// IDCFチャンネルサーバの情報
const char* host = "210.***.***.***";
const char* trigger_1_uuid = "********-****-****-****-************";
const char* trigger_1_token = "********";

// トリガーをかける温度の閾値
const float threshold = 27.0;
IDCF_Trigger_HTTP
# include <Wire.h>

# include <ESP8266WiFi.h>
# include <BME280_MOD-1022.h>

# include "config.h"

float temperature = 0.0;
float humidity = 0.0;
float pressure = 0.0;

void printFormattedFloat(float val) {
  char buffer[10];

  dtostrf(val, 4, 2, buffer);
  Serial.print(buffer);
}

void setup() {
  // I2Cの通信を開始
  // SDA: DIO4
  // SCL: DIO14
  Wire.begin(4, 14);

  // シリアル通信を開始
  Serial.begin(115200);

  // BME280を初期化
  BME280.readCompensationParams();

  // オーバーサンプリングの回数を設定
  BME280.writeOversamplingTemperature(os1x);
  BME280.writeOversamplingHumidity(os1x);
  BME280.writeOversamplingPressure(os1x);
}

void loop() {
  // BME280を1度だけ測定を行うモードに設定し計測が終わるまで待機
  BME280.writeMode(smForced);
  while (BME280.isMeasuring()) {
    delay(1);
  }

  // BME280から測定値を読み取る
  BME280.readMeasurements();
  temperature = BME280.getTemperature();
  humidity = BME280.getHumidity();
  pressure = BME280.getPressure();

  // 読み取った温度をシリアルにプリント
  Serial.print("Temperature: ");
  printFormattedFloat(temperature);
  Serial.println("ºC");

  // もし現在の温度が閾値よりも高ければ以下を実行
  if (temperature > threshold) {
    if (WiFi.status() != WL_CONNECTED) {
      Serial.print("Connecting to ");
      Serial.print(ssid);
      Serial.println("...");
      WiFi.begin(ssid, password);

      if (WiFi.waitForConnectResult() != WL_CONNECTED) {
        Serial.println("Failed");
        return;
      } else {
        Serial.println("WiFi connected");
        Serial.println("IP address: ");
        Serial.println(WiFi.localIP());
      }
    }

    Serial.print("Connecting to ");
    Serial.println(host);
    WiFiClient client;
    if (!client.connect(host, 80)) {
      Serial.println("Connection failed");
      return;
    }

    // IDCFチャンネルサーバの/data/{trigger-1のuuid}にHTTP POST
    String url = "/data/";
    url += trigger_1_uuid;
    client.print(String("POST ") + url + " HTTP/1.1\r\n" +
                 "Host: " + host + "\r\n" +
                 "meshblu_auth_uuid: " + trigger_1_uuid + "\r\n" +
                 "meshblu_auth_token: " + trigger_1_token + "\r\n" +
                 "Connection: close\r\n\r\n");
    delay(100);

    while (client.available()) {
      String line = client.readStringUntil('\r');
      Serial.print(line);
    }
  }

  delay(5000);
}
