はじめに
vscodeの拡張機能を作ったときに調べたことをまとめます。
雛形の作成 yo codeのインストール
拡張機能を作るにあたって,ジェネレーターで雛形を生成します。
インストールはnpm install -g yo generator-code
vscodeで開発
vscodeの拡張機能はvscodeで作ります。
ジェネレーターで生成された拡張機能のフォルダをvscodeで開いてがしがし作っていきましょう。
変更を試すときはF5で拡張機能が有効になったvscodeのインスタンスを開きデバッグします。
公開
vscodeの拡張機能はMarketplaceで公開します。
vsceのインストール
vsceというツールでコマンド一発で公開できます。
インストールはnpm install -g vsce
vsce - Publishing Tool Reference
また,公開にはPersonal Access Tokenというものが必要です。
Visual Studio Team Servicesで作成しておきましょう。
package.jsonの書き方
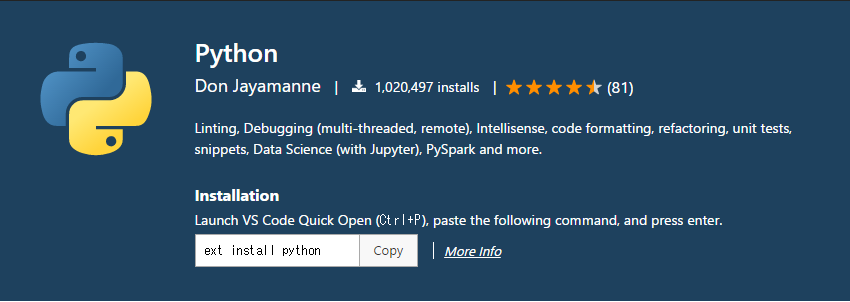
package.jsonにテーマの情報を書くとMarketplace上でかっこ良く表示させることができます。拡張機能のアイコンも指定できます。その他プロジェクトリポジトリの情報など,可能な限り詳しく書いておくと良いです。
{
    "name": "[拡張機能の名前]",
    "galleryBanner": {
        "color": "#000",
        "theme": "dark"
    },
    "repository": {
        "type": "git",
        "url": "[GitHubのプロジェクトURLなど]"
    },
    "bugs": {
        "url": "[GitHubのissuesのURLなど]"
    }
}