概要
最近はOpenShiftを利用し始めました。AWS上も構築可能と聞いて実際に作ってみました。
正式のサービス名称はRed Hat OpenShift Service on AWSだそうです。頭文字をとって、ROSA(ロサ)と略しているのようです。以下はROSAで表記します。
ROSAの構築作業
事前準備作業
-
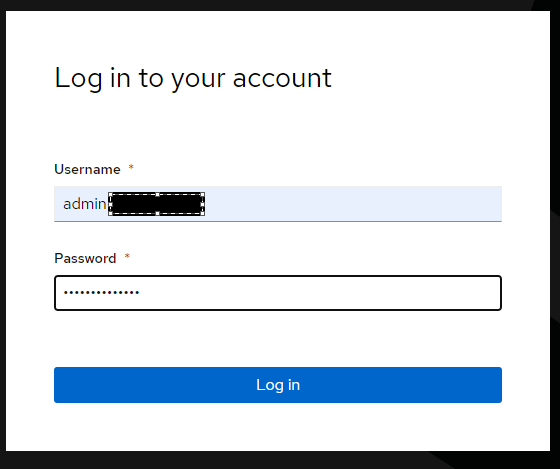
Redhatのアカウントにログイン


- Redhatコンソール画面
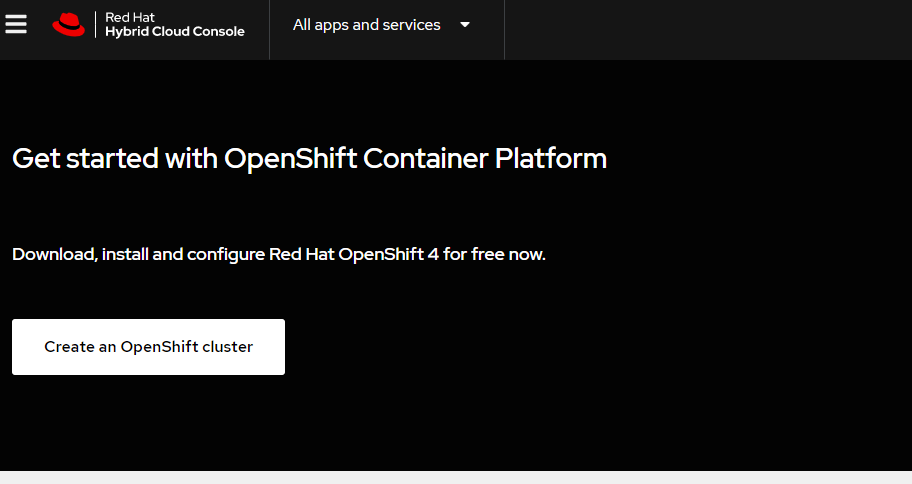
- ログイン後、Redhatコンソール画面に遷移して、画面の真ん中下にがる「Redhat Openshift」を選択してください。

- Create an OpenShift cluster(OpenShiftクラスタ作成する)ボタンをクリック、作成画面に遷移します。

- 提供できるベンダはいくつかありますが、今回はAWSを選択します。
- 事前準備作業のステップ一覧
- Pre-Step1. AWSアカウント側でROSAサービスの有効化
- Pre-Step2. ROSA/AWS CLIのインストール
- Pre-Step3. ELBためのサービスリンクロール作成
- Pre-Step4. AWSアカウントロールとポリシーの作成
- Pre-Step5. 最終確認
ではPre-Step1から実施します。
Pre-Step1. AWSアカウント側でROSAサービスの有効化
- Open AWS Consoleボタン押下してAWS Console画面に遷移

- 利用料金についても一応確認してみてください。

- Red Hat OpenShift Service on AWS (ROSA)下にある「使用を開始」ボタン押下

- チェックボックス「連絡先情報を Red Hat と共有することに同意します。」にチェックを入れて、「ROSAを有効にする」ボタン押下

- ROSAを有効にしたことを確認

Pre-Step2. ROSA/AWS CLIのインストール
- AWS CLIのインストール/セッティングは割愛とさせてください。
- 「Download the ROSA CLI」ボタンクリックしてROSA CLIをダウンロード
Pre-Step3. ELBためのサービスリンクロール作成
Create the service linked role for the Elastic Load Balancer (ELBためのサービスリンクロールを作成します。すでに存在してあるため、Step4に進みます。)

- 存在しない場合には以下のコマンドで作成できます。
- aws iam get-role --role-name "AWSServiceRoleForElasticLoadBalancing"
Pre-Step4. AWSアカウントロールとポリシーの作成
Log in to the ROSA CLI with your Red Hat account token and create AWS account roles and policies(ROSA CLIを利用してAWSアカウントロールとポリシーを作成します)
- Pre-Step4-1. 画面上提示したコマンドをそのままコピペで実行(tokenの部分は個人専用のため省略)


- コマンドプロンプト上、下記が表示されたらログインOKです。
- INFO: Logged in as 'hogehoge' on 'https://api.openshift.com'
- コマンドプロンプト上、下記が表示されたらログインOKです。
- Pre-Step4-2. AWSアカウントで必要なロールを作成します
- AWS CLI(aws credentials)が事前に設定しておいてください。
- コマンドプロンプトでrosa create account-roles --mode auto実行、各ロール作成の確認でYesと押下。
INFO: Logged in as 'xxxxx@xxxx.com' on 'https://api.openshift.com'
INFO: Validating AWS credentials...
INFO: AWS credentials are valid!
INFO: Validating AWS quota...
INFO: AWS quota ok. If cluster installation fails, validate actual AWS resource usage against https://docs.openshift.com/rosa/rosa_getting_started/rosa-required-aws-service-quotas.html
INFO: Verifying whether OpenShift command-line tool is available...
WARN: OpenShift command-line tool is not installed.
Run 'rosa download oc' to download the latest version, then add it to your PATH.
INFO: Creating account roles
INFO: Creating roles using 'arn:aws:iam::xxxxxxxx:user/xxxxx'
? Create the 'ManagedOpenShift-Installer-Role' role? Yes
INFO: Created role 'ManagedOpenShift-Installer-Role' with ARN 'arn:aws:iam::xxxxxxxx:role/ManagedOpenShift-Installer-Role'
? Create the 'ManagedOpenShift-ControlPlane-Role' role? Yes
INFO: Created role 'ManagedOpenShift-ControlPlane-Role' with ARN 'arn:aws:iam::xxxxxxxx:role/ManagedOpenShift-ControlPlane-Role'
? Create the 'ManagedOpenShift-Worker-Role' role? Yes
INFO: Created role 'ManagedOpenShift-Worker-Role' with ARN 'arn:aws:iam::xxxxxxxx:role/ManagedOpenShift-Worker-Role'
? Create the 'ManagedOpenShift-Support-Role' role? Yes
INFO: Created role 'ManagedOpenShift-Support-Role' with ARN 'arn:aws:iam::xxxxxxxx:role/ManagedOpenShift-Support-Role'
INFO: To create a cluster with these roles, run the following command:
rosa create cluster --sts
Pre-Step5. 事前準備の最終確認
- Pre-Step5.1コマンドプロンプトでrosa whoamiを実行、以下の情報が表示されます。※右側の値の部分は割愛

- Pre-Step5.2 AWSクォーターの確認が満たしているかどうかを確認のため、コマンドプロンプトでrosa verfiy quota実行します。問題がなければ以下のが表示されます。

- クォータ情報は下記で確認できます。
- これで事前準備が完了です。
OpenShiftクラスタの作成
- コンソール画面でCreate Clusterボタン(With Web Interface)を押下

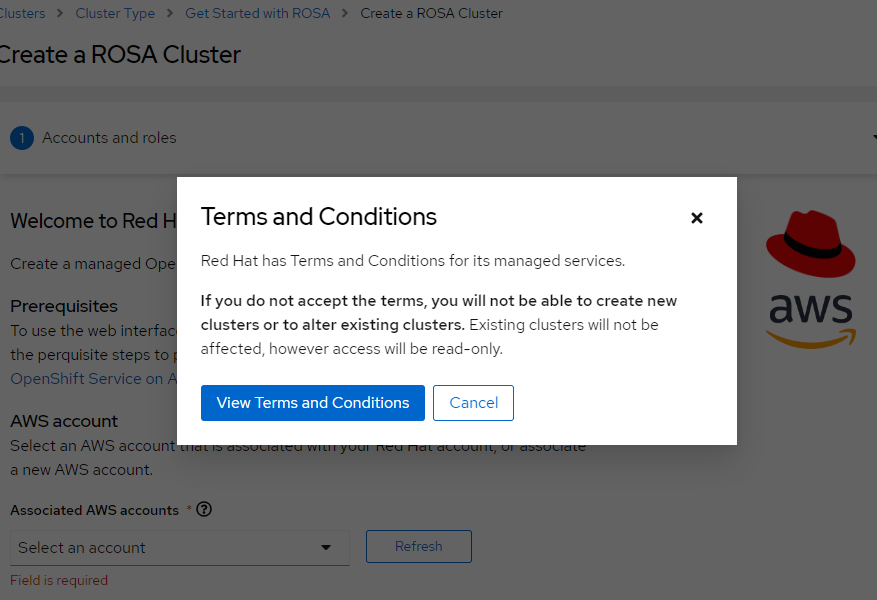
- 初めての場合にはRed Hat Terms and Conditionsに同意が必要です。同意しSubmitボタン押下

- クラスタ作成には6つのステップあります。
Step1 利用するAWSアカウントを指定
-
初めての場合にはロール利用するアカウントにアソシエートが必要です。Associate a new AWS account押下してアカウントリンクページに遷移します。

-
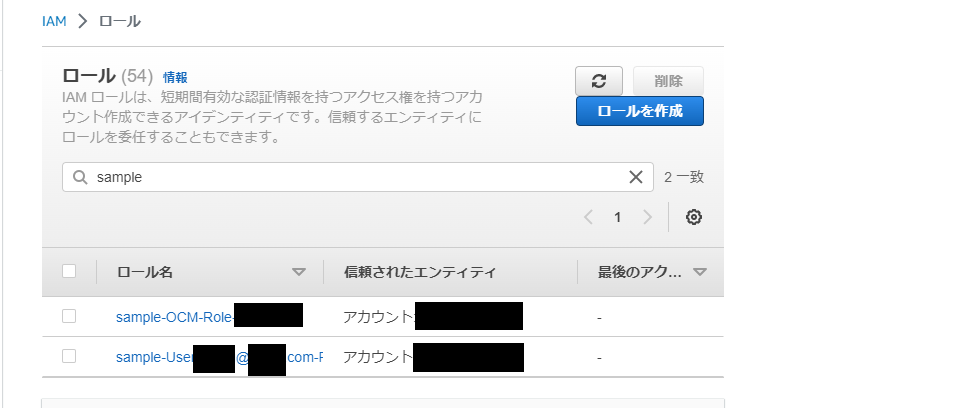
以下の感じでコマンドプロンプトでrosa create ocm-role --adminを実行してください。
C:\rosa-windows>rosa create ocm-role --admin INFO: Creating ocm role ? Role prefix: [? for help] (ManagedOpenShift) sample ? Role prefix: sample ? Permissions boundary ARN (optional): [? for help] ? Permissions boundary ARN (optional): ? Role Path (optional): [? for help] ? Role Path (optional): ? Role creation mode: auto INFO: Creating role using 'arn:aws:iam::xxxx:user/xxxx' ? Create the 'sample-OCM-Role-xxxxx' role? Yes INFO: Created role 'sample-OCM-Role-xxxxx' with ARN 'arn:aws:iam::xxxxxxxx:role/sample-OCM-Role-xxxx' INFO: Linking OCM role ? OCM Role ARN: [? for help] (arn:aws:iam::xxxxx:role/sample-OCM-Role-xxxxx) ? OCM Role ARN: arn:aws:iam::xxxxx:role/sample-OCM-Role-xxxxx ? Link the 'arn:aws:iam::xxxxx:role/sample-OCM-Role-xxxxx' role with organization 'xxxxxxx'? Yes INFO: Successfully linked role-arn 'arn:aws:iam::xxxxxxx:role/sample-OCM-Role-xxxxxx' with organization account 'xxxxxx'rosa create user-role INFO: Creating User role ? Role prefix: [? for help] (ManagedOpenShift) sample ? Role prefix: sample ? Permissions boundary ARN (optional): [? for help] ? Permissions boundary ARN (optional): ? Role Path (optional): [? for help] ? Role Path (optional): ? Role creation mode: auto INFO: Creating ocm user role using 'arn:aws:iam::xxxxxx:user/xxx' ? Create the 'sample-User-xxxxx@xxxxx.com-Role' role? Yes INFO: Created role 'sample-User-xxxx@xxxxx.com-Role' with ARN 'arn:aws:iam::xxxxxx:role/sample-User-xxxxx@xxxxx.com-Role' INFO: Linking User role ? User Role ARN: [? for help] (arn:aws:iam::xxxxx:role/sample-User-xxxxx@xxxxx.com-Role) ? User Role ARN: arn:aws:iam::xxxxx:role/sample-User-xxxx@xxxx.com-Role ? Link the 'arn:aws:iam::xxxxx:role/sample-User-xxxxx@xxxxx.com-Role' role with account 'xxxxxxx'? Yes INFO: Successfully linked role ARN 'arn:aws:iam::xxxxx:role/sample-User-xxxx@xxxxx.com-Role' with account 'xxxxxx'
Step2.クラスタの設定
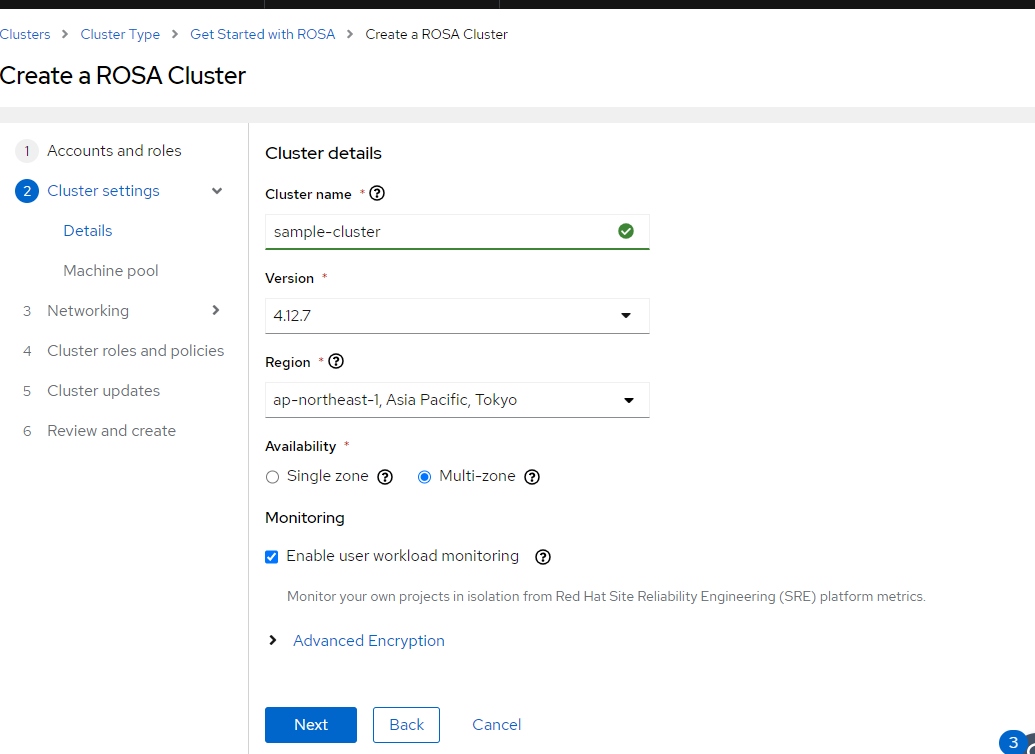
- Step2.1 Cluster details(クラスタ詳細設定)
- ClusterName(クラスタ名)
- Version(OpenShiftバージョン)
- 用意する時点最新の4.12.7を選びます
- Region(リージョン)
- ap-northeast-1 / Tokyoリージョン
- Avaiabiltity(AWS AZ ゾーン)
- Mulit-zoneにします
- 耐障害性向上のため、AZゾーンごとにOpenShiftのワーカーノードを配布します。
- モニタリングを有効にします
- 暗号化キー
- デフォルトのAWS kmsを利用するか、カスタマイズキーを用意することが可能です。
- etcd encryption
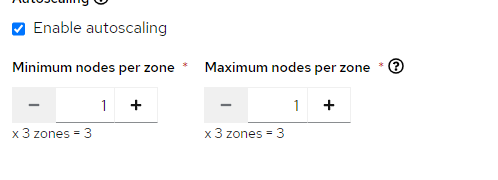
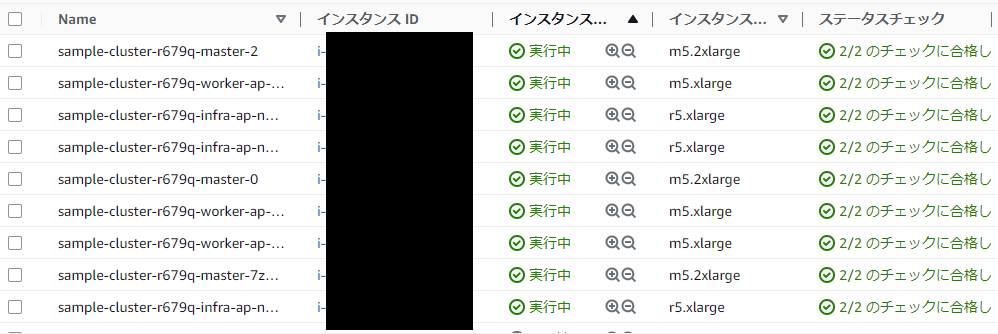
- Step2.2 マシンプールで構築用サーバー情報設定(最小構成)
Step3. ネットワーク設定
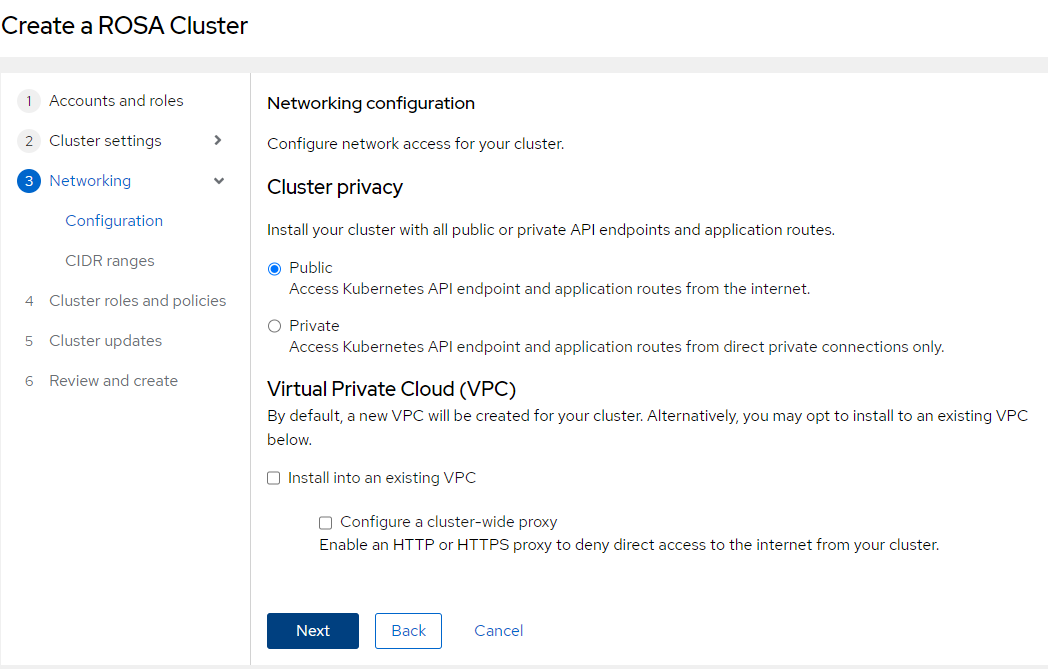
- Step3-1. Networking設定
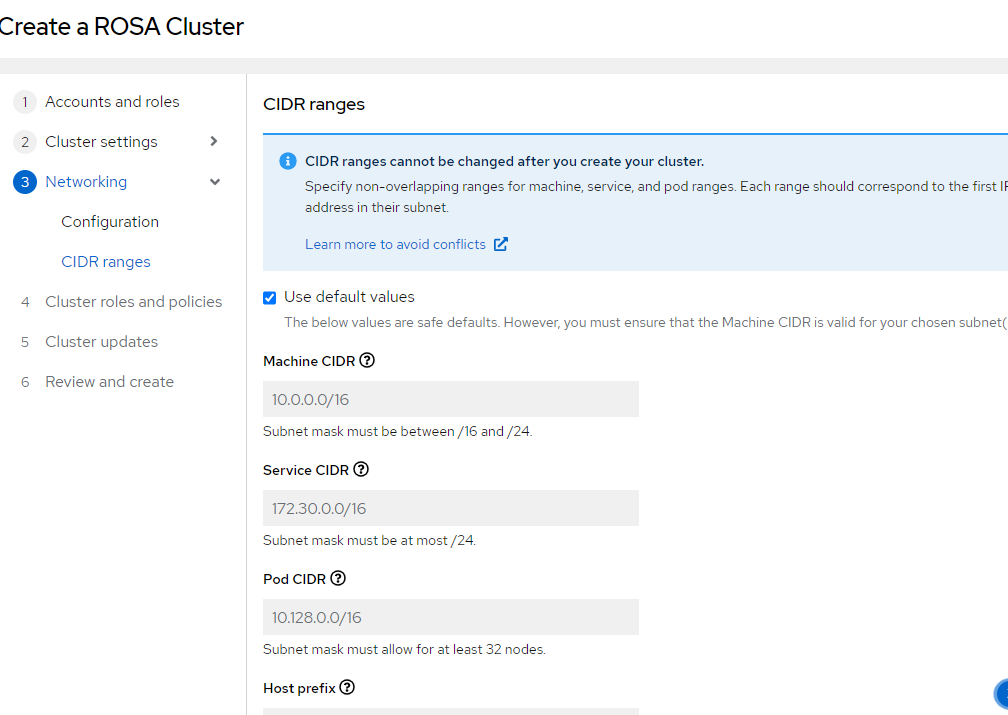
- Step3-2. CIDRレンジ設定
Step4. クラスタロールとポリシー
Step5. クラスタアップデートポリシー
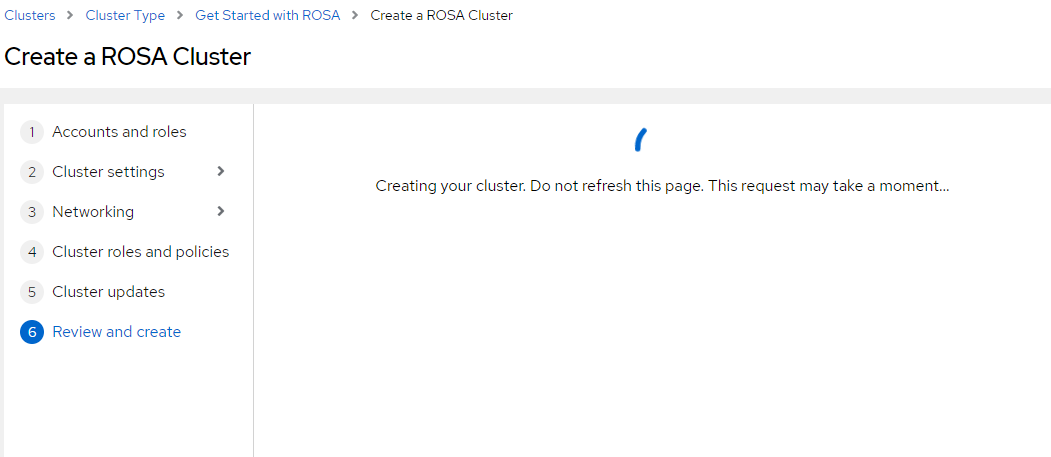
Step6. クラスタ作成前最終確認
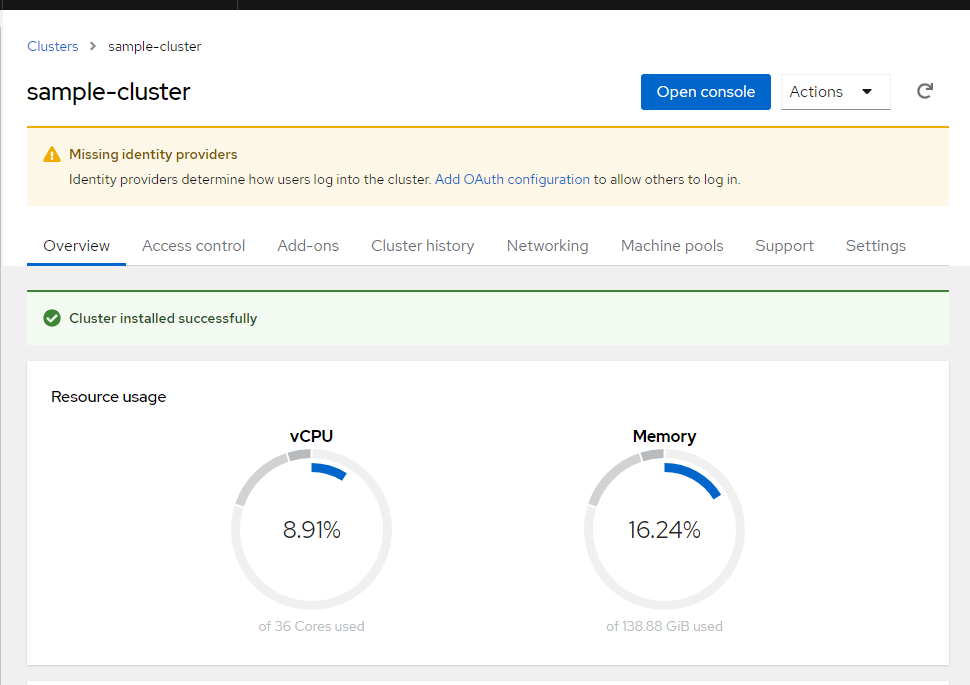
作成完了後の画面
OpenShiftの管理画面にログイン
ここまででROSAのインストールが完了しました。
OpenShiftクラスタの削除
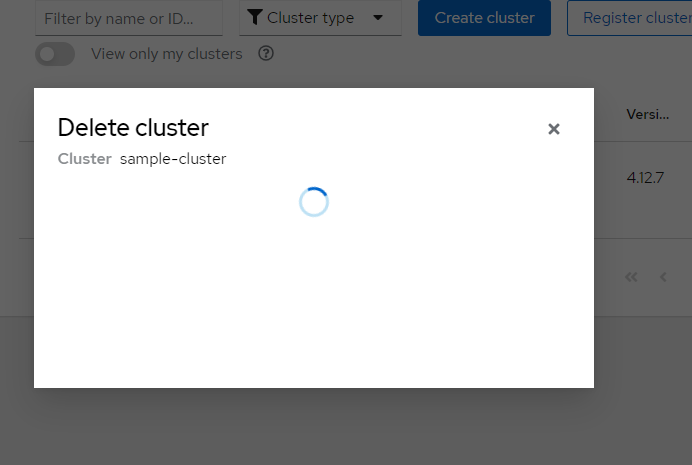
- OpenShiftクラスタには停止(Shutdown)機能がないため、EC2インスタンスの料金が発生しないように、今回構築後、合わせってクラスタの削除も実施します。
* Redhatコンソールのクラスタ一覧画面に更新して、削除されたことを確認

これで一通り終わりました。お疲れ様でした。
感想的にいうと、構築の速さとやりやすさです。今回はおおよそ1時間以内でROSAクラスタの構築ができました。CLIなども利用可能で、とても便利だとり感じております。
では今回はここまでとさせてください。ご覧いただきありがとうございます。


