無料SSLのLet's Encryptを、CentOS8(nginx)に導入する手順を自分用にまとめました。
せっかくCentOS8でpythonの3系で動くdnfが使えるので、dnfを使ってインストール手順をメモ。
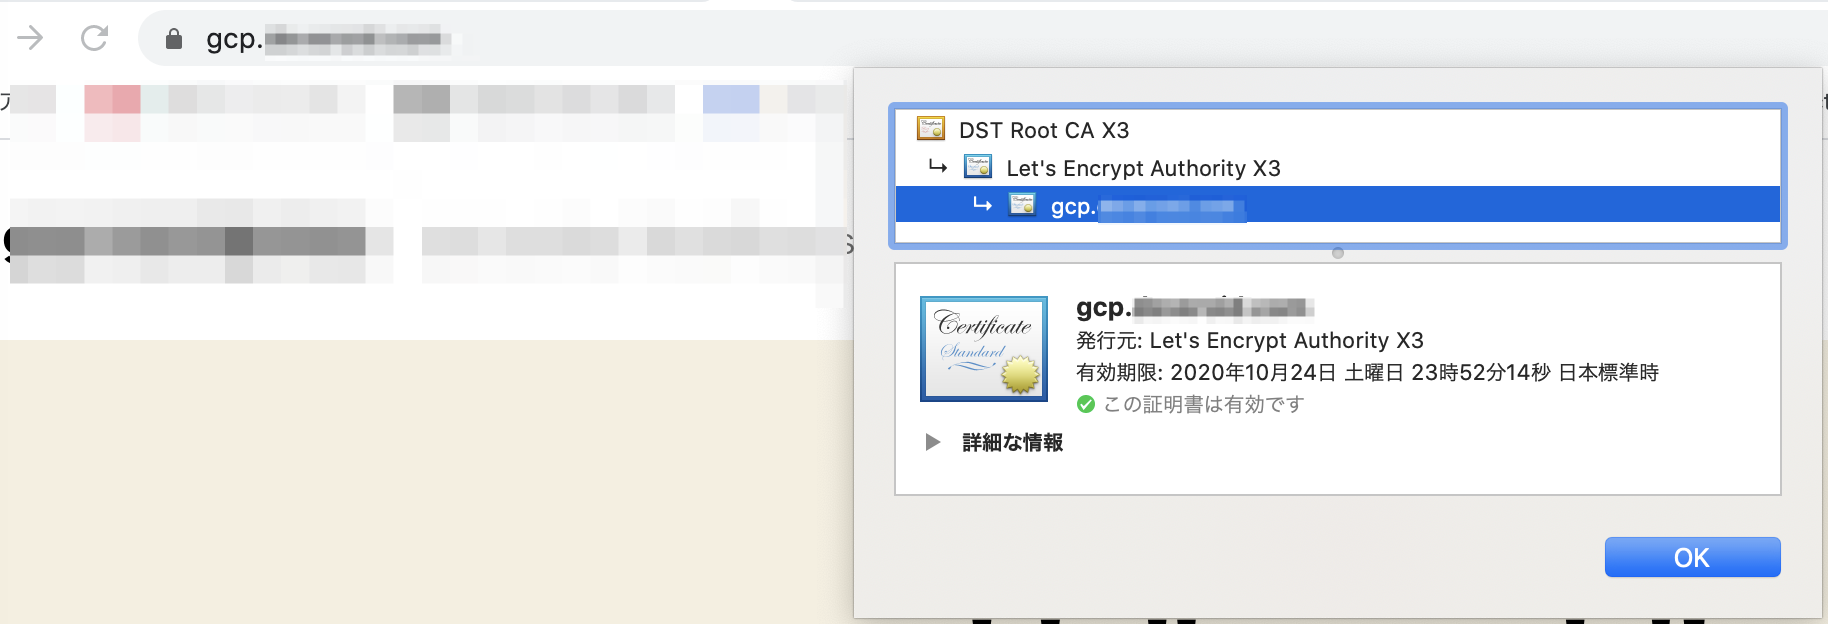
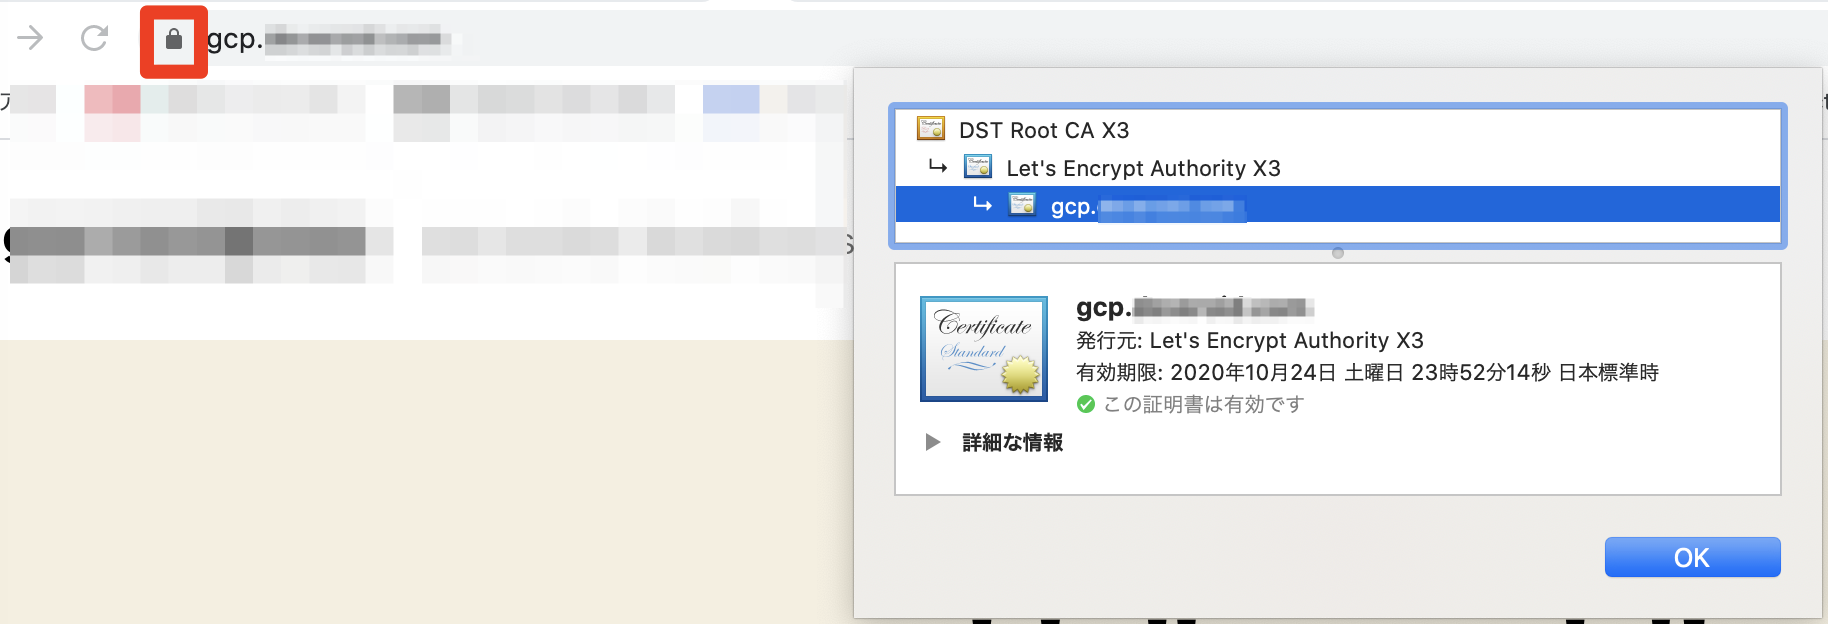
今回は無料枠でGCPに、CentOS8+nginxに、独自ドメイン(今回は例としてgcp.example.com)を使ってSSL化した手順になります。
 SSL化するとこんな感じになります↓
早速手順(新規でSSL化)
1. certbotをdnfでインストール
certbotを入れるためにepelリポジトリをインストール
$ sudo dnf install -y epel-release
$ sudo dnf install certbot python3-certbot-nginx
2. certbotで対話式で、SSL証明書作成
[root@instance1-webserver hogeuser]# certbot --nginx
Saving debug log to /var/log/letsencrypt/letsencrypt.log
Plugins selected: Authenticator nginx, Installer nginx
Enter email address (used for urgent renewal and security notices)
 (Enter 'c' to cancel): 【緊急の更新とセキュリティ通知に使用するためのメールアドレスを入力】

- - - - - - - - - - - - - - - - - - - - - - - - - - - - - - - - - - - - - - - -
Please read the Terms of Service at
https://letsencrypt.org/documents/LE-SA-v1.2-November-15-2017.pdf. You must
agree in order to register with the ACME server at
https://acme-v02.api.letsencrypt.org/directory
- - - - - - - - - - - - - - - - - - - - - - - - - - - - - - - - - - - - - - - -
(A)gree/(C)ancel: A

- - - - - - - - - - - - - - - - - - - - - - - - - - - - - - - - - - - - - - - -
Would you be willing, once your first certificate is successfully issued, to
share your email address with the Electronic Frontier Foundation, a founding
partner of the Let's Encrypt project and the non-profit organization that
develops Certbot? We'd like to send you email about our work encrypting the web,
EFF news, campaigns, and ways to support digital freedom.
- - - - - - - - - - - - - - - - - - - - - - - - - - - - - - - - - - - - - - - -
(Y)es/(N)o: N

Which names would you like to activate HTTPS for?
- - - - - - - - - - - - - - - - - - - - - - - - - - - - - - - - - - - - - - - -
1: gcp.example.com  ← 【自動で候補となるドメインを提案してくれる!】
- - - - - - - - - - - - - - - - - - - - - - - - - - - - - - - - - - - - - - - -
Select the appropriate numbers separated by commas and/or spaces, or leave input
blank to select all options shown (Enter 'c' to cancel): 1 ←【とりあえず今回は1】
Obtaining a new certificate
Performing the following challenges:
http-01 challenge for gcp.example.com
Waiting for verification...
Cleaning up challenges
Deploying Certificate to VirtualHost /etc/nginx/conf.d/wordpress.conf
Redirecting all traffic on port 80 to ssl in /etc/nginx/conf.d/wordpress.conf

- - - - - - - - - - - - - - - - - - - - - - - - - - - - - - - - - - - - - - - -
Congratulations! You have successfully enabled https://gcp.example.com
- - - - - - - - - - - - - - - - - - - - - - - - - - - - - - - - - - - - - - - -

IMPORTANT NOTES:
 - Congratulations! Your certificate and chain have been saved at:
   /etc/letsencrypt/live/gcp.example.com/fullchain.pem
   Your key file has been saved at:
   /etc/letsencrypt/live/gcp.example.com/privkey.pem
   Your cert will expire on 2020-10-24. To obtain a new or tweaked
   version of this certificate in the future, simply run certbot again
   with the "certonly" option. To non-interactively renew *all* of
   your certificates, run "certbot renew"
 - Your account credentials have been saved in your Certbot
   configuration directory at /etc/letsencrypt. You should make a
   secure backup of this folder now. This configuration directory will
   also contain certificates and private keys obtained by Certbot so
   making regular backups of this folder is ideal.
 - If you like Certbot, please consider supporting our work by:

   Donating to ISRG / Let's Encrypt:   https://letsencrypt.org/donate
   Donating to EFF:                    https://eff.org/donate-le
/etc/nginx/conf.d/wordpress.confに自動で必要なpemファイルを指定までしてくれている!![]()
※nginxの設定ファイルは環境によって異なります

3. 対象のサイトをブラウザで開いて確認
例:https://gcp.example.com
SSL自動更新
Let's Encryptの有効期限が90日のため、自動更新しないとスグ切れてしまうので、自動更新設定はセットでやっておいた方がいい。
$ echo "0 0,12 * * * root python3 -c 'import random; import time; time.sleep(random.random() * 3600)' && certbot renew -q" | sudo tee -a /etc/crontab > /dev/null
上記コマンドで、/etc/crontabにcronが追記されます。

ちなみにLet's Encryptは、60日毎に証明書を更新をおすすめとの事。
まとめ
下記サイトを参考に実際試した内容を投稿させていただきました!![]()
https://certbot.eff.org/lets-encrypt/centosrhel8-nginx
利用頻度が多そうなので、なるべくシンプルにサクッと使えるように自分用にメモメモ。
メモ書きですが、他の方の参考になれば嬉しいです!![]()
環境
- GCP
- CentOS Linux release 8.2.2004 (Core)
- nginx