こんにちは。広瀬マサルです。
Flutterでアプリケーションを安定して高速に開発することのできるMasamuneフレームワークを紹介しました。
その魅力と使い方を知っていただくためにこれから数回に分けて紹介記事を書きたいと思います。
Masamuneフレームワークを使いこなすことで超高速・安定・高品質なアプリを開発することができるでしょう。
前回は「Firestoreへの簡単接続」についてお話しました。
ローカルデータベースからFirestoreへシームレスに移行できるのは魅力ですね。
第3回から実際にアプリ開発を始めていきたいと思います。
一番シンプルな「メモ帳アプリ」を開発していきます。
基本的な考え方
アプリを作るに当たって基本的な考え方を事前に記載しておきます。
CRUD(Create Read Update Delete)
アプリにおける基本的なデータの扱い方です。
データを作成、データを取得、データの更新、データの削除です。データベース=アプリ間でこの処理を行うだけで大半のアプリは作成できると言われています。
MasamuneフレームワークではCRUDをとても扱いやすくする機能を提供しています。
ドキュメントとコレクション
MasamuneフレームワークではFirestoreのキーと値のペアを複数集めたドキュメントとそのドキュメントを複数まとめたコレクションというデータ構造を採用しています。
詳しくは下記をご覧ください。
Masamuneにおけるアプリの開発方法
Masamuneフレームワークでは基本的にどのような形でデータを保存するかを決めたデータモデルとどのような形で画面を表示するかを決めたページを構築していくだけでCRUDアプリを制作していくことができます。
アプリの使い方からデータモデルを先に考えるかアプリのイメージからページを先に考えるかは自由です。
今回はデータモデルから考えていきたいと思います。
メモ帳のデータモデルの作成
簡単なメモ帳を作るとなると下記のデータが必要ではないかと思います。
- メモのタイトル
- メモの本文
- メモの投稿日時
それではこれを実際に作っていきましょう。
前回のFlutterプロジェクトを開き別ターミナルで下記のコマンドを入力します。
katana code watch
これによりファイルの変更が監視され自動生成ファイルが即座に作成されるようになります。
さらにデータモデルの作成コマンドを入力します。
katana code collection memo
models/memo.dartに下記のMemoModelが作成されます。
// memo.dart

/// Value for model.
@freezed
@formValue
@immutable
// TODO: Set the path for the collection.
@CollectionModelPath("memo")
abstract class MemoModel with _$MemoModel {
  const factory MemoModel({
     // TODO: Set the data schema.

  }) = _MemoModel;
  const MemoModel._();

  factory MemoModel.fromJson(Map<String, Object?> json) => _$MemoModelFromJson(json);

  /// Query for document.
  ///
  /// ```dart
  /// appRef.model(MemoModel.document(id));       // Get the document.
  /// ref.app.model(MemoModel.document(id))..load();  // Load the document.
  /// ```
  static const document = _$MemoModelDocumentQuery();

  /// Query for collection.
  ///
  /// ```dart
  /// appRef.model(MemoModel.collection());       // Get the collection.
  /// ref.app.model(MemoModel.collection())..load();  // Load the collection.
  /// ref.app.model(
  ///   MemoModel.collection().data.equal(
  ///     "data",
  ///   )
  /// )..load(); // Load the collection with filter.
  /// ```
  static const collection = _$MemoModelCollectionQuery();

  /// Query for form value.
  ///
  /// ```dart
  /// ref.app.form(MemoModel.form(MemoModel()));    // Get the form controller in app scope.
  /// ref.page.form(MemoModel.form(MemoModel()));    // Get the form controller in page scope.
  /// ```
  static const form = _$MemoModelFormQuery();
}
このコンストラクタ部分に下記のパラメーターを追加します。
const factory MemoModel({
   // TODO: Set the data schema.
   required String title,
   required String text,
   @Default(ModelTimestamp()) ModelTimestamp createdAt,
}) = _MemoModel;
メモのタイトル(title)、メモの本文(text)、メモの投稿日時(createdAt)に対応しています。
ModelTimestampはMasamuneフレームワーク内で日時を扱うための特殊クラスです。
ファイルを保存するとkatana code watchによりmemo.freezed.dart、memo.g.dart、memo.m.dartが自動作成されます。

これでデータモデルの定義は完了です。
メモ一覧ページの作成
続いて上記で作ったメモのデータを元にメモ一覧のページを作成します。
下記のコマンドでページを作成します。
katana code page memo_list
pages/memo_list.dartに下記のMemoListPageが作成されます。
// memo_list.dart

/// Page widget for MemoList.
@immutable
// TODO: Set the path for the page.
@PagePath("memo_list")
class MemoListPage extends PageScopedWidget {
  const MemoListPage({
    super.key,
    // TODO: Set parameters for the page.

  });

  // TODO: Set parameters for the page in the form [final String xxx].


  /// Used to transition to the MemoListPage screen.
  ///
  /// ```dart
  /// router.push(MemoListPage.query(parameters));    // Push page to MemoListPage.
  /// router.replace(MemoListPage.query(parameters)); // Replace page to MemoListPage.
  /// ```
  @pageRouteQuery
  static const query = _$MemoListPageQuery();

  @override
  Widget build(BuildContext context, PageRef ref) {
    // Describes the process of loading
    // and defining variables required for the page.
    // TODO: Implement the variable loading process.


    // Describes the structure of the page.
    // TODO: Implement the view.
    return UniversalScaffold();
  }
}
最初にメモ一覧データを読み込むための処理をbuildメソッド内に記述します。
// memo_list.dart

@override
Widget build(BuildContext context, PageRef ref) {
  // Describes the process of loading
  // and defining variables required for the page.
  // TODO: Implement the variable loading process.
  final memoList = ref.app.model(MemoModel.collection())..load();

  // Describes the structure of the page.
  // TODO: Implement the view.
  return UniversalScaffold();
}
UniversalListViewとListTileを使ってmemoListの内容を並べます。
(UniversalListViewはMasamuneフレームワーク内で利用可能なListView)
// memo_list.dart

// Describes the structure of the page.
// TODO: Implement the view.
return UniversalScaffold(
  appBar: UniversalAppBar(
    title: Text("Memo List"),
  ),
  body: UniversalListView(
    children: memoList.mapListenable((e) {
      return ListTile(
        title: Text(e.value?.title ?? ""),
        subtitle: Text(e.value?.createdAt.value.yyyyMMddHHmm() ?? ""),
      );
    }),
  ),
);
memoListをmapListenableでListTileに変換しています。
mapListenableを利用することでmemoListの各要素に更新があった場合、自動的にListTileの中身が更新されるようになります。
これでメモ一覧画面が作成完了です。
モックデータの作成とデバッグ
現在Firestoreに接続しているかと思いますが、アプリのデータが入った状態を確認するために一旦接続を解除し代わりにモックデータを表示するようにしましょう。
モックデータはRuntimeModelAdapterで取り扱うことが可能です。
adapter.dartを開き下記のように書き換えてみてください。
// adapter.dart
import 'models/memo.dart';

~~~~~~

final modelAdapter = RuntimeModelAdapter(
  initialValue: [
    MemoModelInitialCollection(
      {
        for (var i = 0; i < 10; i++)
          generateCode(32, seed: i): MemoModel(
            title: "メモタイトル$i",
            text: "メモテキスト$i",
            createdAt: ModelTimestamp(DateTime.now().subtract(i.h)),
          )
      },
    )
  ],
);
// final modelAdapter = FirestoreModelAdapter(
//   options: DefaultFirebaseOptions.currentPlatform,
// );
RuntimeModelAdapterの中のinitialValueにモックデータを指定することができます。
各モックデータは自動で作成されたModelInitialCollectionデータの中にIDとModelオブジェクトのペアを含めて渡すことで定義されます。
IDはどう作成しても良いんですが、Masamuneフレームワーク内では32桁の文字列が利用されるのでgenerateCodeで32桁のランダムな文字列を作成してます。
またrouter.dart内でinitialQuryの値をMemoListPage.query()に書き換え、最初のページをMemoListPageに設定しましょう。
// router.dart
import 'pages/memo_list.dart';

~~~~~~~~

/// App Router.
///
/// ```dart
/// router.push(Page.query());  // Push page to Page.
/// router.pop();               // Pop page.
/// ```
final router = AppRouter(
  // TODO: Please configure the initial routing and redirection settings.
  boot: null,
  initialQuery: MemoListPage.query(),
  // initialQuery: HomePage.query(),
  redirect: [],
  pages: [
    // TODO: Add the page query to be used for routing.
  ],
);
それではこの状態でデバッグビルドしてみましょう。
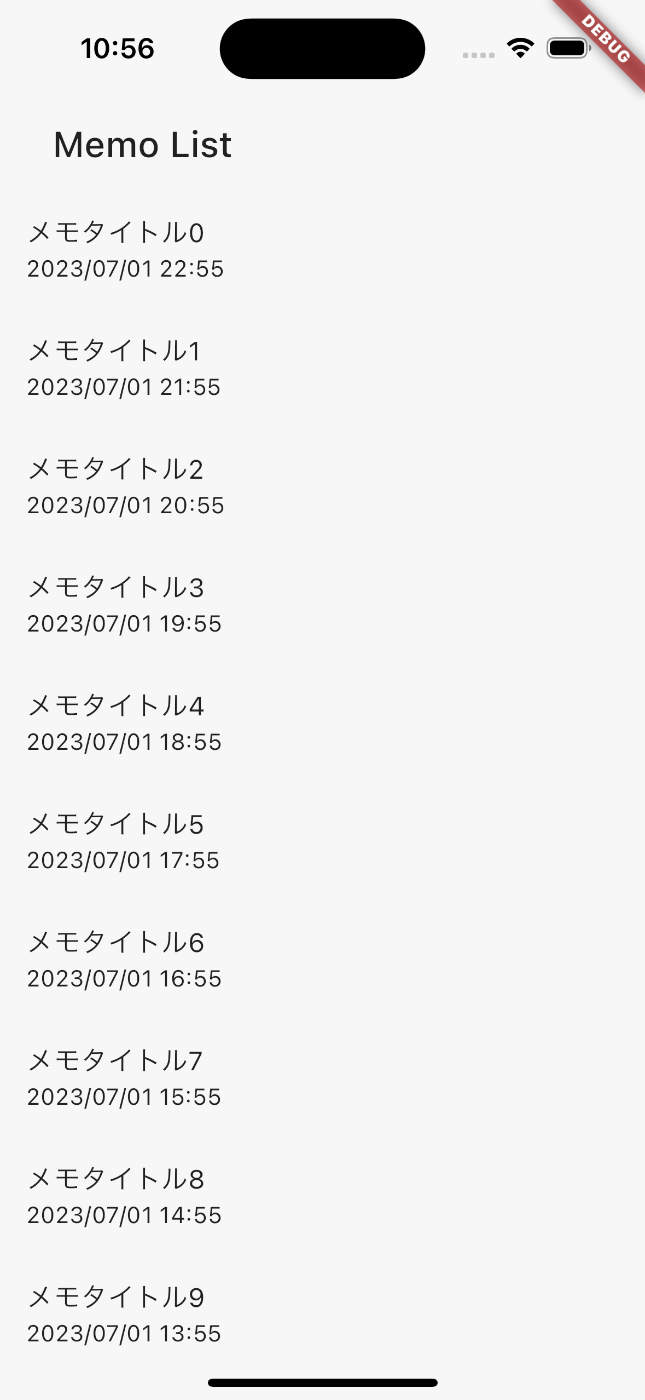
メモの一覧が表示されてますね。
メモの内容ページの作成
メモの中身を表示してみましょう。
下記のコマンドでページを作成します。
katana code page memo_detail
pages/memo_detail.dartにMemoDetailPageが作成されます。
// memo_detail.dart

/// Page widget for MemoDetail.
@immutable
// TODO: Set the path for the page.
@PagePath("memo_detail")
class MemoDetailPage extends PageScopedWidget {
  const MemoDetailPage({
    super.key,
    // TODO: Set parameters for the page.

  });

  // TODO: Set parameters for the page in the form [final String xxx].


  /// Used to transition to the MemoDetailPage screen.
  ///
  /// ```dart
  /// router.push(MemoDetailPage.query(parameters));    // Push page to MemoDetailPage.
  /// router.replace(MemoDetailPage.query(parameters)); // Replace page to MemoDetailPage.
  /// ```
  @pageRouteQuery
  static const query = _$MemoDetailPageQuery();

  @override
  Widget build(BuildContext context, PageRef ref) {
    // Describes the process of loading
    // and defining variables required for the page.
    // TODO: Implement the variable loading process.


    // Describes the structure of the page.
    // TODO: Implement the view.
    return UniversalScaffold();
  }
}
まず、表示するメモIDが必要なので引数として指定します。
// memo_detail.dart

const MemoDetailPage({
  super.key,
  // TODO: Set parameters for the page.
  required this.memoId,
});

// TODO: Set parameters for the page in the form [final String xxx].
final String memoId;
メモIDを元に該当のメモデータを読み込むための処理をbuildメソッド内に記述します。
// memo_detail.dart

@override
Widget build(BuildContext context, PageRef ref) {
  // Describes the process of loading
  // and defining variables required for the page.
  // TODO: Implement the variable loading process.
  final memoData = ref.app.model(MemoModel.document(memoId))..load();

  // Describes the structure of the page.
  // TODO: Implement the view.
  return UniversalScaffold();
}
memoDataを元にUIを作成します。
// memo_detail.dart

return UniversalScaffold(
  appBar: UniversalAppBar(
    title: Text(memoData.value?.title ?? ""),
  ),
  body: UniversalListView(
    padding: 16.p,
    children: [
      Text("投稿日時:${memoData.value?.createdAt.value.yyyyMMddHHmm() ?? ""}"),
      16.sy,
      Text(memoData.value?.text ?? ""),
    ],
  ),
);
MemoListPageの各要素からMemoDetailPageに移動できるようにします。
// memo_list.dart

// Describes the structure of the page.
// TODO: Implement the view.
return UniversalScaffold(
  appBar: UniversalAppBar(
    title: Text("Memo List"),
  ),
  body: UniversalListView(
    children: memoList.mapListenable((e) {
      return ListTile(
        title: Text(e.value?.title ?? ""),
        subtitle: Text(e.value?.createdAt.value.yyyyMMddHHmm() ?? ""),
        onTap: () {
          router.push(MemoDetailPage.query(memoId: e.uid));
        },
      );
    }),
  ),
);
各ドキュメントのuidがドキュメント自体に設定されているIDとなるのでそれをそのままmemoIdとして渡すことができます。
これでデバッグしてみましょう。
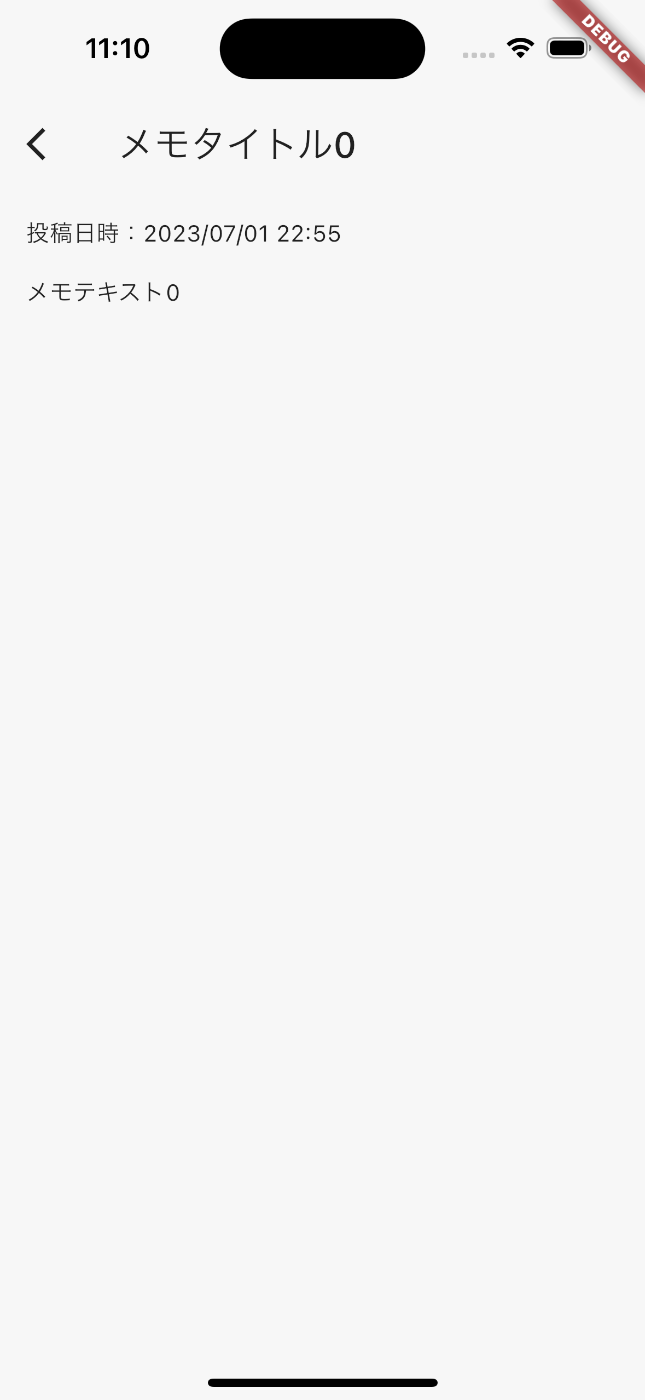
メモの詳細ページが作成されました。
おわりに
作成していて気づかれてるかと思いますがほぼUI周りの記述しかしていません。
このようにコマンドによる自動生成とkatana code watchによる自動生成を組み合わせることでデータ周りの実装を極力省くことができるのがMasamuneフレームワークです。
UI側もGithubCopilotなどを利用していればサジェストしてくれるのでさらに実装を短縮化できる可能性があります。いい時代になりましたね!
次回はメモデータの追加・更新部分の実装を進めたいと思います。お楽しみに!
Masamuneフレームワークはこちらにソースを公開しています。issueやPullRequestをお待ちしてます!
また仕事の依頼等ございましたら、私のTwitterやWebサイトで直接ご連絡をお願いいたします!
GitHub Sponsors
スポンサーを随時募集してます。ご支援お待ちしております!