はじめに
前回、p5jsとElectron Fiddleでデスクトップアプリをつくりました。そもそものきっかけは、p5jsとSonicPiをつなぐツールをつくろうと思ったからでした。そのアプリができたのでこちらにまとめます。
SonicPiにはOSC(OpenSoundControl)というネットワーク通信機能があります。別のPCから遠隔操作もできるのですが、同じPCの異なるソフト間でも使えて、たとえば「Processingでつくったヴィジュアルにあわせて、SonicPiでつくった本格的なサウンドを同期させる」など連携することができます。ProcessingだとoscP5というライブラリでできますが、Processingをインストールしてもらったり、Processingでアプリ化してもデータサイズが大きくなってしまいます。
そんなとき、SonicPiの掲示板「in_thread」で、こちらのエントリーをみつけました。
https://in-thread.sonic-pi.net/t/live-coding-with-machine-learning-magenta-js/4462
個人的にちょっと気になっている、Googleの音楽系の人工知能ライブラリ「Magenta」を、p5jsがGUIを担当してSonicPiが音を担当し演奏しています。面白そうなので、オンラインワークショップ(プログラミングの経験がない人向け)の参考にしようと思ったのですが、p5jsとSonicPiをつなぐ(OSC通信を仲介してくれる)プログラムを、コマンドライン操作でインストールして実行する、という流れになっていて、なんとかシンプルにできないかなぁと思いました。
後ほどこのプログラム「bridge.js」をほぼそのまま使わせていただきますが、上記の掲示板でもリンクされていた「p5js-osc」の中にあります。
https://github.com/genekogan/p5js-osc
今回は、この「bridge.js」をデータサイズの小さいデスクトップアプリ(といっても190メガくらい)にして、「このアプリをダウンロードしてダブルクリックで起動してください」という感じで、p5jsとSonicPiがOSCメッセージをやりとりできるようにしたいと思います。
なお、SonicPiはv3.2.2です。SonicPiのv3.1の場合は、OSCのポート番号が違ったり、OSCメッセージが微妙に異なるので、以下の手順では動きません。v3.2以降をつかってください。
手順
Electron Fiddleを起動する
「bridge.js」を入手

https://github.com/genekogan/p5js-osc
こちらから「p5js-osc」をダウンロードすると、その中に「bridge.js」があります。
「renderer.js」にコピー&ペースト
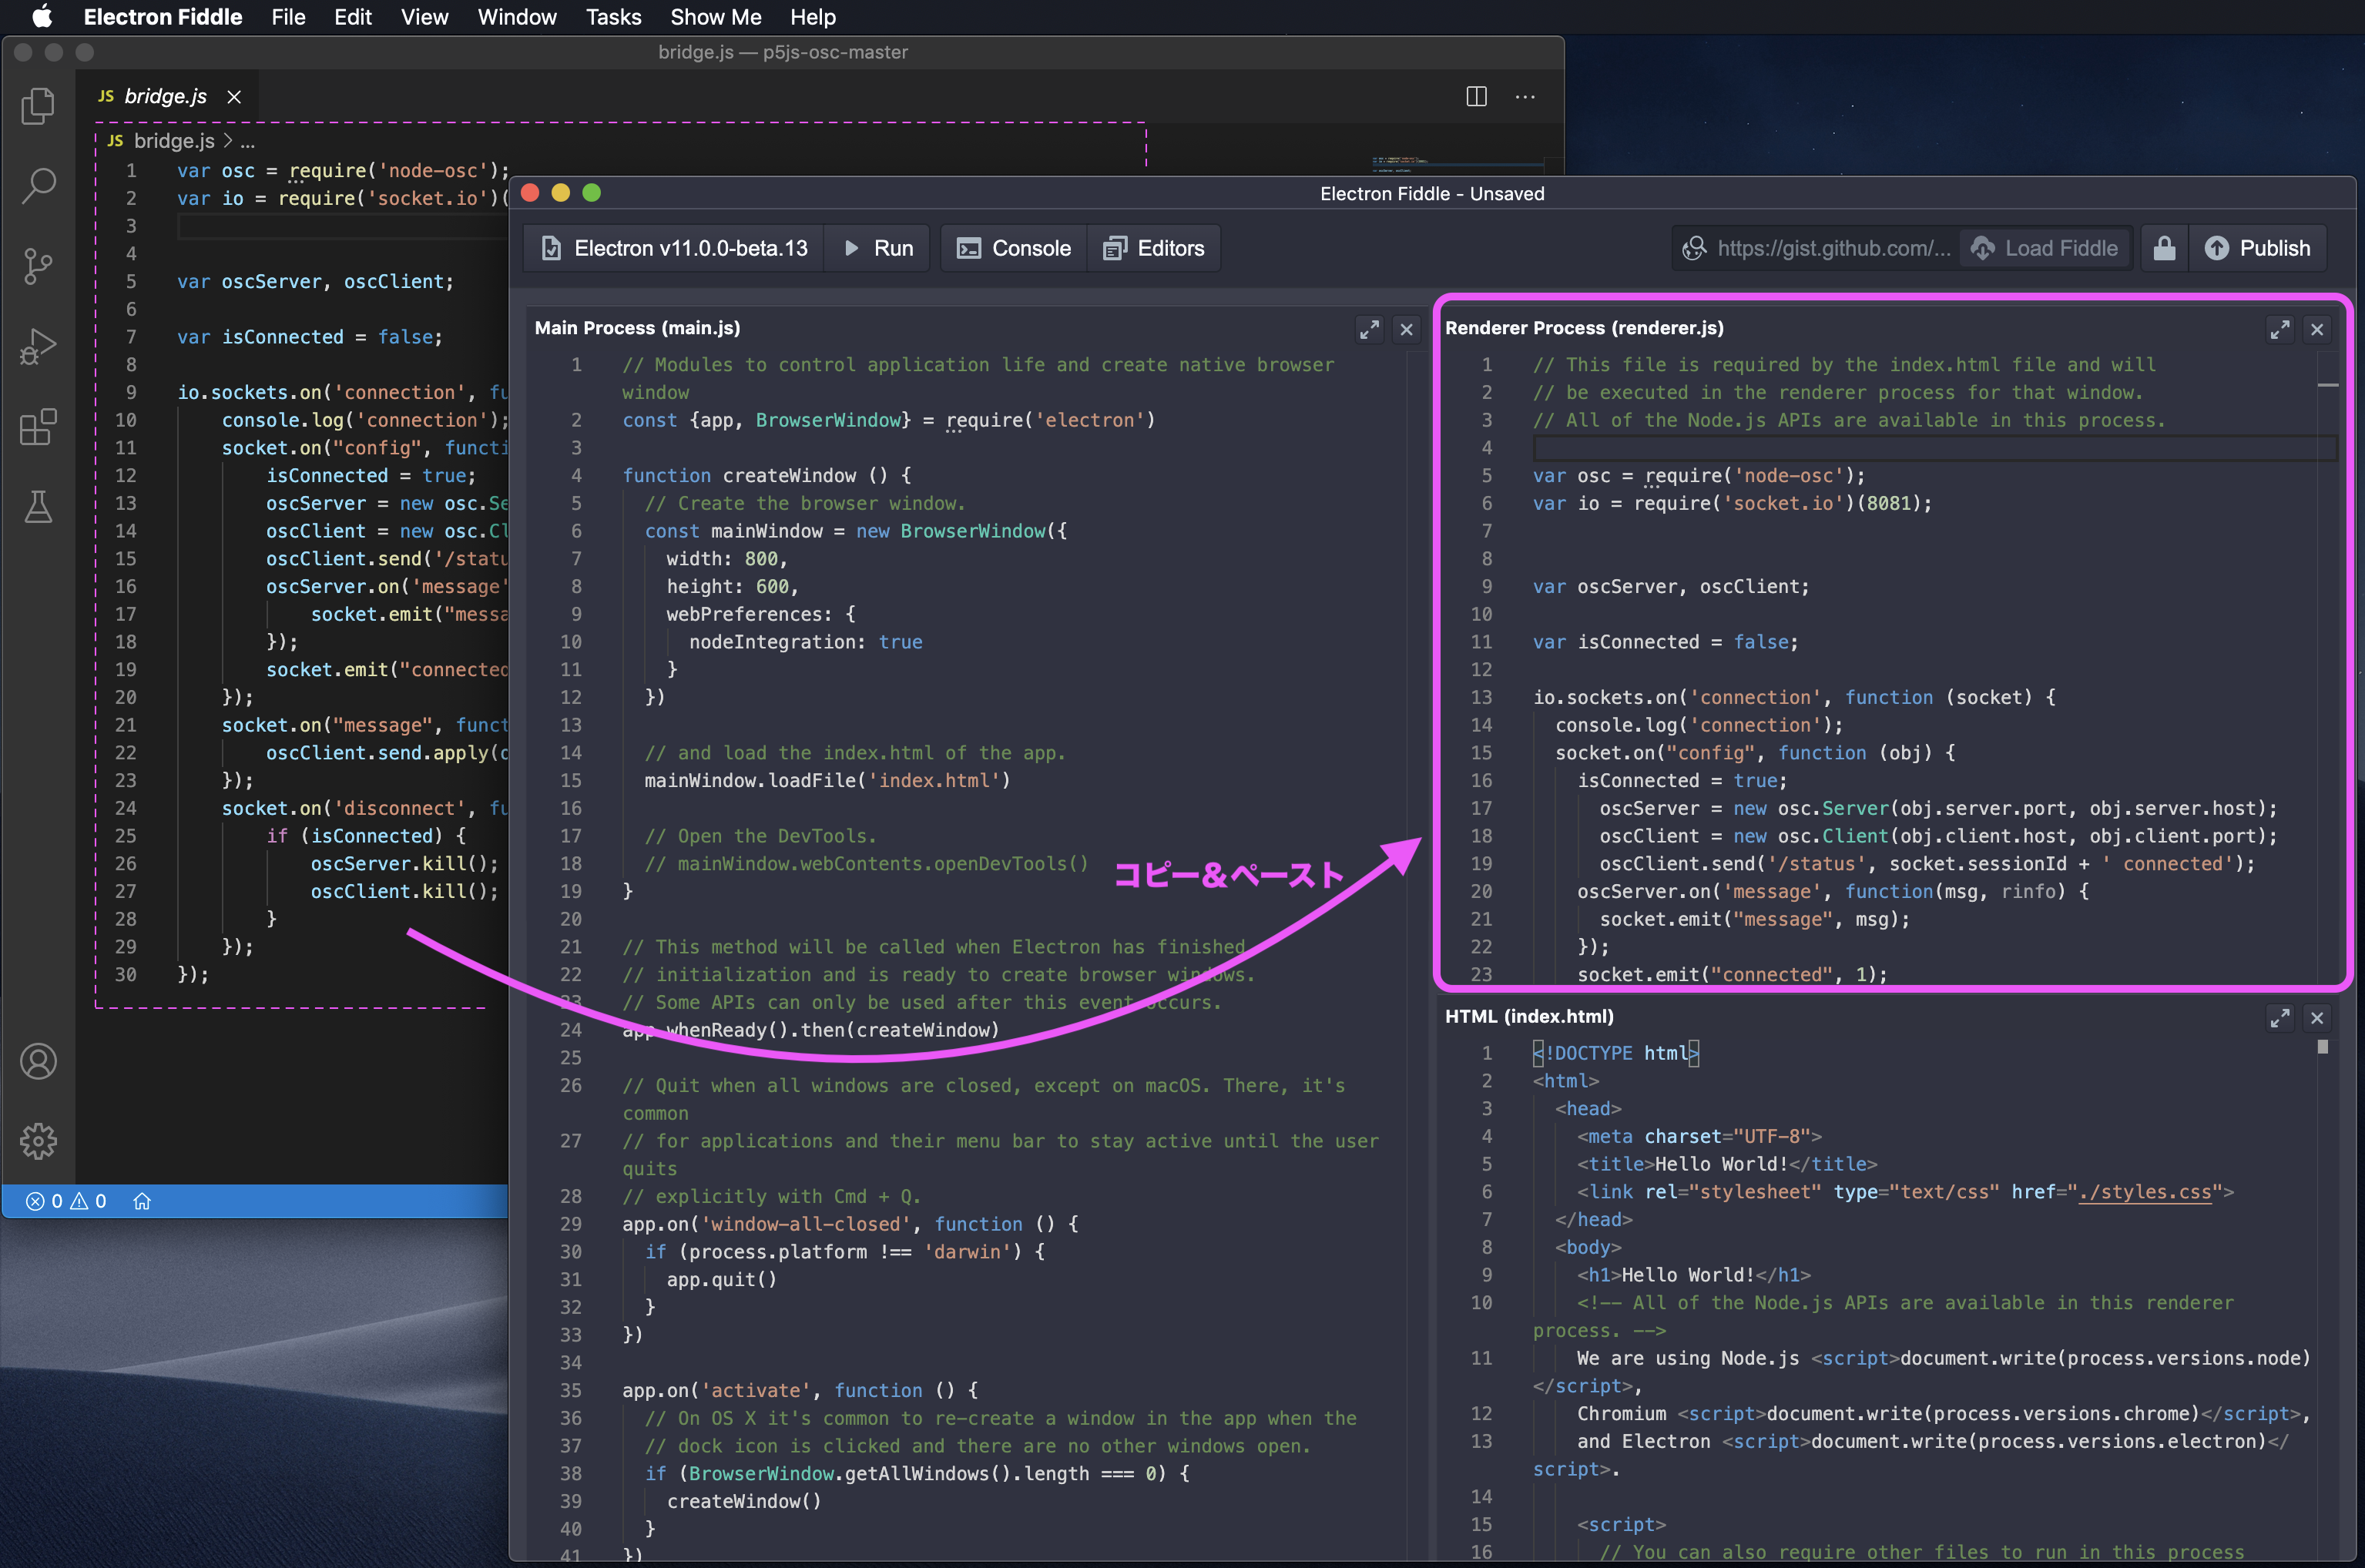
「bridge.js」をテキストエディタで開き、Electron Fiddleの「renderer.js」にコピー&ペーストします。
「RUN」ボタンで実行
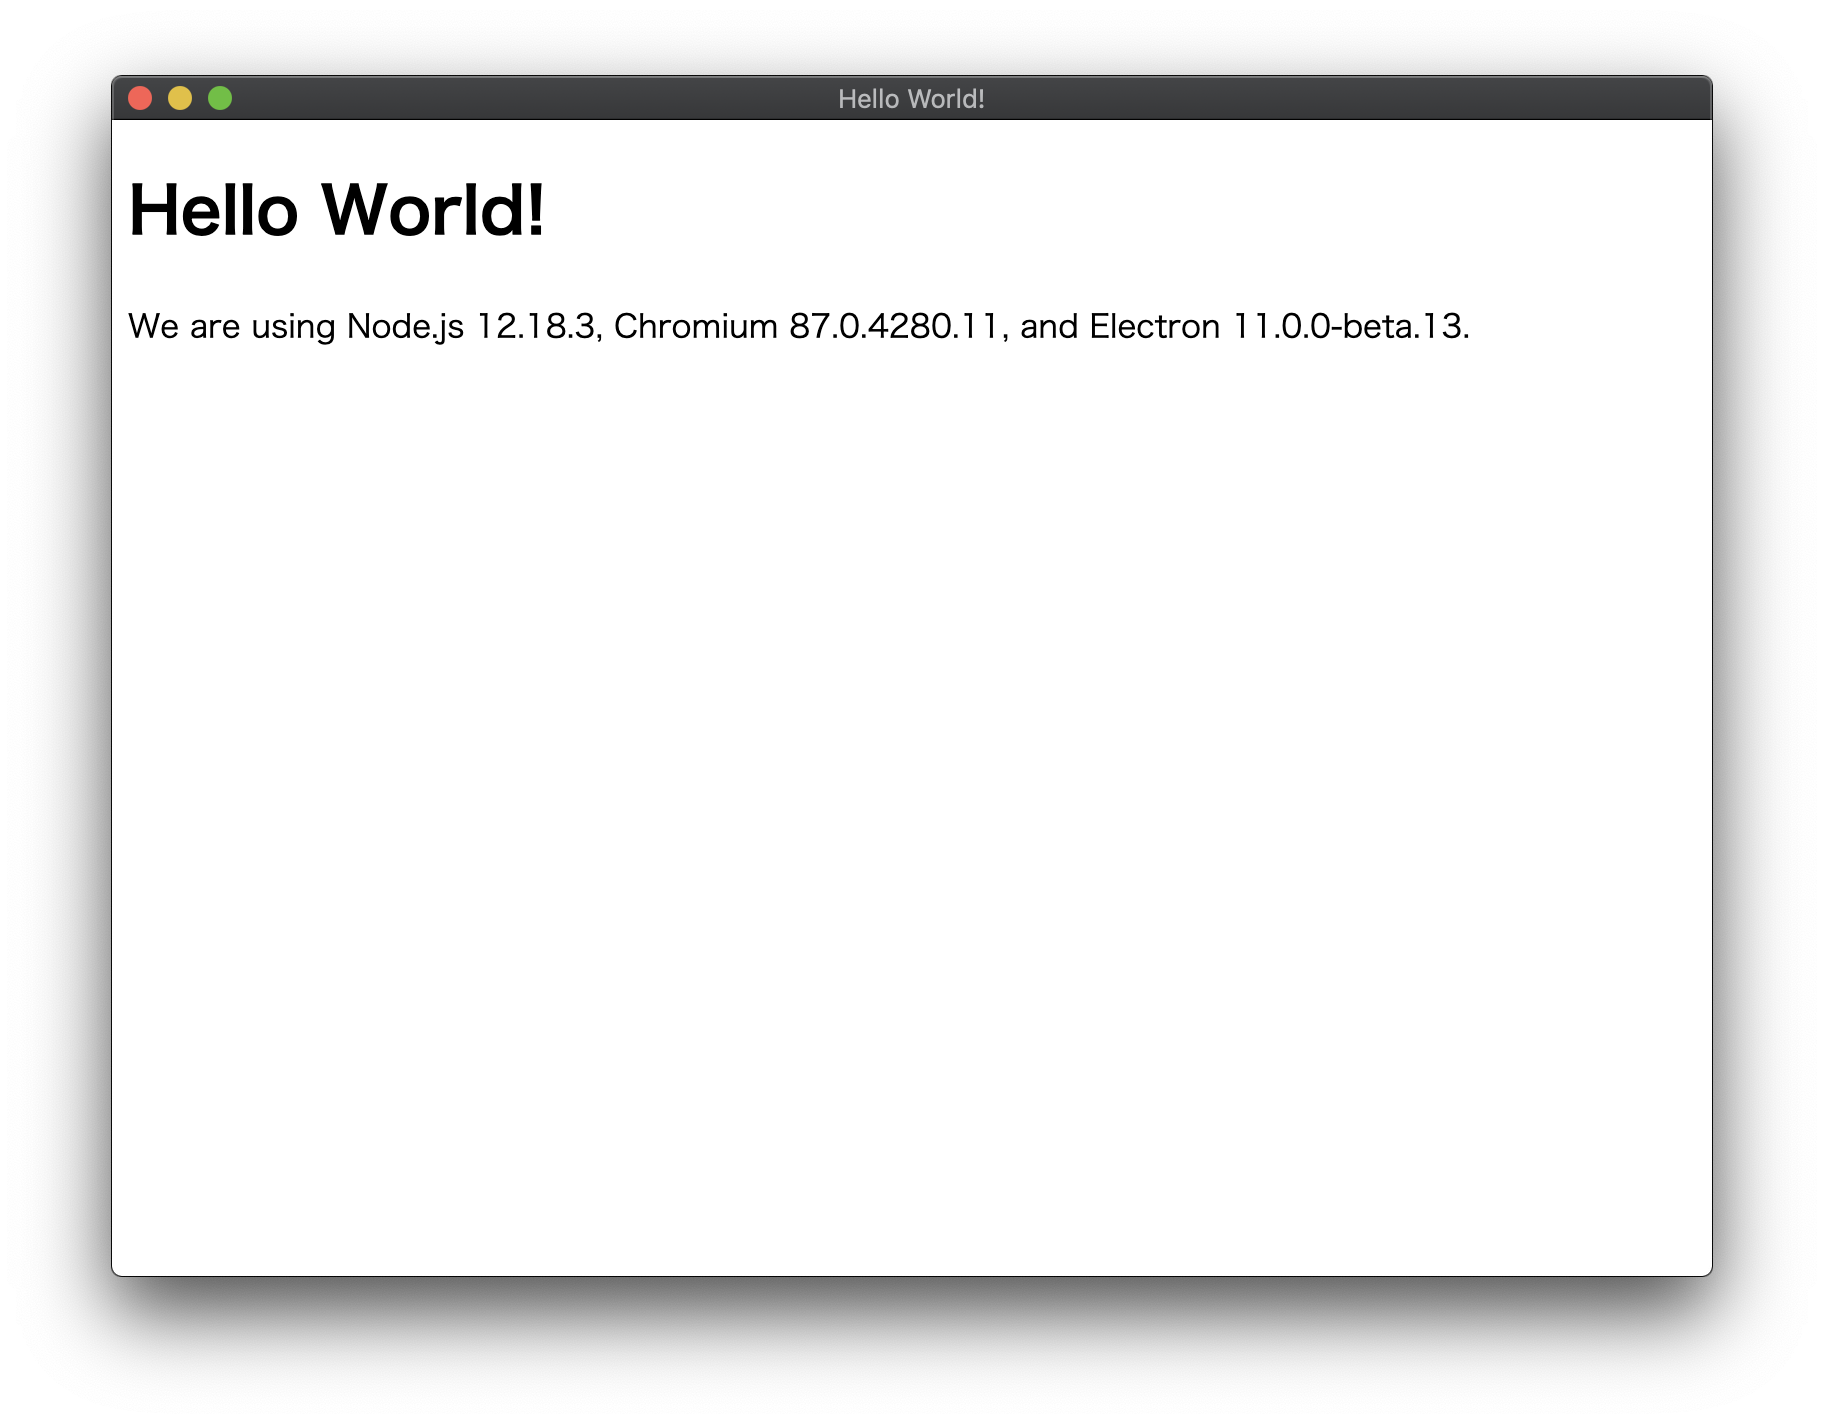
これだけで機能は満たしているので、最低限の作業はこれでおわりです。しかし「bridge.js」の「oscServer.kill();」と「oscClient.kill();」でエラーが出ていたので、少しだけ修正します。「RUN」して起動しただけではエラーは起きませんが、実際にp5jsとSonicPiで通信確認するときに発生しました。エラーを確認するためには「main.js」を編集し、デバッグツールを有効にしてます。
  // Open the DevTools.
  mainWindow.webContents.openDevTools()
動作を確認する
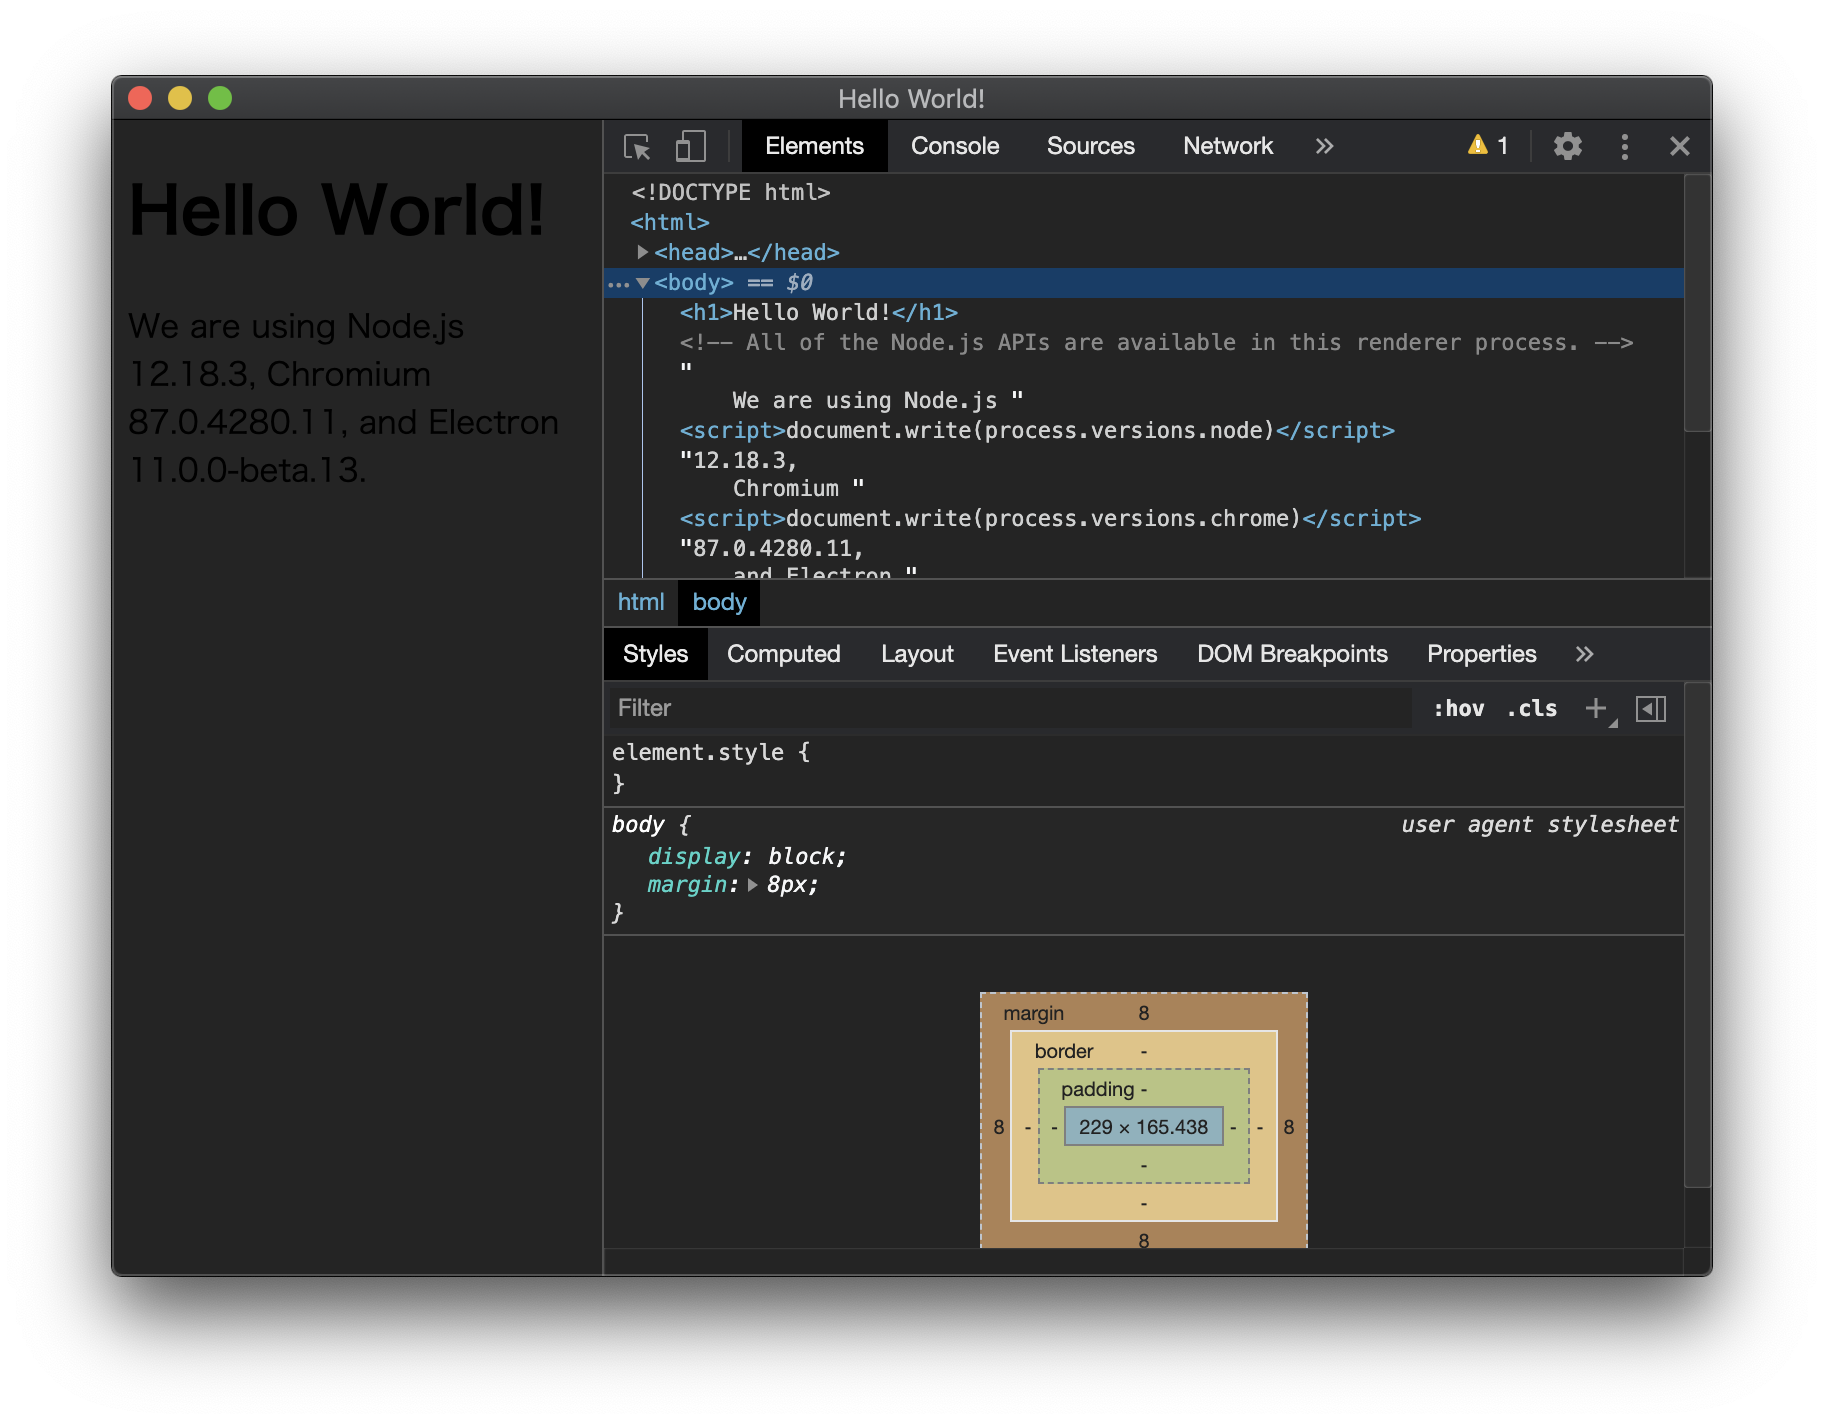
デバッグツールを有効にして「RUN」した直後の画面です。この「RUN」したままの状態で、SonicPiを起動し、さらにブラウザでサンプルのp5jsも同時に実行します。3つを同時に実行している状態ですね。混乱しないように注意しましょう。
OpenProcessingの画面で、マウスを動かすと円がでてきます。クリックするとSonicPiにOSCメッセージを送るので、何度かクリックしてみて、SonicPiの画面を確認してみてください。
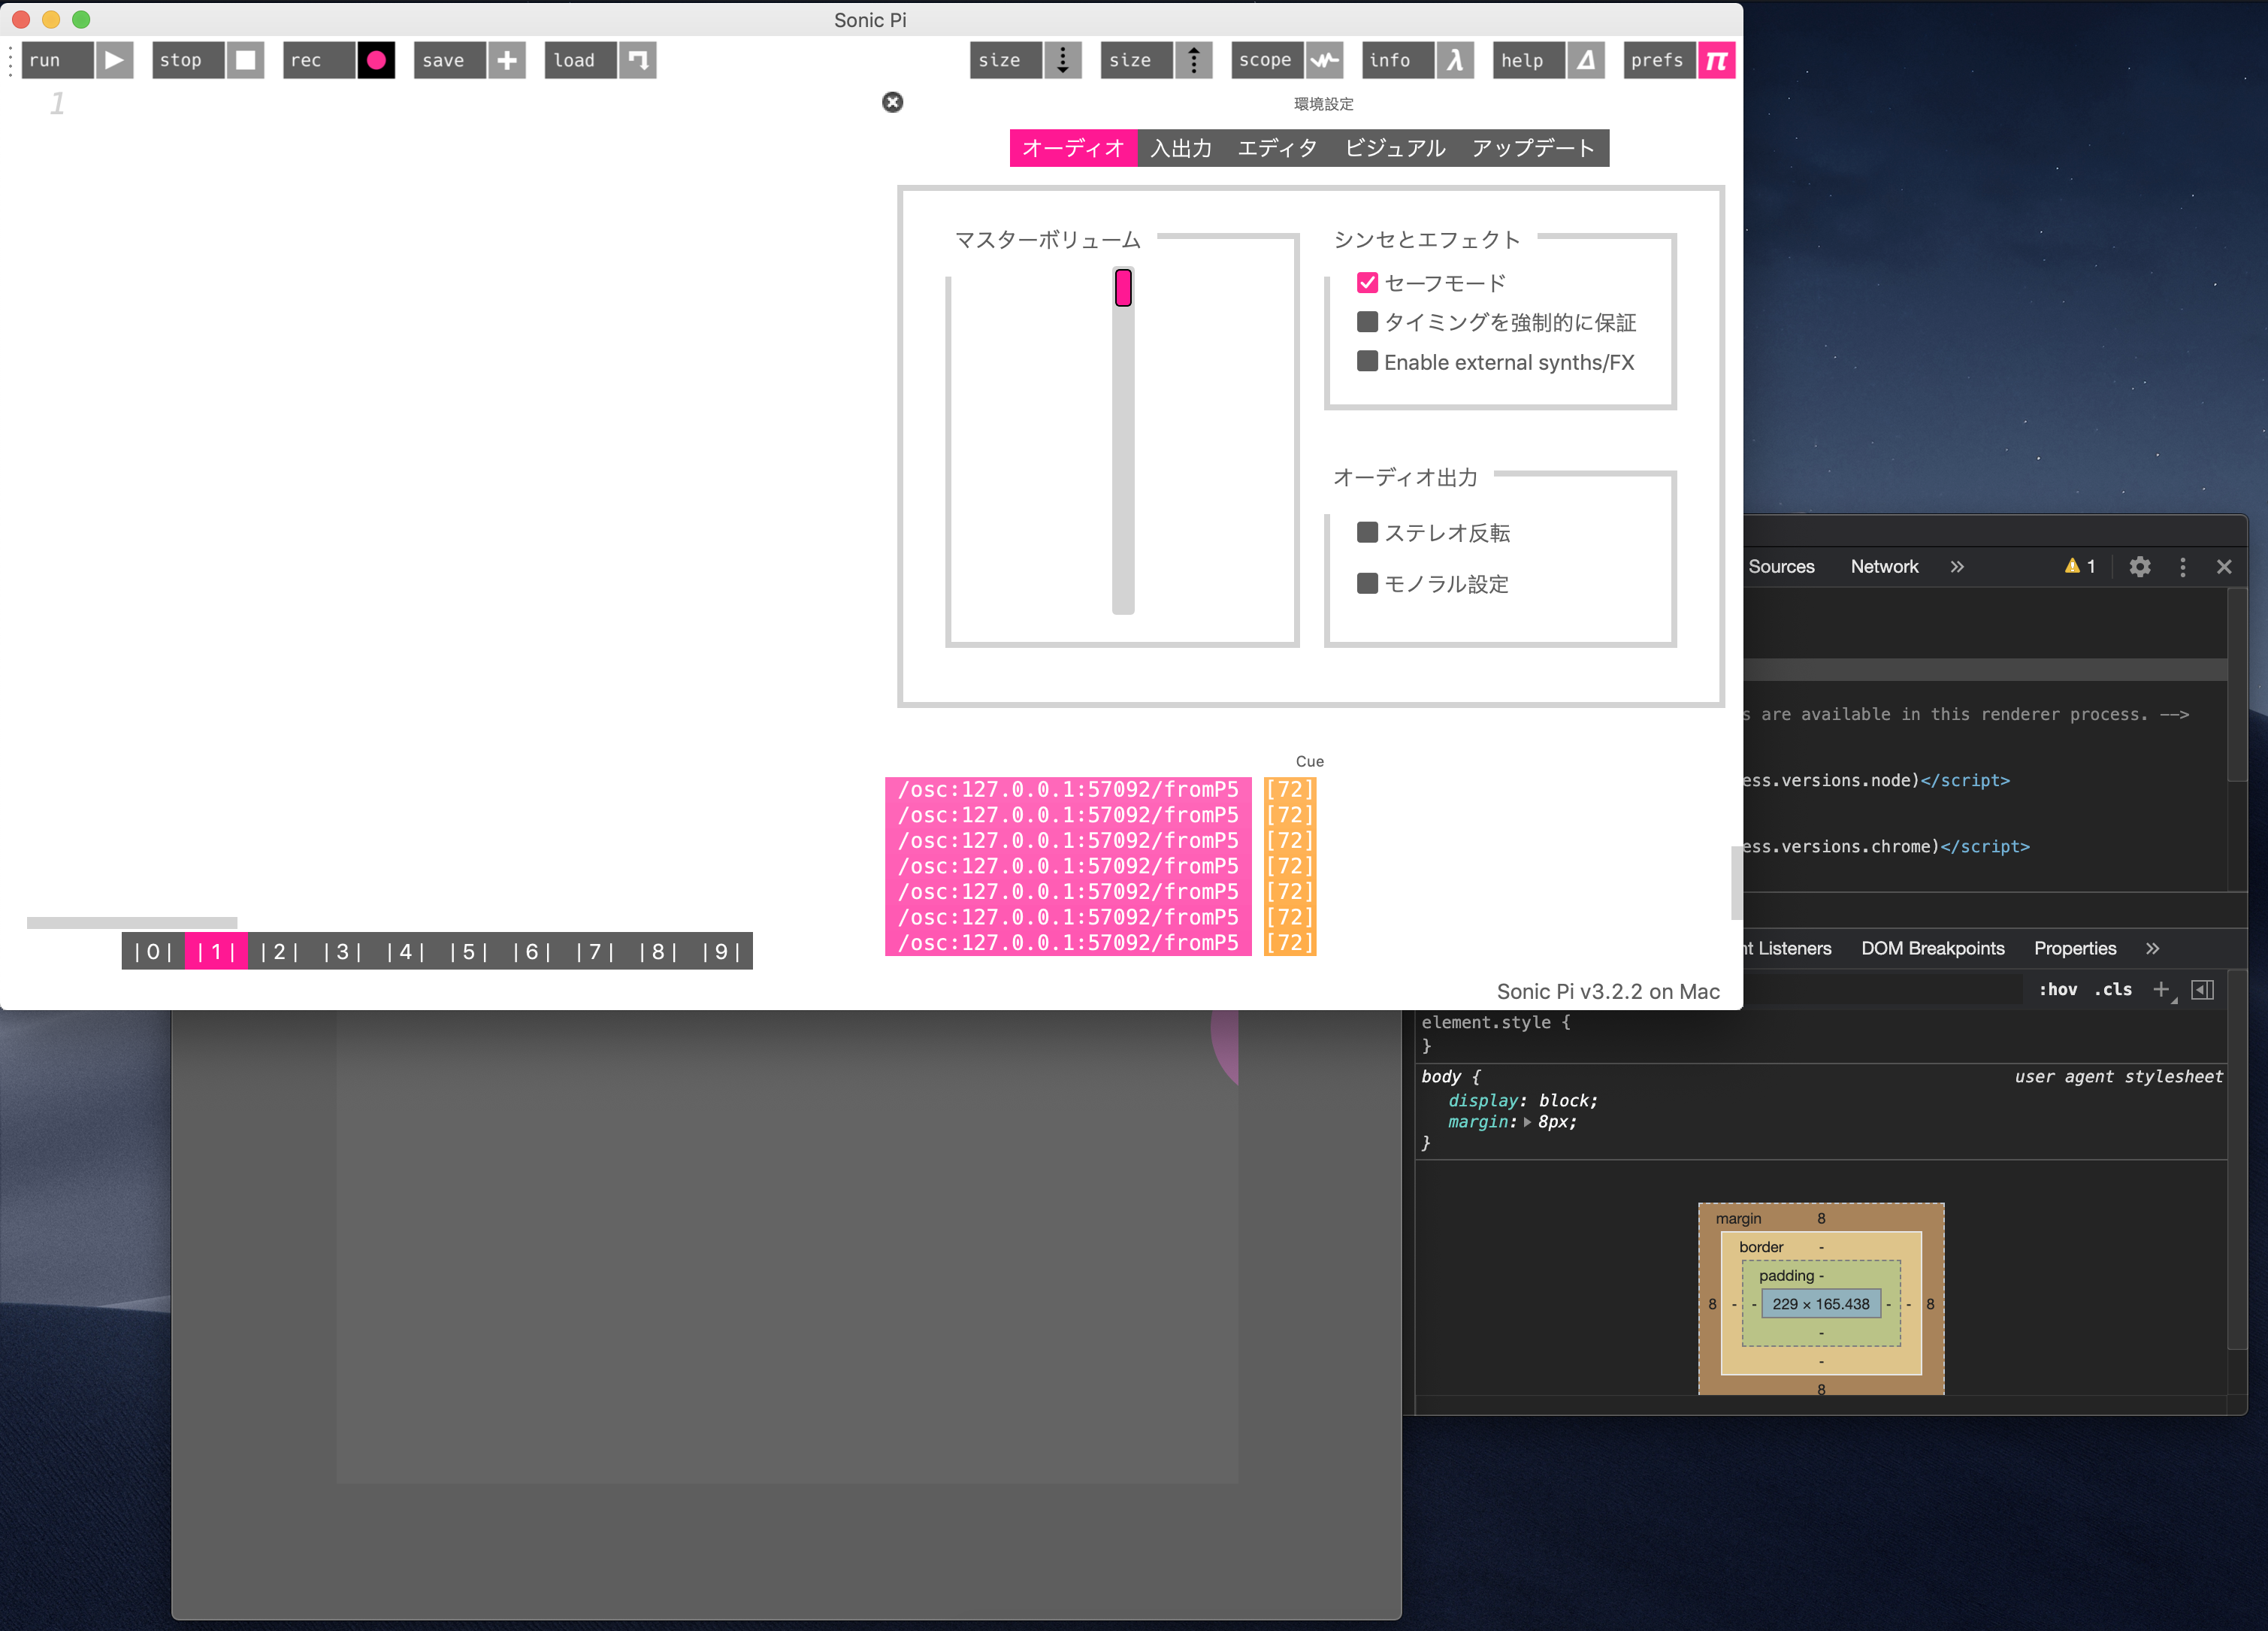
[Cue」ログに「/osc:127.0.0.1:XXXXX/fromP5 [72]」のように表示されていれば、正常に動作しています(XXXXXは毎回変わる数値)。「/fromP5」と「72」は、OpenProcessingのp5jsから送っています。

もしうまくいかないときは、SonicPiの「prefs」の「入出力」で「OSCサーバーを有効にする」のチェックを確認してください。
うまくいっているように見えますが、何度かOpenProcessingを実行し直したりすると、Electronのアプリにエラーがでてきました。
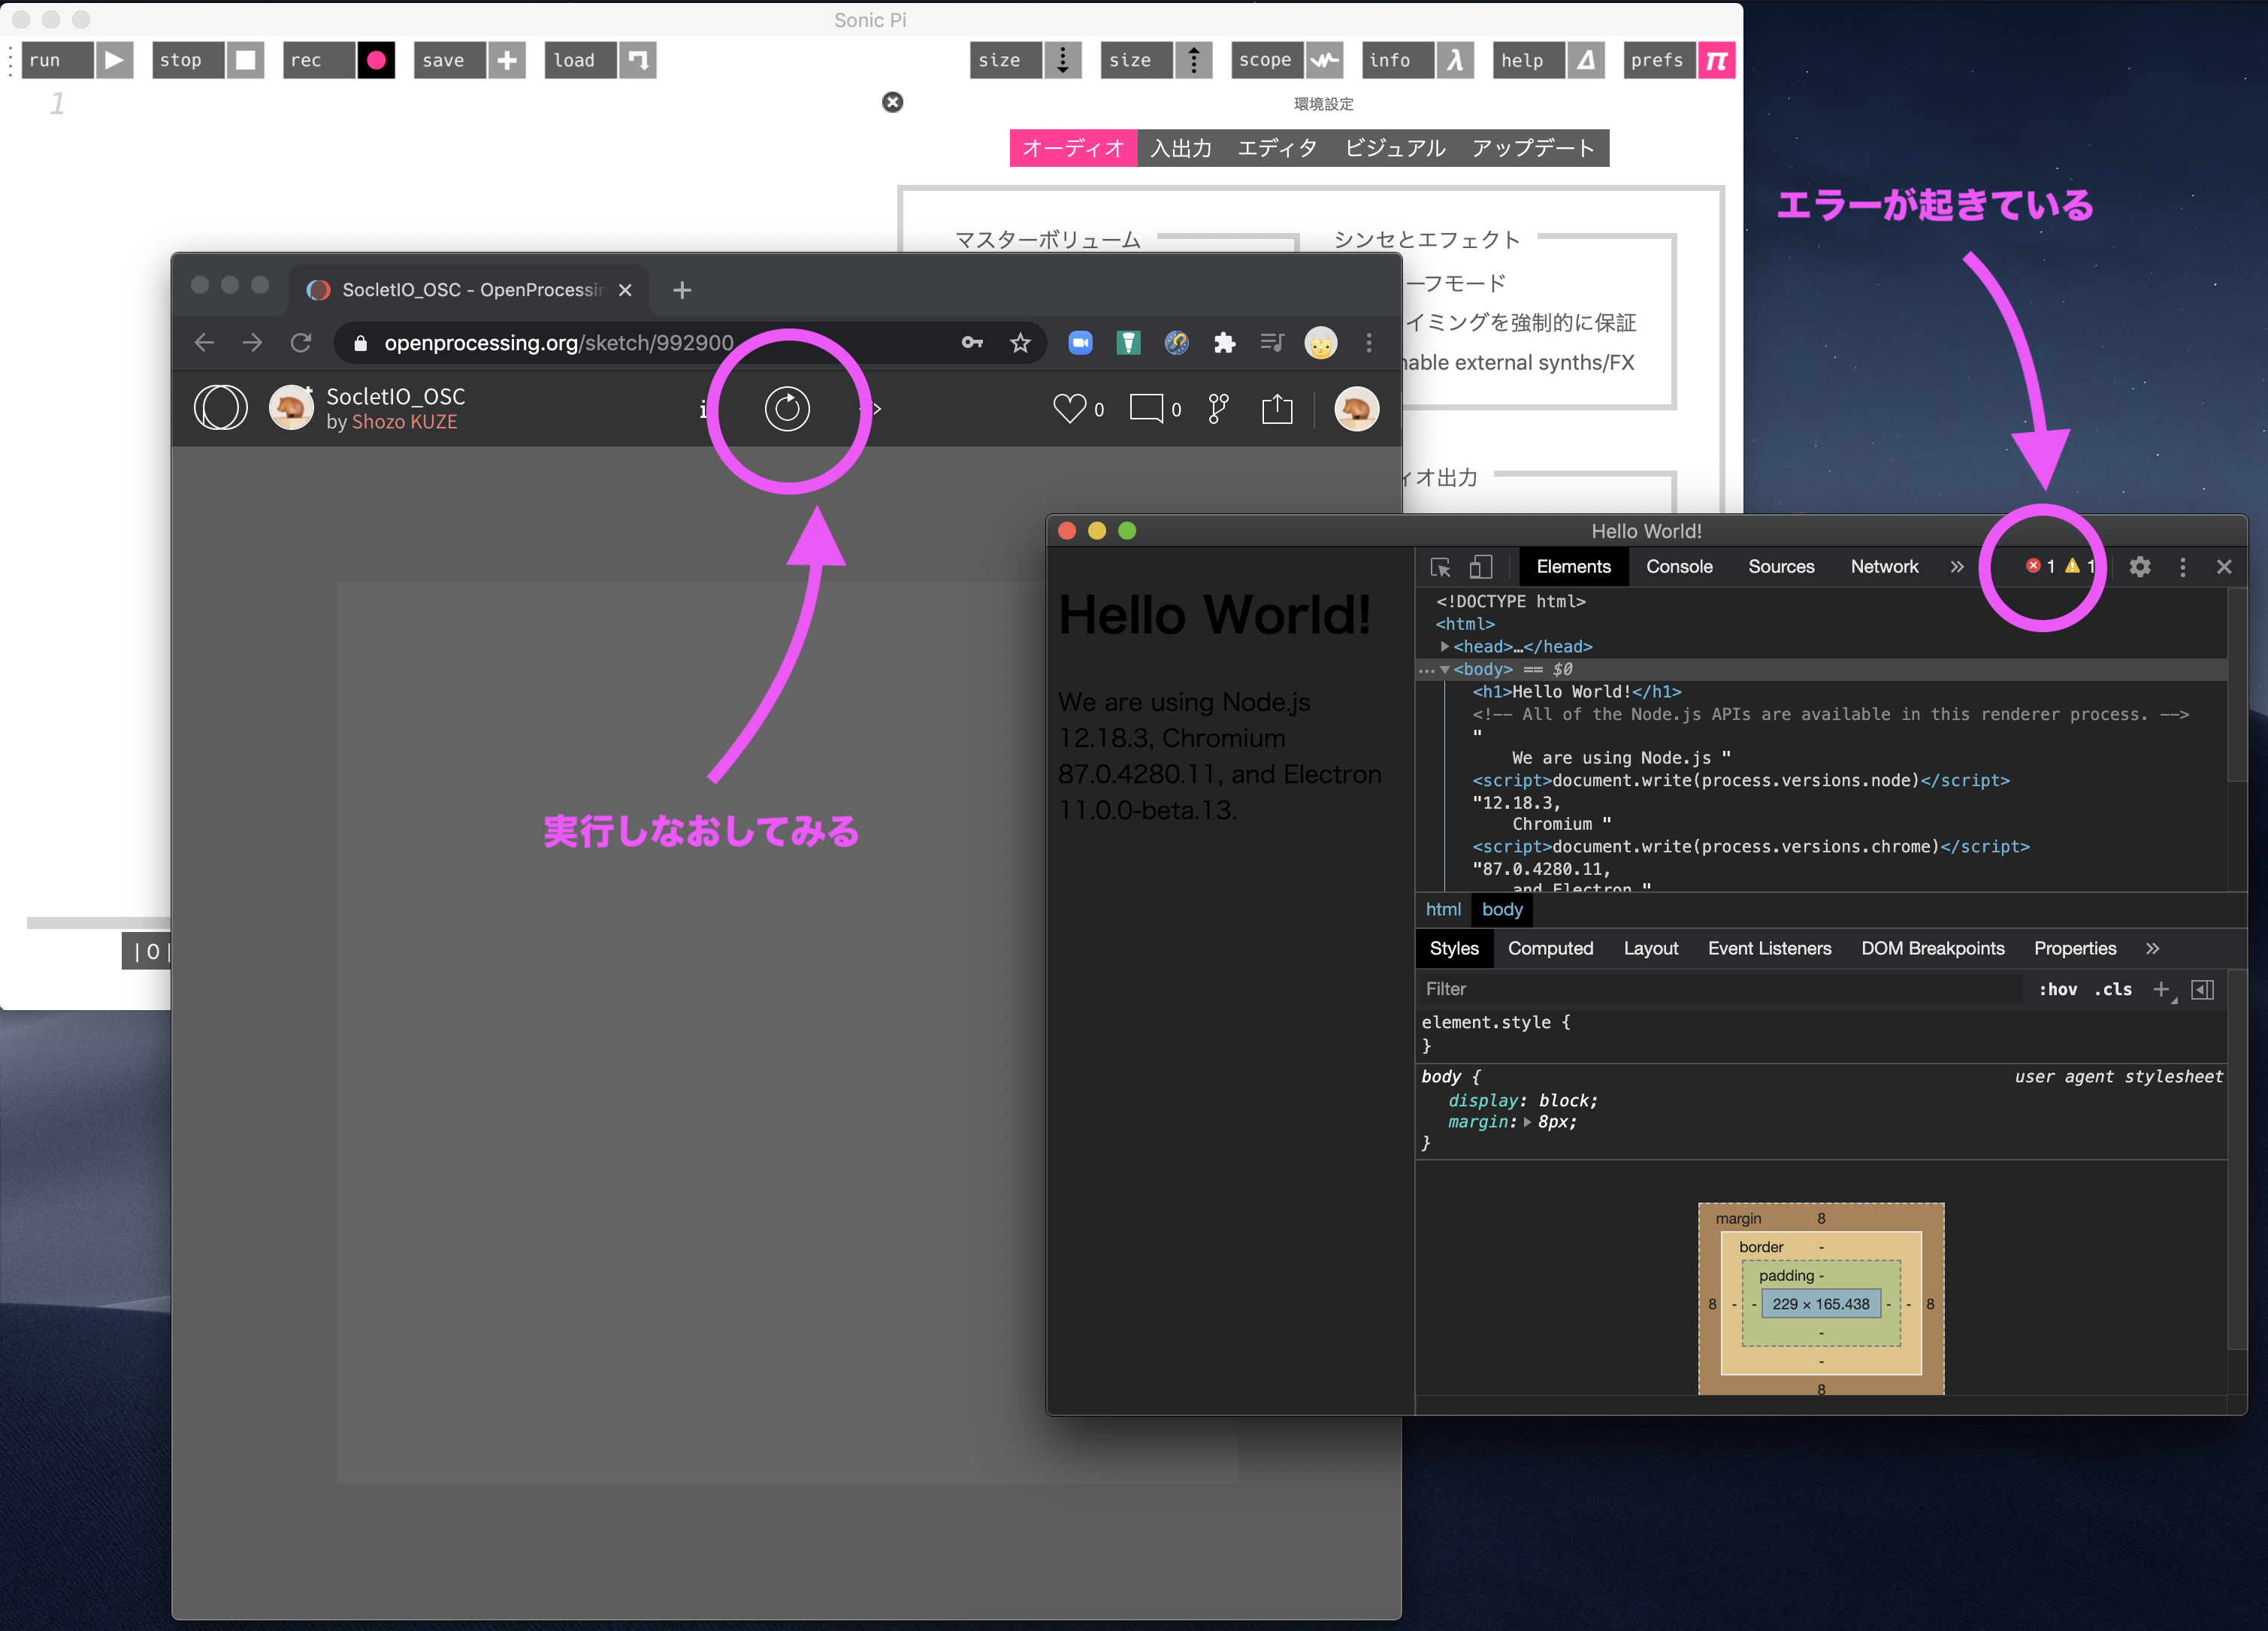
「×」マークをクリックするとエラー情報をみることができます。「△」マークの警告は常に出るようですので、気にしなくてよさそうです。

「oscServer.kill is not a function」とメッセージがでています。いろいろやってると「oscClient.kill is not a function」も出てきました。どうやら「kill」というファンクションはないのでエラーになっているようです。
エラーの修正
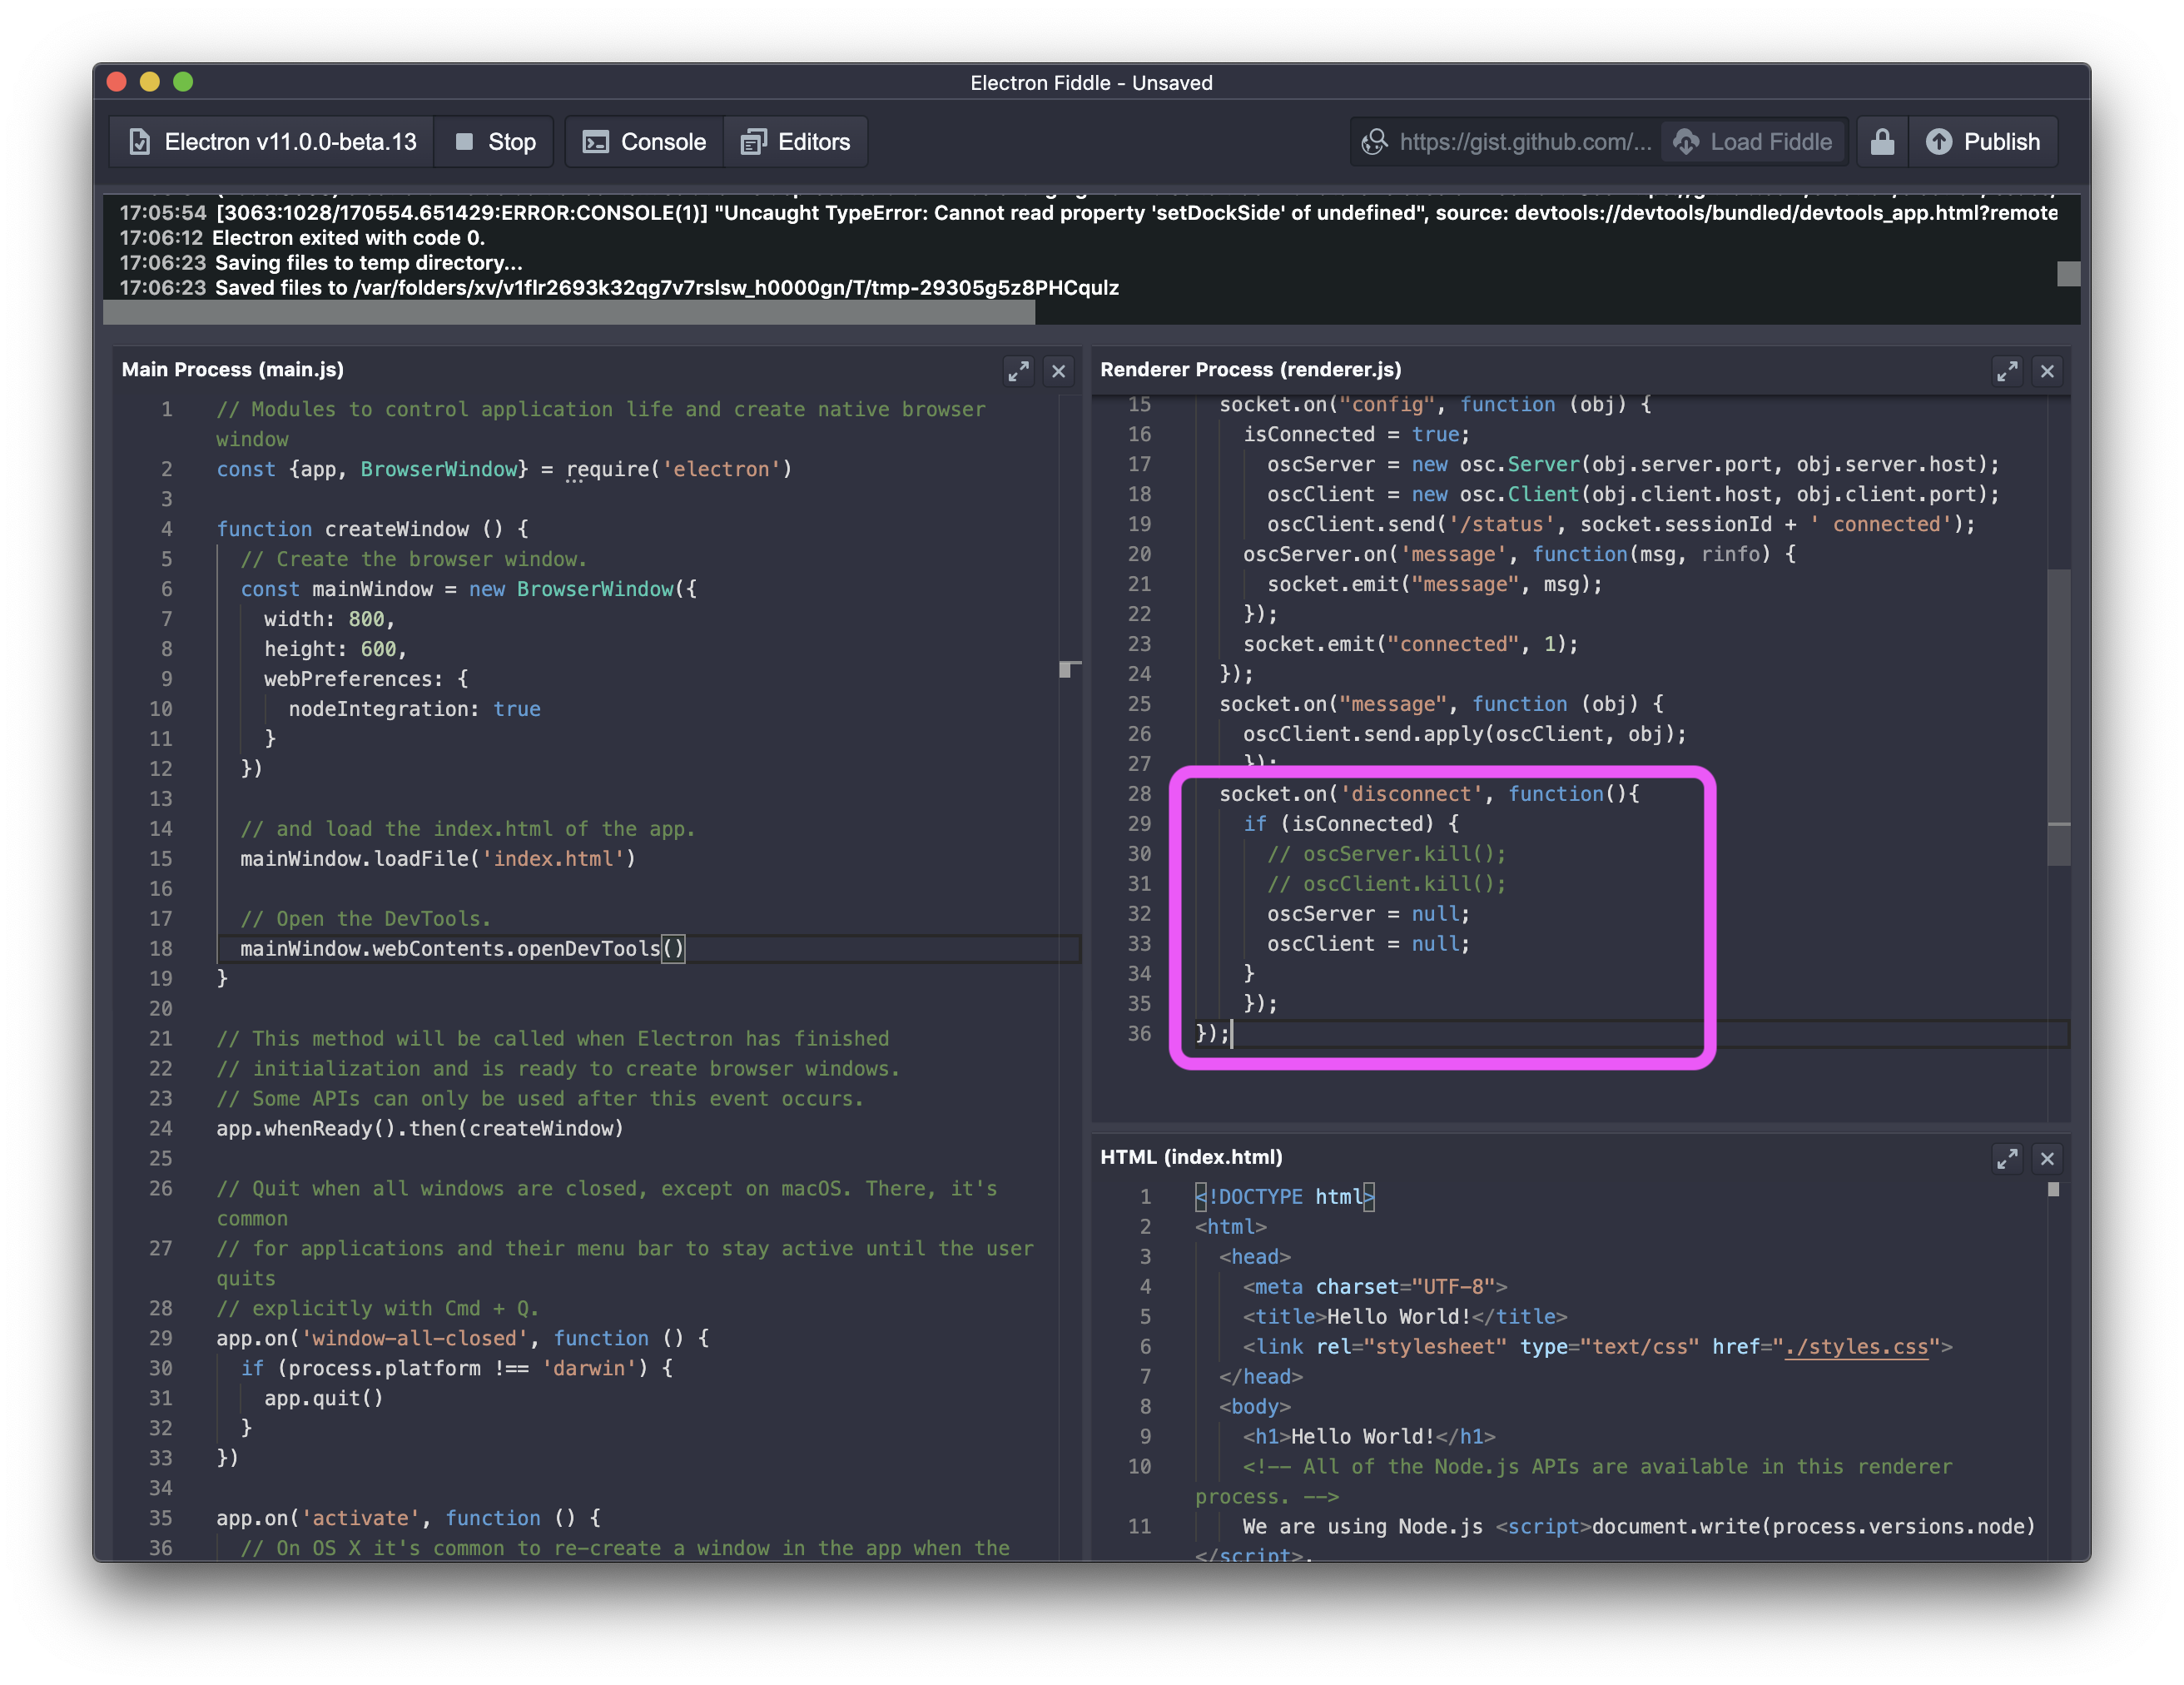
Electron Fiddleの「renderer.js」に戻り、killを使わないように書き換えました(JavaScriptは詳しくないので、これでいいのかな??。自信がないです。よい方法があれば教えてください)。
再び「RUN」して、動作確認してみてください。
SonicPiから音を出す
SonicPiでOSCメッセージを受信したら音を鳴らしたい場合は、以下のようなプログラムをSonicPiで「run」します。「run」したまま待機するイメージです。音がしないときは「stop」して、待機していない状態かもしれませんので再びSonicPiで「run」しましょう。
※ SonicPi v3.2.2のプログラムです(v3.1では動かないです)。
live_loop :loop_name do

  use_real_time

  n = sync "/osc*/fromP5"

  play n

end
整える
次は「renderer.js」にクレジットをいれたり、「HelloWorld」を消したり、ウィンドウサイズとか色などを整えていきます。画面の色はCSSで書いてもいいと思いますが、せっかくなのでp5jsで書いてみました。お好みでどうぞ。
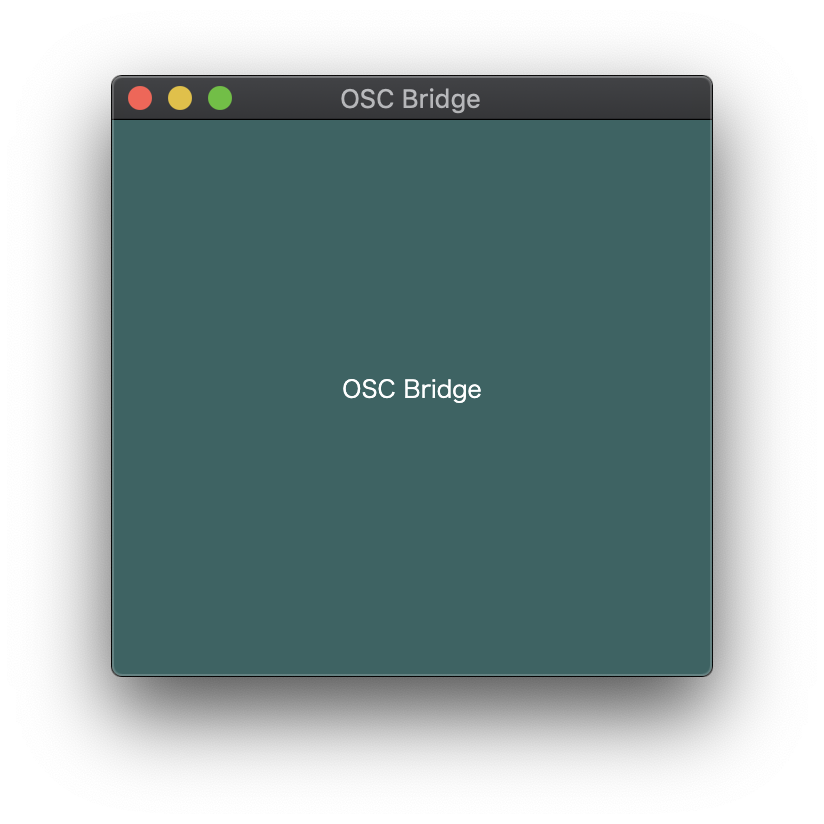
ウィンドウサイズとキャンバス位置は「main.js」と「styles.css」で、ウィドウタイトルは「index.html」で、画面の色は「renderer.js」の「p5js」で設定しました。
// This file is required by the index.html file and will
// be executed in the renderer process for that window.
// All of the Node.js APIs are available in this process.

// --------------------------------------------------------------- //
// This script is from the "bridge.js" and modified by mathrax -s.
// original : https://github.com/genekogan/p5js-osc
// --------------------------------------------------------------- //
var osc = require('node-osc');
var io = require('socket.io')(8081);


var oscServer, oscClient;

var isConnected = false;

io.sockets.on('connection', function (socket) {
	console.log('connection');
	socket.on("config", function (obj) {
		isConnected = true;
    	oscServer = new osc.Server(obj.server.port, obj.server.host);
	    oscClient = new osc.Client(obj.client.host, obj.client.port);
	    oscClient.send('/status', socket.sessionId + ' connected');
		oscServer.on('message', function(msg, rinfo) {
			socket.emit("message", msg);
		});
		socket.emit("connected", 1);
	});
 	socket.on("message", function (obj) {
		oscClient.send.apply(oscClient, obj);
  	});
	socket.on('disconnect', function(){
		if (isConnected) {
			// oscServer.kill();
			// oscClient.kill();
			oscServer = null;
			oscClient = null;
		}
  	});
});
// end of "brigde.js" script.
// --------------------------------------------------------------- //


// The script from here written by mathrax-s
// --------------------------------------------------------------- //
const p5 = require('p5');

const sketch = function (p) {
  // setup
  p.setup = () => {
    canvas = p.createCanvas(p.windowWidth, p.windowHeight);
  }

  // draw
  p.draw = () => {
    p.background(50,100,100);
    p.fill(255);
    p.textAlign(p.CENTER);
    p.text("OSC Bridge", p.windowWidth / 2, p.windowHeight / 2);
  }
};
const app = new p5(sketch);
// end of mathrax-s's script.
// --------------------------------------------------------------- //
// Modules to control application life and create native browser window
const {app, BrowserWindow} = require('electron')

function createWindow () {
  // Create the browser window.
  const mainWindow = new BrowserWindow({
    width: 300,
    height: 300,
    webPreferences: {
      nodeIntegration: true
    }
  })

  // and load the index.html of the app.
  mainWindow.loadFile('index.html')

  // Open the DevTools.
  // mainWindow.webContents.openDevTools()
}

// This method will be called when Electron has finished
// initialization and is ready to create browser windows.
// Some APIs can only be used after this event occurs.
app.whenReady().then(createWindow)

// Quit when all windows are closed, except on macOS. There, it's common
// for applications and their menu bar to stay active until the user quits
// explicitly with Cmd + Q.
app.on('window-all-closed', function () {
  if (process.platform !== 'darwin') {
    app.quit()
  }
})

app.on('activate', function () {
  // On OS X it's common to re-create a window in the app when the
  // dock icon is clicked and there are no other windows open.
  if (BrowserWindow.getAllWindows().length === 0) {
    createWindow()
  }
})

// In this file you can include the rest of your app's specific main process
// code. You can also put them in separate files and require them here.
<!DOCTYPE html>
<html>
  <head>
    <meta charset="UTF-8">
    <title>OSC Bridge</title>
    <link rel="stylesheet" type="text/css" href="./styles.css">
  </head>
  <body>
    <script>
      // You can also require other files to run in this process
      require('./renderer.js')
    </script>
  </body>
</html>
body{
    padding: 0;
    margin: 0;
}

canvas{
    vertical-align: top;
}
デスクトップアプリに書き出す

Electron Fiddleのメニューから「Tasks」>「Package Fiddle...」を選ぶと、書き出されます。


