WatsonのSpeech to Text(デモ)はWebsocketをサポートとしていてブラウザから直接使えるみたいなのでちょっと試してみる。
APIの開通
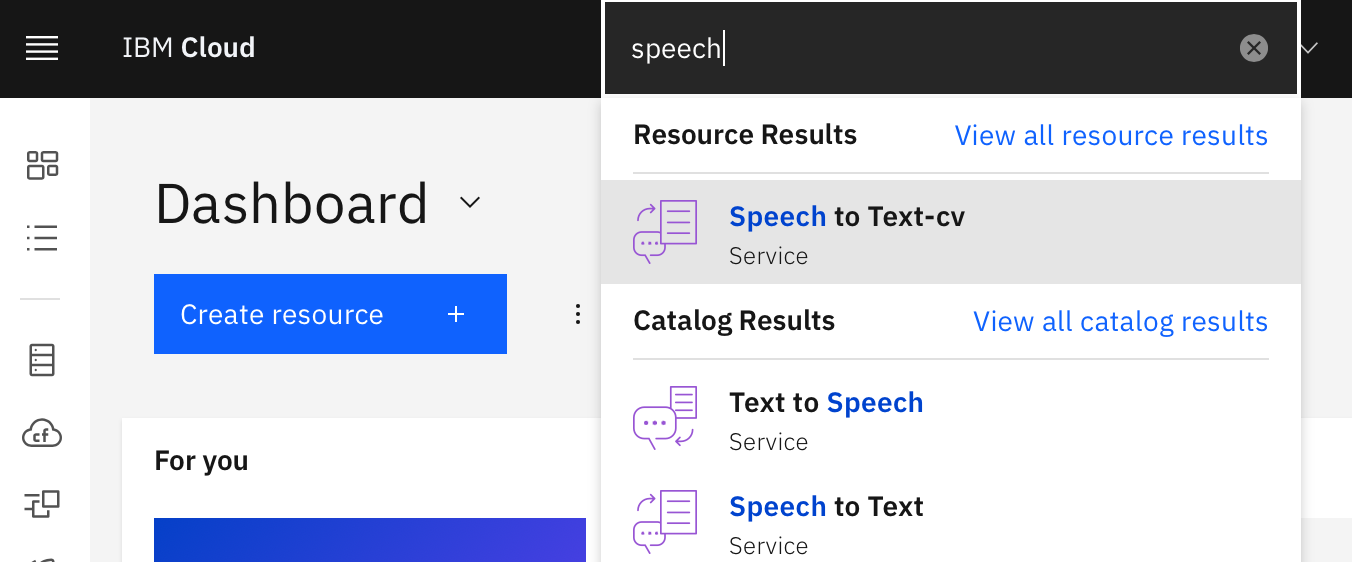
IBM Cloudにアクセスして上の検索からSpeech to Textのページへ移動します。
初めてのアクセスの場合、右下の「Create」を押してインスタンスを作成します。

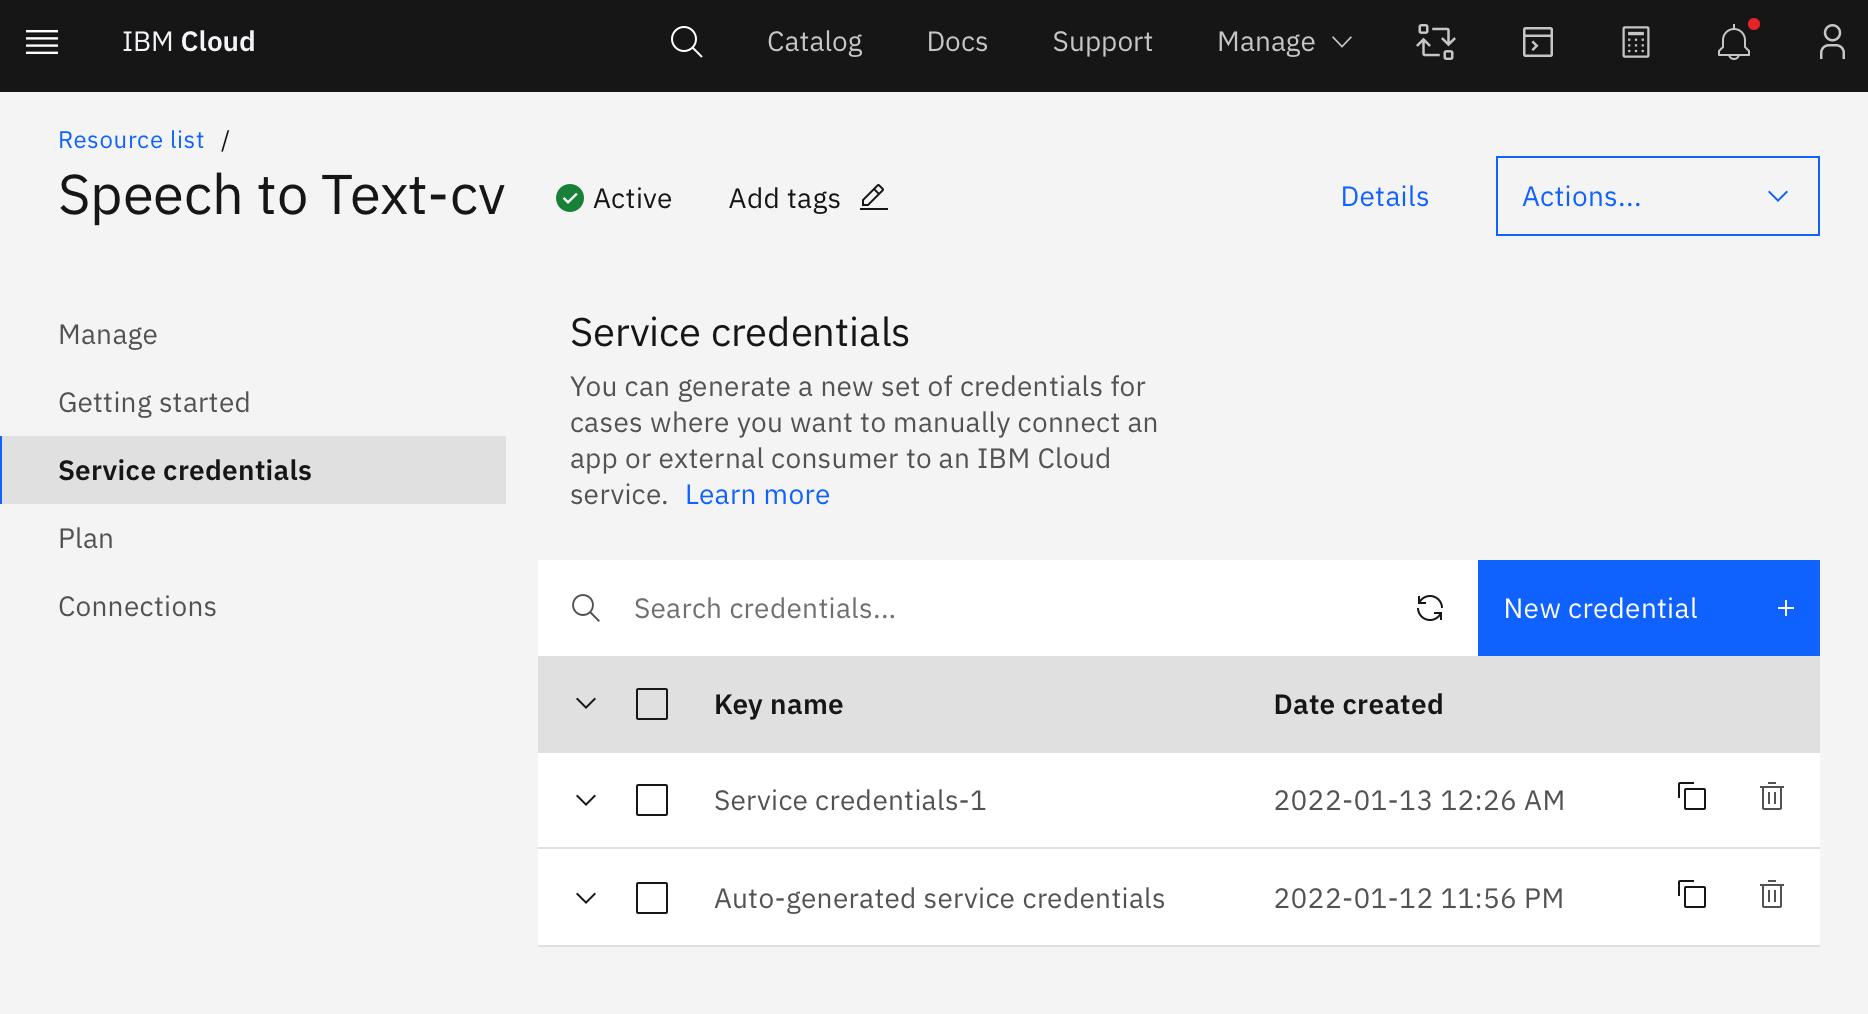
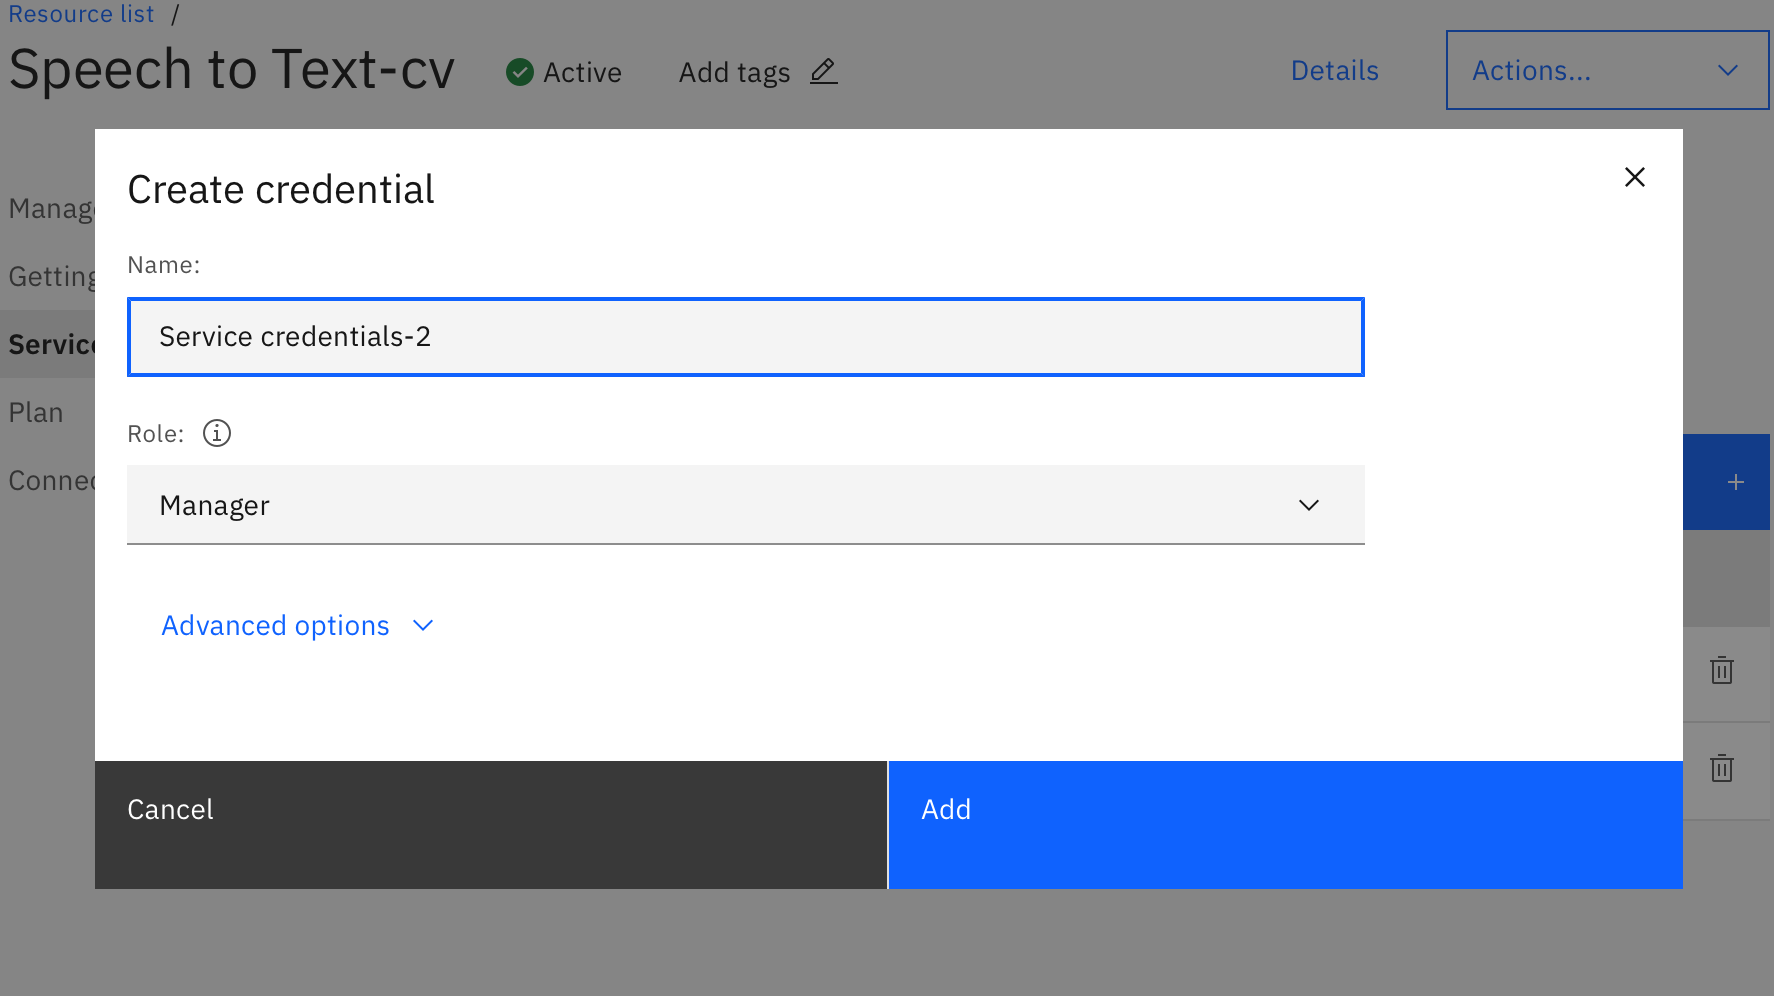
サイドバーからService credentialsを選択して「New credential」をクリックして作成します。
新しいcredentialのコピーを押してそれを適当なエディタにコピーします。
{
  "apikey": "XXXXYYYYZZZZ",
  "iam_apikey_description": "Auto-generated for key crn:v1:bluemix:public:speech-to-text:jp-tok:a/8XX7-470XXXXXcea:resource-key:b9052XXX27",
  "iam_apikey_name": "Service credentials-1",
  "iam_role_crn": "crn:v1:bluemix:public:iam::::serviceRole:Manager",
  "iam_serviceid_crn": "crn:v1:bluemix:public:iam-identity::a/0fcXXf81f3XX",
  "url": "https://api.jp-tok.speech-to-text.watson.cloud.ibm.com/instances/XXXXXXX-72be-4b4a-8bc7-47XXXXXXea"
}
アクセストークンを取得する
nodeを使ったアクセストークンと接続するURLを取得するAPIを作ります。認証やCORSの部分は各自で実装をお願いします。
apikeyの部分を上記のcredentialのapikeyの部分に置き換え、urlの部分はcredentialのurlのhttps://からwss://に置き換えて指定します。
server.js
const watson = require('watson-developer-cloud');
const { IamTokenManager } = require('ibm-watson/auth');

const app = express();

const sttAuthenticator = new IamTokenManager({
  "apikey": "XXXXYYYYZZZZ"
});

app.get("/watson/speech-to-text/token", function(req, res) {
  return sttAuthenticator
    .requestToken()
    .then(({ result }) => {
      res.send({
        accessToken: result.access_token,
        url: "wss://api.jp-tok.speech-to-text.watson.cloud.ibm.com/instances/XXXXXXX-72be-4b4a-8bc7-47XXXXXXea"
      });
    })
    .catch(console.error);
});
ブラウザ上でSpeech to Textを動作させる
App.js
import WatsonSpeech from 'watson-speech';

fetch('/watson/speech-to-text/token')
  .then((response) => response.json())
  .then((response) => {
    let stream = WatsonSpeech.SpeechToText.recognizeMicrophone({
      accessToken: response.accessToken,
      url: response.url,
      model: "ja-JP_BroadbandModel",
      objectMode: true,
      extractResults: true,
      // speakerLabels: true, // 重いらしい
    });

    stream.on('data',(data) => {
      if(data.results && data.results[0].final) {
        console.log(data.results[0].alternatives[0]);
      }
    });

    stream.on('error', console.error);
  }).catch(console.error);