はじめに
この記事は Angular Advent Calendar 2017 17日目の記事です。
この記事では、Angular v5でリリースされた@angular/service-workerを、既存のAngularプロジェクトに導入していきます。
Angularプロジェクト
(´-`).。oO(自分で用意する時間がなかったので、このいい感じのサンプルアプリを使って進めていきます)
Service Workerを登録する前の状態で、Lighthouseで解析しておきましょう。
$ npm i
$ ng build --prod
$ http-server dist
Angular Service Workerの導入
日本語の記事だと、lacoさんの Angular CLI 1.5によるAngular Service Workerクイックスタート – lacolaco-blog – Mediumがとても素晴らしく、この記事でも大いに参考にしています。
$ npm i @angular/service-worker
$ ng set apps.0.serviceWorker=true
これで .angular-cli.json に "serviceWorker": true の設定が書き足されます。
次に、Angular Service Workerは次の2つのファイルを使用します。
- ngsw-worker.js: Angular Service Workerの本体
- ngsw.json: ngsw-worker.jsが使う設定ファイル
ngsw-worker.jsファイルは、node_modulesの中からコピーします。Angular CLIのassets機能を使うことで、ビルドのたびに node_modules/@angular/service-worker/ngsw-worker.js ファイルが、出力先のルートディレクトリにコピーされます。
  "assets": [
    "assets",
    "favicon.ico",
    "sitemap.xml",
    "googled41787c6aae2151b.html",
    "CNAME",
    {
      "input": "../node_modules/@angular/service-worker",
      "glob": "ngsw-worker.js",
      "output": "."
    }
  ],
ngsw.jsonファイルはAngular Service Workerが提供する ngsw-config コマンドを使って生成します。設定元となるファイル src/ngsw-config.json を新たに作成します。
{
  "index": "/index.html",
  "assetGroups": [
    {
      "name": "app",
      "installMode": "prefetch",
      "resources": {
        "files": ["/favicon.ico", "/index.html"],
        "versionedFiles": ["/*.bundle.css", "/*.bundle.js", "/*.chunk.js"]
      }
    }
  ]
}
package.jsonに新しいビルドスクリプトを登録します。
  "scripts": {
    "build:ngsw": "ng build -prod && node_modules/.bin/ngsw-config dist src/ngsw-config.json"
  },
最後に、ビルドに含まれるようになったngsw-worker.jsファイルをService Workerとして登録するためにServiceWorkerModuleをアプリケーションに導入します。app.module.tsファイルを開き、次のように編集します。
import {NgModule} from '@angular/core';
import {BrowserModule} from '@angular/platform-browser';
import {FormsModule} from '@angular/forms';
// Import NGSW module
import {ServiceWorkerModule} from '@angular/service-worker';

import {APP_CONFIG, AppConfig} from './config/app.config';

import {AppRoutingModule} from './app-routing.module';
import {SharedModule} from './shared/modules/shared.module';
import {CoreModule} from './core/core.module';

import {AppComponent} from './app.component';
import {BrowserAnimationsModule} from '@angular/platform-browser/animations';
import {HTTP_INTERCEPTORS, HttpClient, HttpClientModule} from '@angular/common/http';
import {TranslateLoader, TranslateModule} from '@ngx-translate/core';
import {HttpLoaderFactory} from './app.translate.factory';
import {HeroTopComponent} from './heroes/hero-top/hero-top.component';
import {ProgressBarService} from './core/progress-bar.service';
import {ProgressInterceptor} from './shared/interceptors/progress.interceptor';
import {TimingInterceptor} from './shared/interceptors/timing.interceptor';

@NgModule({
  imports: [
    BrowserModule,
    BrowserAnimationsModule,
    FormsModule,
    HttpClientModule,
    TranslateModule.forRoot({
      loader: {
        provide: TranslateLoader,
        useFactory: HttpLoaderFactory,
        deps: [HttpClient]
      }
    }),
    SharedModule.forRoot(),
    CoreModule,
    AppRoutingModule,
    // Register ngsw-worker.js as SW
    ServiceWorkerModule.register('/ngsw-worker.js'),
  ],
  declarations: [
    AppComponent,
    HeroTopComponent
  ],
  providers: [
    {provide: APP_CONFIG, useValue: AppConfig},
    {provide: HTTP_INTERCEPTORS, useClass: ProgressInterceptor, multi: true, deps: [ProgressBarService]},
    {provide: HTTP_INTERCEPTORS, useClass: TimingInterceptor, multi: true}
  ],
  bootstrap: [AppComponent]
})

export class AppModule {
}
それではこの状態でアプリケーションを実行してみましょう。
$ npm run build:ngsw
$ http-server dist
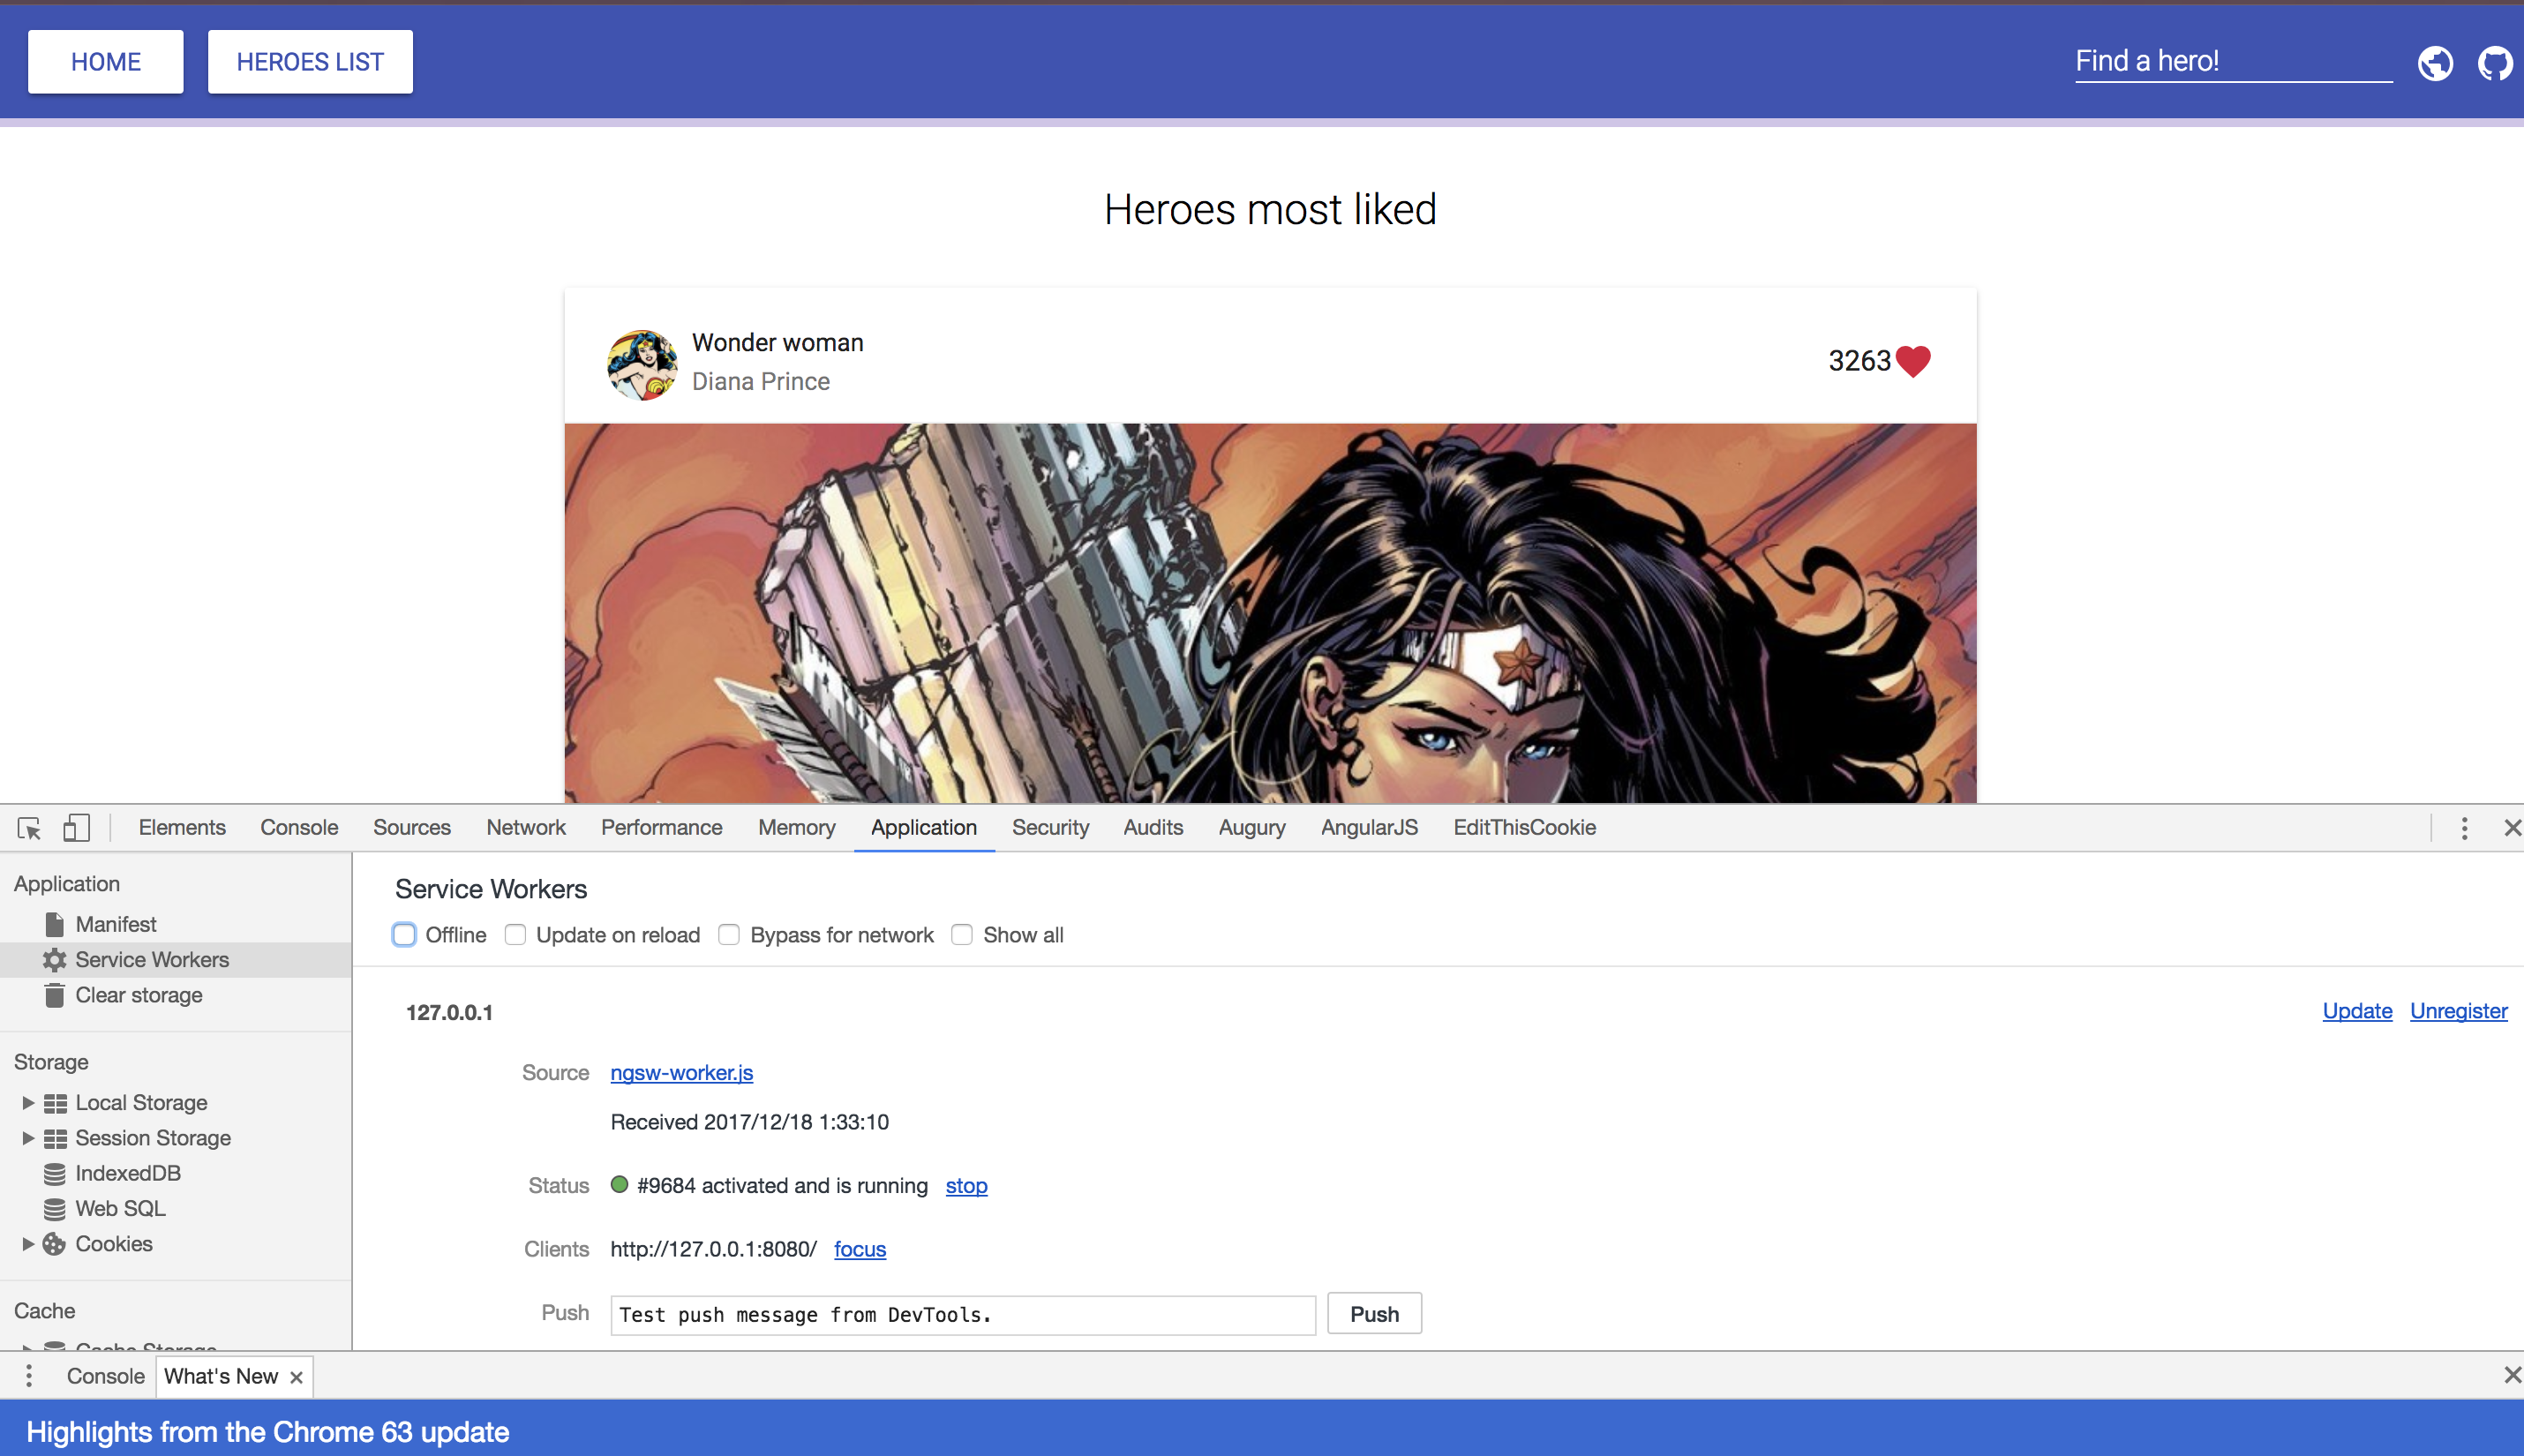
DevToolsやLighthouseで確認すると、Service Workerが登録されていることがわかると思います。
またngsw-config.jsonで記述したキャッシュ設定により、外部APIからデータを取得する箇所以外のオフライン対応も完了しています。実際に試してみましょう。
「Offline」にチェックしてからリロード・ページ遷移を行うと、外側のApplication Shellは維持されていますが、Heroの情報は表示されずローディング状態が続きます。
オフラインアクセスに備えて、Heroの情報もキャッシュに入れておきましょう。
Runtime caching
このために、先ほど使ったassetGroupsとは別のdataGroupsを使用します。
- assetGroups
- app [shell]のバージョンを追跡していて、グループのうち1つ以上のリソースが更新された場合、利用可能な新しいバージョンのアプリがあるとみなし、対応する更新フローを開始する
- dataGroups
- appのバージョンとは独立していて、独自のキャッシュポリシーを使ってキャッシュを行う。APIレスポンスを処理するのに適切
ngsw-config.jsonにdataGroupsの設定を加えて、以下のように編集します。
{
  "index": "/index.html",
  "assetGroups": [
    {
      "name": "app",
      "installMode": "prefetch",
      "resources": {
        "files": [
          "/favicon.ico",
          "/index.html"
        ],
        "versionedFiles": [
          "/*.bundle.css",
          "/*.bundle.js",
          "/*.chunk.js"
        ]
      }
    }
  ],
  "dataGroups": [
    {
      "name": "api-freshness",
      "urls": [
        "/",
        "/heroes"
      ],
      "cacheConfig": {
        "strategy": "freshness",
        "maxSize": 100,
        "maxAge": "3d",
        "timeout": "10s"
      }
    }
  ]
}
Service Workerとキャッシュをすべて破棄した状態で、新たにビルドしたアプリケーションを実行してみましょう。

オフラインになった状態でも、Heroの情報がキャッシュから無事表示されるようになりました!
参考にしたもの
- Angular CLI 1.5によるAngular Service Workerクイックスタート – lacolaco-blog – Medium
- Automatic Progressive Web Apps using the Angular Mobile Toolkit by Maxim Salnikov
- A new Angular Service Worker — creating automatic progressive web apps. Part 1: theory
- A new Angular Service Worker — creating automatic progressive web apps. Part 2: practice
- https://angular.io/guide/service-worker-intro
おわりに
ngsw-config.jsonの設定に関しては、公式ドキュメントに詳しく載っているのでそちらも読んでみてください。


